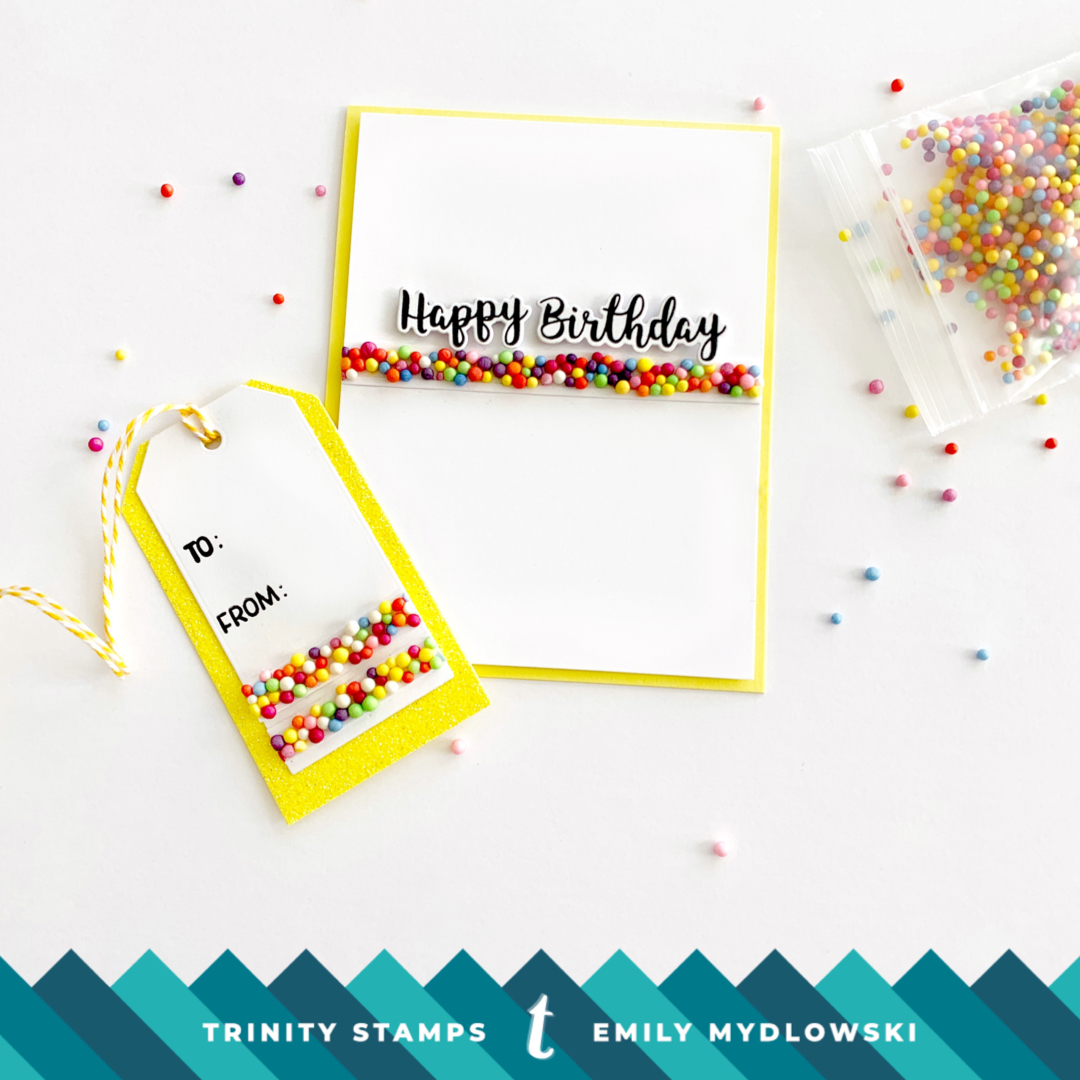
Mix It Up Monday | Paper Confection Sprinkles

Hello, Friends! Happy Monday and Welcome to Mix it Up Monday!
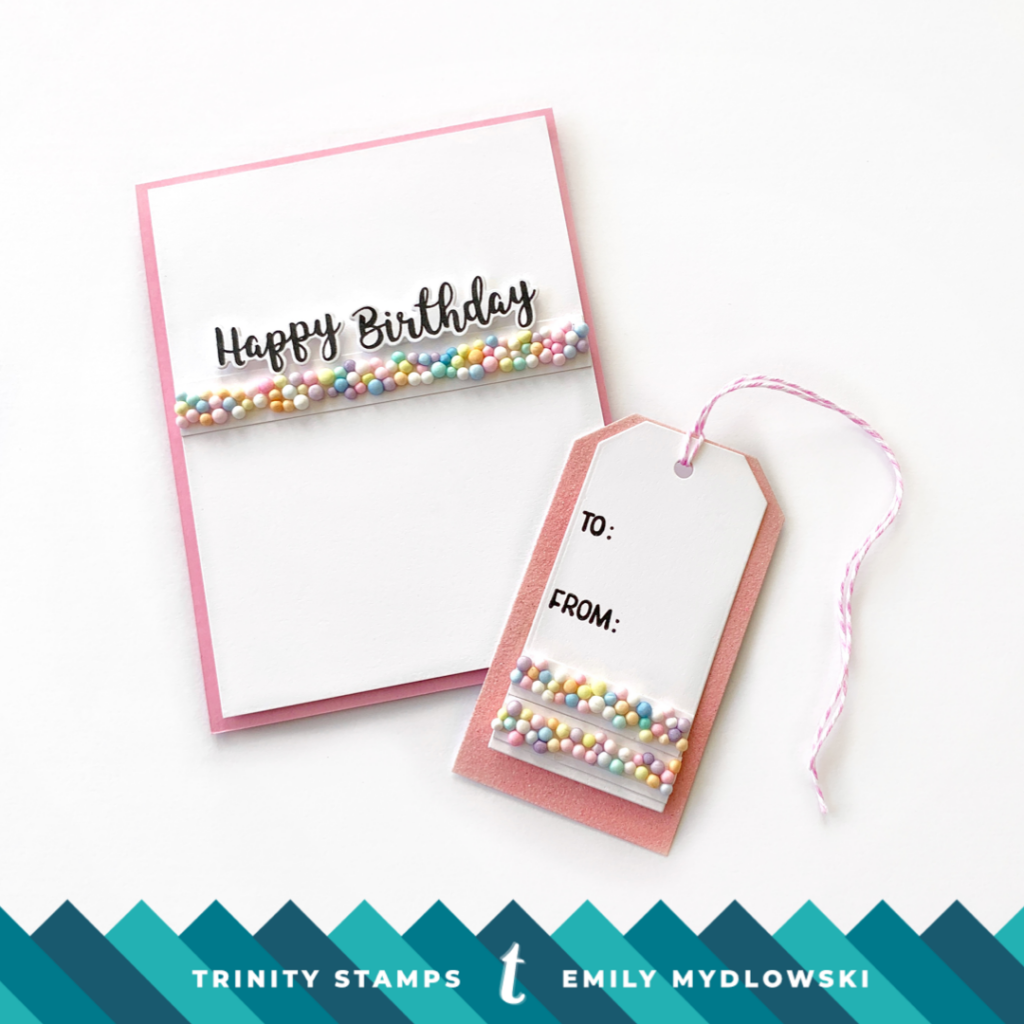
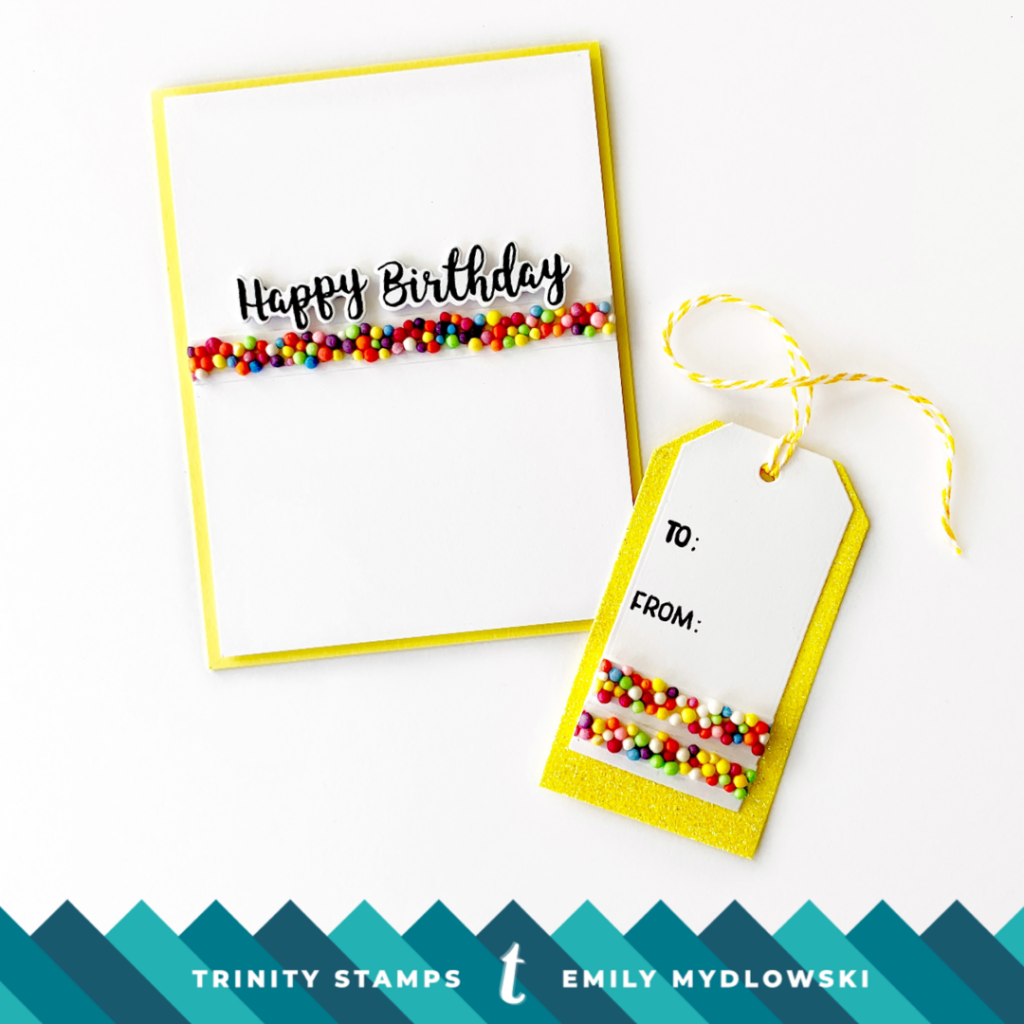
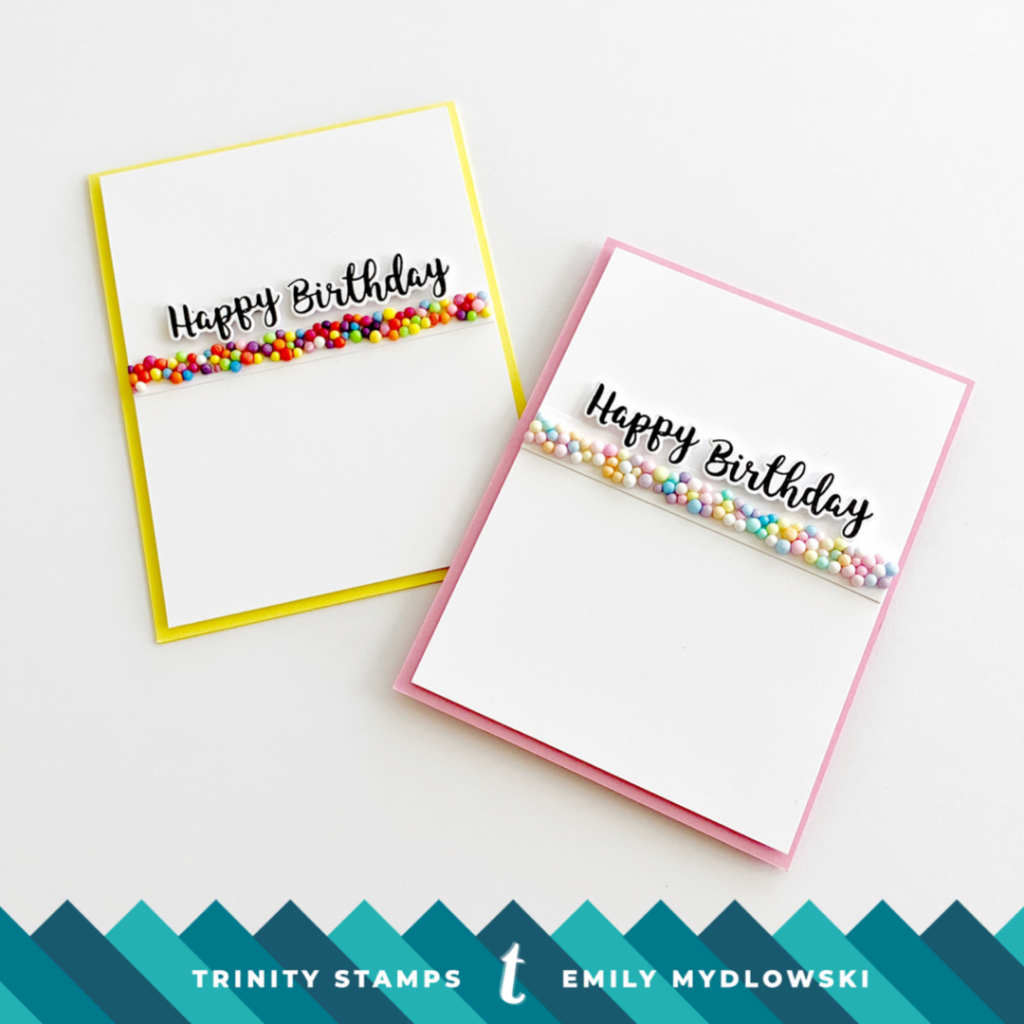
I’m so excited you are here and can’t wait to share how I used Trinity’s embellishments as the highlight for my Happy Birthday cards and tags. I’m a card embellishment junkie so any chance to use a pretty, fun or festive bauble, I’m in my happy place. February is also my family’s birthday month so I’ve been in a birthday party mood and made a couple *sweet* with no calories added—CAS Birthday Party cards *and tags!
The Supplies:
- Stamps: Let Love Grow & Mr. Snail Man
- Embellishments: Bright Paper Nonpareils Embellishment Mix & Soft Pastel Gumballs Embellishment Sprinkles Mix
- Tools: Scor-Tape ¼ inch, Versa Fine Clair Nocturne Ink & Stacking Tag Dies
The Process Steps:
Both of the cards & tags used the same process steps but the results were slightly different based on the color of the embellishments.
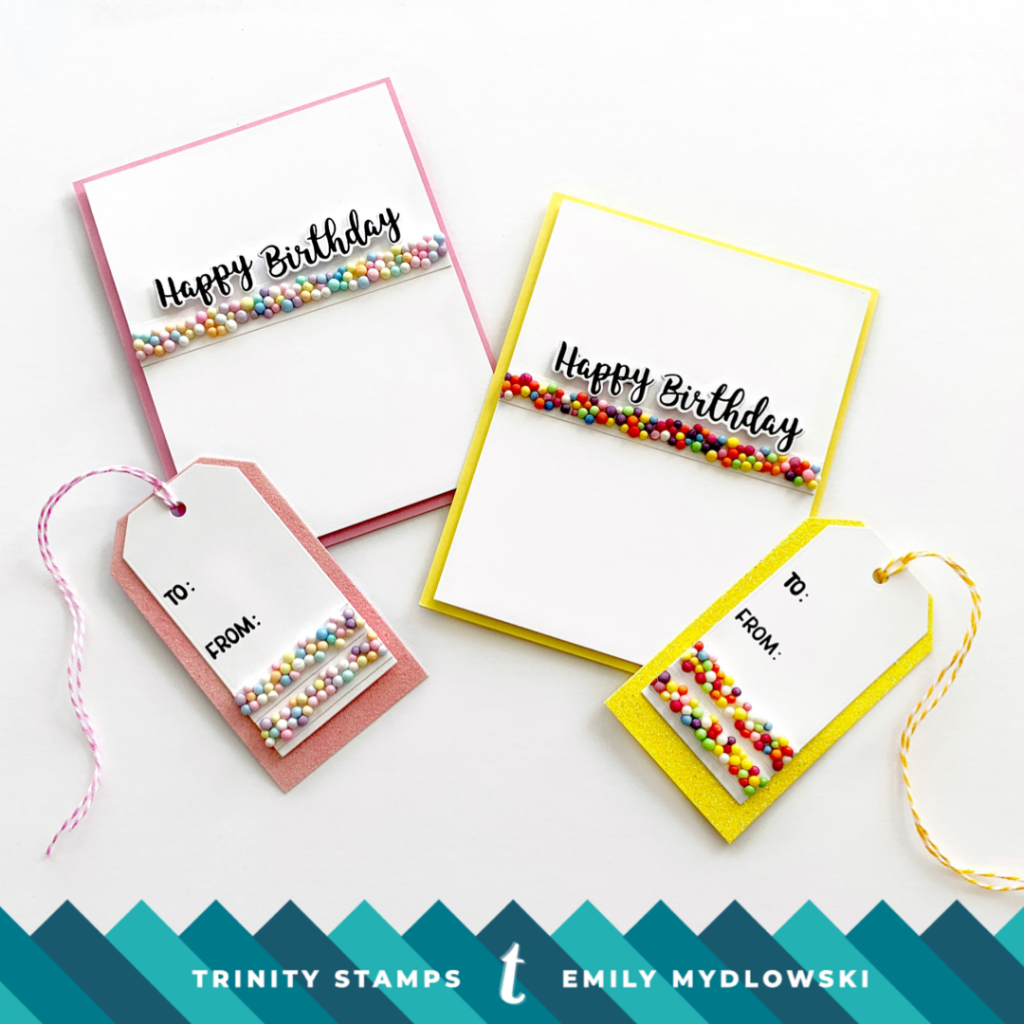
To create the Sprinkle Border:
- I cut a piece of white card stock into ½ inch strips and added Scor-Tape down the middle of each strip.
- Then I added the nonpareils and gumballs to the Scor-Tape. I did one color set at a time because these little guys can get a little messy as they slip and slide across your workspace. Knowing this was going to happen, I just giggled my way through the process. Every time I look at these cards, I smile because I had so much fun making them.
To assemble the cards:
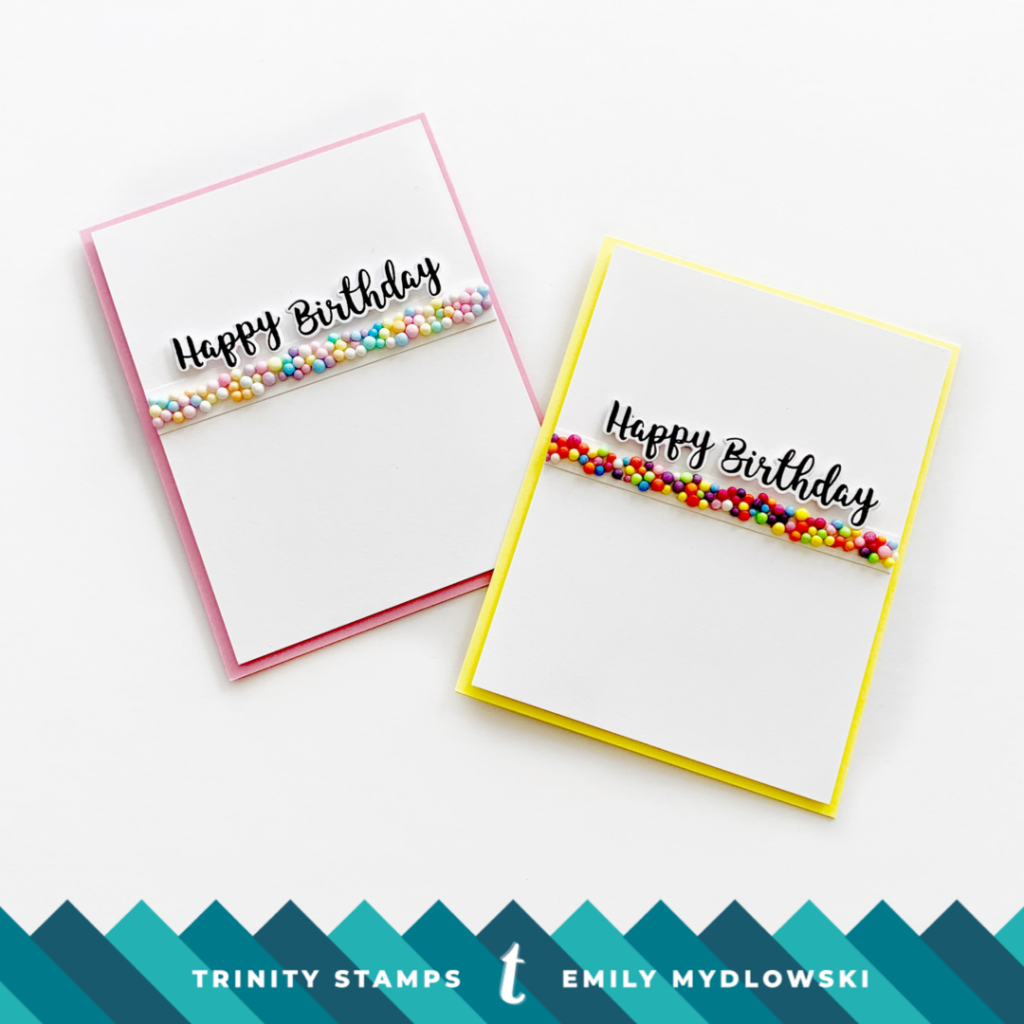
- Adhere the Sprinkle Border to the top-half of a white cardstock card panel.
- Stamp and die cut “Happy Birthday” from the Let Love Grow Stamp set and matching dies. Adhere with foam dots the sentiment above the Sprinkles.
- Add the card panel to color cardstock that matches your sprinkles. I used a pink for the pastel version, and a fun bright yellow for the rainbow version.
To assemble the tags:
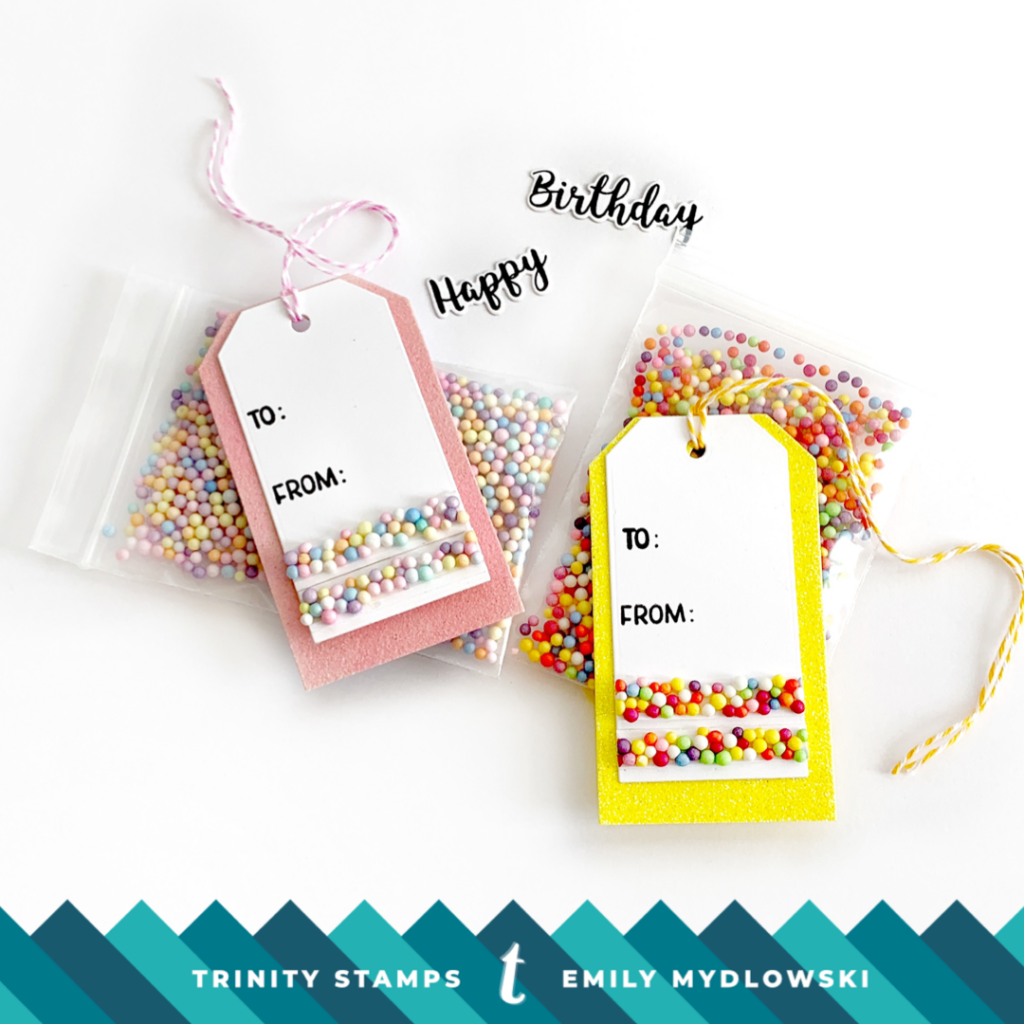
- Die cut glitter paper tags. I didn’t have pink glitter paper so I used the Trinity Blendability Brushes and blended some pink distress oxide ink over white glitter paper to create pink glitter paper—not an exact match to the card’s cardstock—but it’s pink and that’s a win for me!).
- With white card stock, die cut a tag that is stackable in size to the glitter tag and add the To and From included in the Mr. Snailman Stamp Set.
- Adhere a Sprinkle Border to the bottom of the tag and cut of the edges. Repeat to create two fun Sprinkle Border Stripes at the bottom of your tags.
- Add some colorful bakers twine and *Poof*—you have matching tags and cards!
So there we go friends, two Mix and Match designs for some Birthday Party Fun! I love it when your embellishments can take center stage and add POP to a CAS card *and* tags! I hope you enjoyed these projects and look forward to seeing you next Monday!
You can check out the Trinity Stamps Blog, You Tube and Instagram feed for more design team inspiration all week long. For Imagination, Inspiration & Conversation from the Trinity Stamps Community, check out/come join the Trinity Stamps Facebook page and don’t forget to tag your Instagram projects with #trinitystamps!
Until next week, Big Paper Hugs!
