
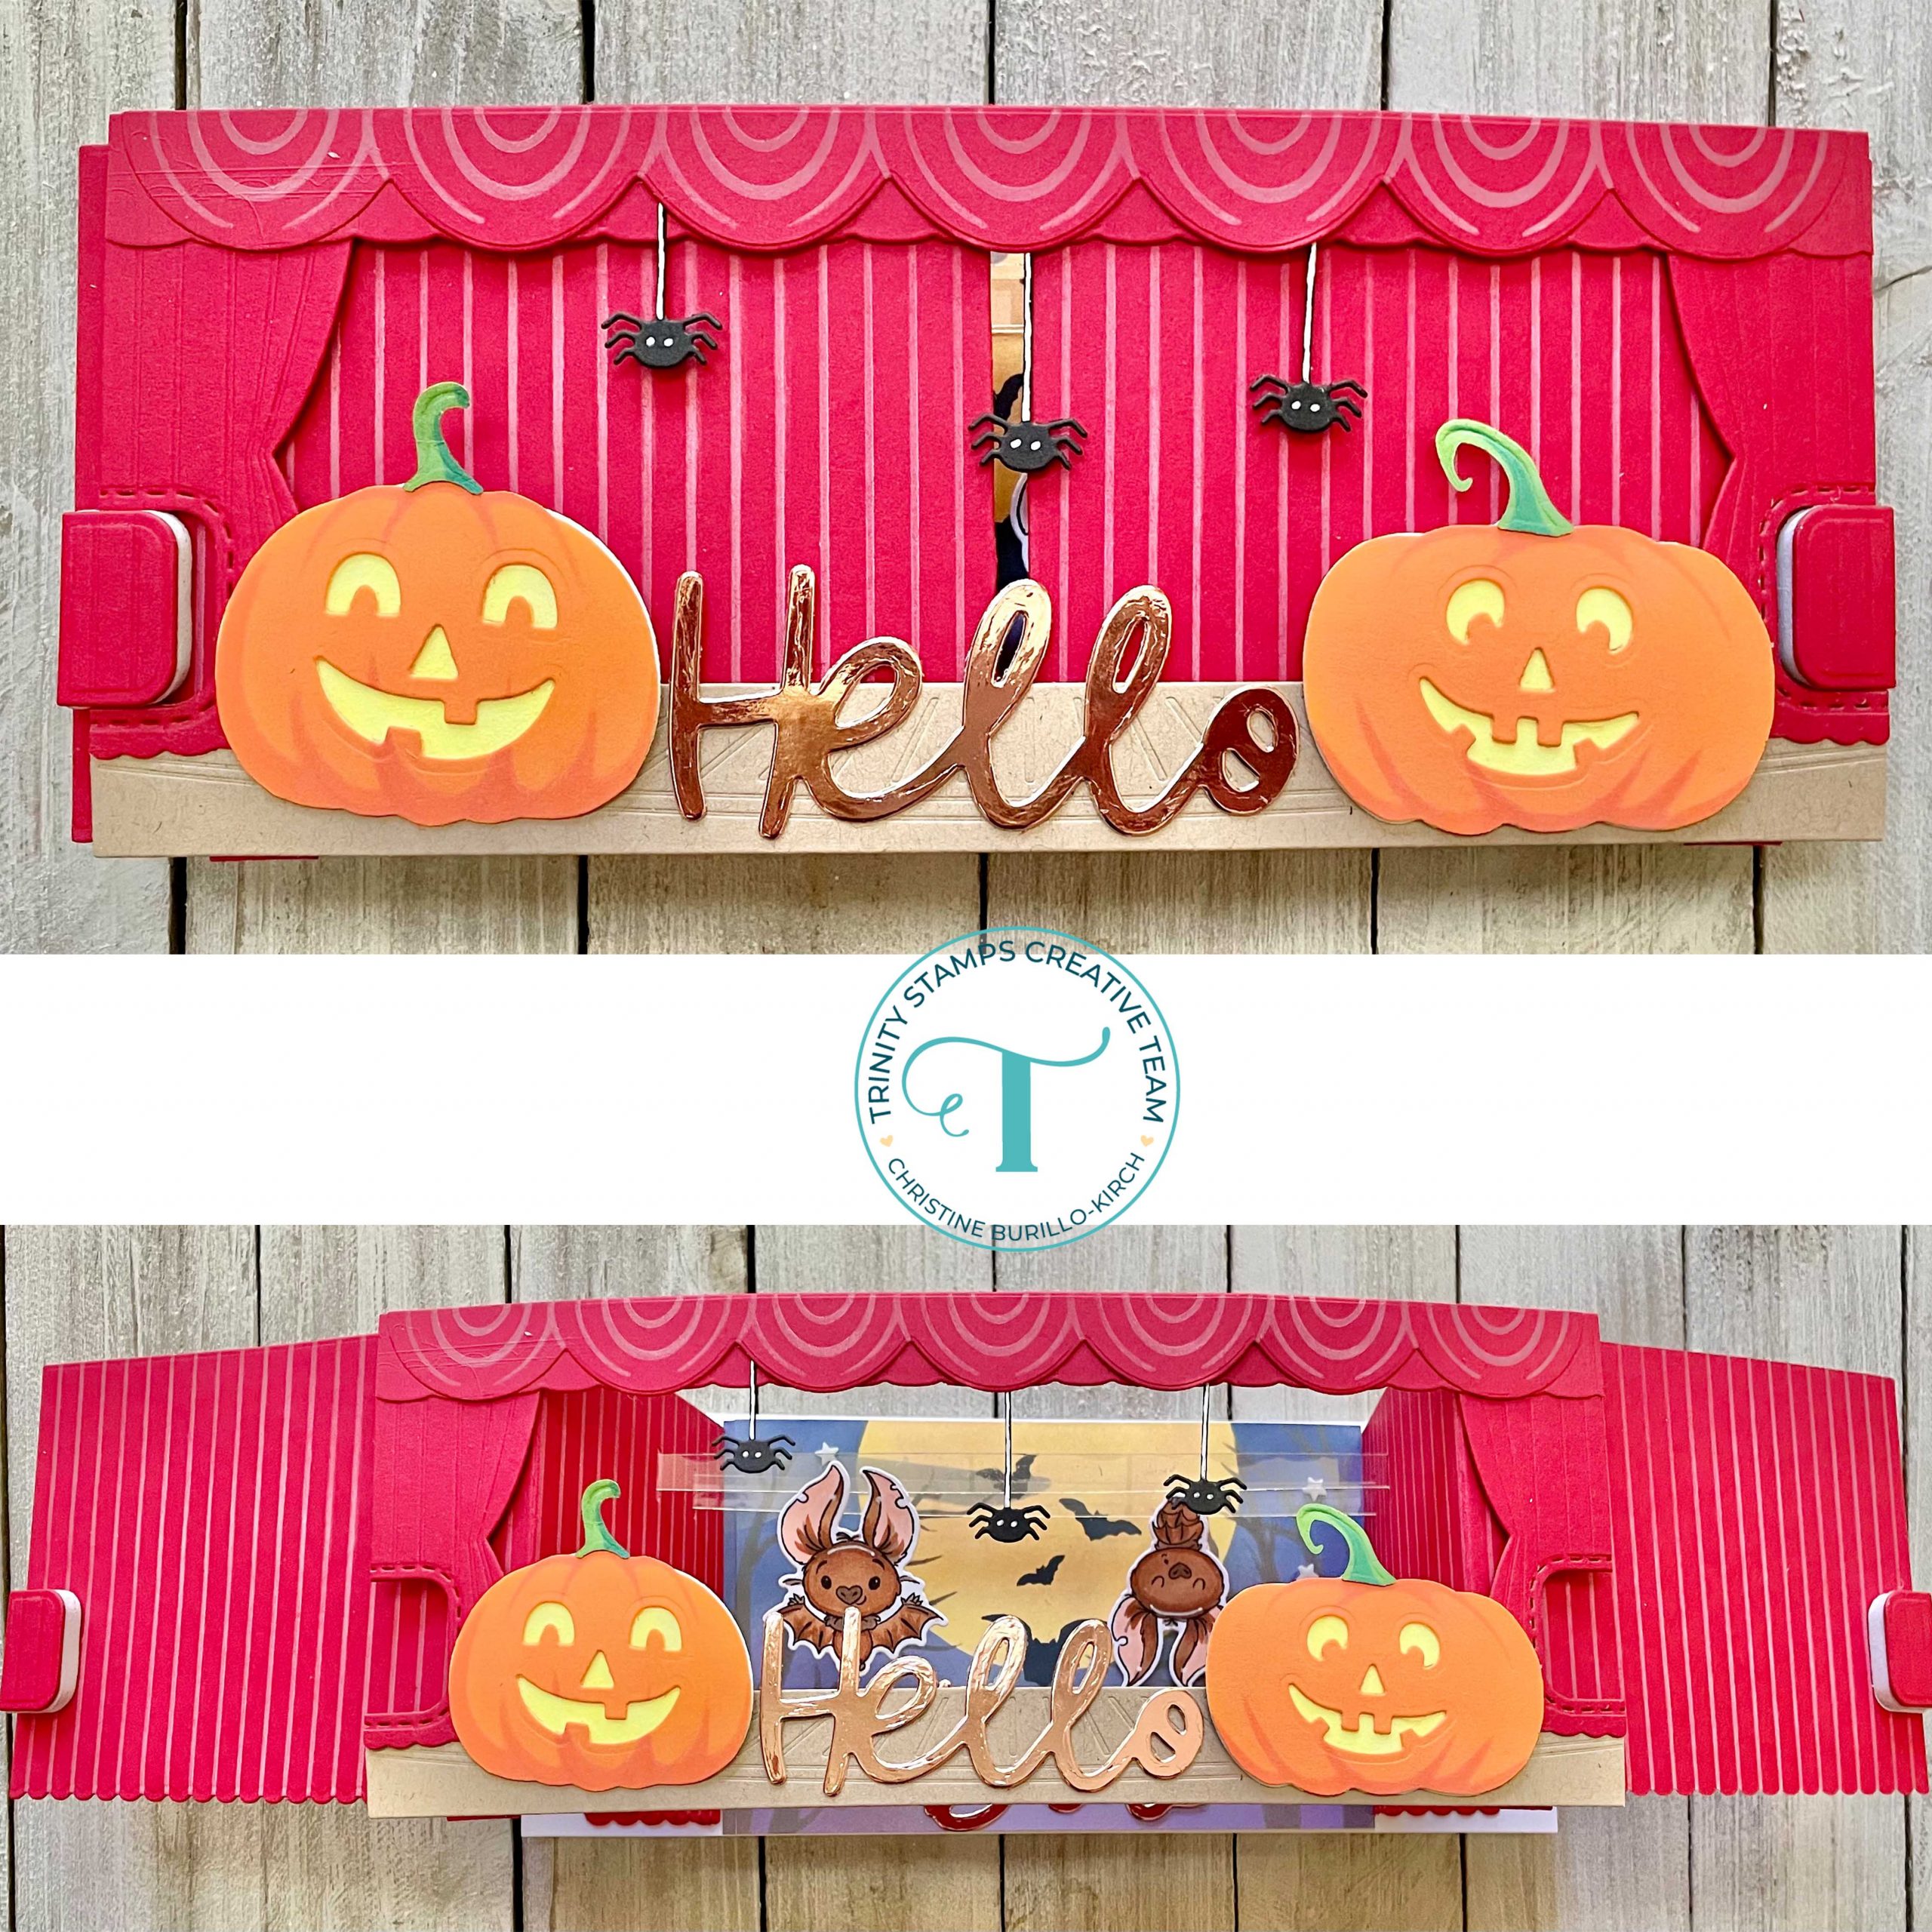
Spooky Stage Lit Slimline
Hello there, Christine here! I’m back with a gigantic blog tutorial on how to use the Interactive Stage Slimline die set- there are about 20 photos! I wanted to make an extra crazy interactive slimline that also lights up and has glow in the dark pieces. I hope that you will like it! This card uses the Center Stage Interactive die set, the Curtain Call Coordinating die set, the Curtain Call stencil, the Pumpkin Head Coordinating die set, the Pumpkin Head stencil set, the Fantastic Friends stamp and die, the Slimline Stitched Card Panel and Windows die set and the Center Stage Slimline die set.
First you will want to take a piece of 8.5 by 11 inch piece of cardstock that you will use to make the curtains and front stage. Cut the cardstock into 3 pieces (cut the 11 inch side twice) so that you will have two 3.5 inch piece and one 4.0 inch piece (adds up to 11 inches!). Out of the two 3.5 pieces you will cut 2 sliding curtains using the die from the Center Stage Interactive die set. The 4.0 inch piece will be used to cut the main part of the stage- the backbone that holds everything together! It was cut using the long rectangle die from the Center Stage Interactive die set paired with the largest slimline die from the Slimline Stitched Card Panels and Windows die set.
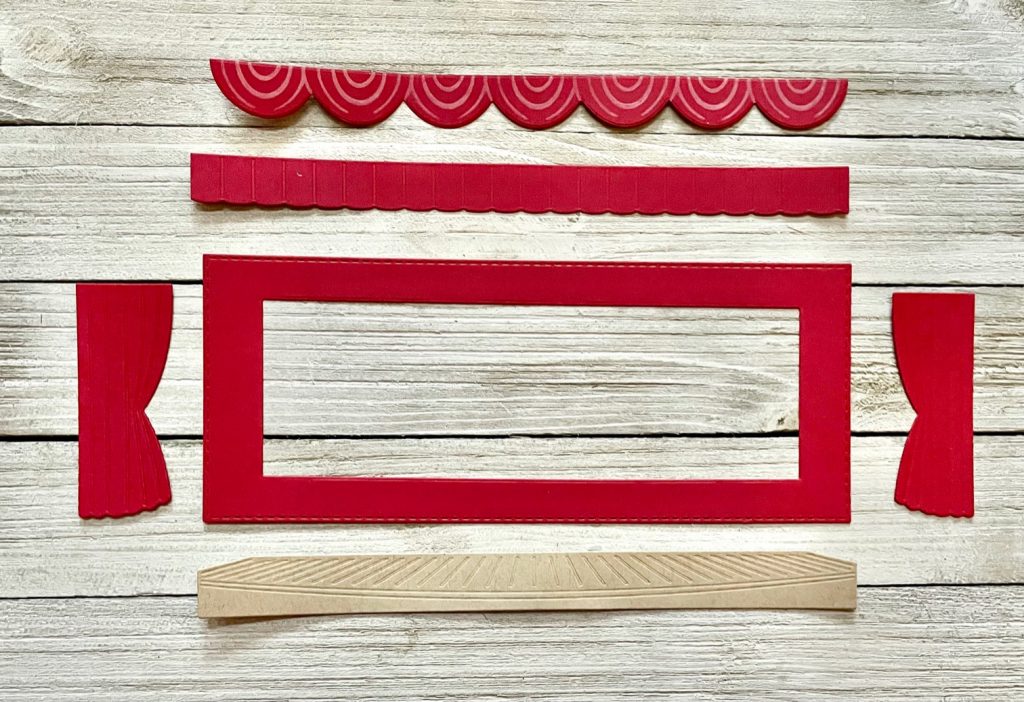
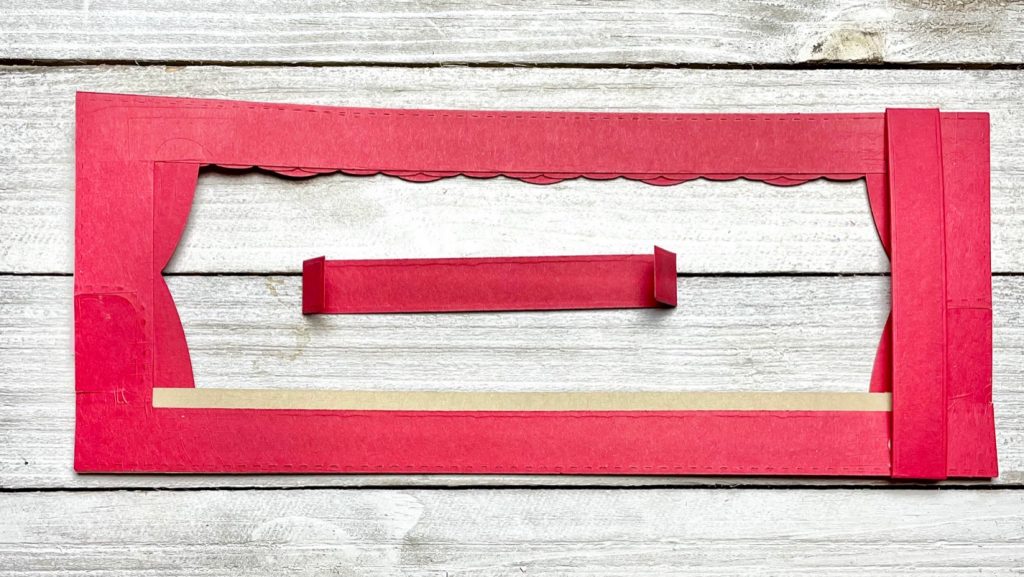
Your pieces should look like this after you have cut them (see below). For this card, I wanted to have the wavy curtain border on both my sliding curtains, so I then used the wavy die in the Curtain Call die set. I just placed it along the very edge of the die cut as shown below.

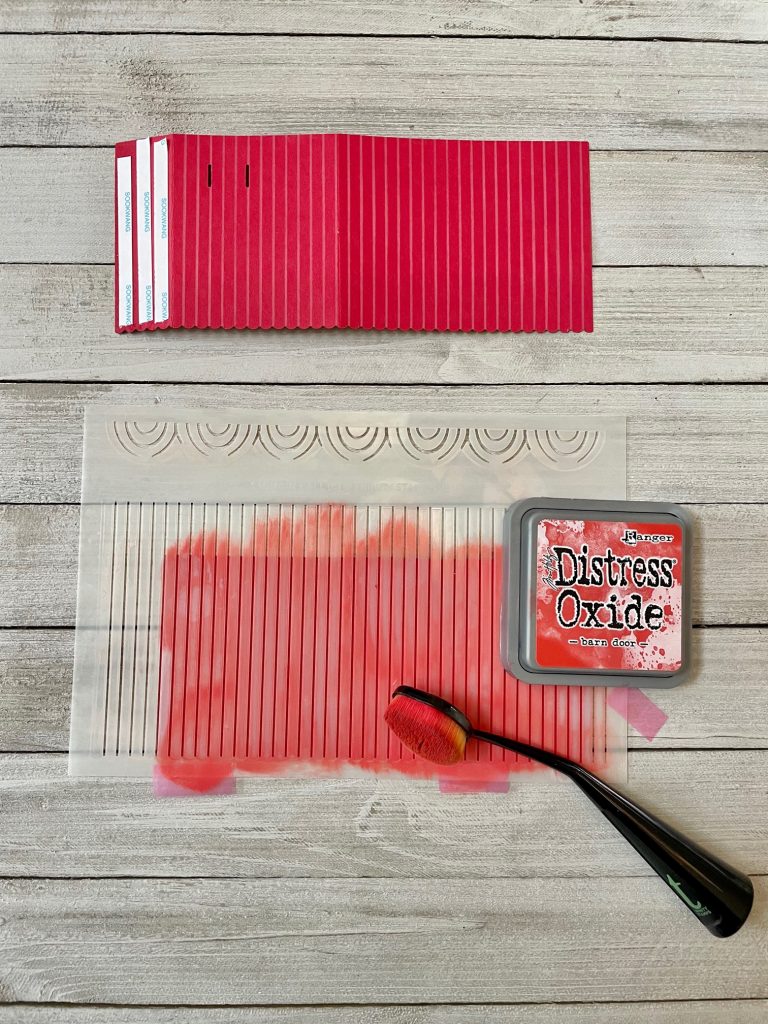
I then knew that I wanted to decorate the sliding curtains, so I used the Curtain Call stencil to decorate the curtain with distress oxide ink in barn door as shown below- I did this for both curtains.
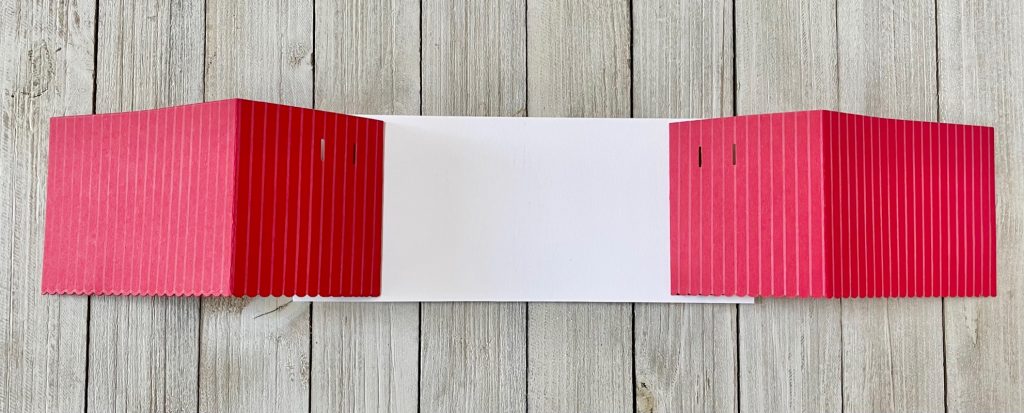
I then put folded the curtains along the score lines (one you can fold the right side way and the other the left side way. Put a strong adhesive on the smallest folded panel only, otherwise the interactive element will not work. See the photo above to see the area that I applied adhesive to- do this on both curtains.
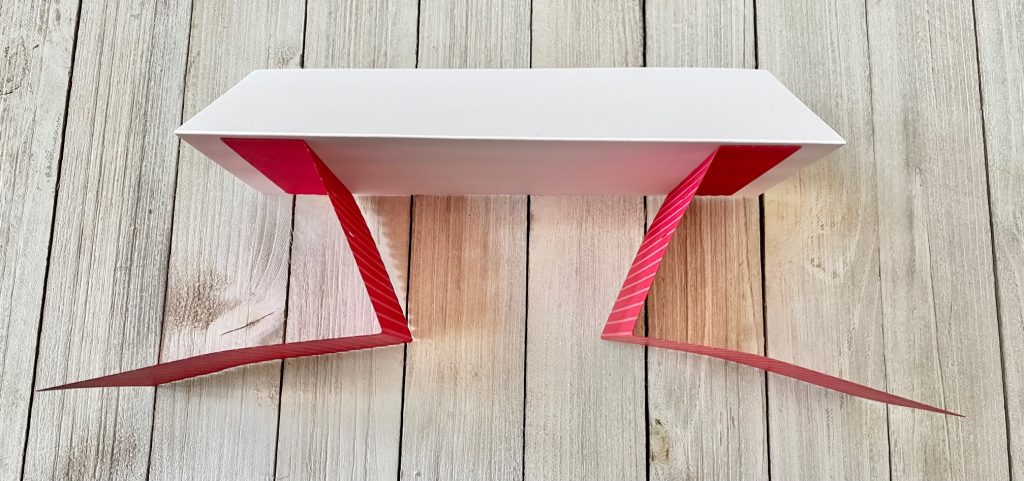
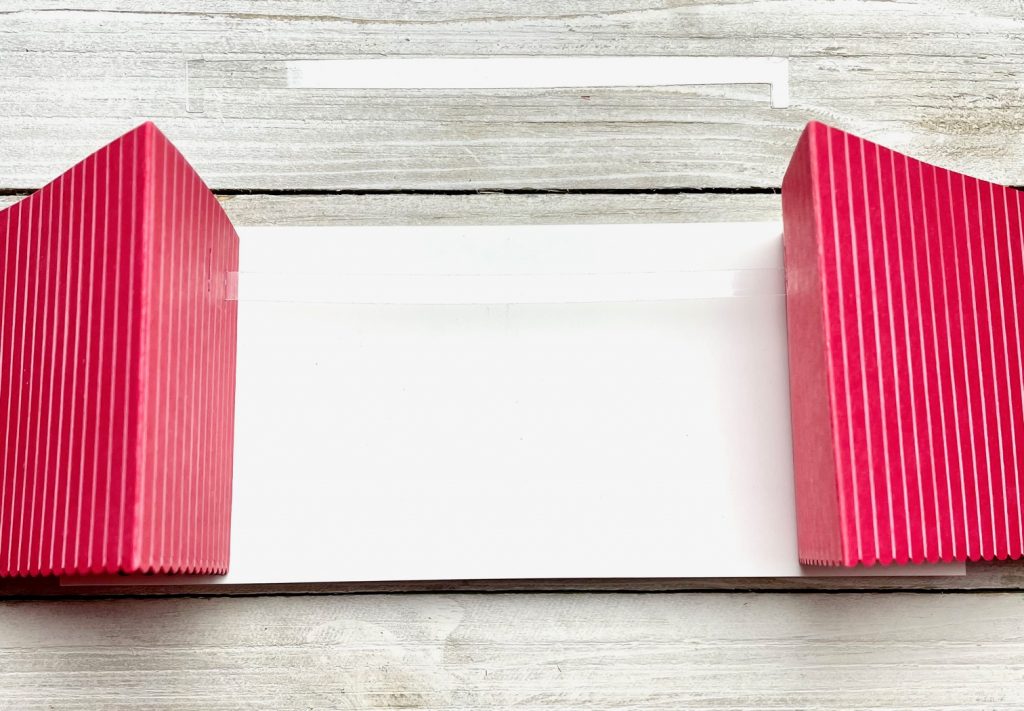
To adhere the curtains to the slimline card base (make a standard 8.5 inch by 3.5 inch card base), I fold the curtains facing the opposite direction and bring them to the middle as shown below. The curtain are smaller heightwise compared with the card base so that they can slide in and out of the stage backbone (will see later). Make sure an equal amount of room is left on the top and bottom- (I just eyeball it) as shown below. Just a sliver will be left at the top and bottom. You definitely do not want to adhere your curtains flush to the top or the bottom of the card base, but we have left enough wiggle room in the design so that it doesn’t have to be perfectly equidistant from top and bottom- so don’t stress about it!
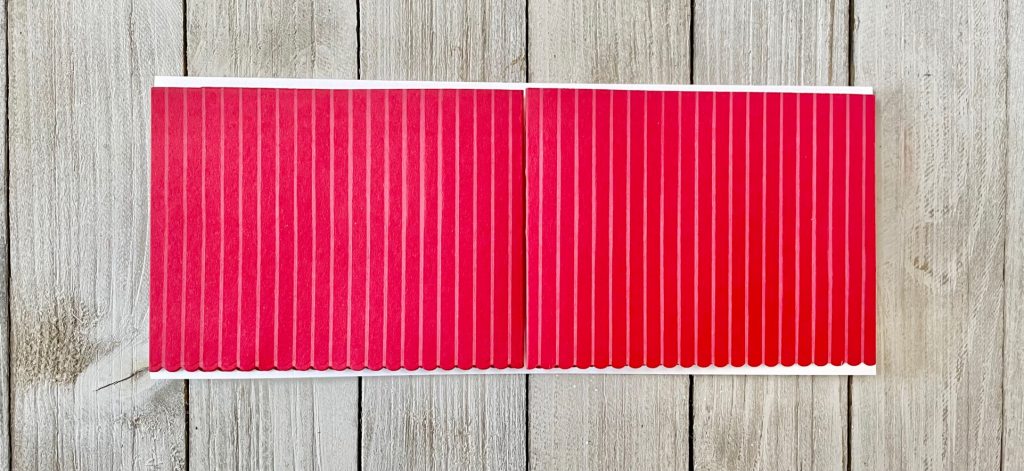
Once adhered, you can pull the curtains out like shown below. For this card only, I designed the card so that I could adhere die cuts hanging from the top of the stage (see the notches at the top?). Normally you will want to have those notches at the bottom of the stage.
Next, let’s decorate the stage backbone. I die cut all the pieces you see below using dies from the Center Stage Interactive die set, Center Stage Slimline die set and the Curtain Call Coordinating die set and again decorated the top with the Curtain Call stencil.
I adhered them all together here, as shown below. At this point, you want to cut a notch on each side of the stage. Don’t throw the notches away, each one will be adhered to a different curtain! The good thing here is, you don’t need to be exact at all! If one notch is a little higher or lower than the other one, it doesn’t matter at all- the interactive part will work! I love the notch die from the original Center Stage Slimline die set- so that is what I used below. Do this to both sides!

I then taped each notch to its respective side, just to not lose them, and went ahead and cut the other parts needed for the interactive card. Cut 2 inside shelves (I cut them out of acetate, but cardstock is fine) and cut 2 tabs (I cut them out of red cardstock) as shown below.

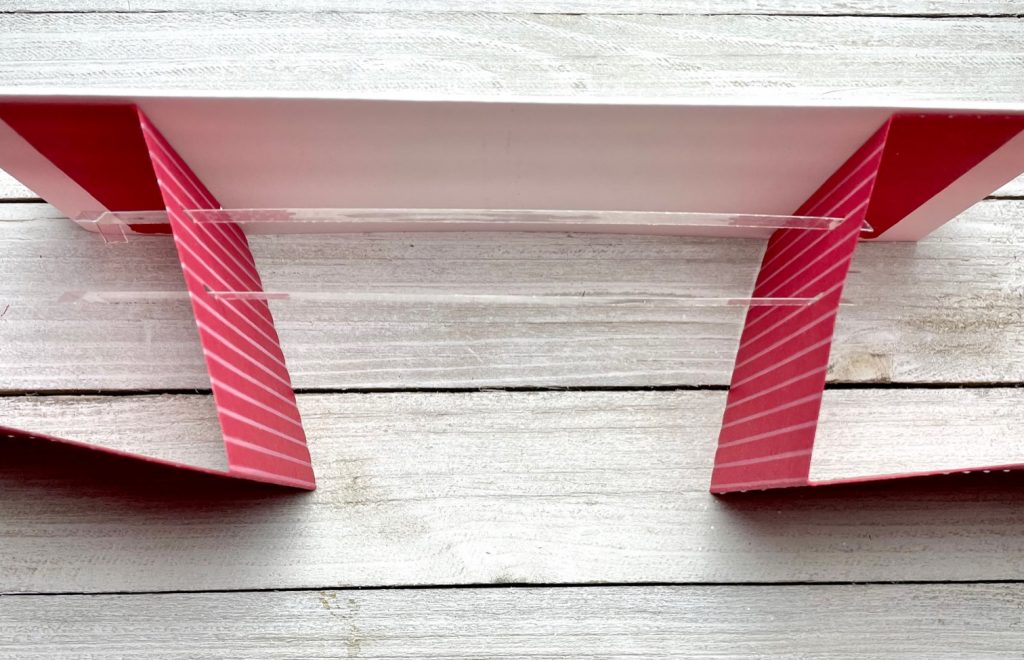
Fold over the top notch of the acetate shelf as shown below, so that you can slide it into one of the slots, then do the same for the other side. Repeat with the second shelf as shown below.
Your card should look like this from the top.
We are almost done making the interactive part- hang in there! Next we need to make the slots on each slide that will hold the sliding curtains. Fold over the tabs on the embossed lines as shown below and then adhere to the stage backbone in the back as shown below. Only apply adhesive to the little end tabs!
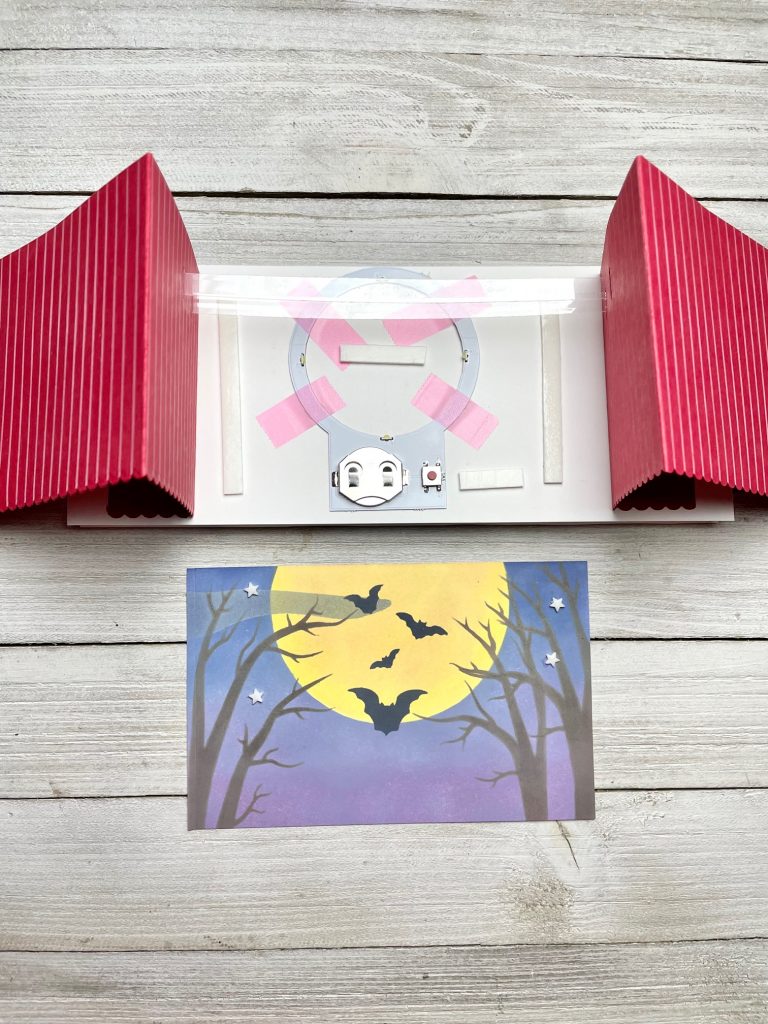
We are done with all the interactive stage components, so now we get to decorate! I made a background using the stencil and put a light halo element taped up behind it, as shown below.
That is the main part of the card and now you can slide the curtains into the slots! The final part is to adhere each notch to each curtain (use 2 layers of foam to serve as a stopper) so the recipient has something to grab on to and the curtains won’t disappear into the stage. Just decorate to your heart’s content and enjoy! Here is a final photo of the working card below:

Thank you so much for stopping by- I hope that you will find this tutorial useful and will give the Interactive Center Stage die set a try!


Fabulous drama with this gorgeous card‘s opening!