Hug Enclosed
Happy Friday Trinity fans! Katie here today with a fun twist on snail mail… in the form of a t-shirt! I hope you enjoy it!
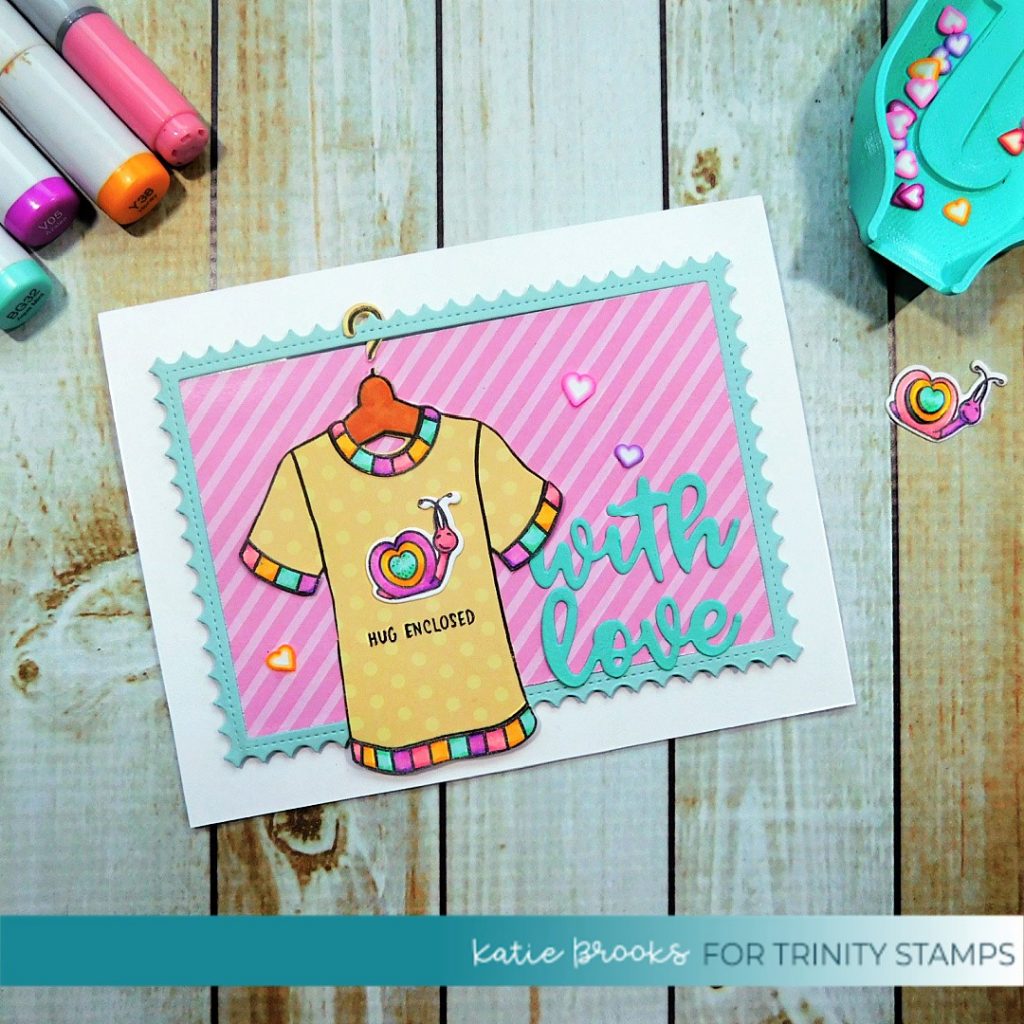
For today’s card, all I could think about was putting the cute snail from the Crafty Post Bundle on the shirt from the Hang in There set to make the cute and fun valentine’s card. It was pretty easy to make too, here is how I did it:
- I started by using my Misti to stamp the shirt from Hang in There. I stamped it on DP from the Slimline Winter Hues Paper Pad. In order to do that, I had to mask off the sentiment, I used a post-it note.
- Then I used the Hang in There Die Set to cut the shirt out so I could get that notch between the hangar and shirt. However, I wanted the close cut around the shirt itself, so I went back around with snips to cut off the excess.
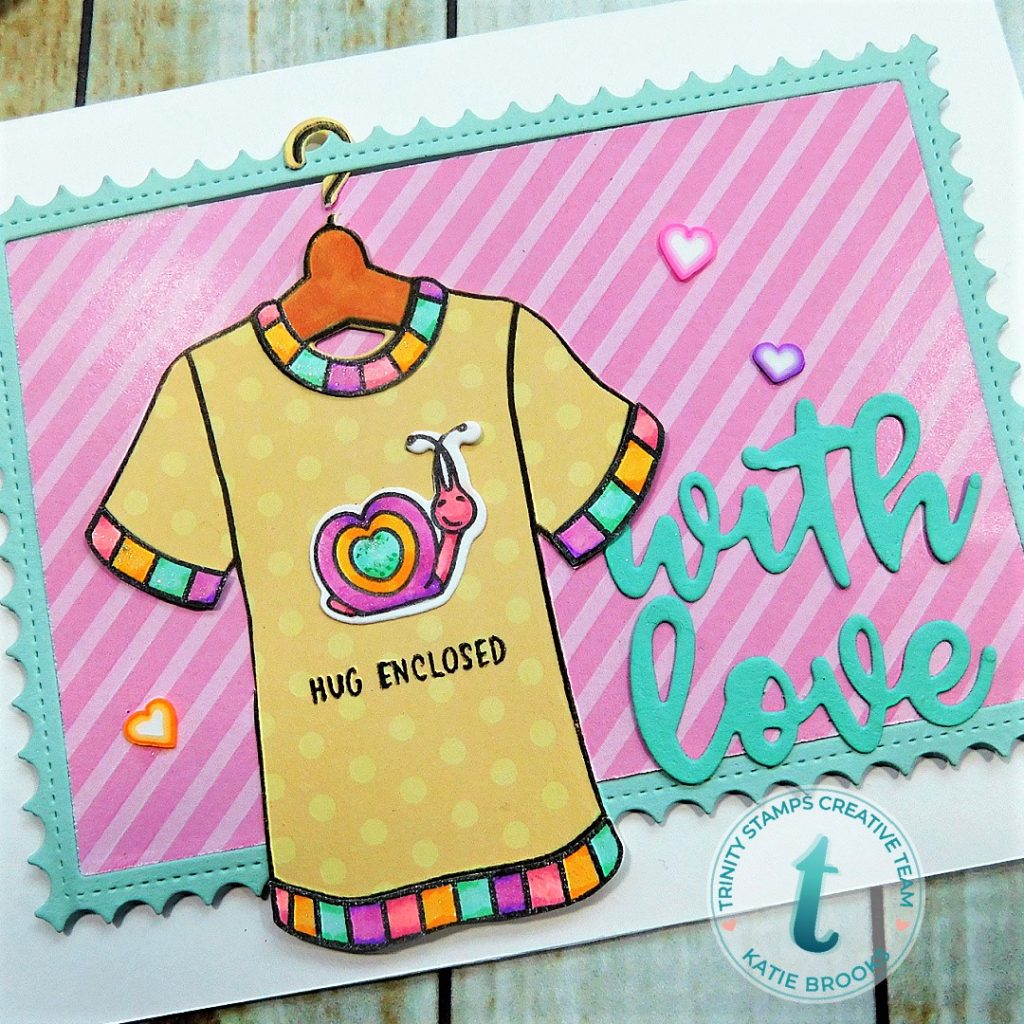
- I stamped the shirt again on white and colored the cuffs in a pattern with Copics (Y35, Y38, R85, R23, V04, V05G02, BG34, BG32). I cut those out and adhered them to the shirt, then I added some sparkle pen as an extra touch. I also used a brown Copic (E13) for the hangar directly on the DP. I stamped the sentiment from Mr. Snailman Set on the shirt.
- Next, I stamped and colored my snail from the Crafty Post Bundle in the colors to match the cuffs on the shirt. I wasn’t sure at first how I wanted my snail to look, so I created some different versions to choose from.

Before I move on, let’s talk about options for making your snails since each one of these is created differently. All are stamped on white and cut out using the die and coloring the base, but there are some variations for each after that:
Top Left: After coloring the base, I used some Trinity heart embellishments and glue dots.
Top Right: After coloring the base, I die cut the additional heart dies on white and used Copics to color them. I used super small foam squares to pop out each layer.
Bottom Right: Same combo as above, but for this version, I used DP for the smaller heart layers.
Bottom Left: For this version I colored only on one layer. In addition to using Copics, I added some dots using my green zig. I finished it off with a glitter pen.
Ultimately, I chose the bottom left snail, I liked the flat look, so I adhered that to the shirt. Here is a close up.
5. I put the finished shirt aside and worked a bit on the base. I use more of the Winter Hues DP and some blue cardstock with the Crafty Post Dies to make the shape. I mounted that in the center of a white base.
6. Next, I added my shirt to the mix and tucked the hangar around the border die for a fun touch. The shirt is mounted using foam tape.
7. I used the same blue cardstock to cut the sentiments from the Mini Slimline and Envelope Die. I mounted it on the card.
8. Lastly, I added a few more embellishments just for fun.
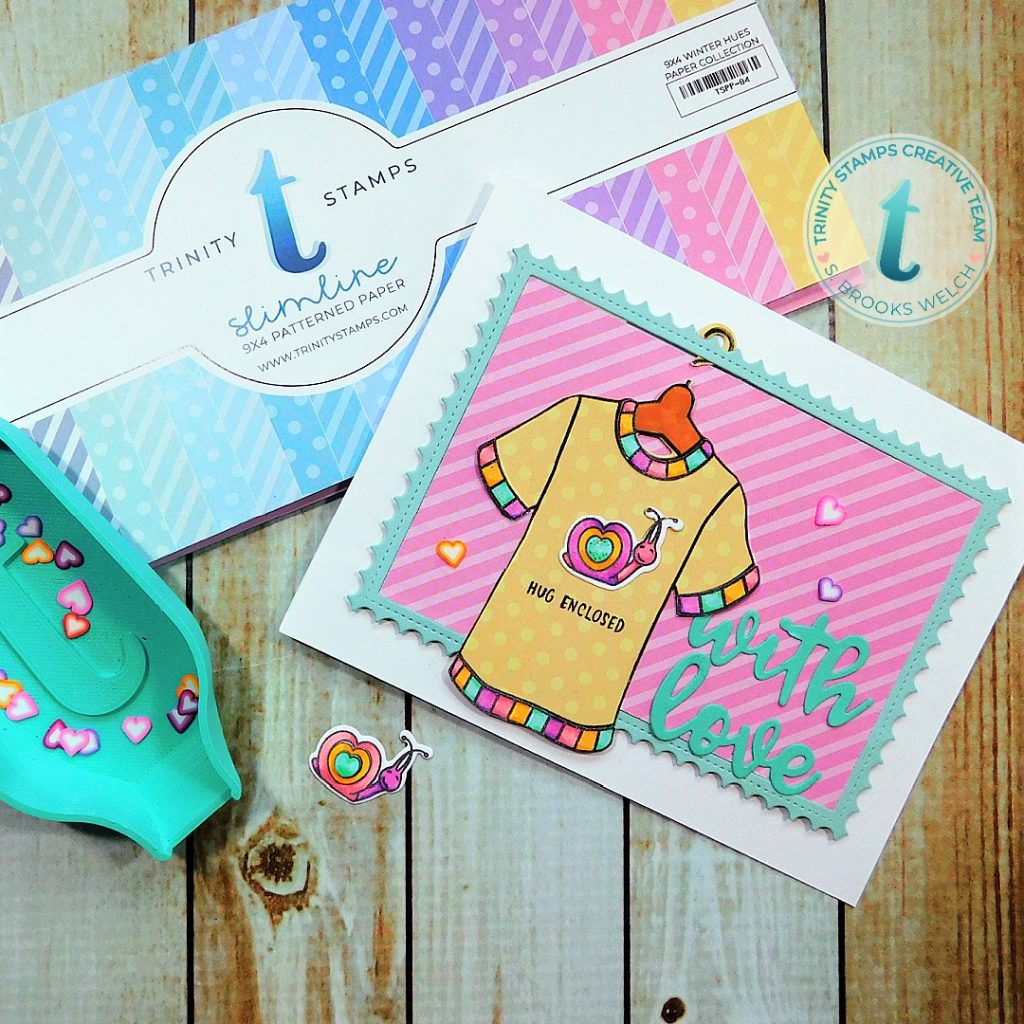
As an aside, I used the extra snails to create postage stamps using more of the Crafty Post Bundle, you may see them in the future. 😉
There you have it friends. I hope you have enjoyed this fun card. Thanks for visiting me today! ~Katie