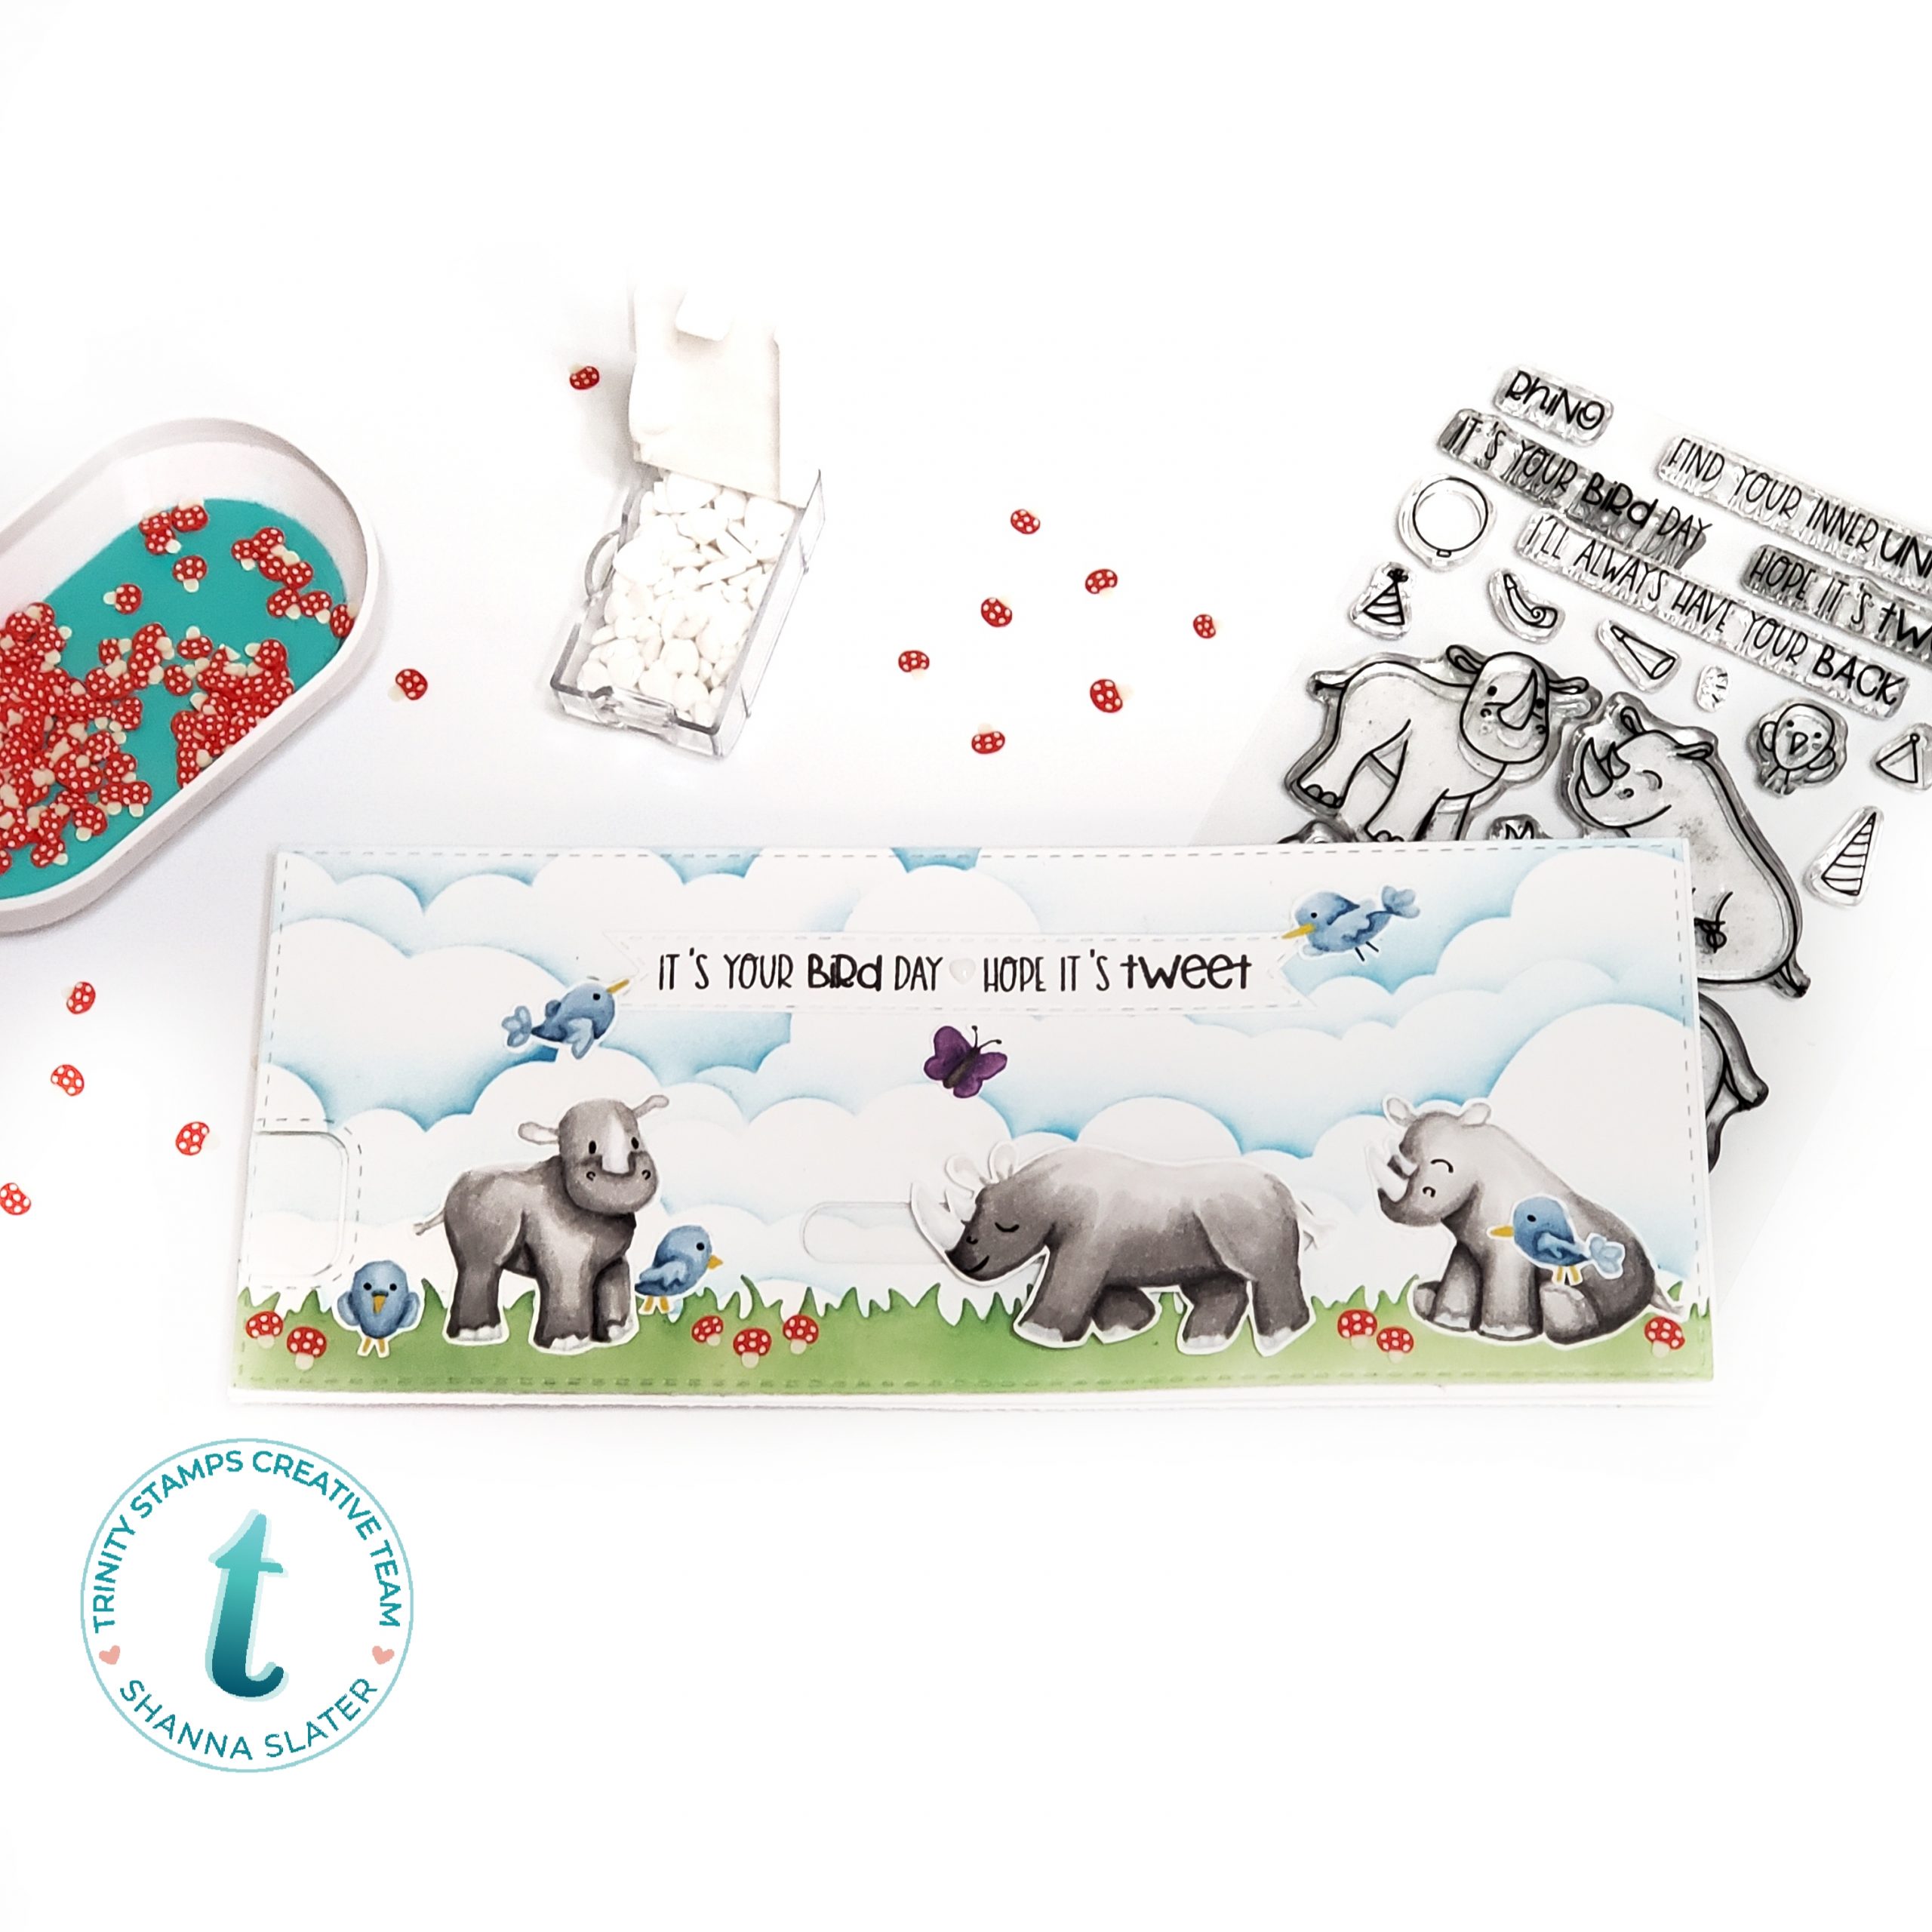
Happy Bird-day and No line Coloring Tips

Hello and welcome! Thank you so much for stopping by! This is Shanna from Caffeinated Craftiness here today with another fun and INTERACTIVE Product Trio Tuesday!
Trinity Stamps recently had a restock of some older products, and I couldn’t resist pulling out Rhino Bird Day for some coloring fun! When I stamped my images out I literally had NO IDEA what type of card I was going to make, I just wanted to color these cuties and then would focus on putting them on a card! LOL
I opted to color them both in traditional style using Inkon3 Blackout ink and no line style with Inkon3 Fadeout Ink. Both of these inks are my absolute number 1 go to for stamping because I can use literally *ANY* coloring medium to color with! Today I am focusing on Copic markers as my medium of choice. I stamped them on 80lb Neenah.
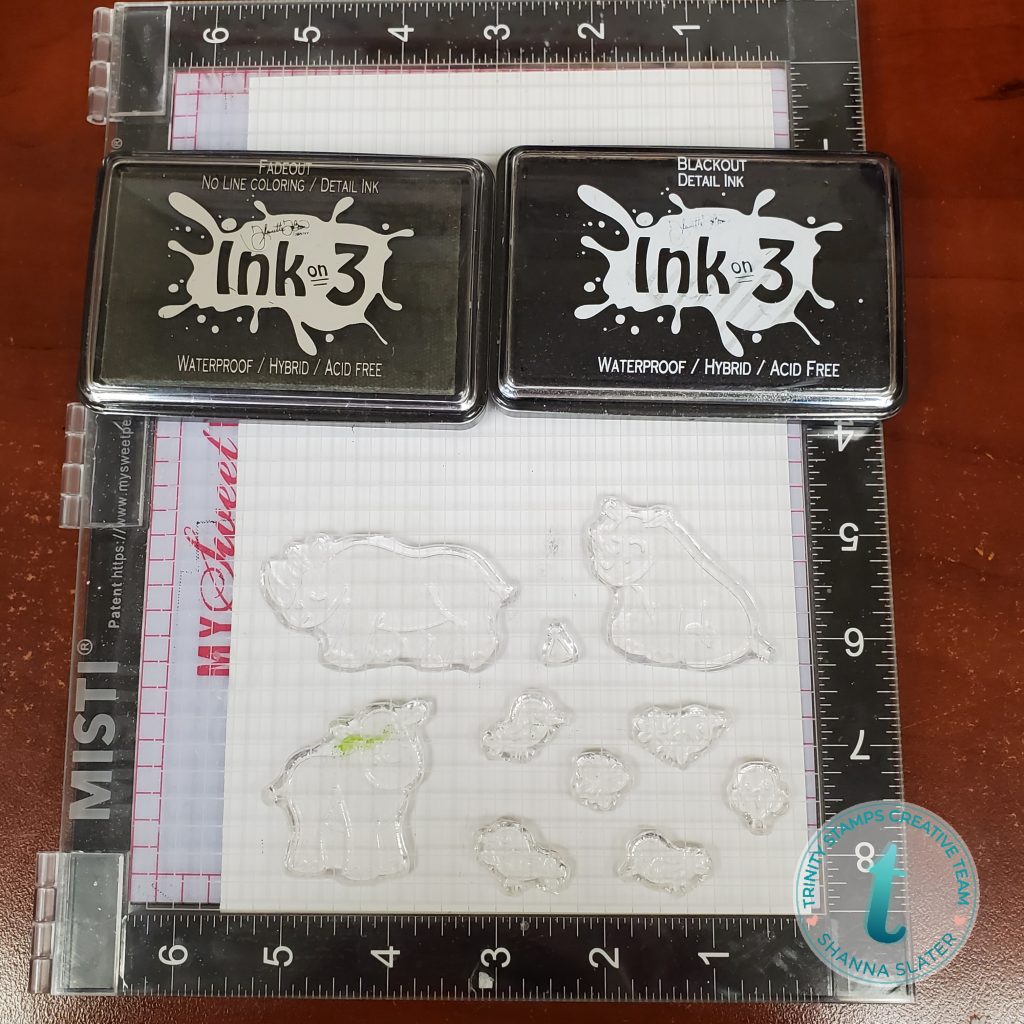
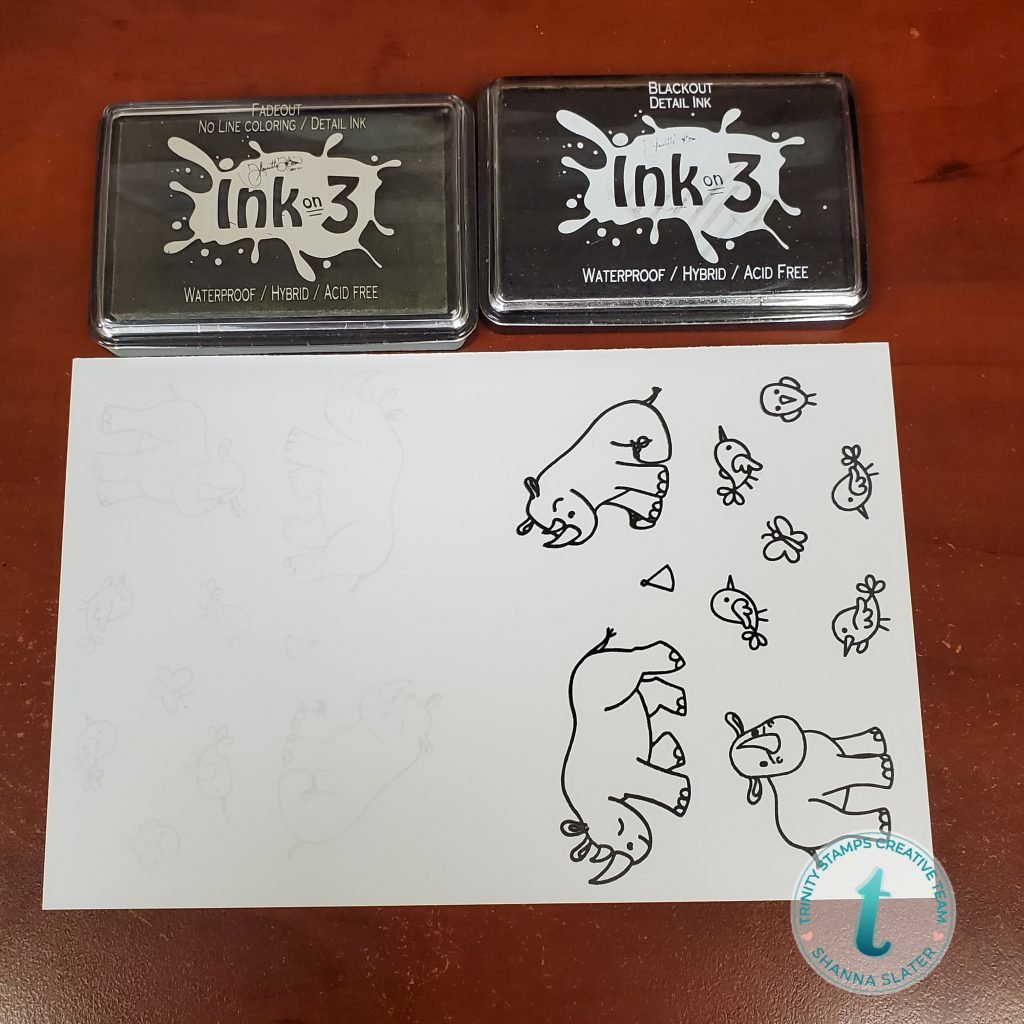
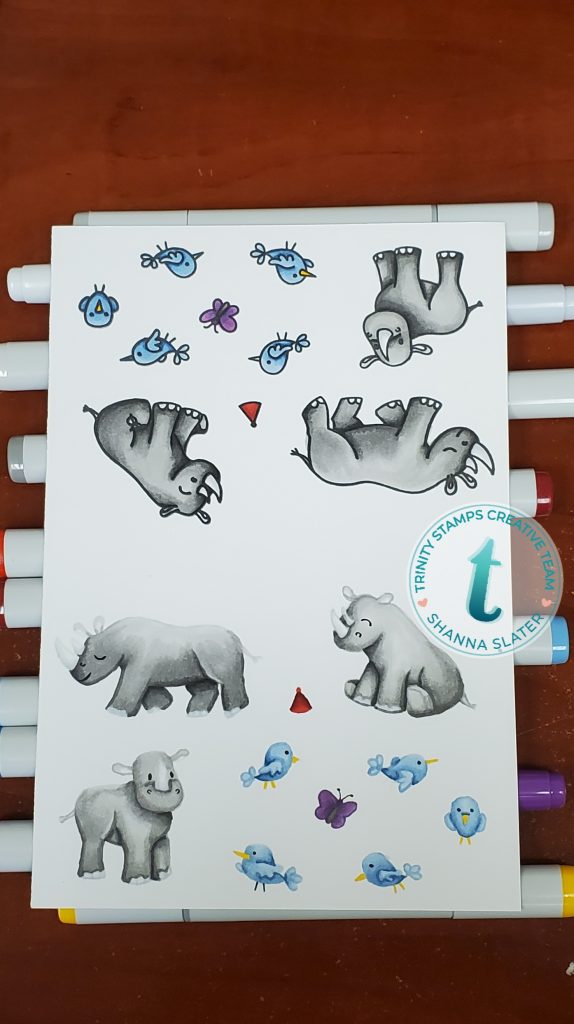
After I stamped all the images I started coloring. I used Copics in the following colors to do all the coloring:
Rhinos–T1, T3, T5, T7, R30 (ears)
Birds–B91, B93, B97, Y19
Hat–R89, R39, R27
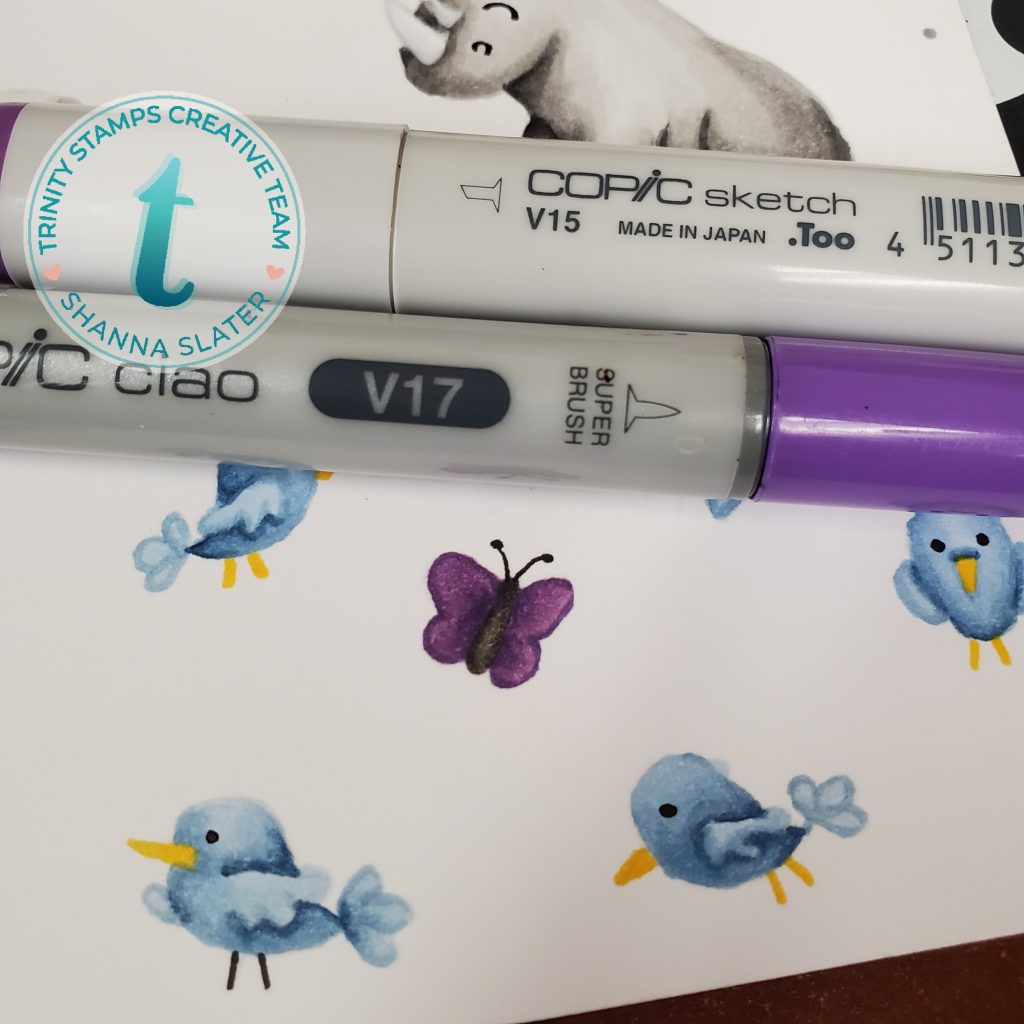
Butterfly–V17, V15, W8, W6
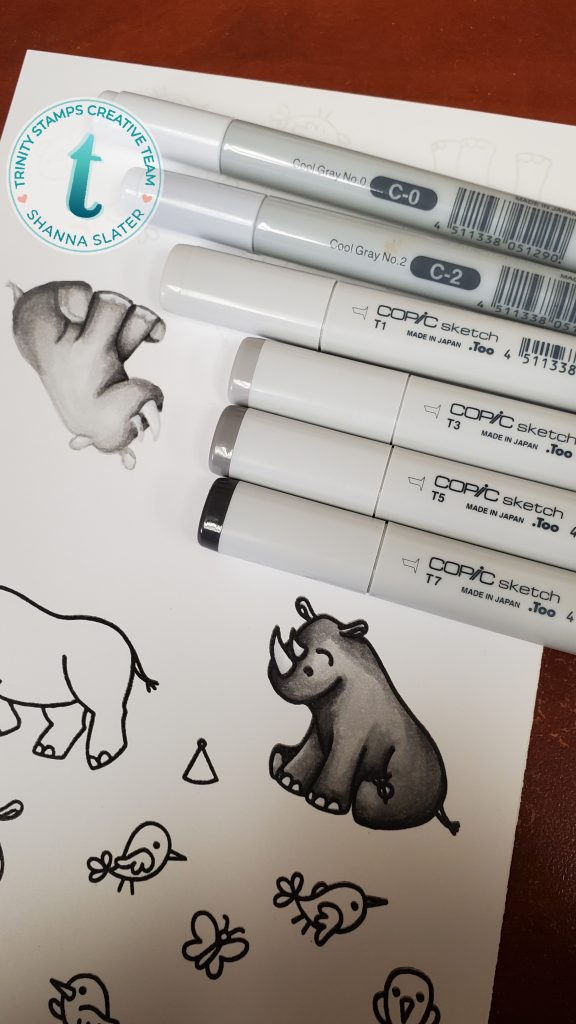
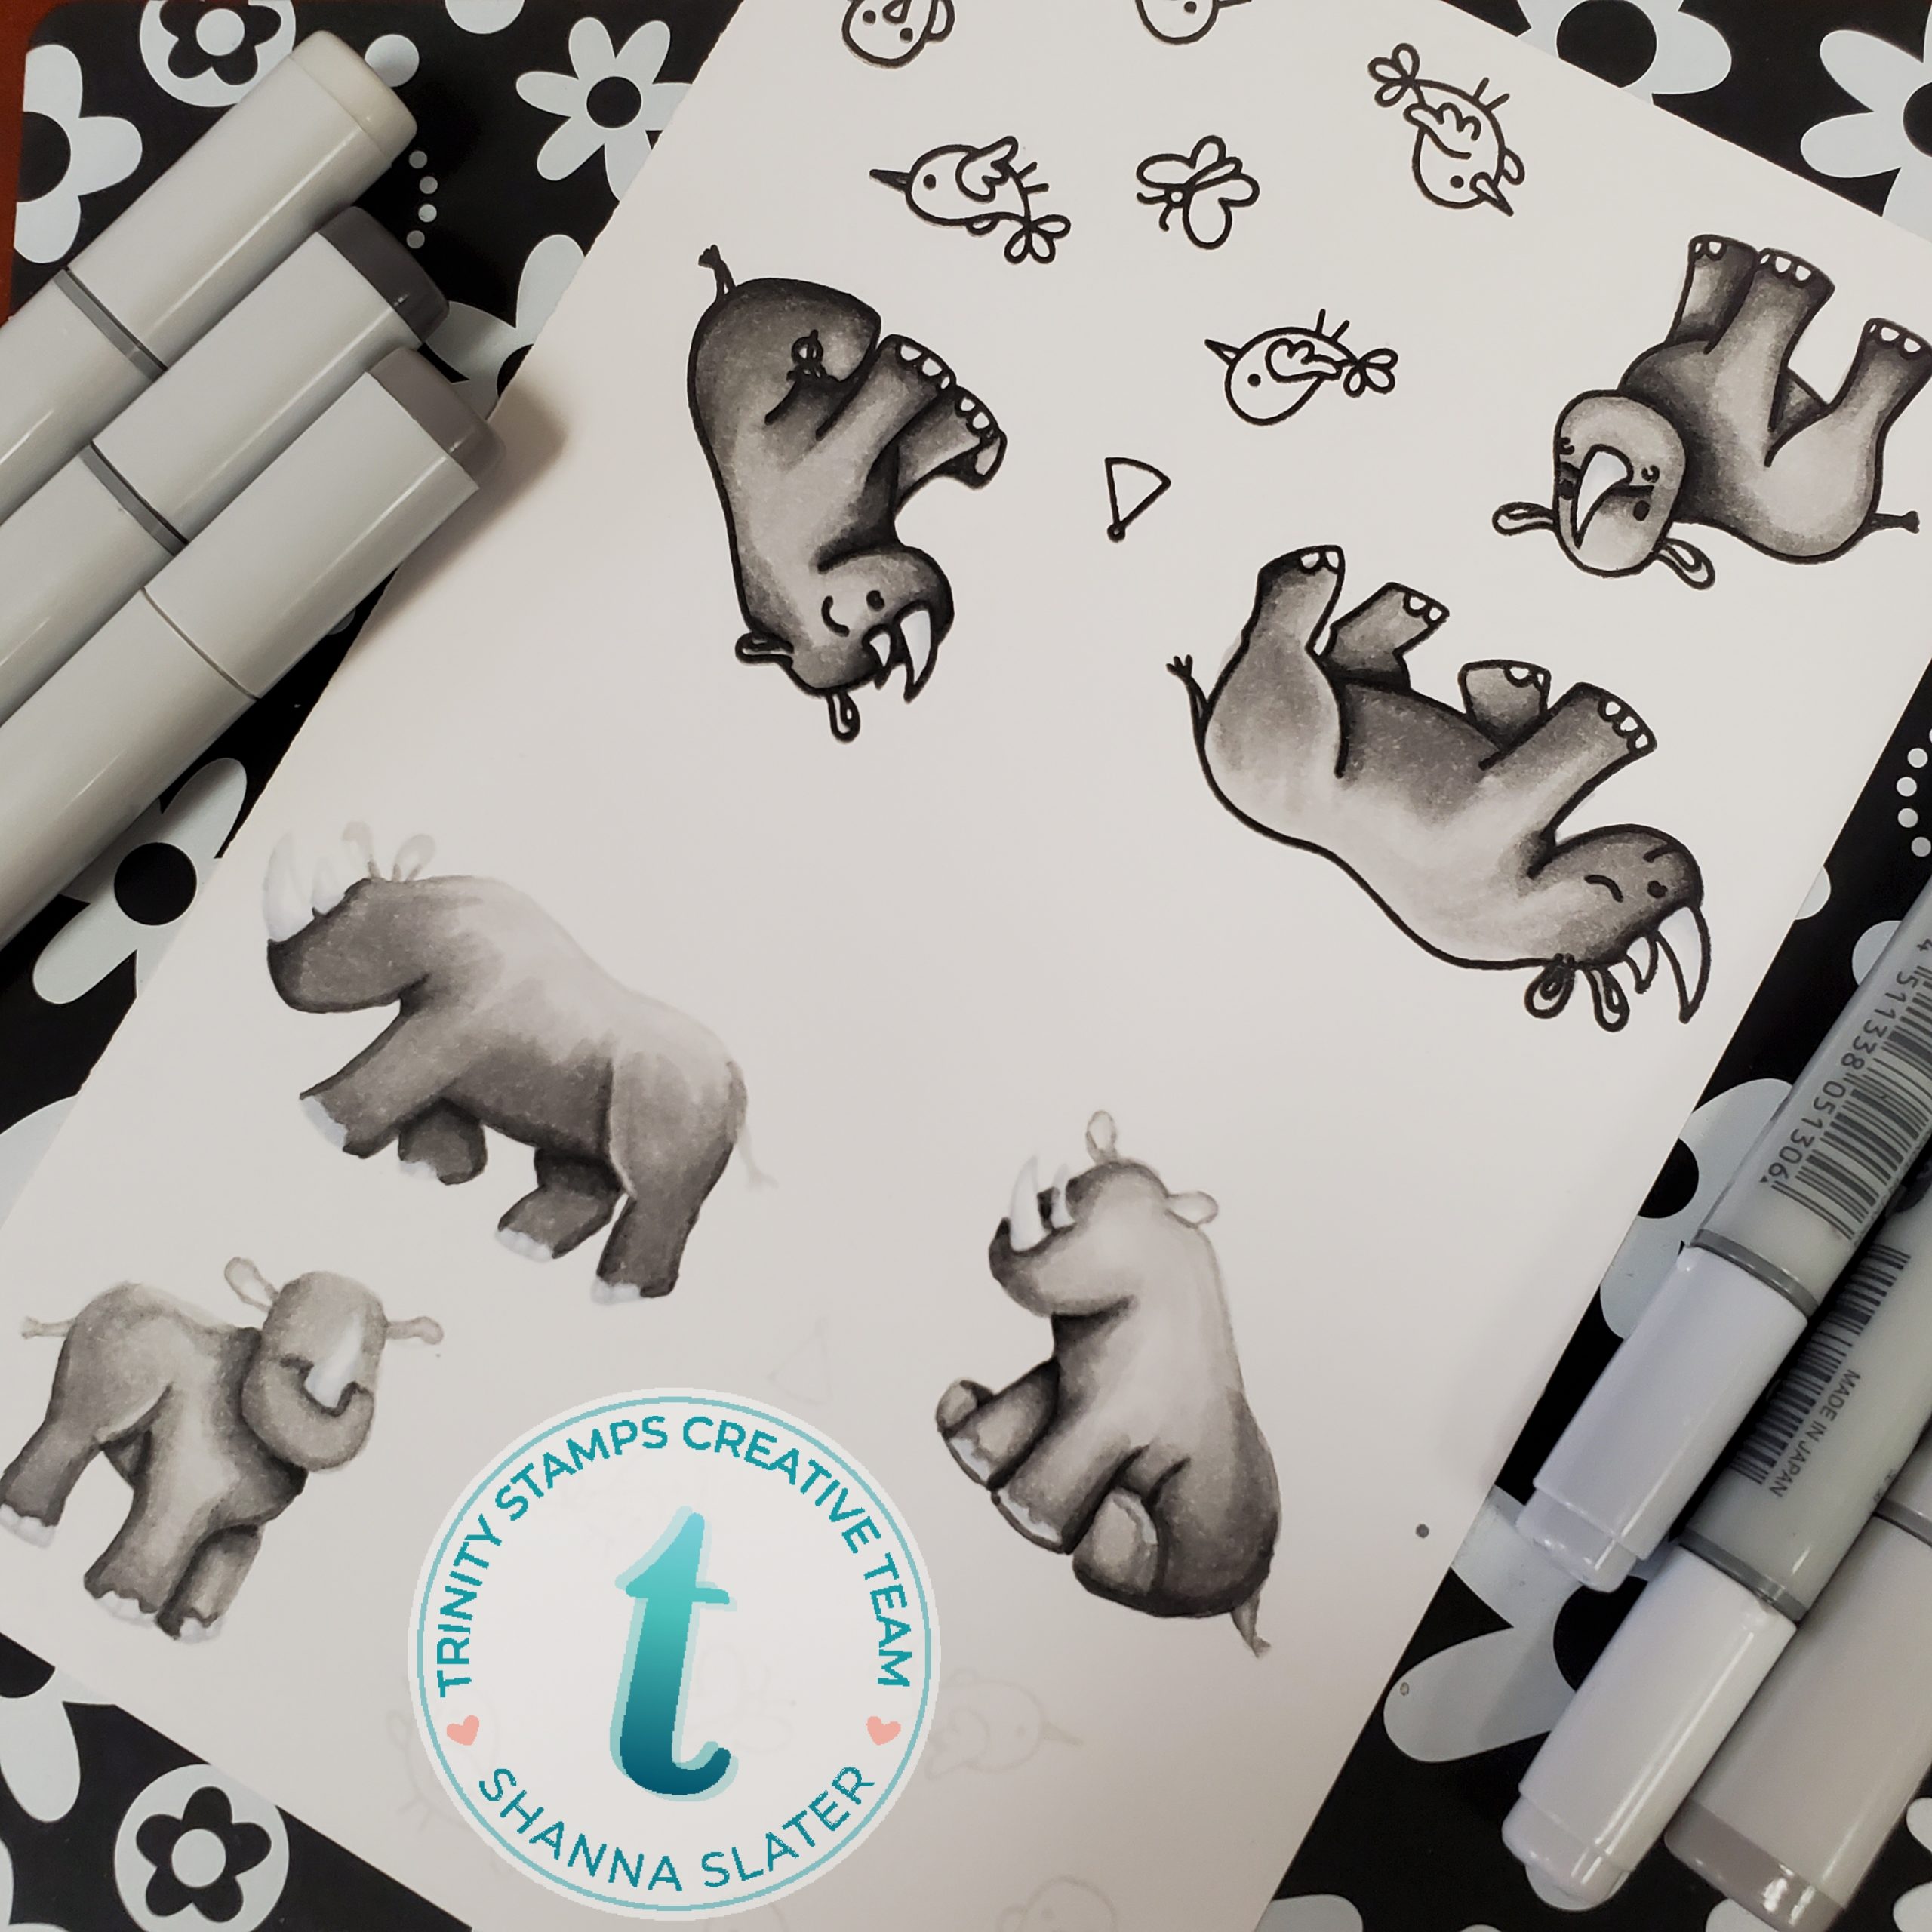
No line coloring can definitely be intimidating! Here are some tips I have personally picked up that might help.
Keep your stamp nearby, or stamp out a second image on scrap paper for reference
Start with your mid-tone color and map out your shadows and outline some, it will blend even with your highlight color as you layer the shades down.
Shadows always are more pronounced and darker with no line imagery, don’t be afraid to go darker than you would coloring an outlined image!
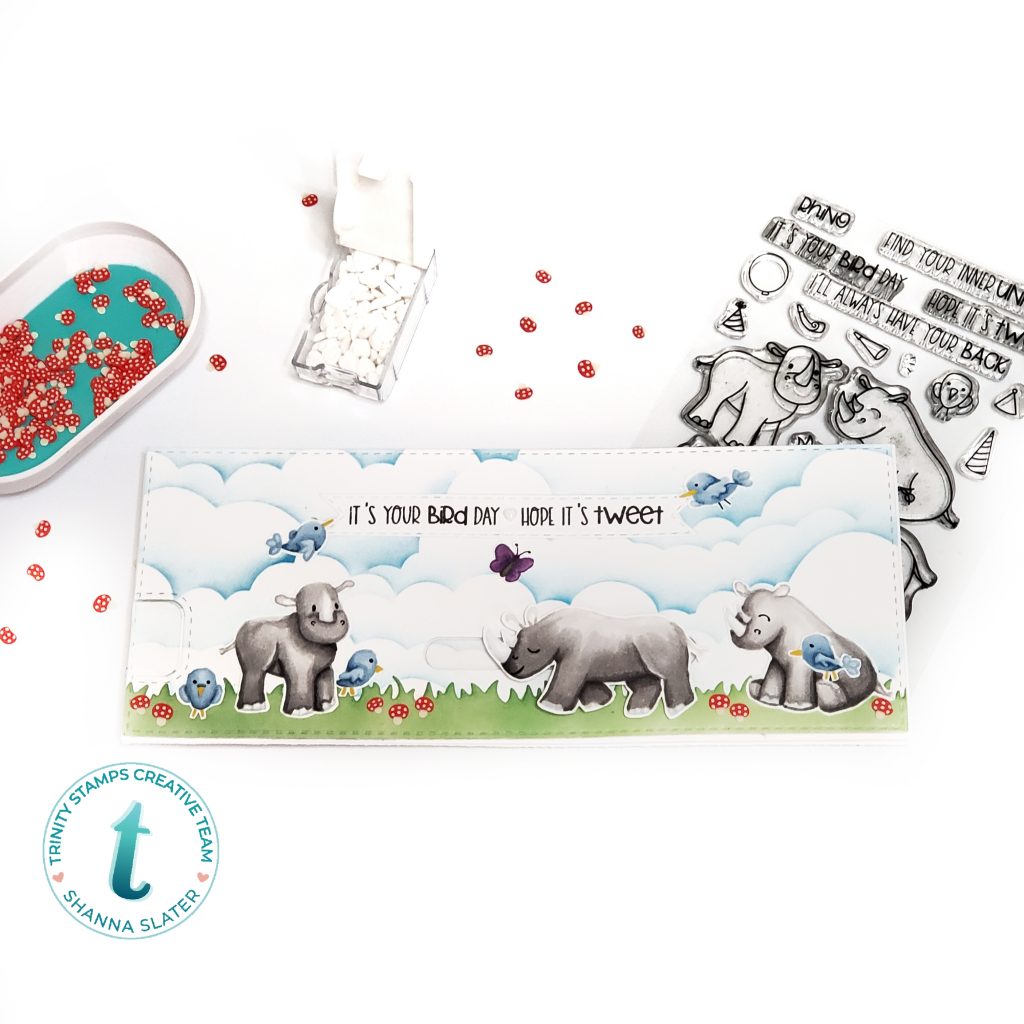
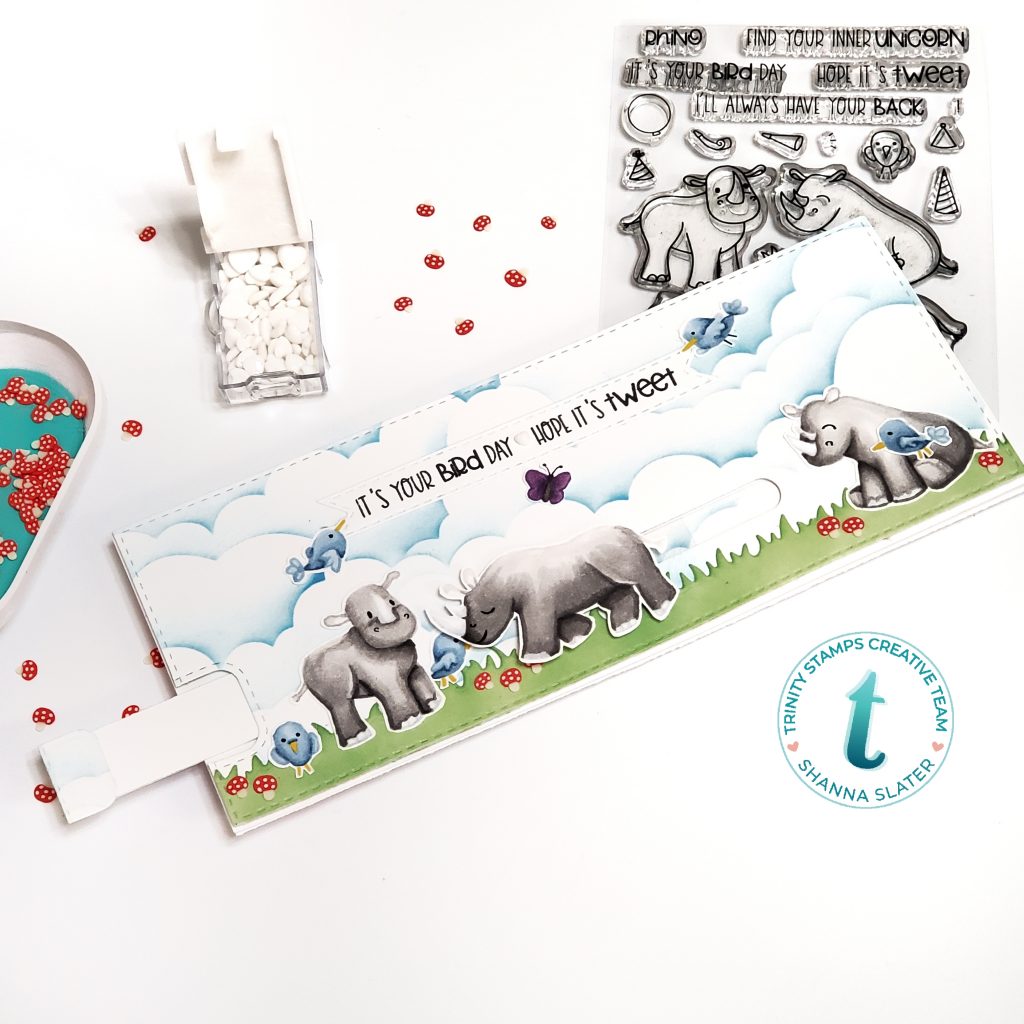
Now we can get to making a card!! I decided I would use my no line colored images for today’s main card. I have a BONUS card over on my Instagram featuring some of the outlined images though! Be sure to check it out 🙂
I started with inking some clouds onto a slimline card base using Distress Oxide in Salty Ocean. Then I die cut a straight grass strip from a scrap piece of cardstock using the Slimline Great Outdoors borders and then inking it with Distress Oxide Mowed lawn using my Blending Buddy brush. I grabbed the interactive slimline dies, Slimline Twist and Slide, to create a slider channel for one of the rhinos to “walk” on! I die cut the channel, then adhered the die cut piece directly to my slimline card base. I also die cut my card panel using the Slimline Stitched Panels dies, which are an absolute staple in my craft room!
I tried something new this time with my slider pull tab. I used heavy acetate for the part that would show under the open slot on the panel. This allowed the clouds to stay continuous on the panel, without an interruption from the sliding mechanism. I photographed it below, although it may be hard to see, sorry!
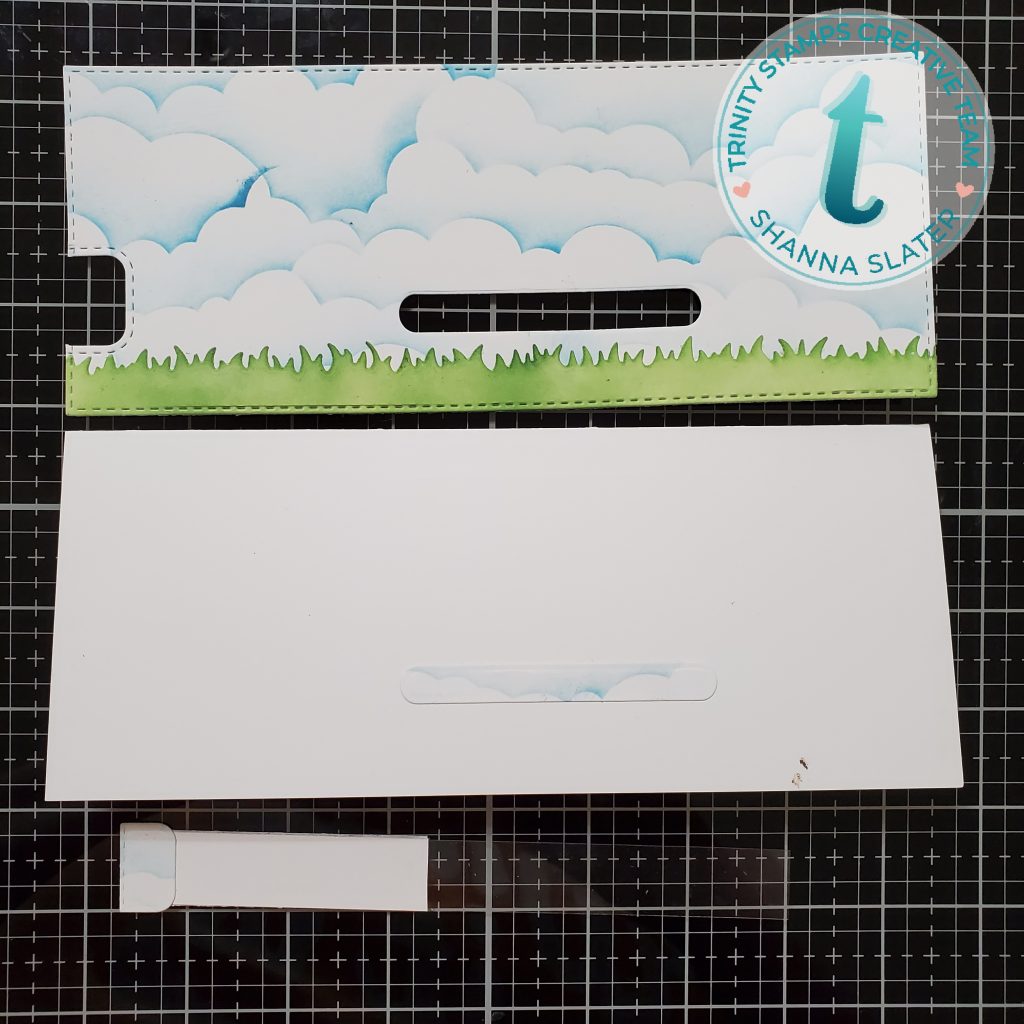
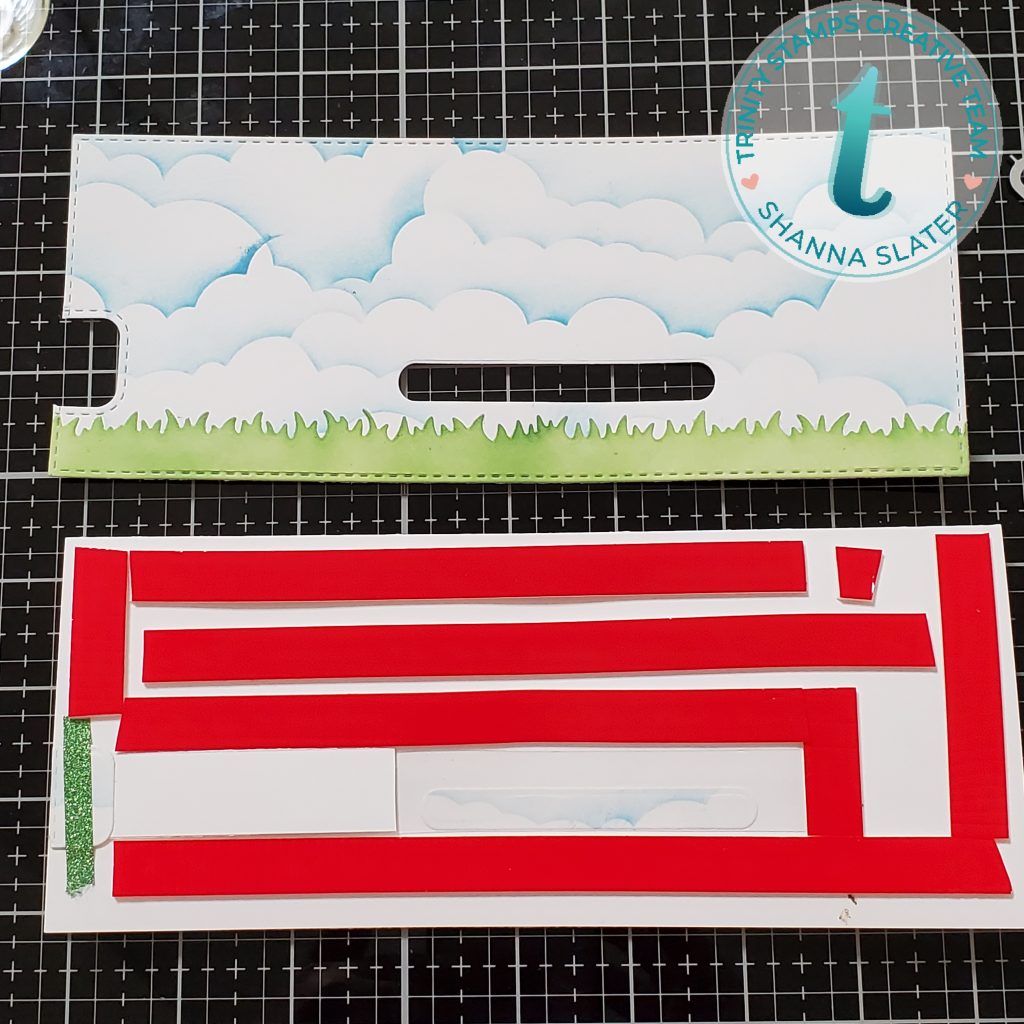
Next I added foam tape all over my card base, creating a guide/channel for the pull tab to slide smoothly in. Then adhered my card panel to the top.
For my final finishing touches I stamped a sentiment from the Rhino Bird Day set onto a banner die from the Slimline Scalloped Panels and Banners set, and added some Feeling Mushy clay mushrooms. Aren’t those little red mushrooms the cutest!?! They are in stock right now too!!
Thank you so much for stopping by and supporting Trinity Stamps! I will be back again soon with another fun Trinity Stamps project! Remember!!! I have a bonus card over on my Instagram too with some of the outlined stamps!!!
For loads more inspiration, be sure to check out the Trinity Stamps Instagram and Imagination, Inspiration, and Conversation Facebook group! I hope to see you again soon. If you enjoyed my project today, be sure to follow me over on Facebook and Instagram as well to keep up with all my caffeinated adventures! Until next time!! ~Shanna
