
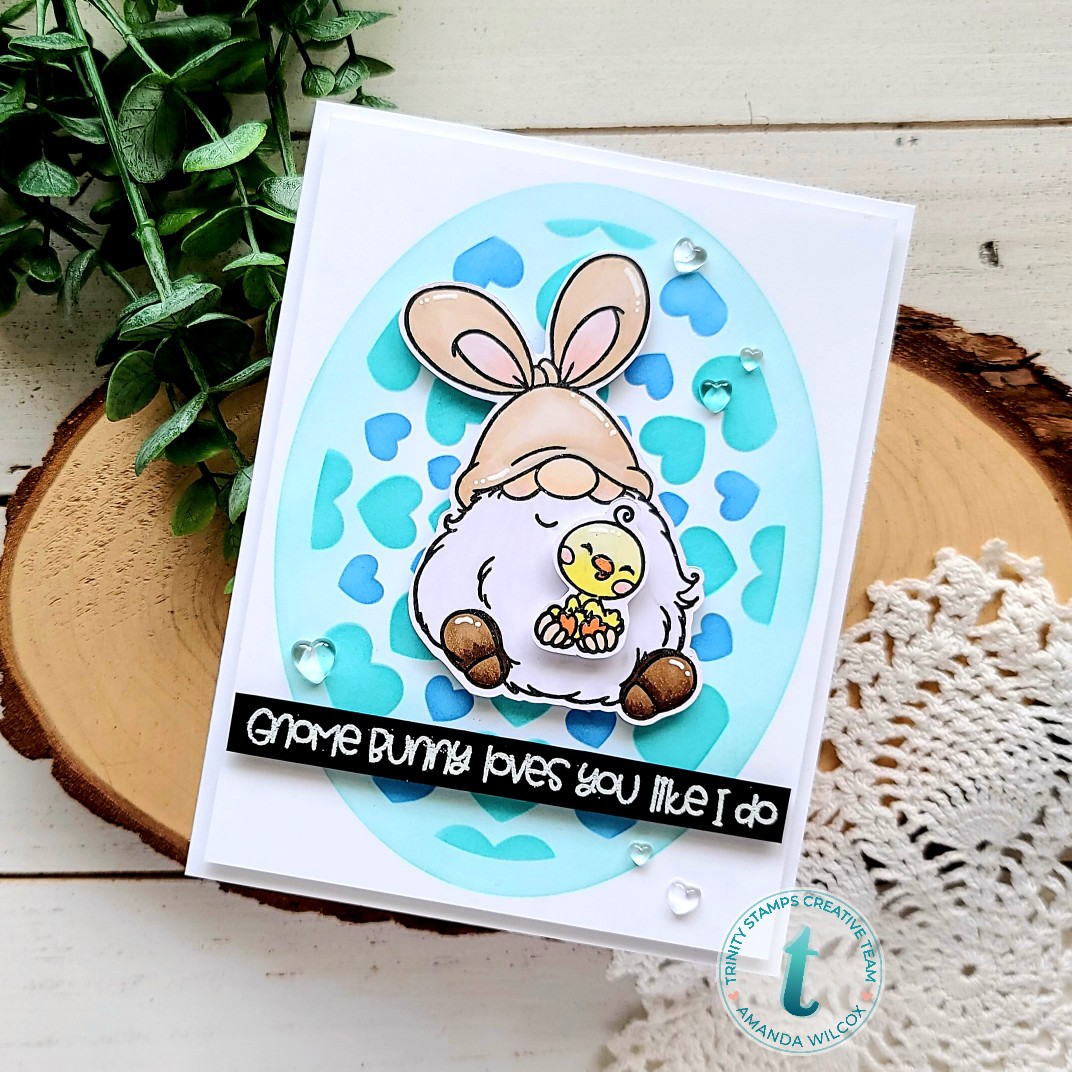
Gnome Bunny Loves You
Hi there! It’s Amanda from Twiddler’s Nook today and wanted to share the sweet gnome bunny card that I made. I tried to take the Easter sets and give them a different feel for more use throughout the year. So if you have a gnome lover, this just may work for you too!
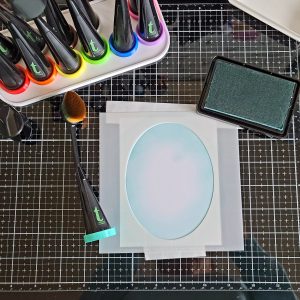
I started my card by cutting a white panel to A2 size and pulled out my oval foundations stencil and a blending brush. I taped on the largest oval and inked up the edges with a light teal ink.
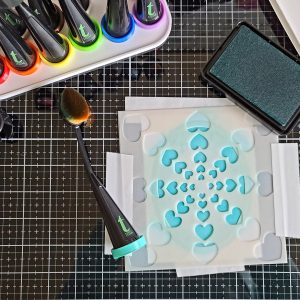
I removed that stencil and lined up the next smallest oval along with the first layer of the heartburst stencils and inked up a darker teal ink.
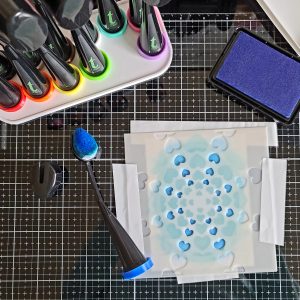
After that, I left the oval in place, removed the first layer of heartburst and lined up the second layer to add a blue ink to the mix and finish off my stenciling.
Next, I stamped and colored the images from Gnome Bunny and cut them out. I chose my sentiment, stamped and heat embossed it in white on a strip of black cardstock and started assembling my card.
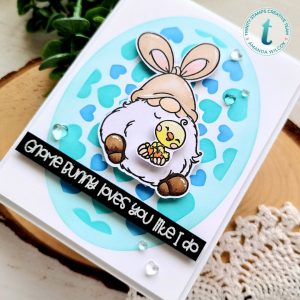
First, I trimmed 1/8 inch off each side of my stenciled panel and popped it up with foam tape on a white card base. Then I added foam squares to the back of my gnome and popped him in the center of the oval. I also added foam squares to his hands holding the chick and put him in place. Last, I added foam strips to the back of the sentiment and placed it toward the bottom of my panel.
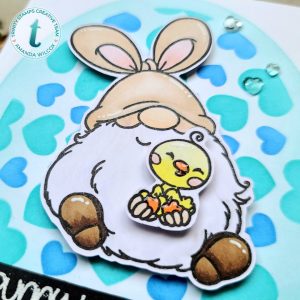
For finishing touches on my card, I added glossy accents to the chick’s beak and feet, white gel pen accents to the gnome and chick and a little Wink of Stella glitter brush pen to both of their cheeks. The last things I did was glue a scattering of boiled sugar jelly drop hearts around the card design for a little extra love.
I appreciate you sharing your time with me. Have a fabulous day!


Too darling!
Carla from Utah