12 Days of Christmas- Day 2 (Advent Calendars)

Trinity is celebrating the holidays with a 12 Days of Christmas Event. Come visit us each day from Dec. 1st – 14th (excluding Sundays) for special posts each day on our Video Chanel and our Blog.
We will give away two $75 gift certificates AND two $50 gift certificates for a total of $250 in GIVEAWAYS! It is our way of saying Happy Holidays to you and sharing our appreciation to our wonderful customers!
Winners will be chosen using Random.com from those who comment throughout. The more comments you leave, the better your chances to win! They will be announced between 12/15 and 12/20 on the blog and YT channel.
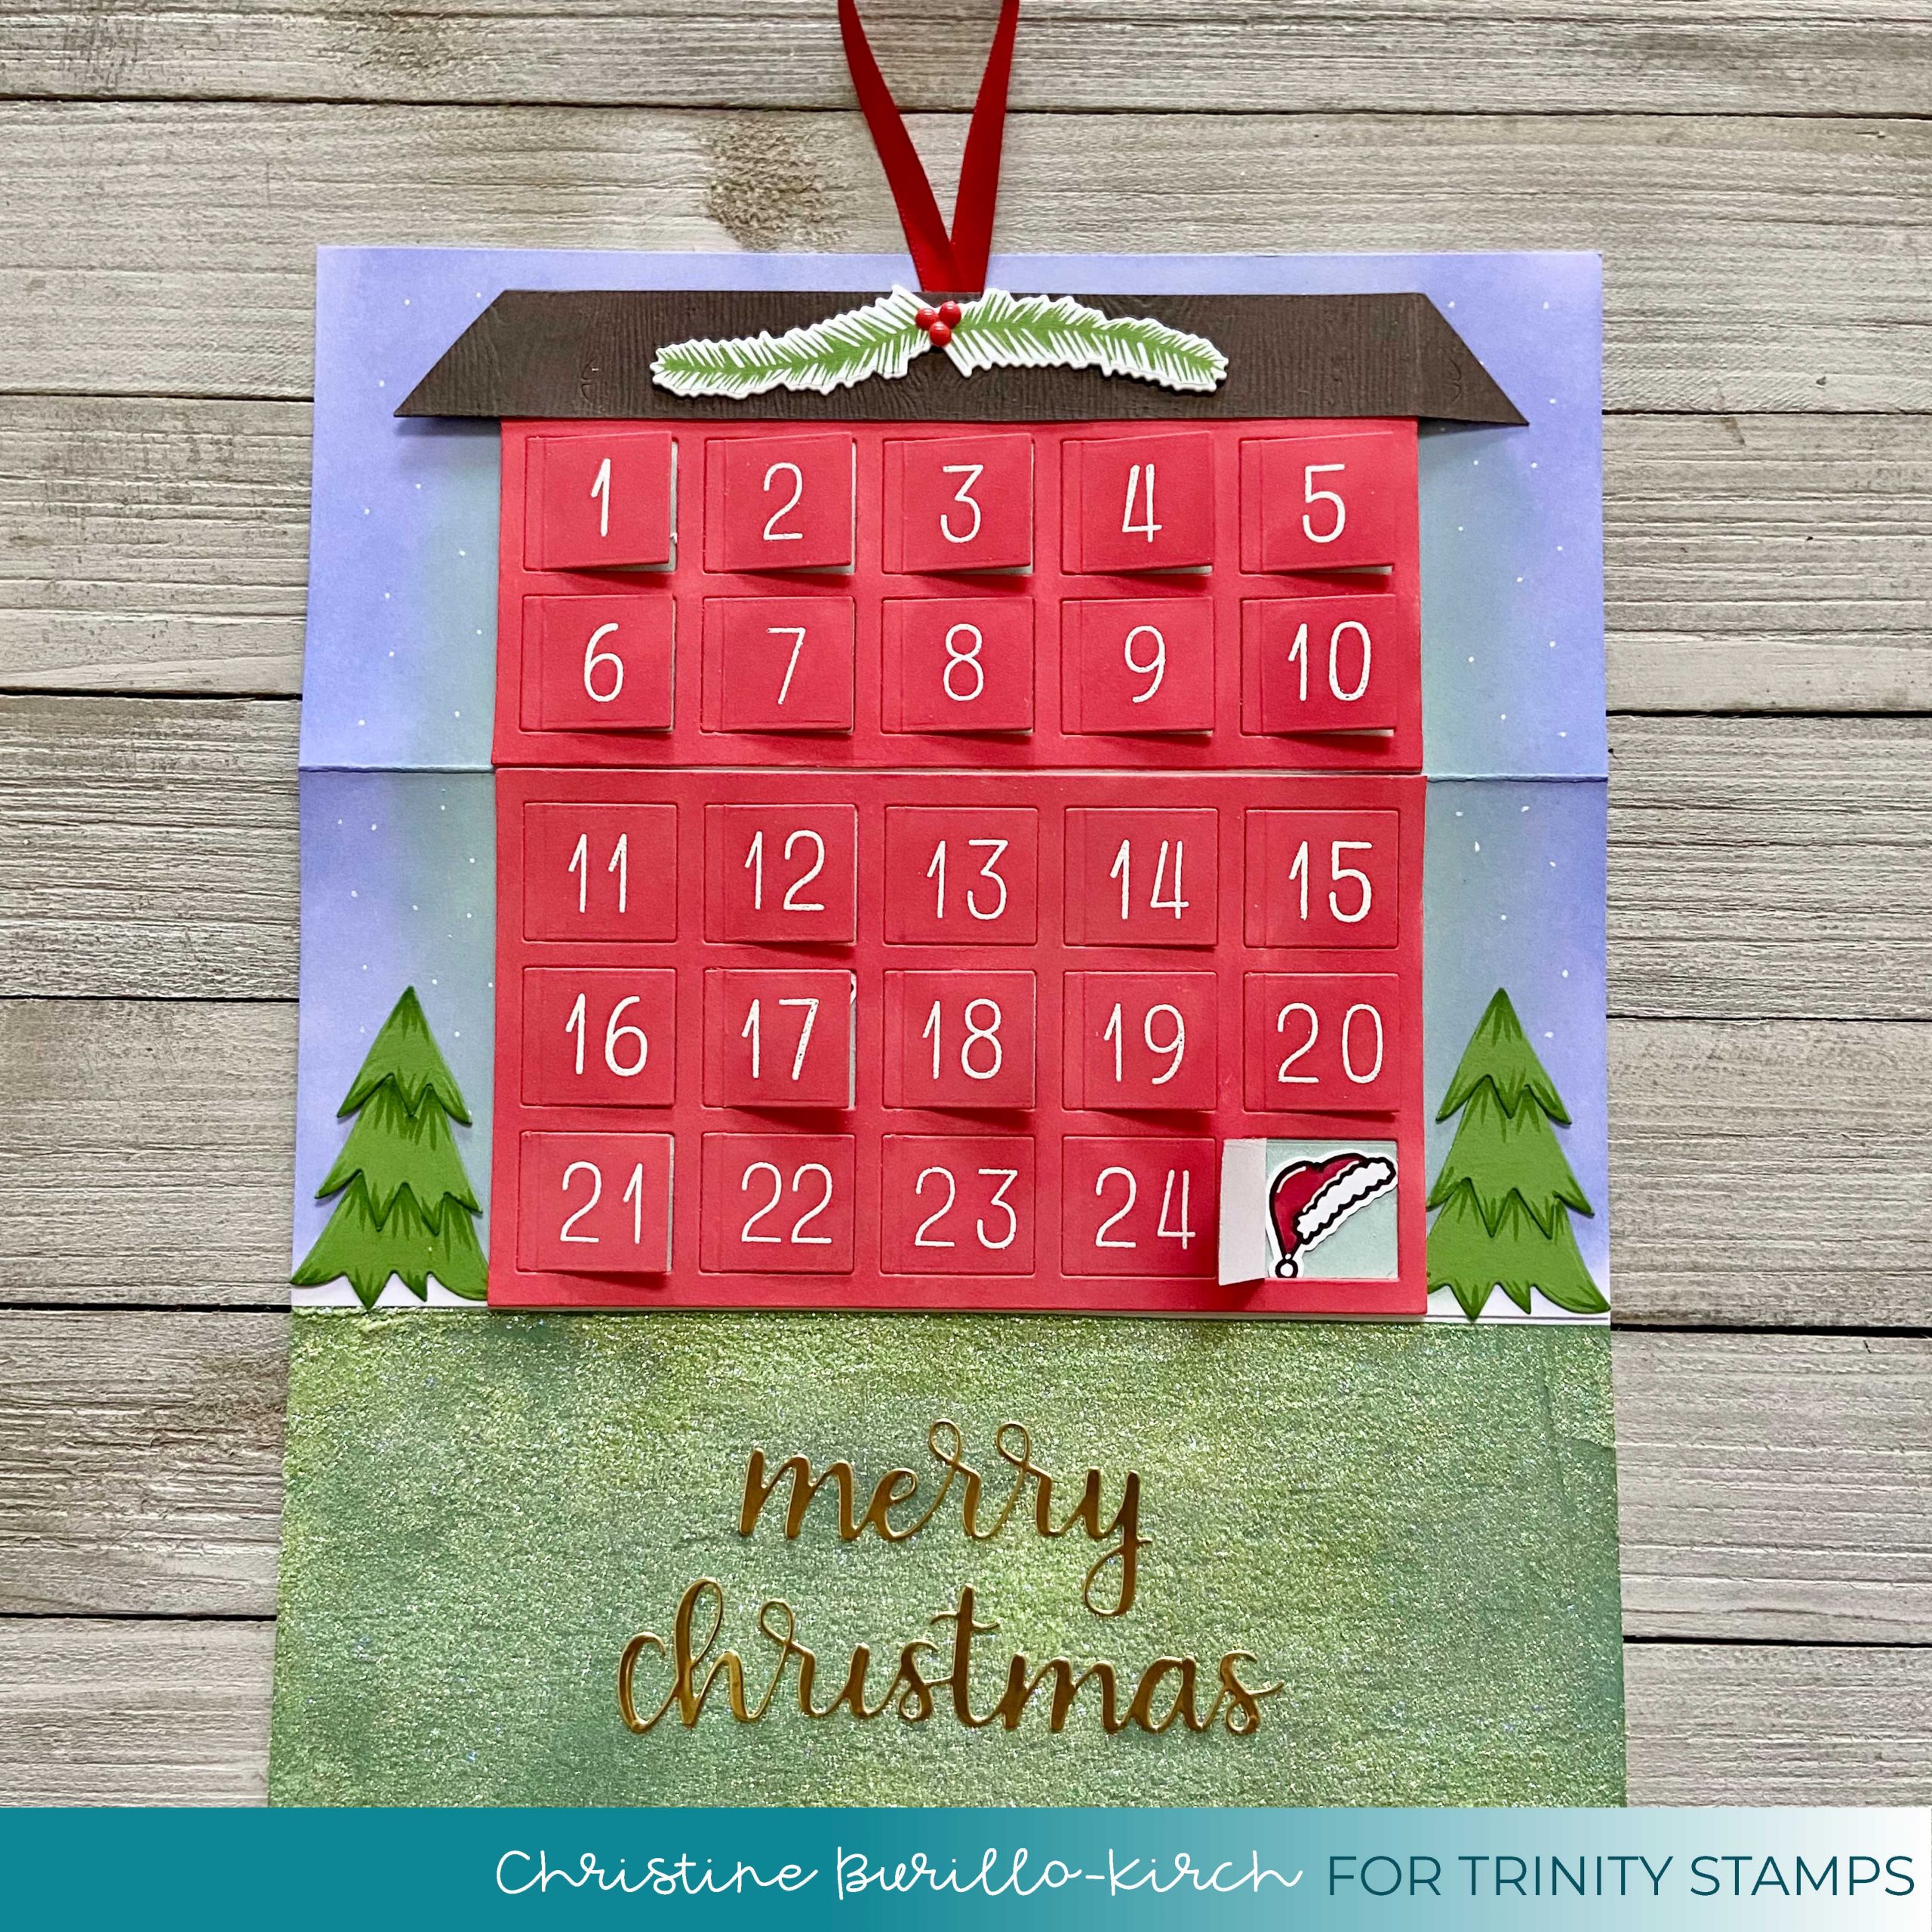
Now on to the projects- I made 2 Advent Calendars! The first one is a slimline trifold advent calendar that uses the Hip To Be Square Slimline die set. I have created peekaboo doors the recipient can open to reveal an object or sentiment; and it fits perfectly into a slimline envelope as shown below:
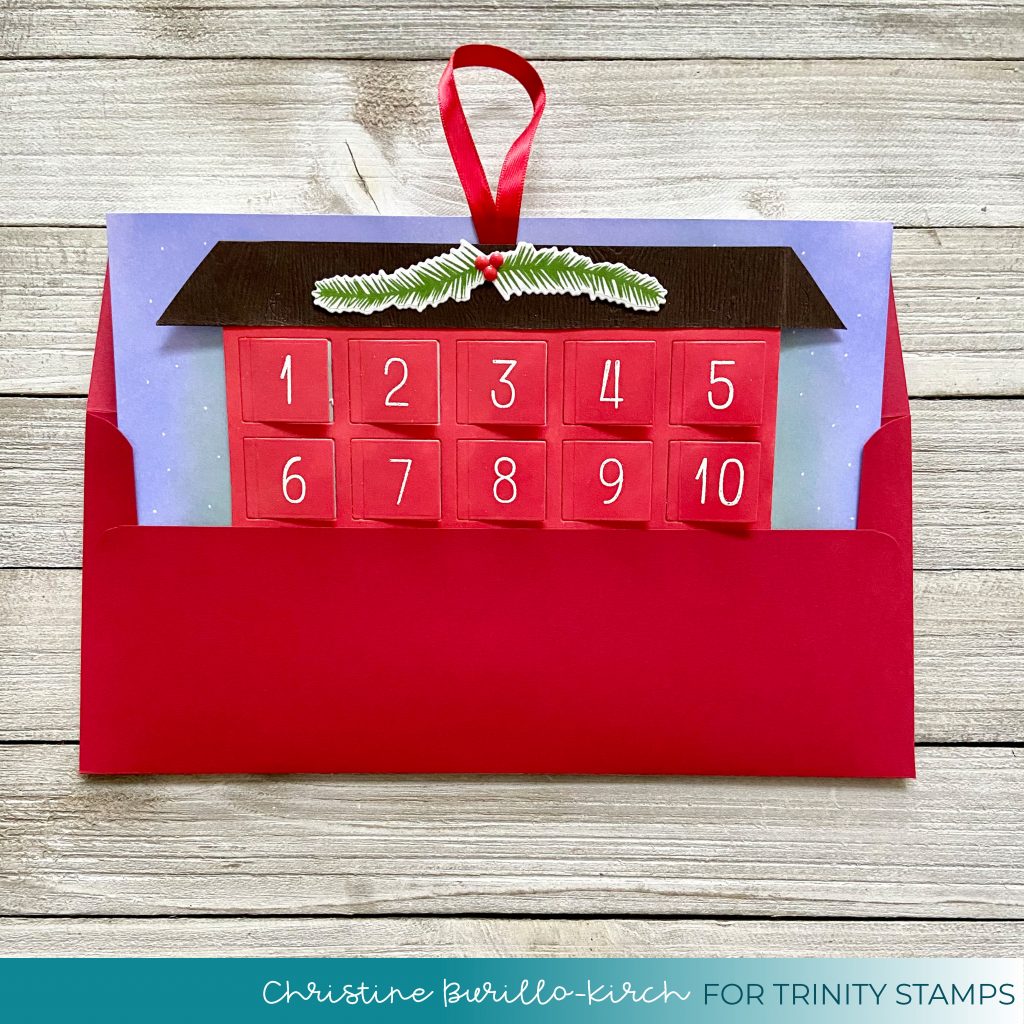
To make the advent calendar, I die cut 2 slimline panels with the Hip To Be Square Slimline die set, cut off 3 boxes on either side (each panel has 21 boxes, I cut mine down so that each panel has 15 boxes) and ink blended the entire panel (negative and positive spaces) with distress oxide ink in festive berries. I scored each “door” at 1/8 inch on the left side and put 1/8 inch double sided tape on to each one. In the mean time, I also ink blended 2 pieces of 110lb Neenah solar white cardstock that would fit behind the Hip To Be Square panel and ink blended it with distress oxide ink in speckled egg. I adhered the speckled egg panel to the Hip To Be Square panel and then adhered each door. Trinity doesn’t have number that fit the doors so I used a stamp set from another company to heat emboss numbers with white embossing powder. I then hand cut a roof that fit the house and adhered it as shown below. I did have to trim down the upper part of the house, otherwise it does peek out from behind the roof.
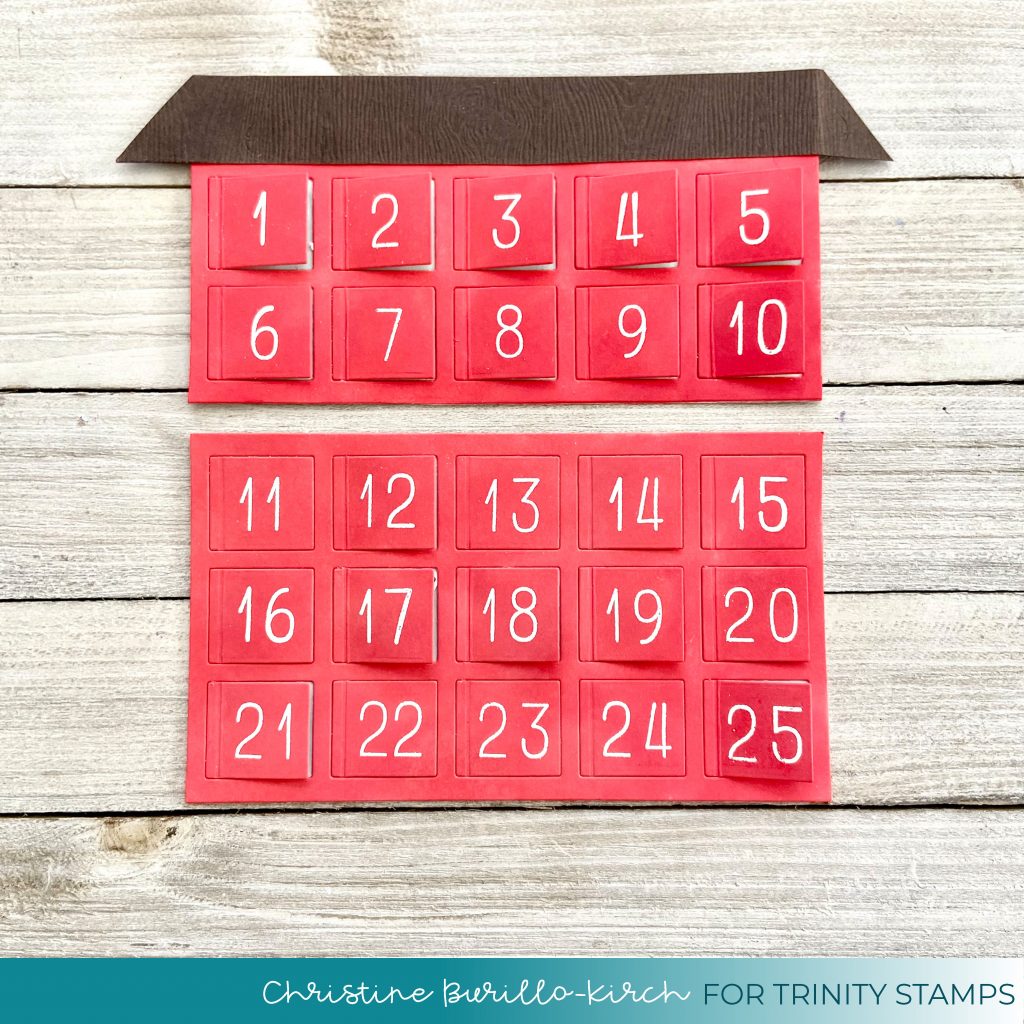
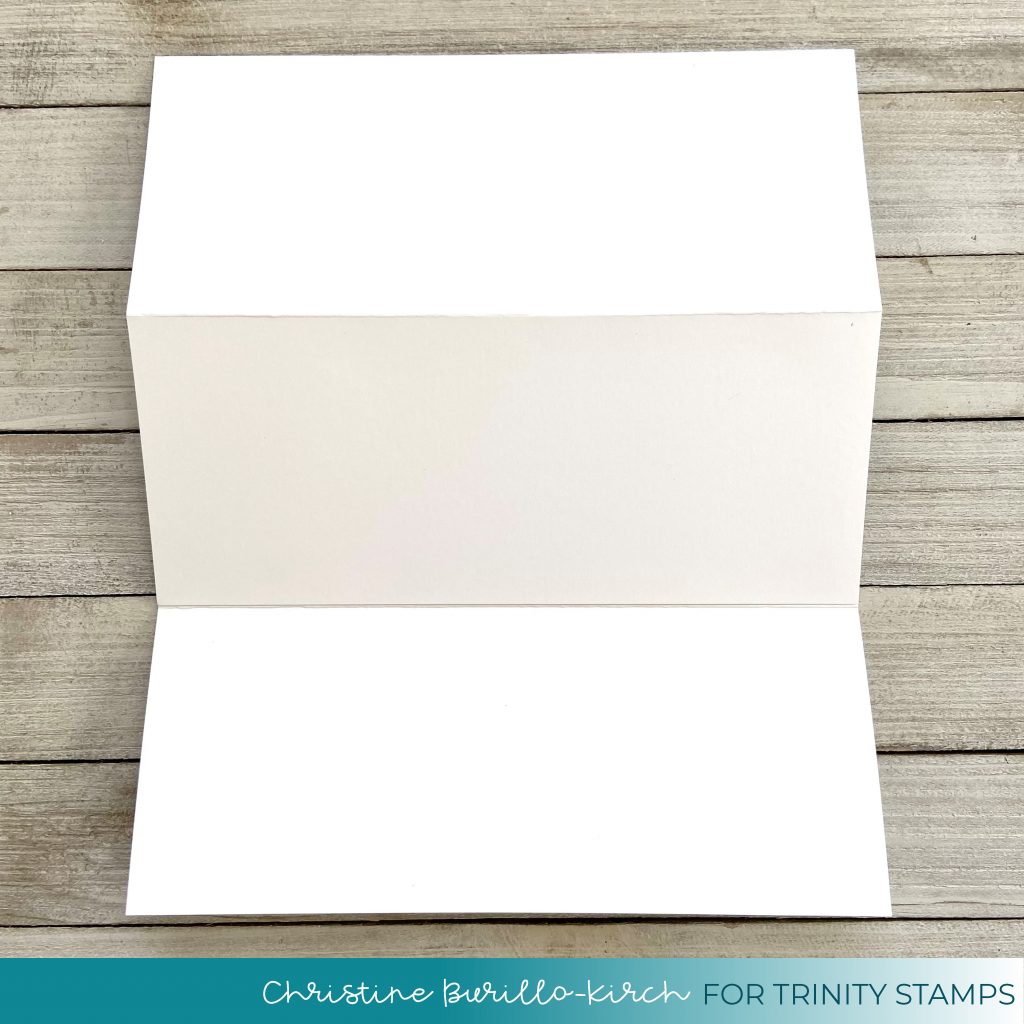
I then cut 2 slimline card bases (3.5 inches by 8.5 inches) and adhered them in a zig zag fashion as shown below, so that it would create an accordion fold card. One card base had 1/8 of an inch cut off on the bottom so that it would fit more easily with the other card base (it doesn’t matter which one you do it to). So the easiest way to explain it so that you put the cards such that they open in opposite directions, place them over each other in the middle and adhere them in the middle.
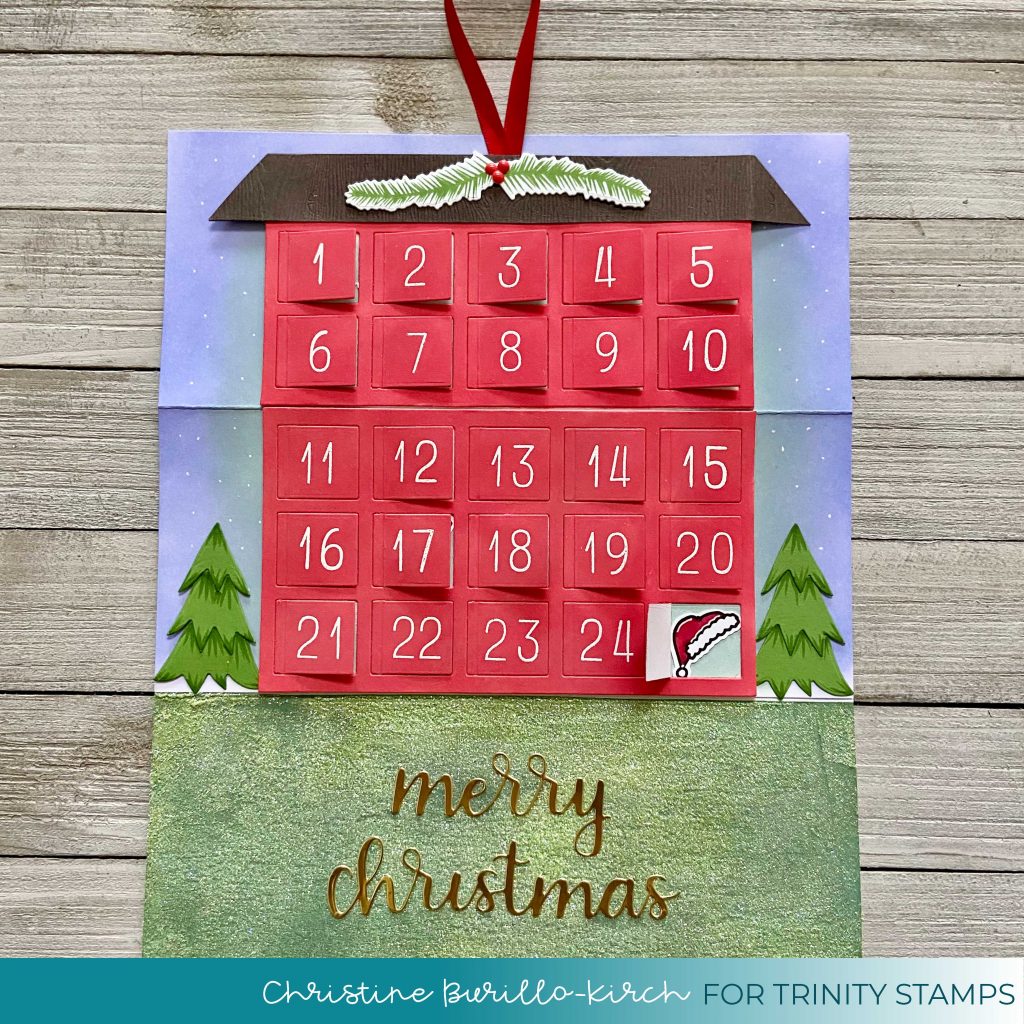
The hard part is now done! I took little images from different stamp set, particularly from the Cozy Christmas Cottage stamp & die set, the All Spruced Up stamp & die set and the Greetings of the Season stamp set to put behind the doors, so that each day you will find a new image/sentiment (see below). To finish the card, I ink blended the slimline card base trifold with distress oxide ink in speckled egg and shaded lilac for the sky and then rustic wilderness for the grass. I then spread a thin layer of glitter paste onto the rustic wilderness panel to just create some interest. I die cut the Merry Christmas sentiment with the Scripty Christmas die set out of gold cardstock and adhered it to the bottom. I put a ribbon at the top, some pine branches from the All Spruced Up stamp & die set , some white gel dots in the sky and then added some die cut trees from the Happy Little Tree Farm die set. As I mentioned above it fits perfectly in a slimline envelope!
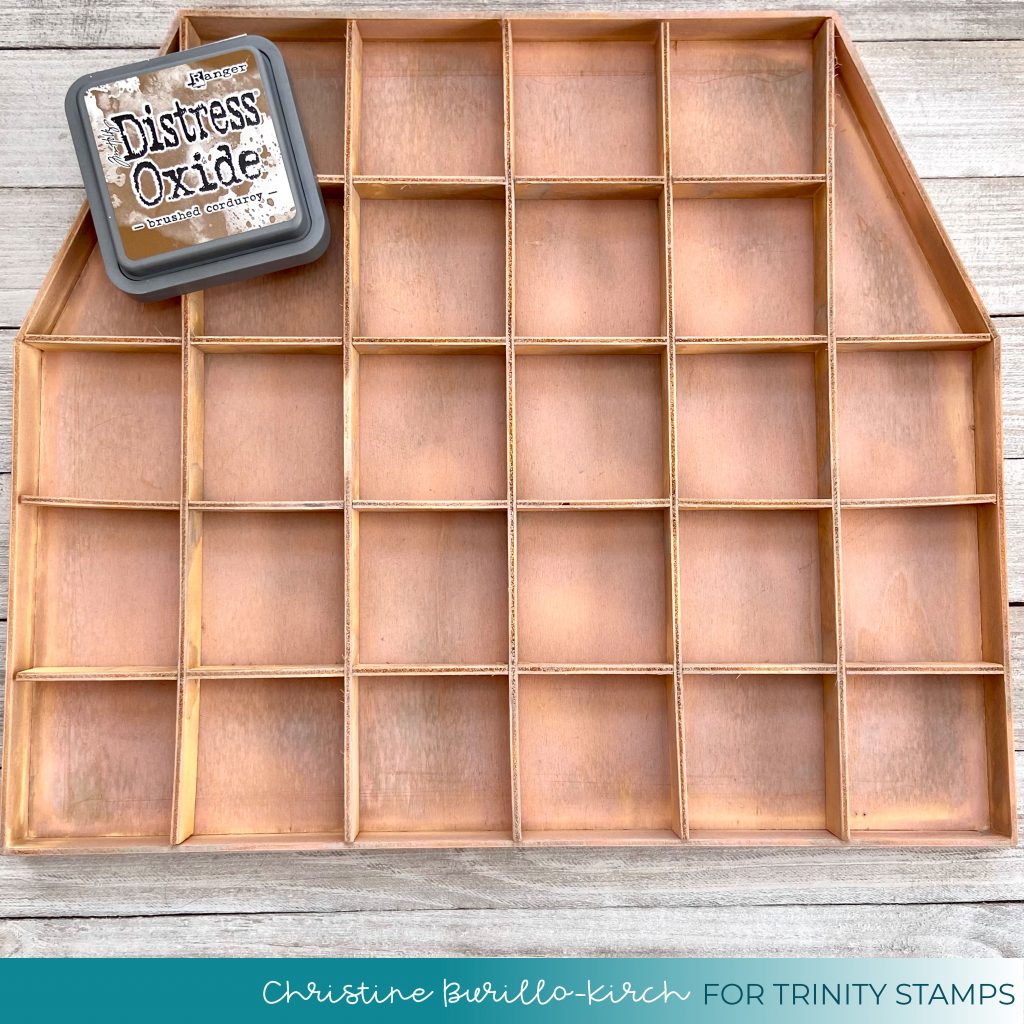
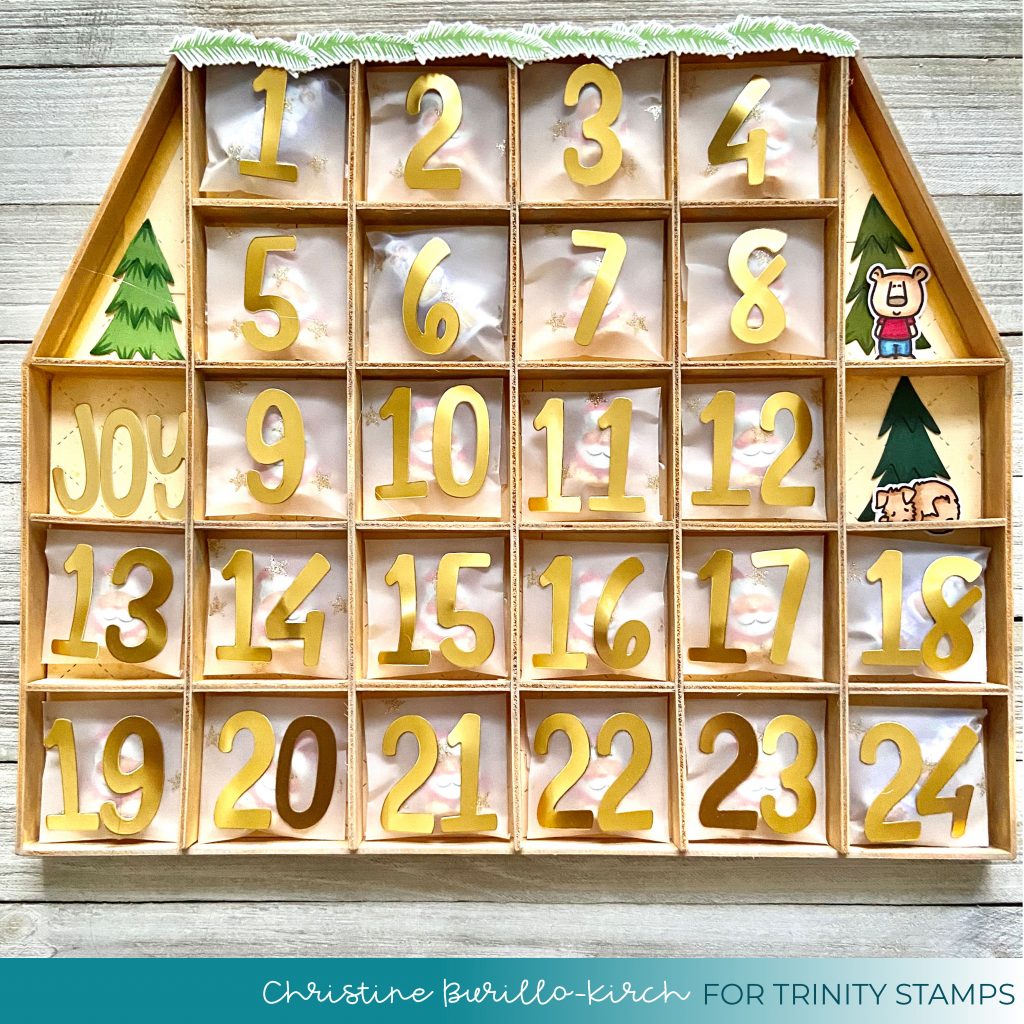
My second advent calender uses a premade wooden base, this was just one that I happened to have purchased years ago and I can no longer find it online. Here is a different one you could use from Amazon: wooden calendar. It was unfinished, so I ink blended brushed corduroy because I did not have any wood stain. I really like how it turned out.
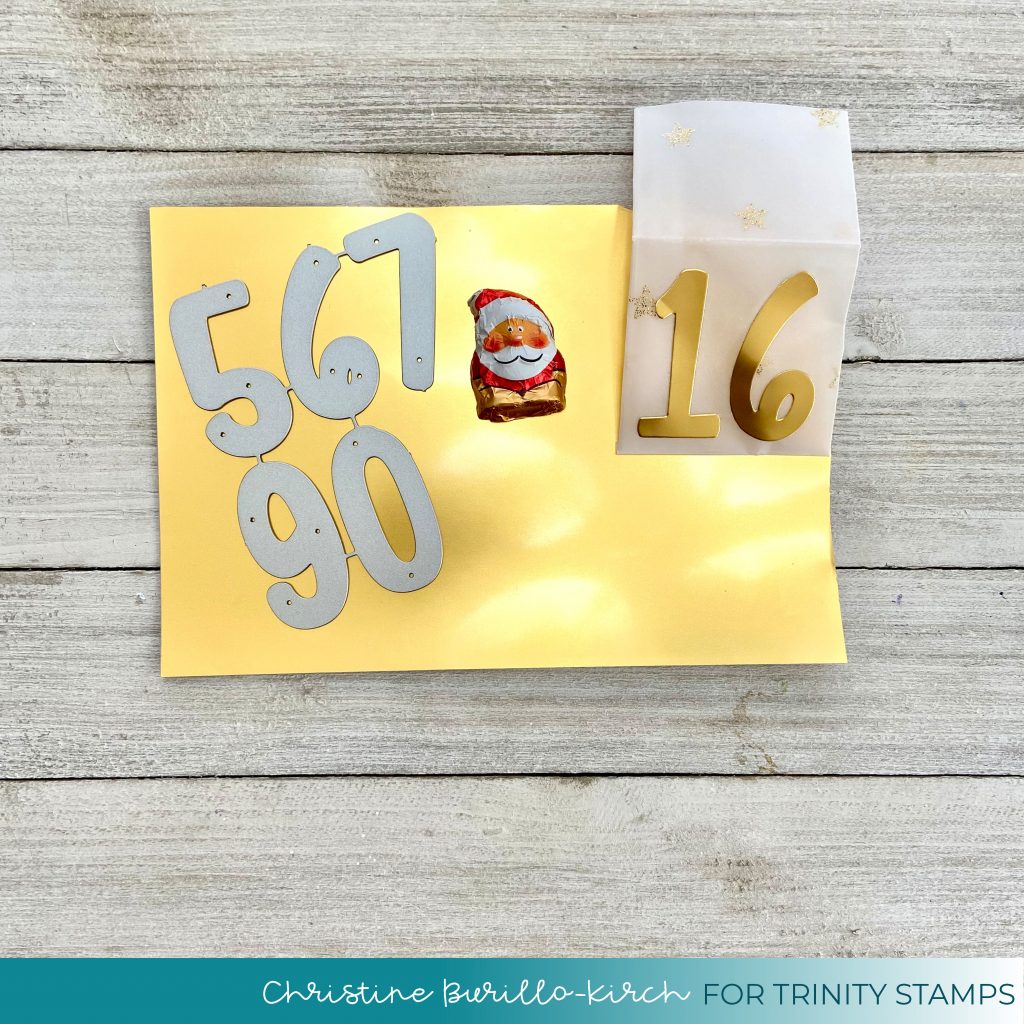
The boxes of this particular wooden house are 2 inches by 2 inches, so I cut up some treat bags to fit inside it, placed a chocolate inside and added numbers die cut out of gold cardstock with the Marshmallow Numbers die set.
I then added a few decorative touches by added die cut slimline quilted panels to the back wall using the Slimline Series Quilted Cover Die, added some pine branches from the All Spruced Up stamp & die set , some die cut trees from the Happy Little Tree Farm die set, and some elements from the Cottage Kitchen stamp & die set.
Thank you so much for stopping by and reading this long post!

I love making Advent calendars and seeing yours here has my festive spirit soaring! They’re both fabulous! Inspired, inspiring and definitely smile making!
~carol
This is AMAZING! OMG! I love it! What a great idea! Thank you!!!
I have not made an advent calendar, but have thought about it many times. These are both great! I love the trifold card version so creative. And who doesn’t like chocolate!
Great advent calendar projects! Love the details you put into each one!
I’ve never tried to make one, but we had a fabric one many years ago when my daughter was young. It’s fun to fill them with little treats!
These are wonderful! I love advent calendars, and buy several different pre-filled ones every year!
Love both of your advent calendars. 🙂
This is such a clever idea I’ve never made an Advent Calendar before but after see this one I have to make one now thanks for sharing and thanks for the inspiration
These are two spectacular ideas for advent calendars! I’ve never made one myself so I’m loving this inspiration for gift giving.
That’s a brilliant way to use the die!!
These Advent Calenders are really neat and it’s a cool way to use these stamps and dies
Love the wooded
advent calendar.
Both are fun creations.
Carla from Utah
So dang creative. Love it!
So creative!!! Love it!
So awesome! 💜
I love advent calendars! Trying to start my grand daughter on the tradition. Of course she wants to open them all to get the surprise inside lol
I am a huge fan of advent calendars. Your trifold calendar is such a fun idea, love the idea of being able to mail one to someone special.
Your advent calendars are wonderful! Love how you added the candy to the wooden one.
Both Advent calendar designs look awesome but definitely a lot of work. The wooden one definitely allows one to tuck in little treats. Very creative, Christine!
Great idea! 💜
Advent calendars are so much fun no matter our age! You have 2 great ones.
Such creative ways to make advent calendars!
Such great ideas!
I’ve always wanted to make an advent calendar, but I never get around to it! Maybe I finally will after seeing this!
This is such a neat idea for Advent!
Wow! This is super great idea! Saw a joke that said according to my chocolate advent calendar tomorrow is Christmas. Tee hee this is such fun!
These are amazing advent calendars! 😍Such a wonderful idea and will be cherished for years to come! Thank you so much for sharing your incredible calendars!!!!!
Fun Project. Thanks for sharing