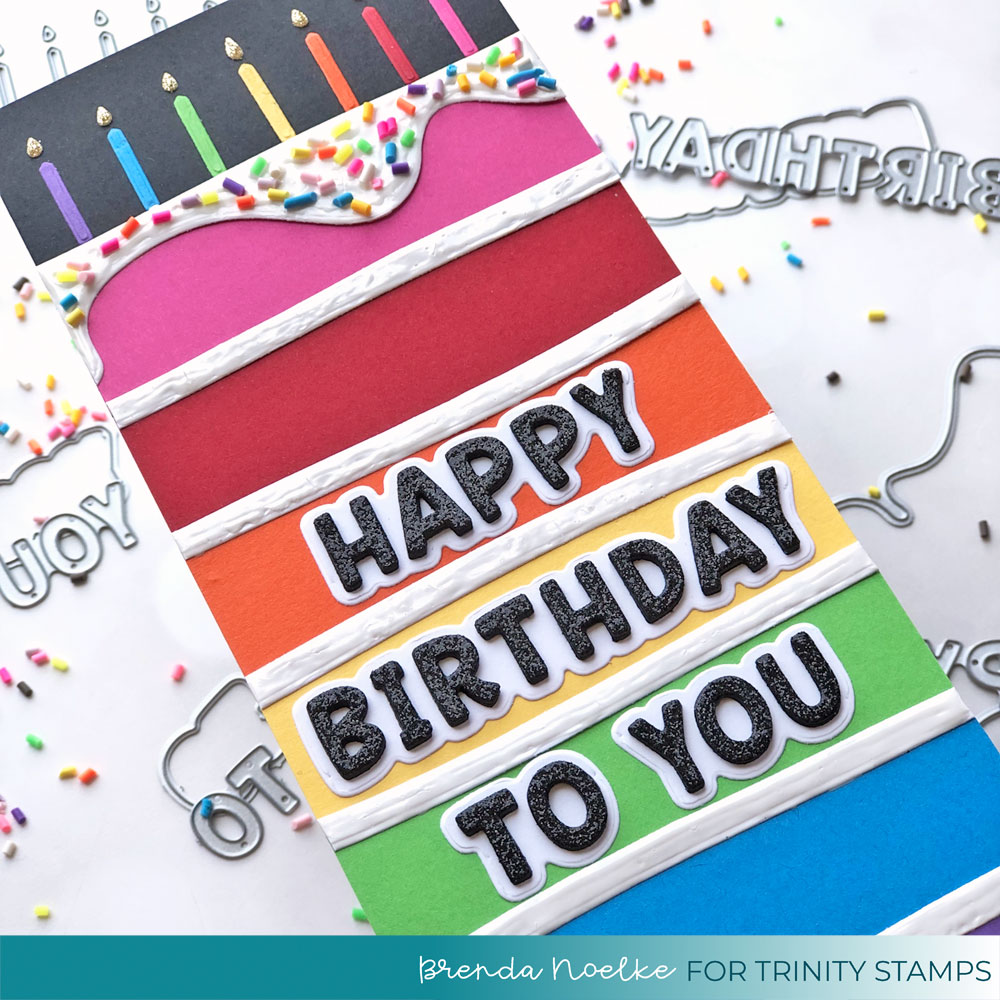
Slimline Rainbow Cake Birthday Card

Hello, my crafty friends!! I hope you are doing well!!
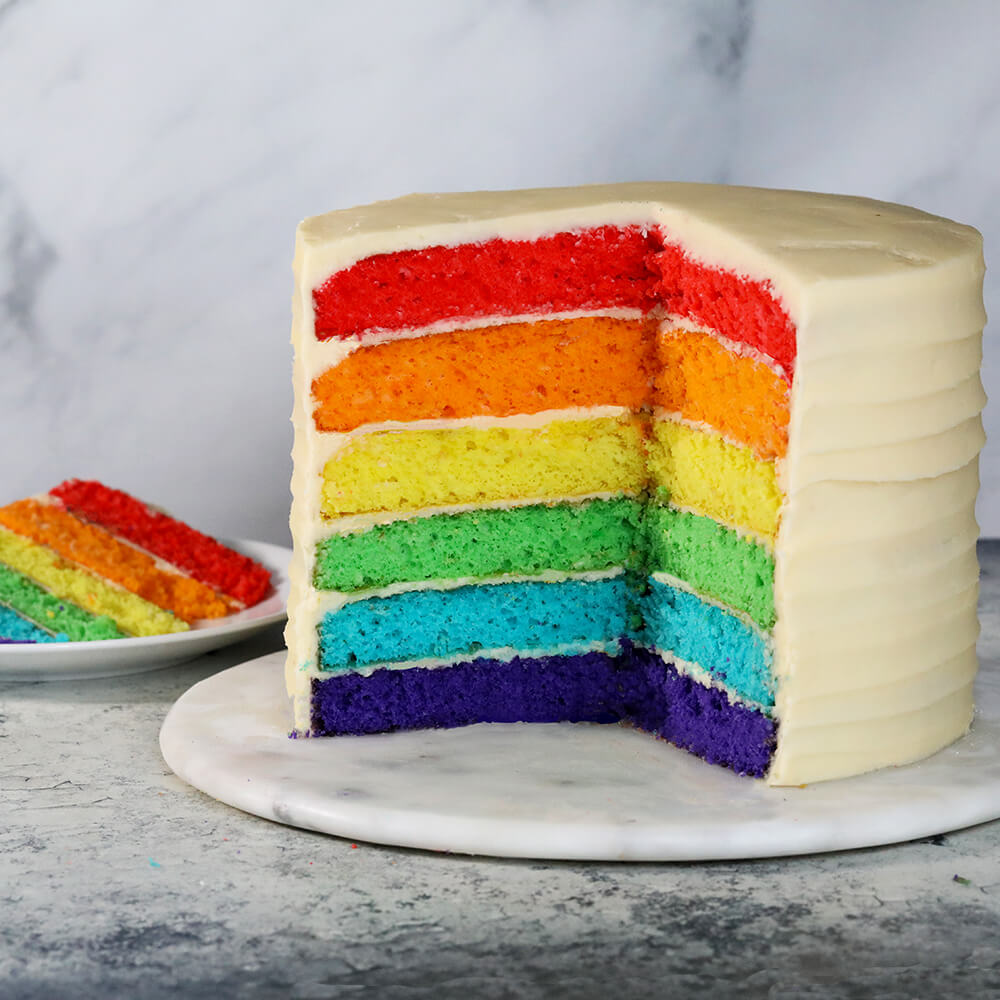
Have you ever baked a rainbow cake before? I’ve always wanted to, but it looks so complicated. I figured one made from paper would be much easier!! That’s the first thing I thought of when I saw the Slimline Series Celebration Borders Die Set. Here is the inspiration for my card…
Here is my card…
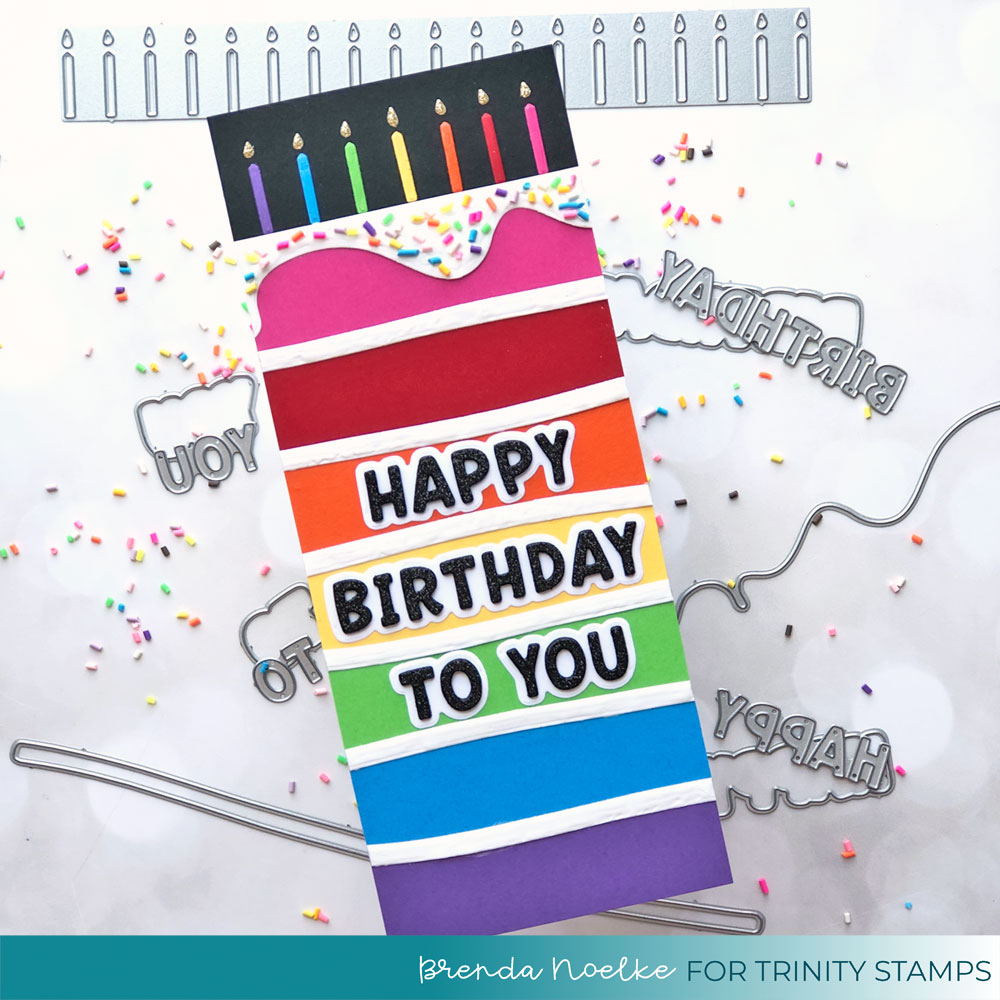
Although the dies are meant to be used for a landscape card, I needed the height of a portrait slimline card to include all of my layers. I began by cutting and scoring my cardbase from white cardstock to make a 3 1/2″ x 8 1/2″ slimline card. I trimmed 1″ pieces of cardstock from a rainbow of colors of cardstock to create the cake. I layered those onto my cardbase and added a strip of black cardstock to the top. Each strip was trimmed evenly with the sides of my cardbase.
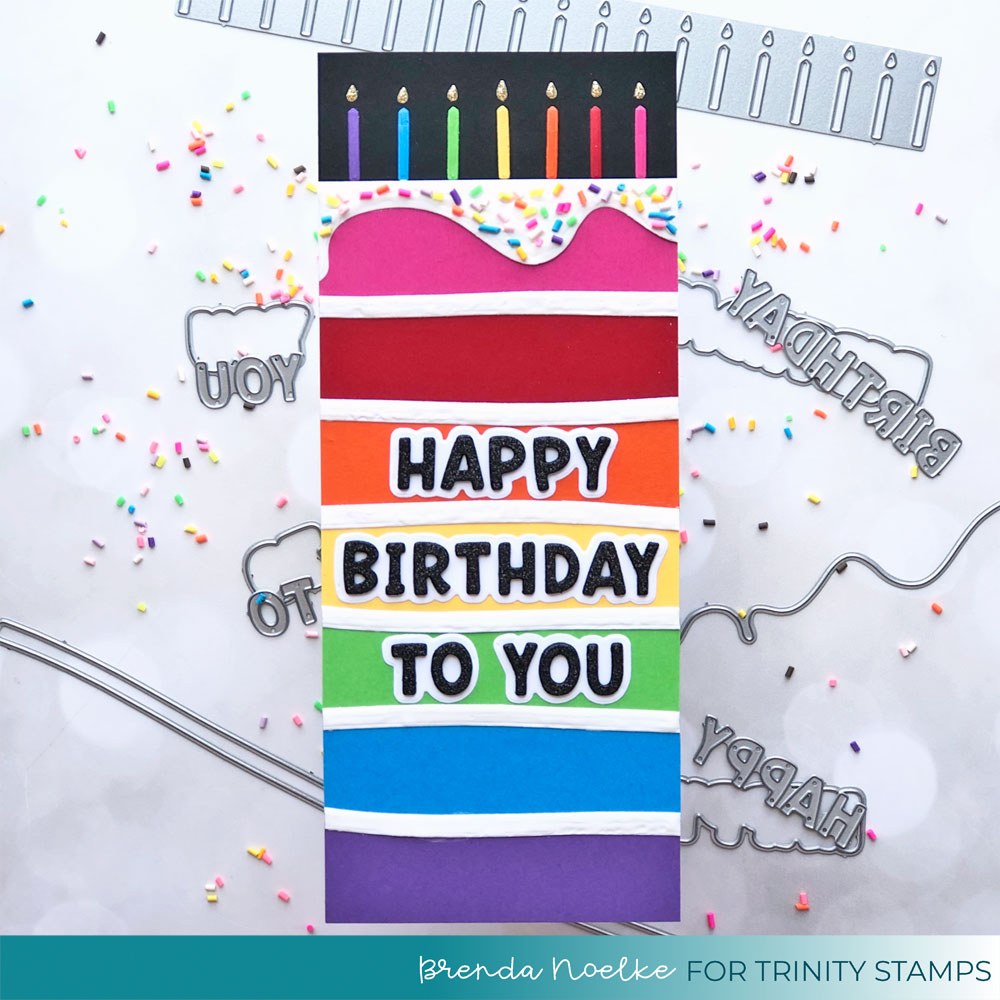
I die-cut the frosting from white cardstock with a couple of dies from the Slimline Series Celebration Borders Dies and adhered them to cover the edges where my cardstocks meet. I also trimmed those flush with my cardbase. Gloss White Nuvo Drops were added to mimic frosting. I pressed the Birthday Cake Sprinkle Embellishments into the drops on the top layer while it was wet.
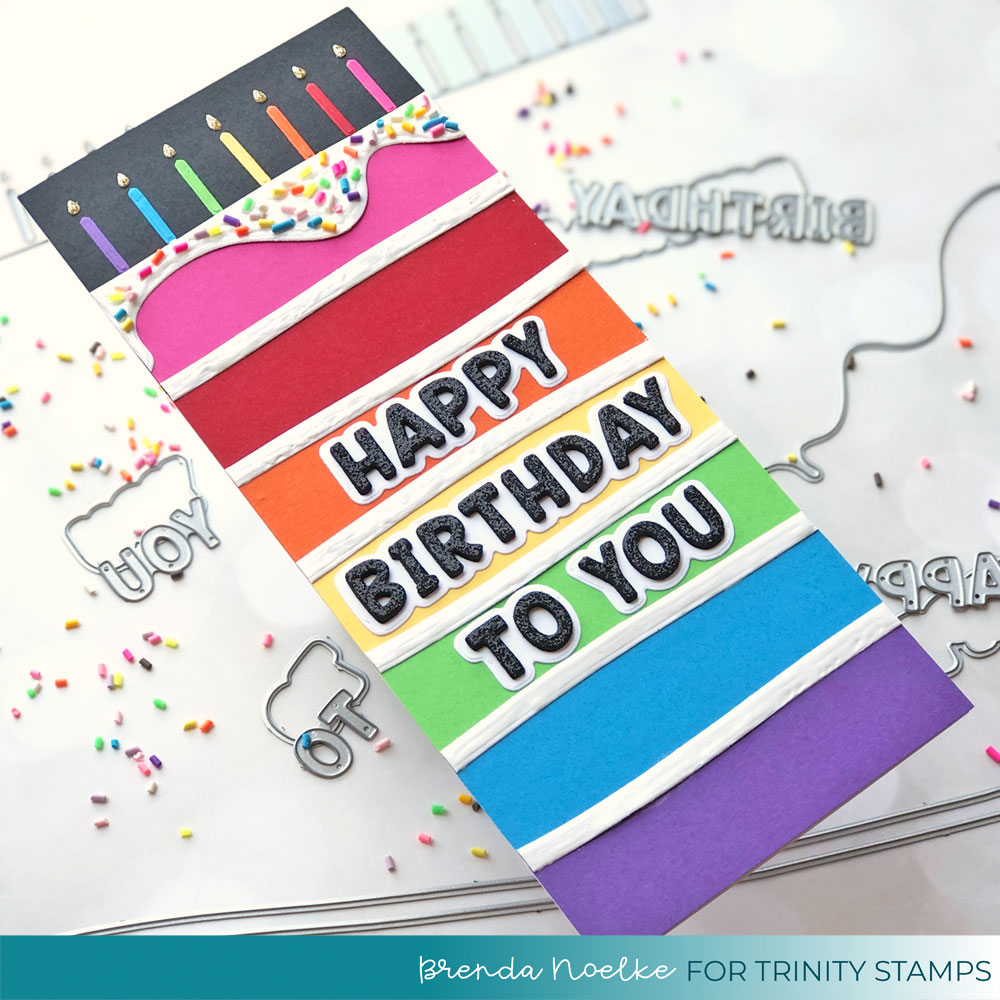
I also die-cut candles from the same colors of cardstock and gold glitter paper and adhered them on top of the cake.
For the sentiment, I die-cut “HAPPY BIRTHDAY TO YOU” with another of the dies from the Slimline Series Celebration Borders Die Set from black cardstock four times and black glitter paper once. Those were stacked and adhered together, adhered to the white halo layer, then to the card.
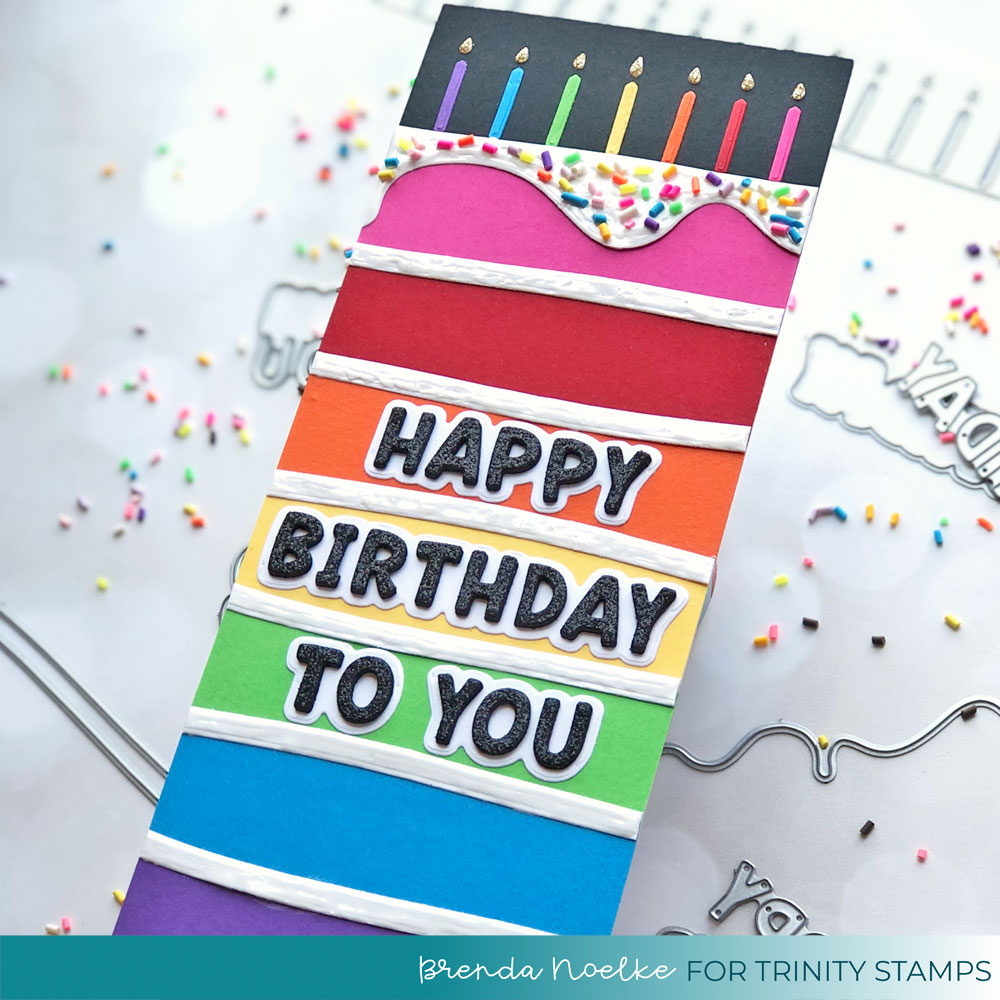
That’s it!! Super easy!! I really love how this turned out!!
Thanks for stopping by today!! Have a wonderful weekend and I’ll see you soon!!

Yummy! I am hoping to make a cake like this for Amelia’s birthday in August 😉