
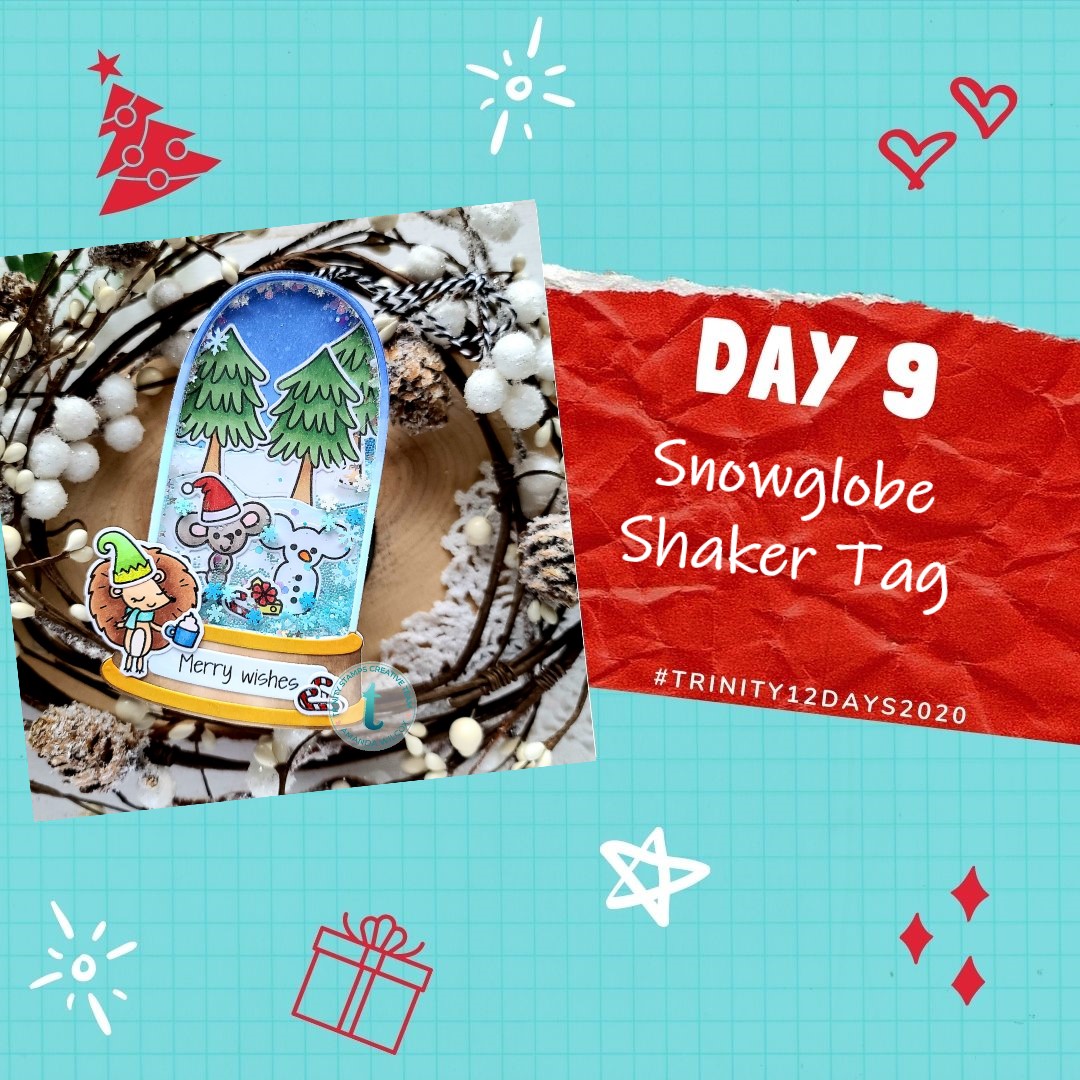
Day 9 – Shaker Snowglobe
Oh my goodness, did I have fun creating this great little scene for my snowglobe shaker tag to share with you today! I pulled out Mouse House to pair with the new Winter Burrow set along with the tall shaker dome die set for my snowglobe.
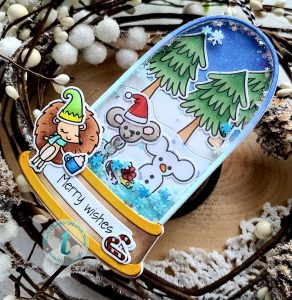
To create my tag, I die cut the main snowglobe shape from white cardstock and laid out my stamps to see what I could fit inside and what I wanted on the outside. I stamped them all and colored them with my copics. I used the coordinating dies to cut them out and set them aside to create my shaker.!
I cut the frame 7 times from white cardstock and then I cut an additional full panel out of acetate for the shaker window. I glued 6 of the frames together and glued the acetate to the back of the final frame, after coloring it with my copic markers. Using distress oxides I inked up the background panel with blueprint sketch and tumbled glass. I spritzed it with water and then decided that I wanted snowy hills for my scene so I went back, die cut another panel and then used the hill dies to cut that down.
I adhered all of my pieces and trimmed off anything hanging over the edge. Then I glued the snowglobe frame down and poured in some shaker bits and sealed it up.

I really wanted to decorate the front of the snowglobe so I stamped a sentiment from Merry Christmas Senti-mini on the plaque die cut and glued it down. Then I added some more images and put clear blocks on top to let it all dry over night.

Isn’t this just so fun?!? I had a blast creating it and can’t wait to attach it to a special gift for Christmas.
I appreciate you sharing your time with me. Have a fabulous day!


Absolutely delightful scene inside the snow globe shaker, I’ve never seen a snowmouse before and I love it.
Beyond adorable!!! Such a great idea making a shaker tag.
This is so adorable! 🙂
How cute!!
This snowglobe shaker tag is just way too adorable with those cute little images love the scene building and I’m in love with these adorable images that mouse made a snowman to look just like him
Oh my goodness, that is the cutest thing ever! I love it!
I really like what you done with this snowglobe tag it is so cool
Oh my word that mouse snowman is so sweet.
What a delightful
creation! So darling.
Carla from Utah
This tag is adorable….thank you for sharingyour creation…🙂🙂🙂
What a cute snowglobe! Love this delightful scene!
It’s ❄️❄️ Snow cute!!! (Punn intended) Shaker cards are always happy
OMG! This is such a DARLING SHAKER TAG! I love the little critters!
So adorable! Love the animals and the bright colours!
Omg that SNOWMOUSE is adorable. This one has to go on my wish list. And who doesn’t LOVE a shaker card.
What a great idea and can be hung on the tree as well!
Love the height of that snowglobe, such a fun shaker tag!
Love snowglobes! The scene is so cute…TFS!!⛄🎄🥤🎅🤶
So cute!
I’m so inspired! This is so fun!
Wow, this is the cutest snowglobe! I love the unique shape and the adorable scene.
The elongated snow globe is perfect for scene building, and you’ve created a beauty. Lucky recipient!
7? That will be beautiful dimension, love it when the glorious shaker bits have room to rumble! This is adorable. There’s that Christmas mouse… So so cute!
This is so fun! Such a special mouse 🐁 shaker, dome filled with snowy goodness! Very cute and the recipient will cherish it for years to come! TFS!!!
I’m a big fan of Shaker and cute critters, and love how you combined both
Your shaker tag is
so fun and sweet!
I love the snowy scene!