
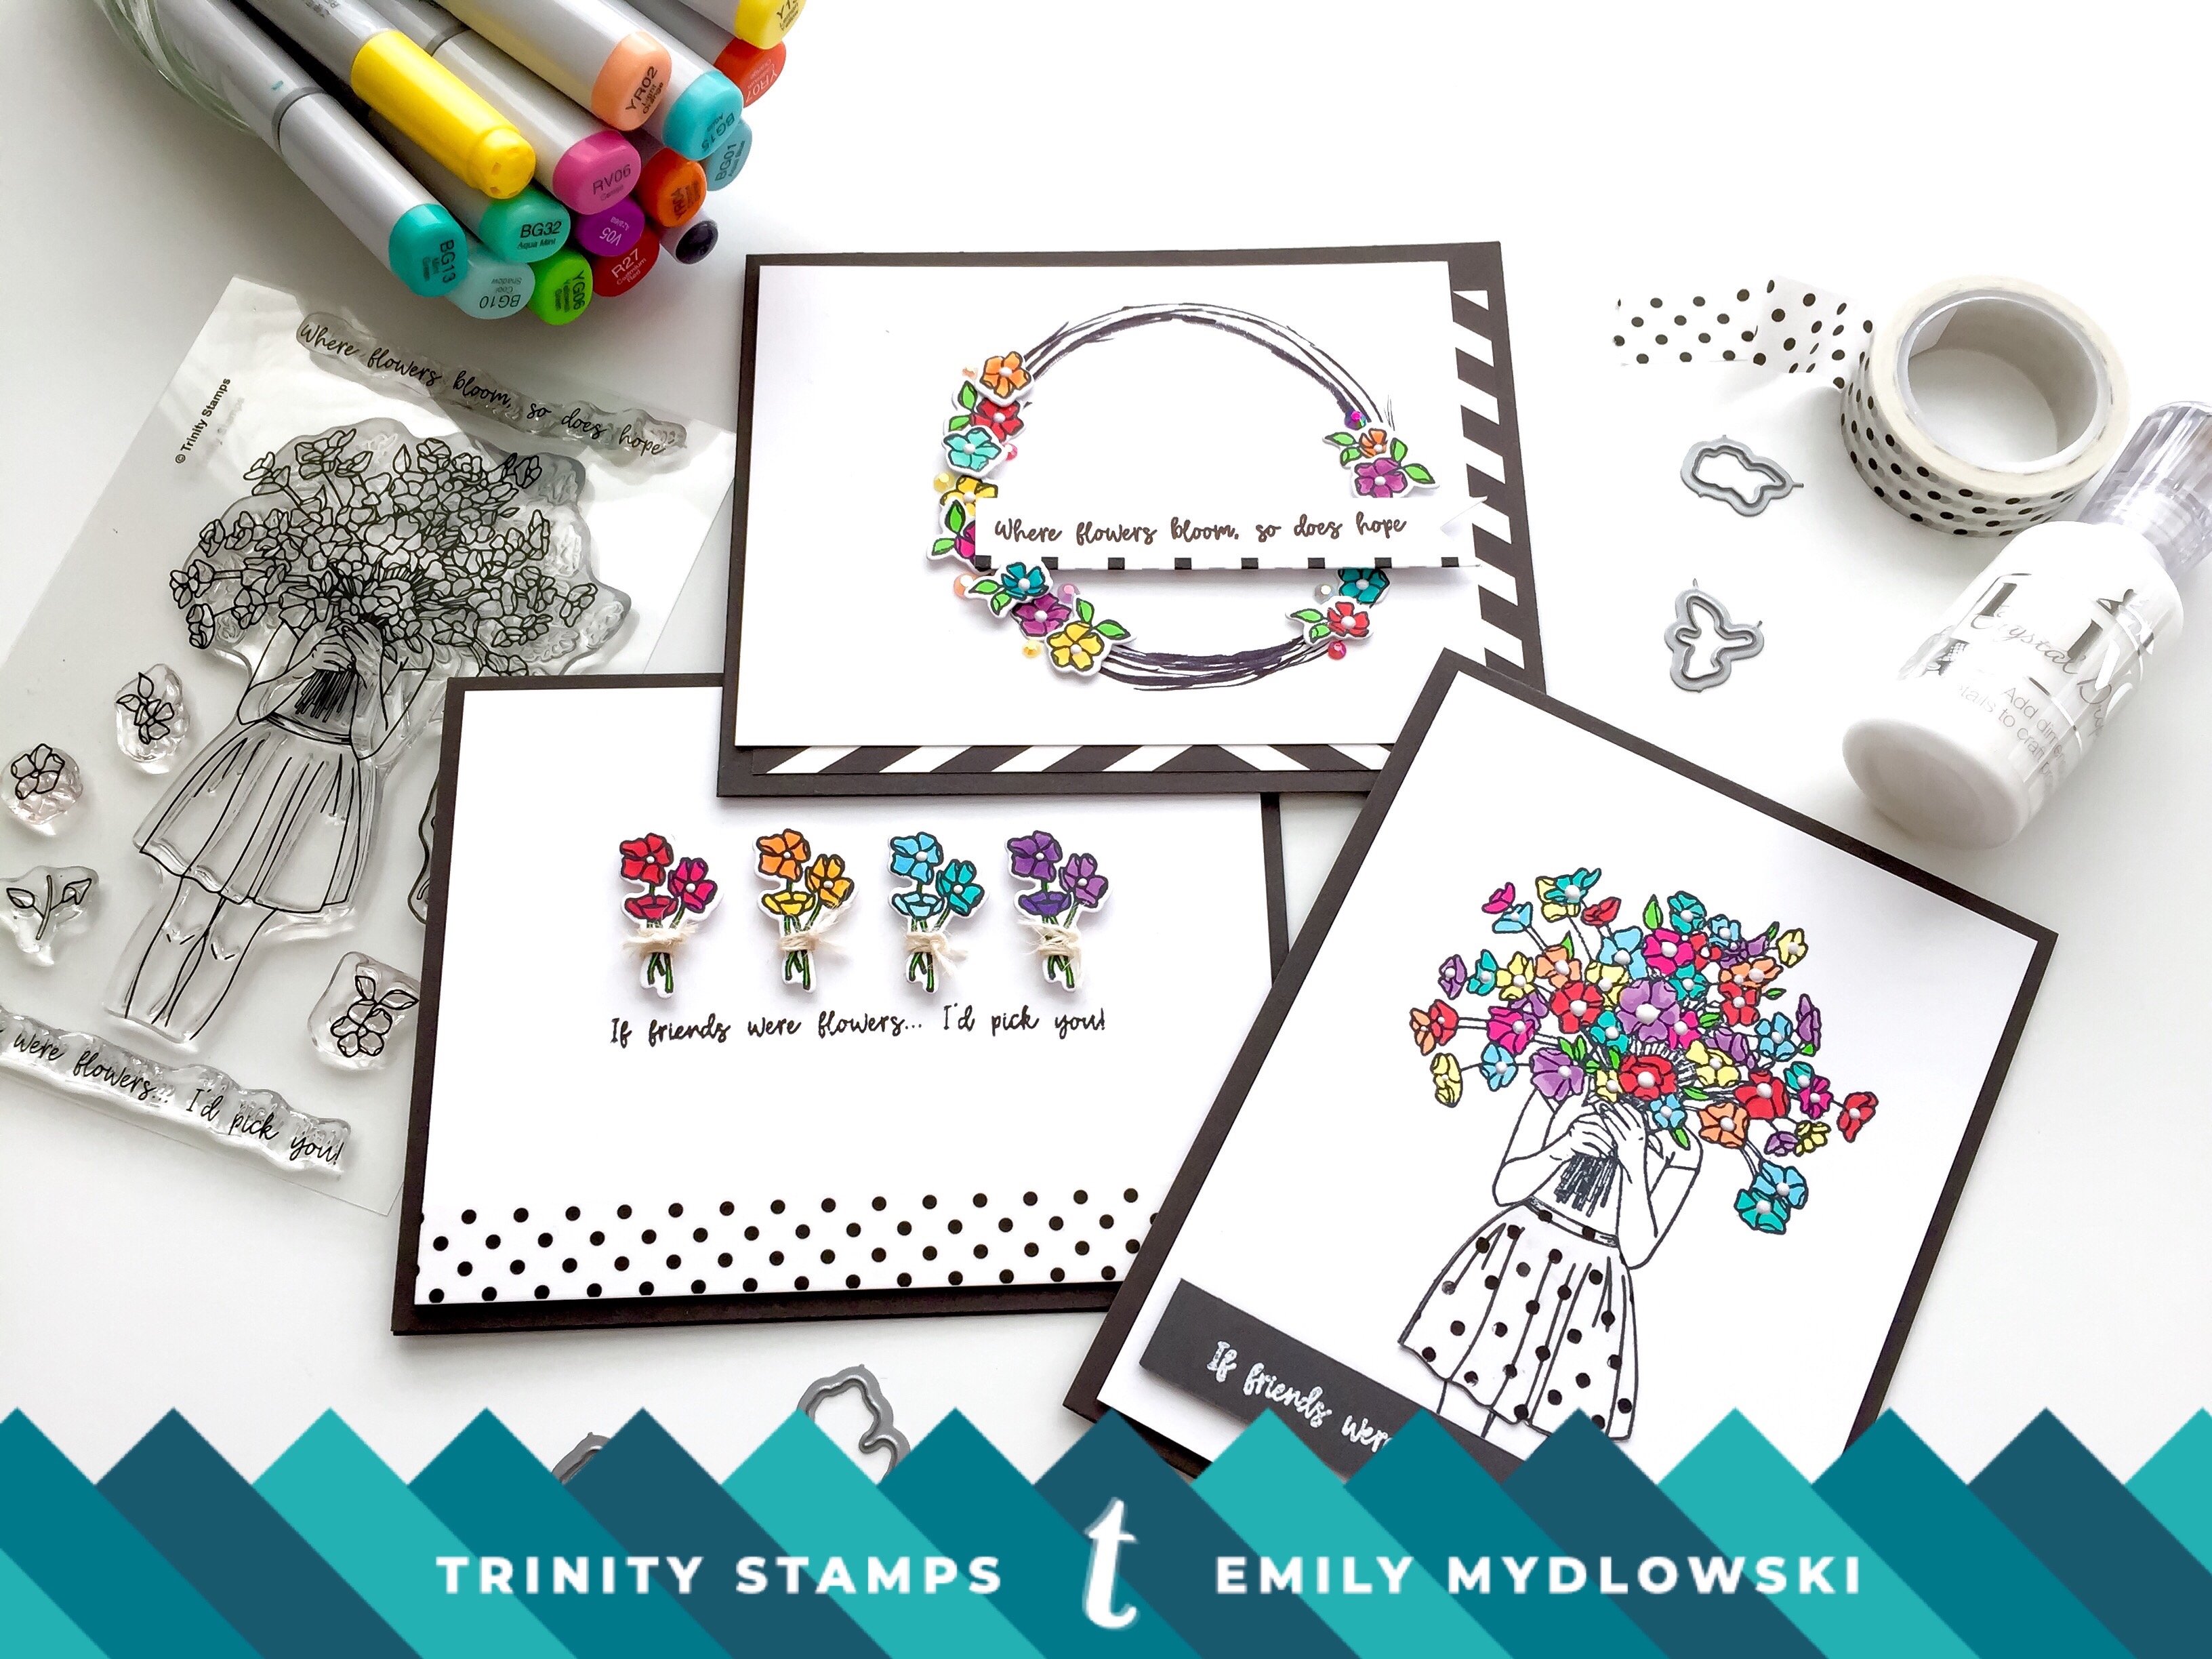
Bouquet of Hope: One Stamp, Three Ways with Designer Emily!
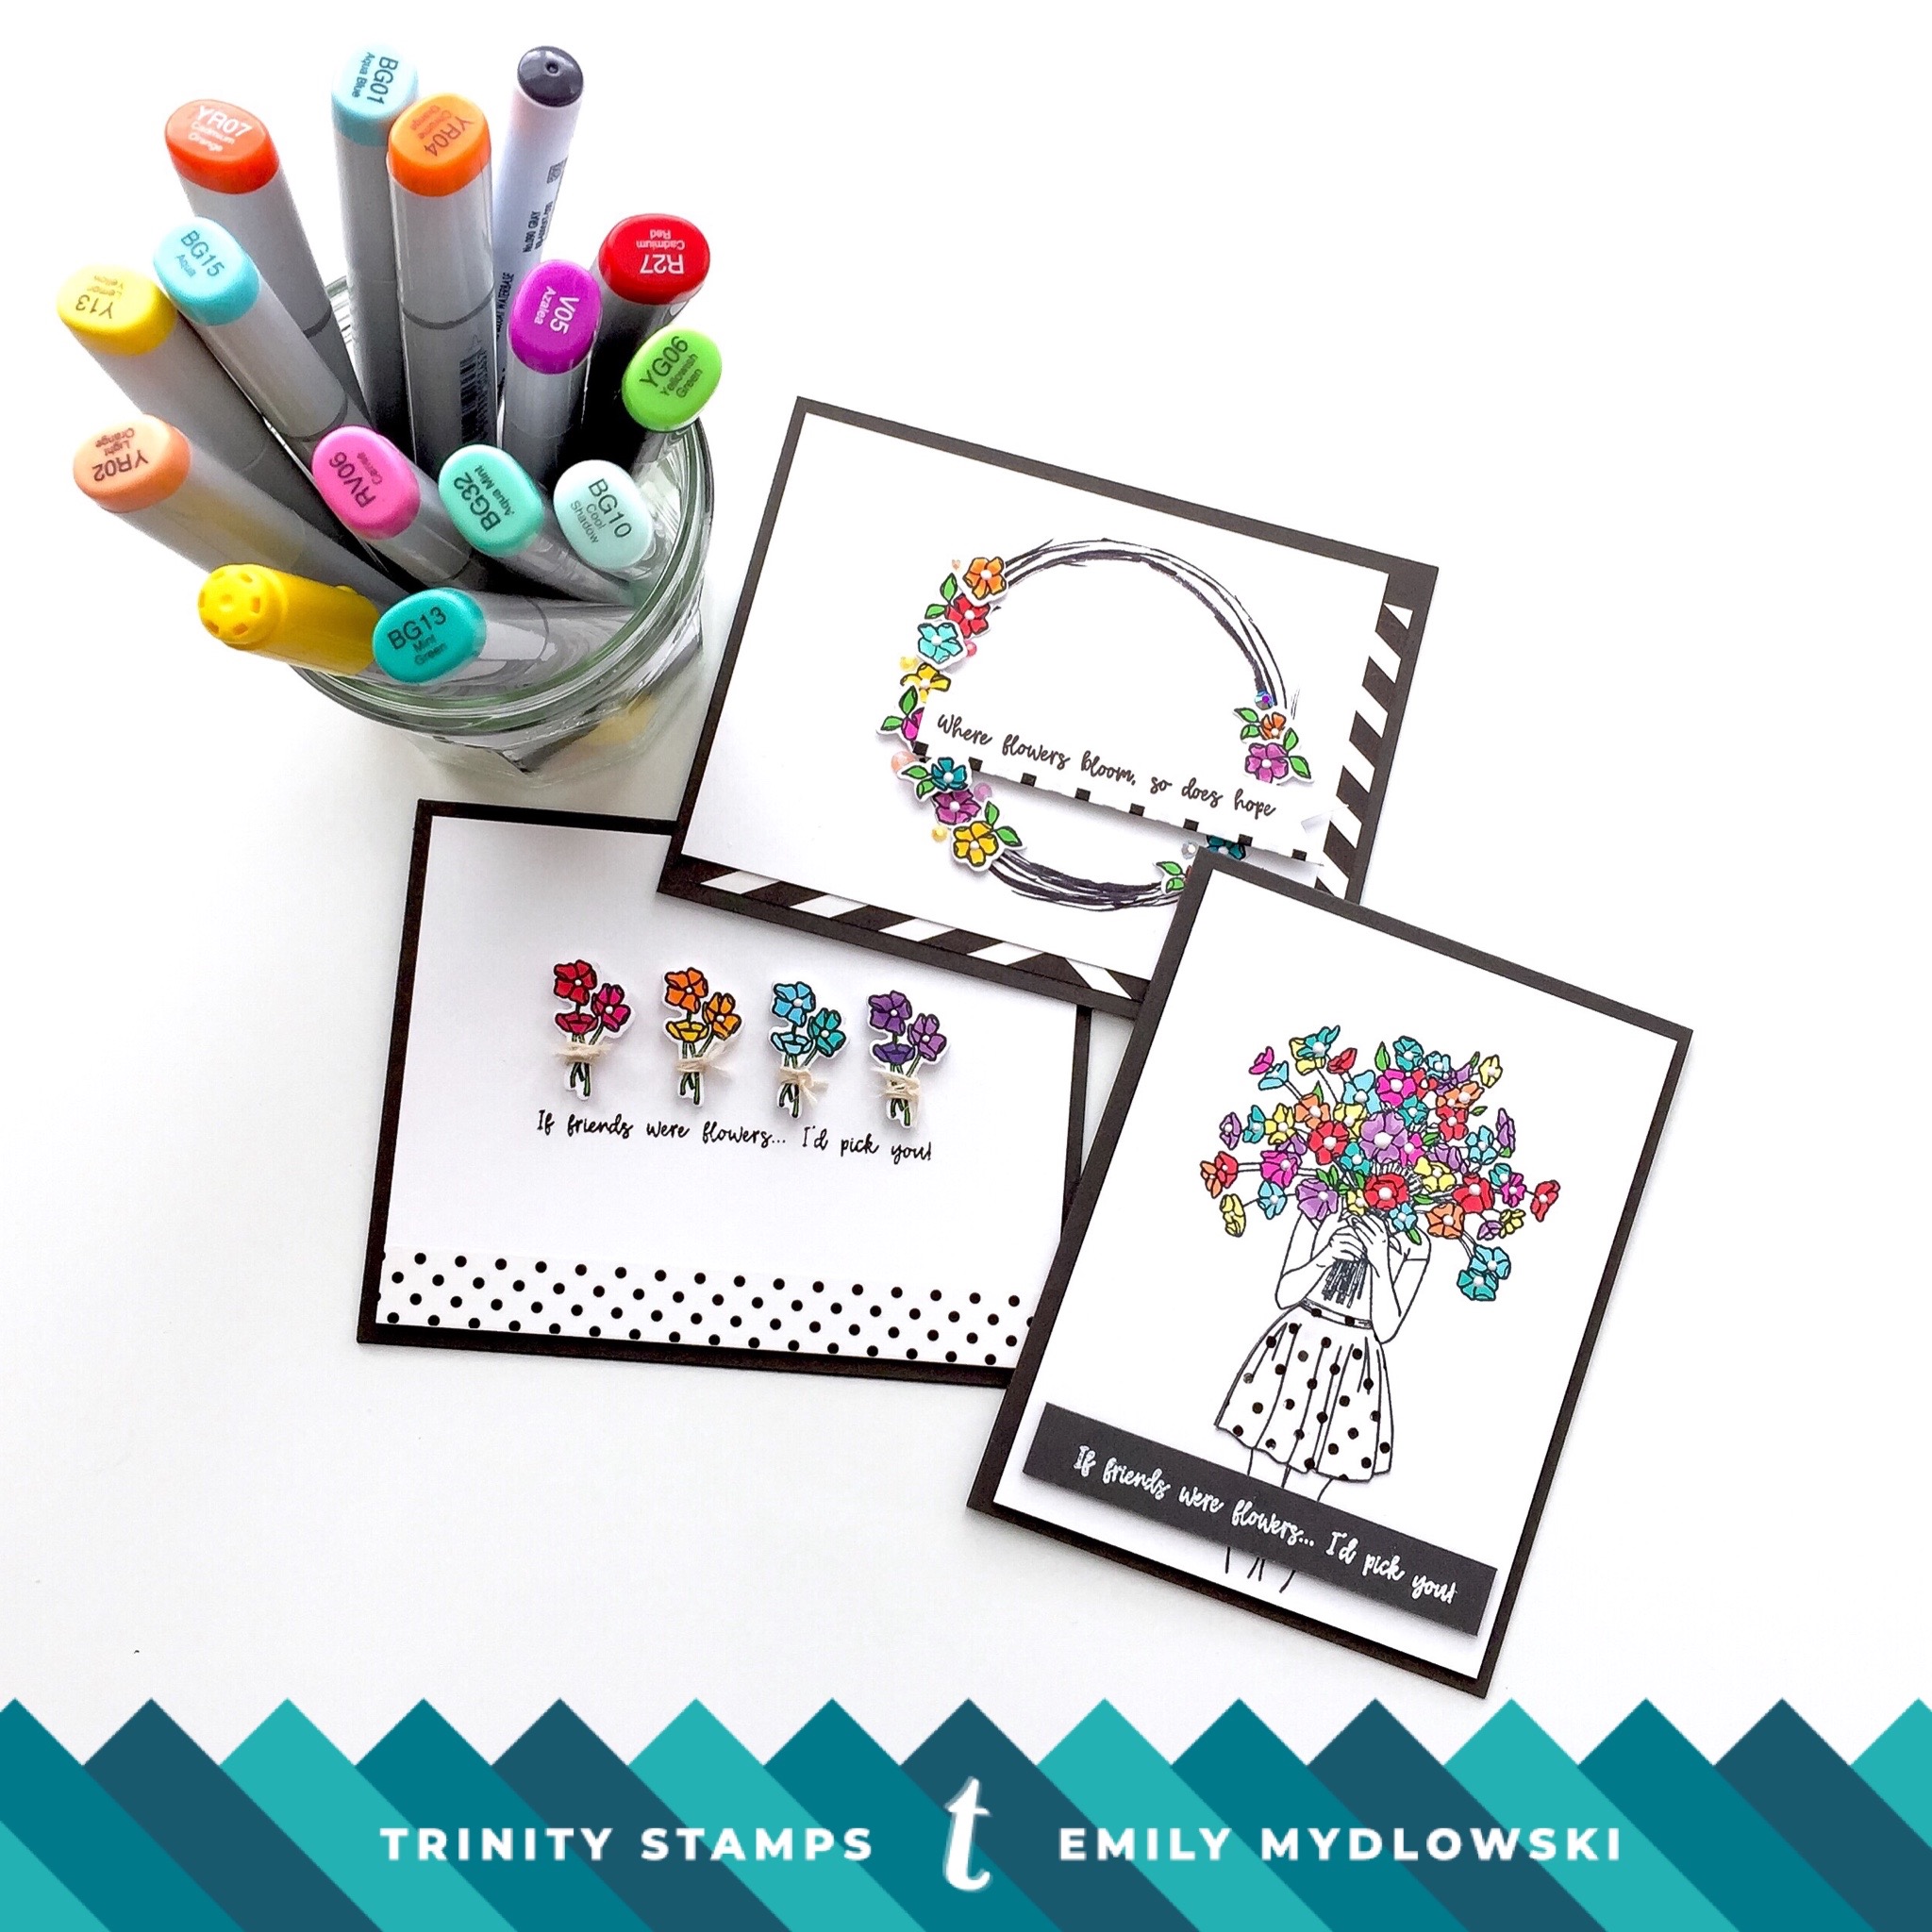
Hello Friends and welcome back to this week’s One Stamp Three Ways Series. I’m so happy you are here! This week I selected the Bouquet of Hope & Matching Dies as my weekly inspiration. This set includes an amazing focal image and the sweetest sentiments. I have three cards to share with you all inspired by Rainbows, Polka Dots and Fresh Picked Flowers.
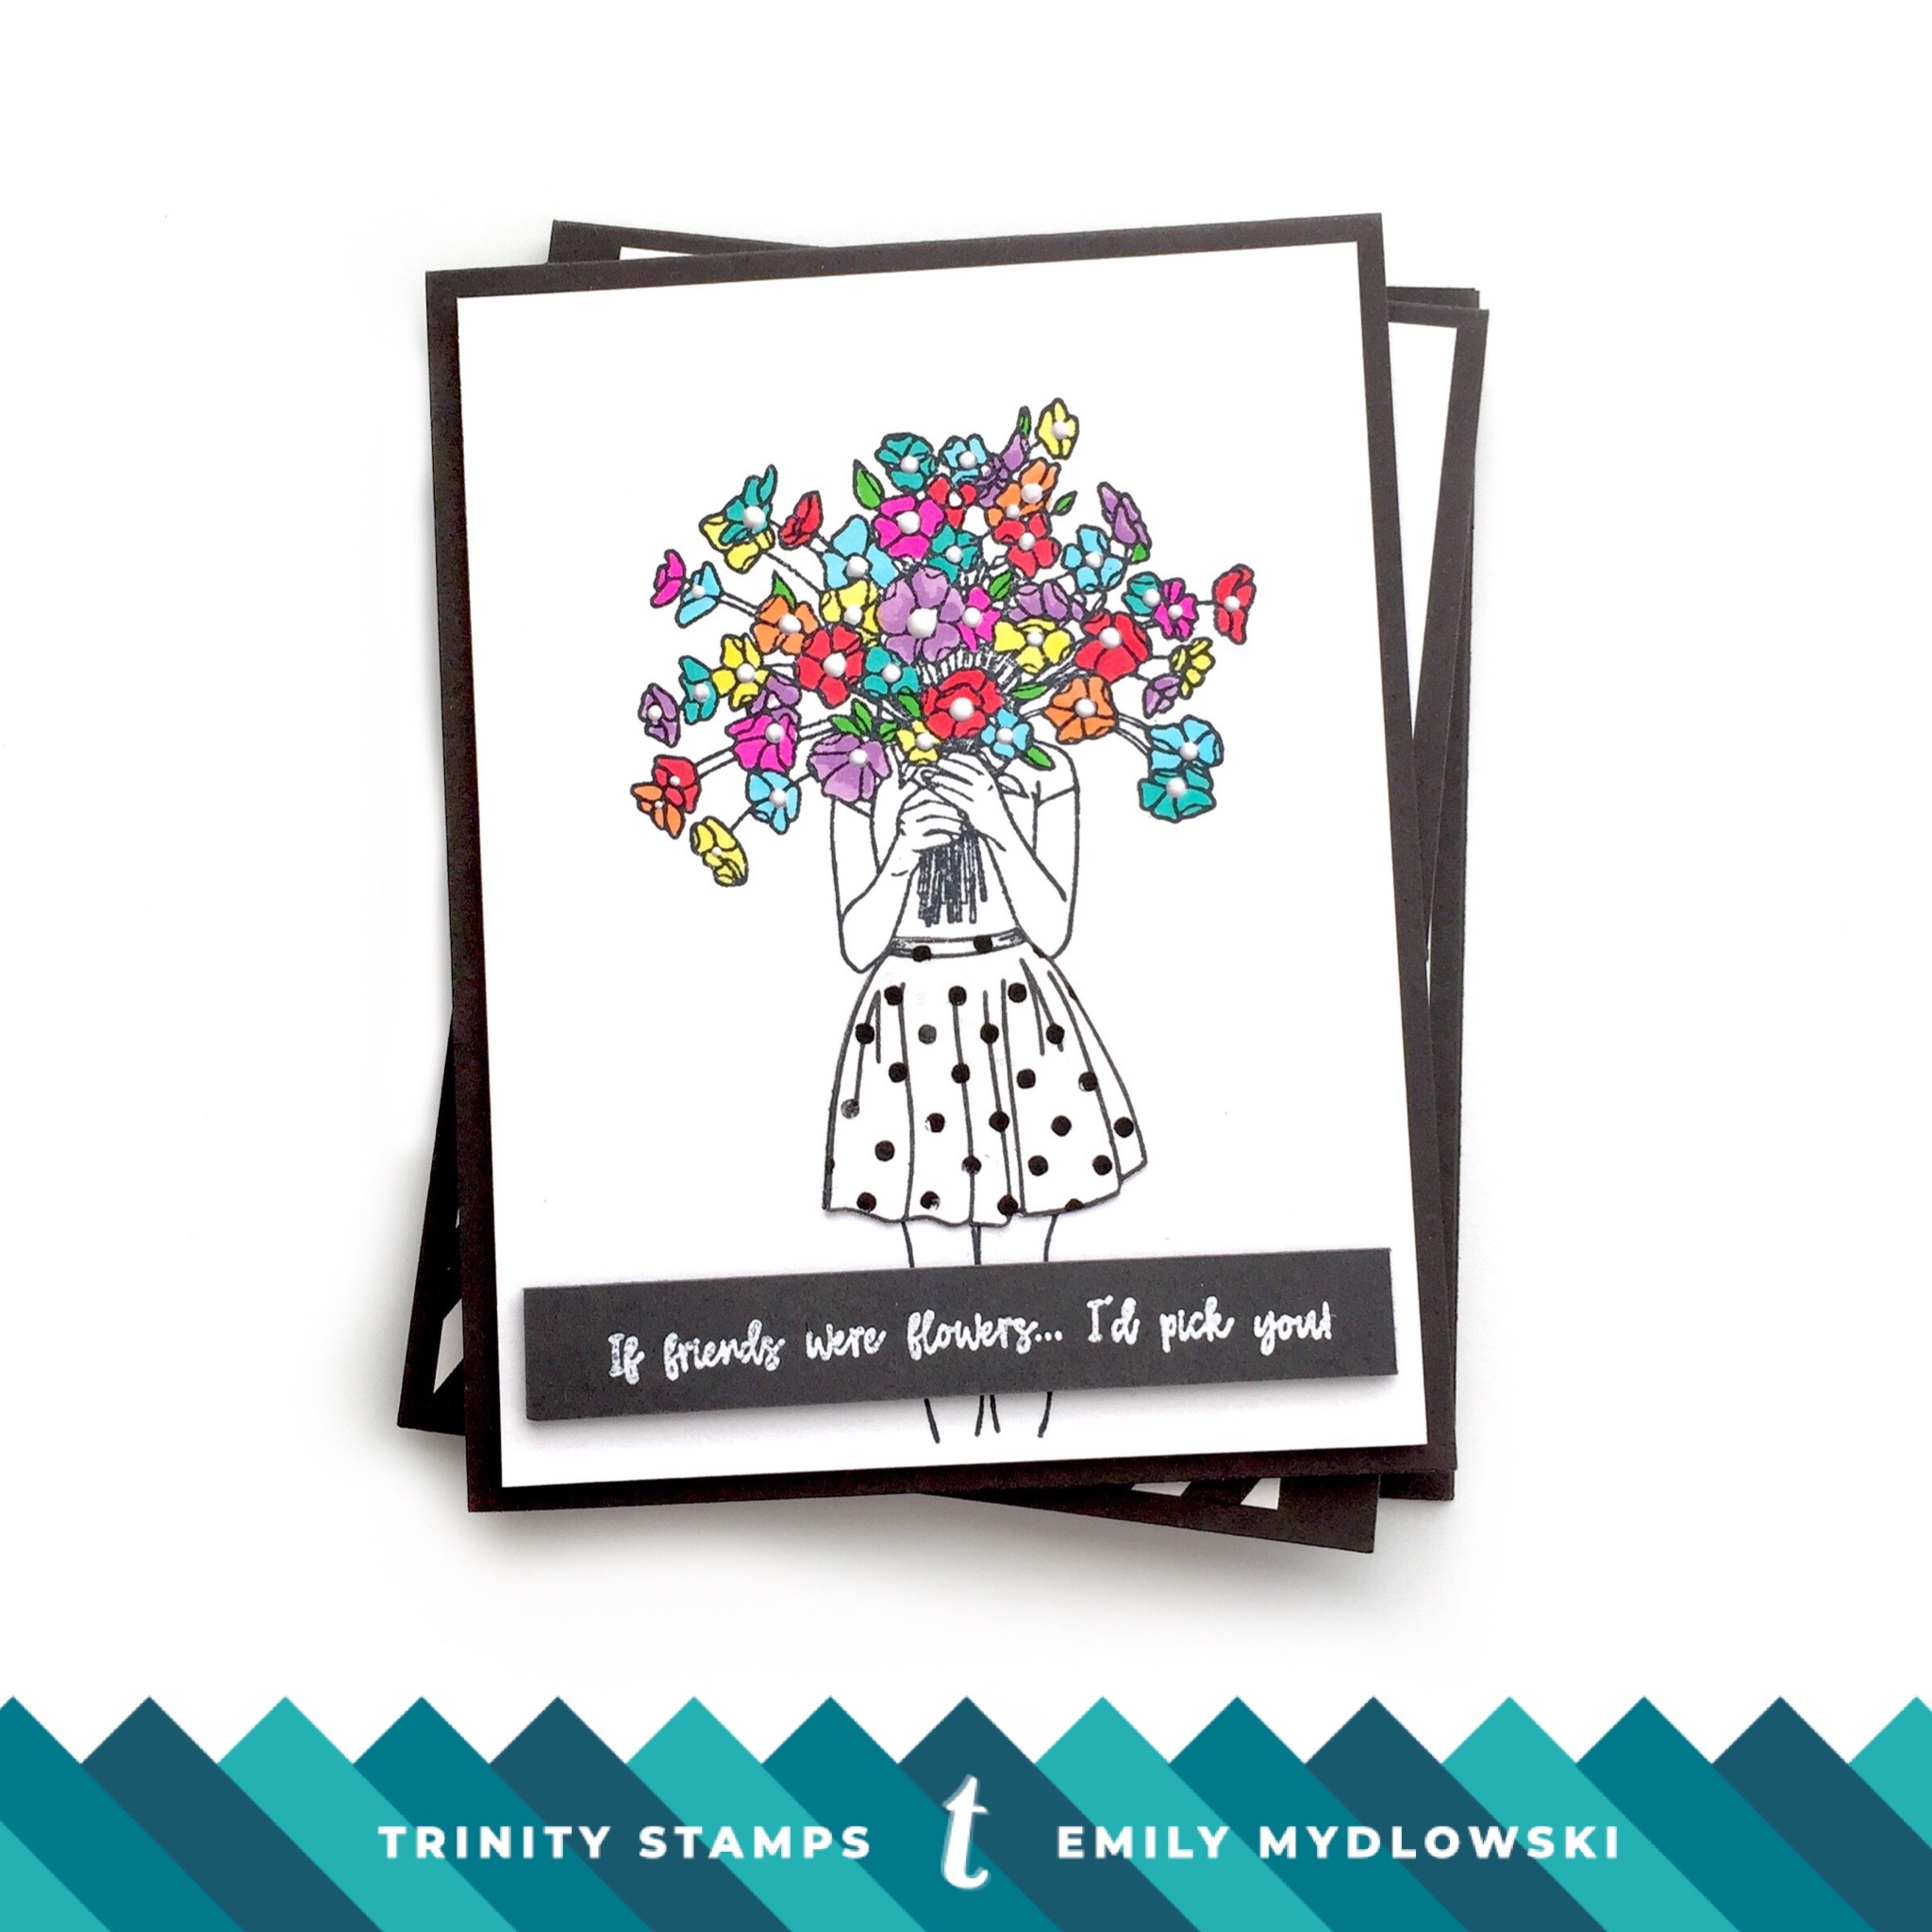
For the first card, I focused on the girl holding the bouquet. When I first saw this image all I could think of was a bouquet of rainbow flowers and while wearing a polka dot skirt. Here’s how the card came together:
- I stamped the image in Memento Tuxedo Black & colored the flowers with Copics. To create the rainbow effect, I started with one color and colored about six different flowers around the bouquet and then the middle. I followed that same pattern with all colors until the bouquet was full of color.
- Nuvo Simply White Crystal drops where added to the flower center for extra pop.
- For the Polka Dot Skirt I did some paper piecing. I stamped the image on a piece of patterned paper, cut the image and then glued it over the skirt. You could do so many fun things with paper piecing and this skirt (like tulle underneath or a coordinating washi belt or bow. But I kept it simple for this card).
- I stamped and embossed the sentiment on a strip of black card stock and used some foam adhesive to add some dimension.
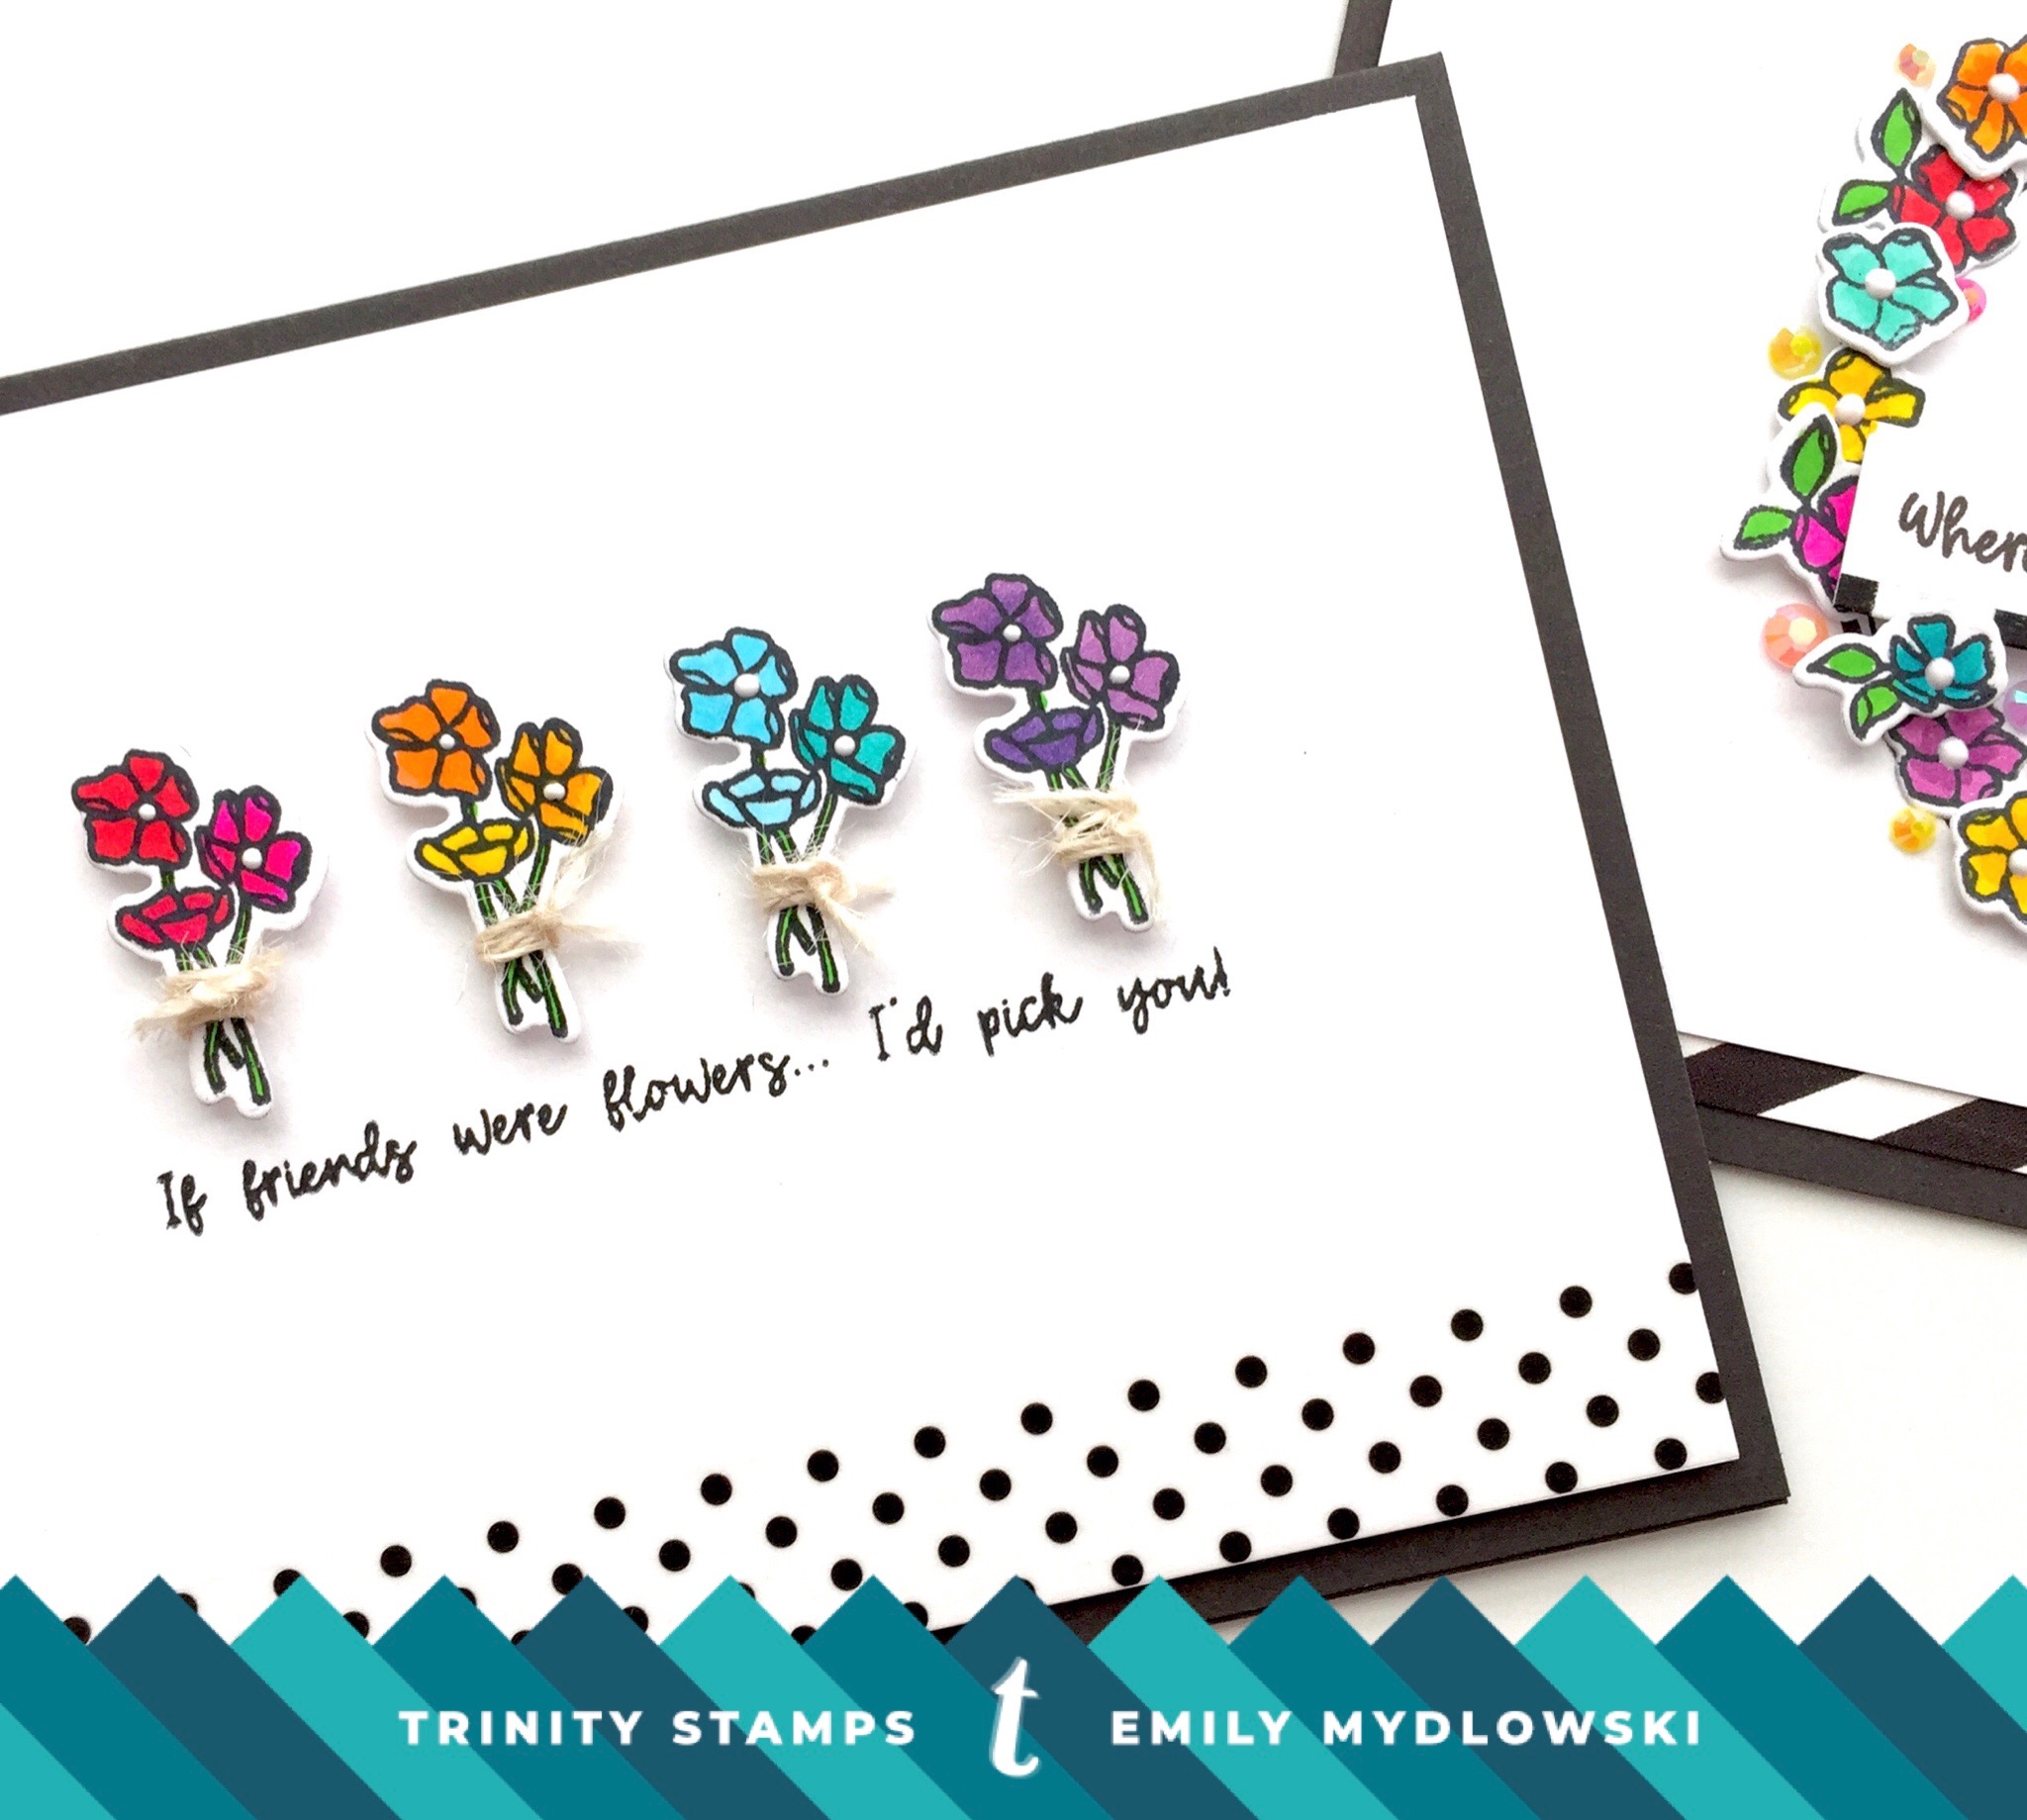
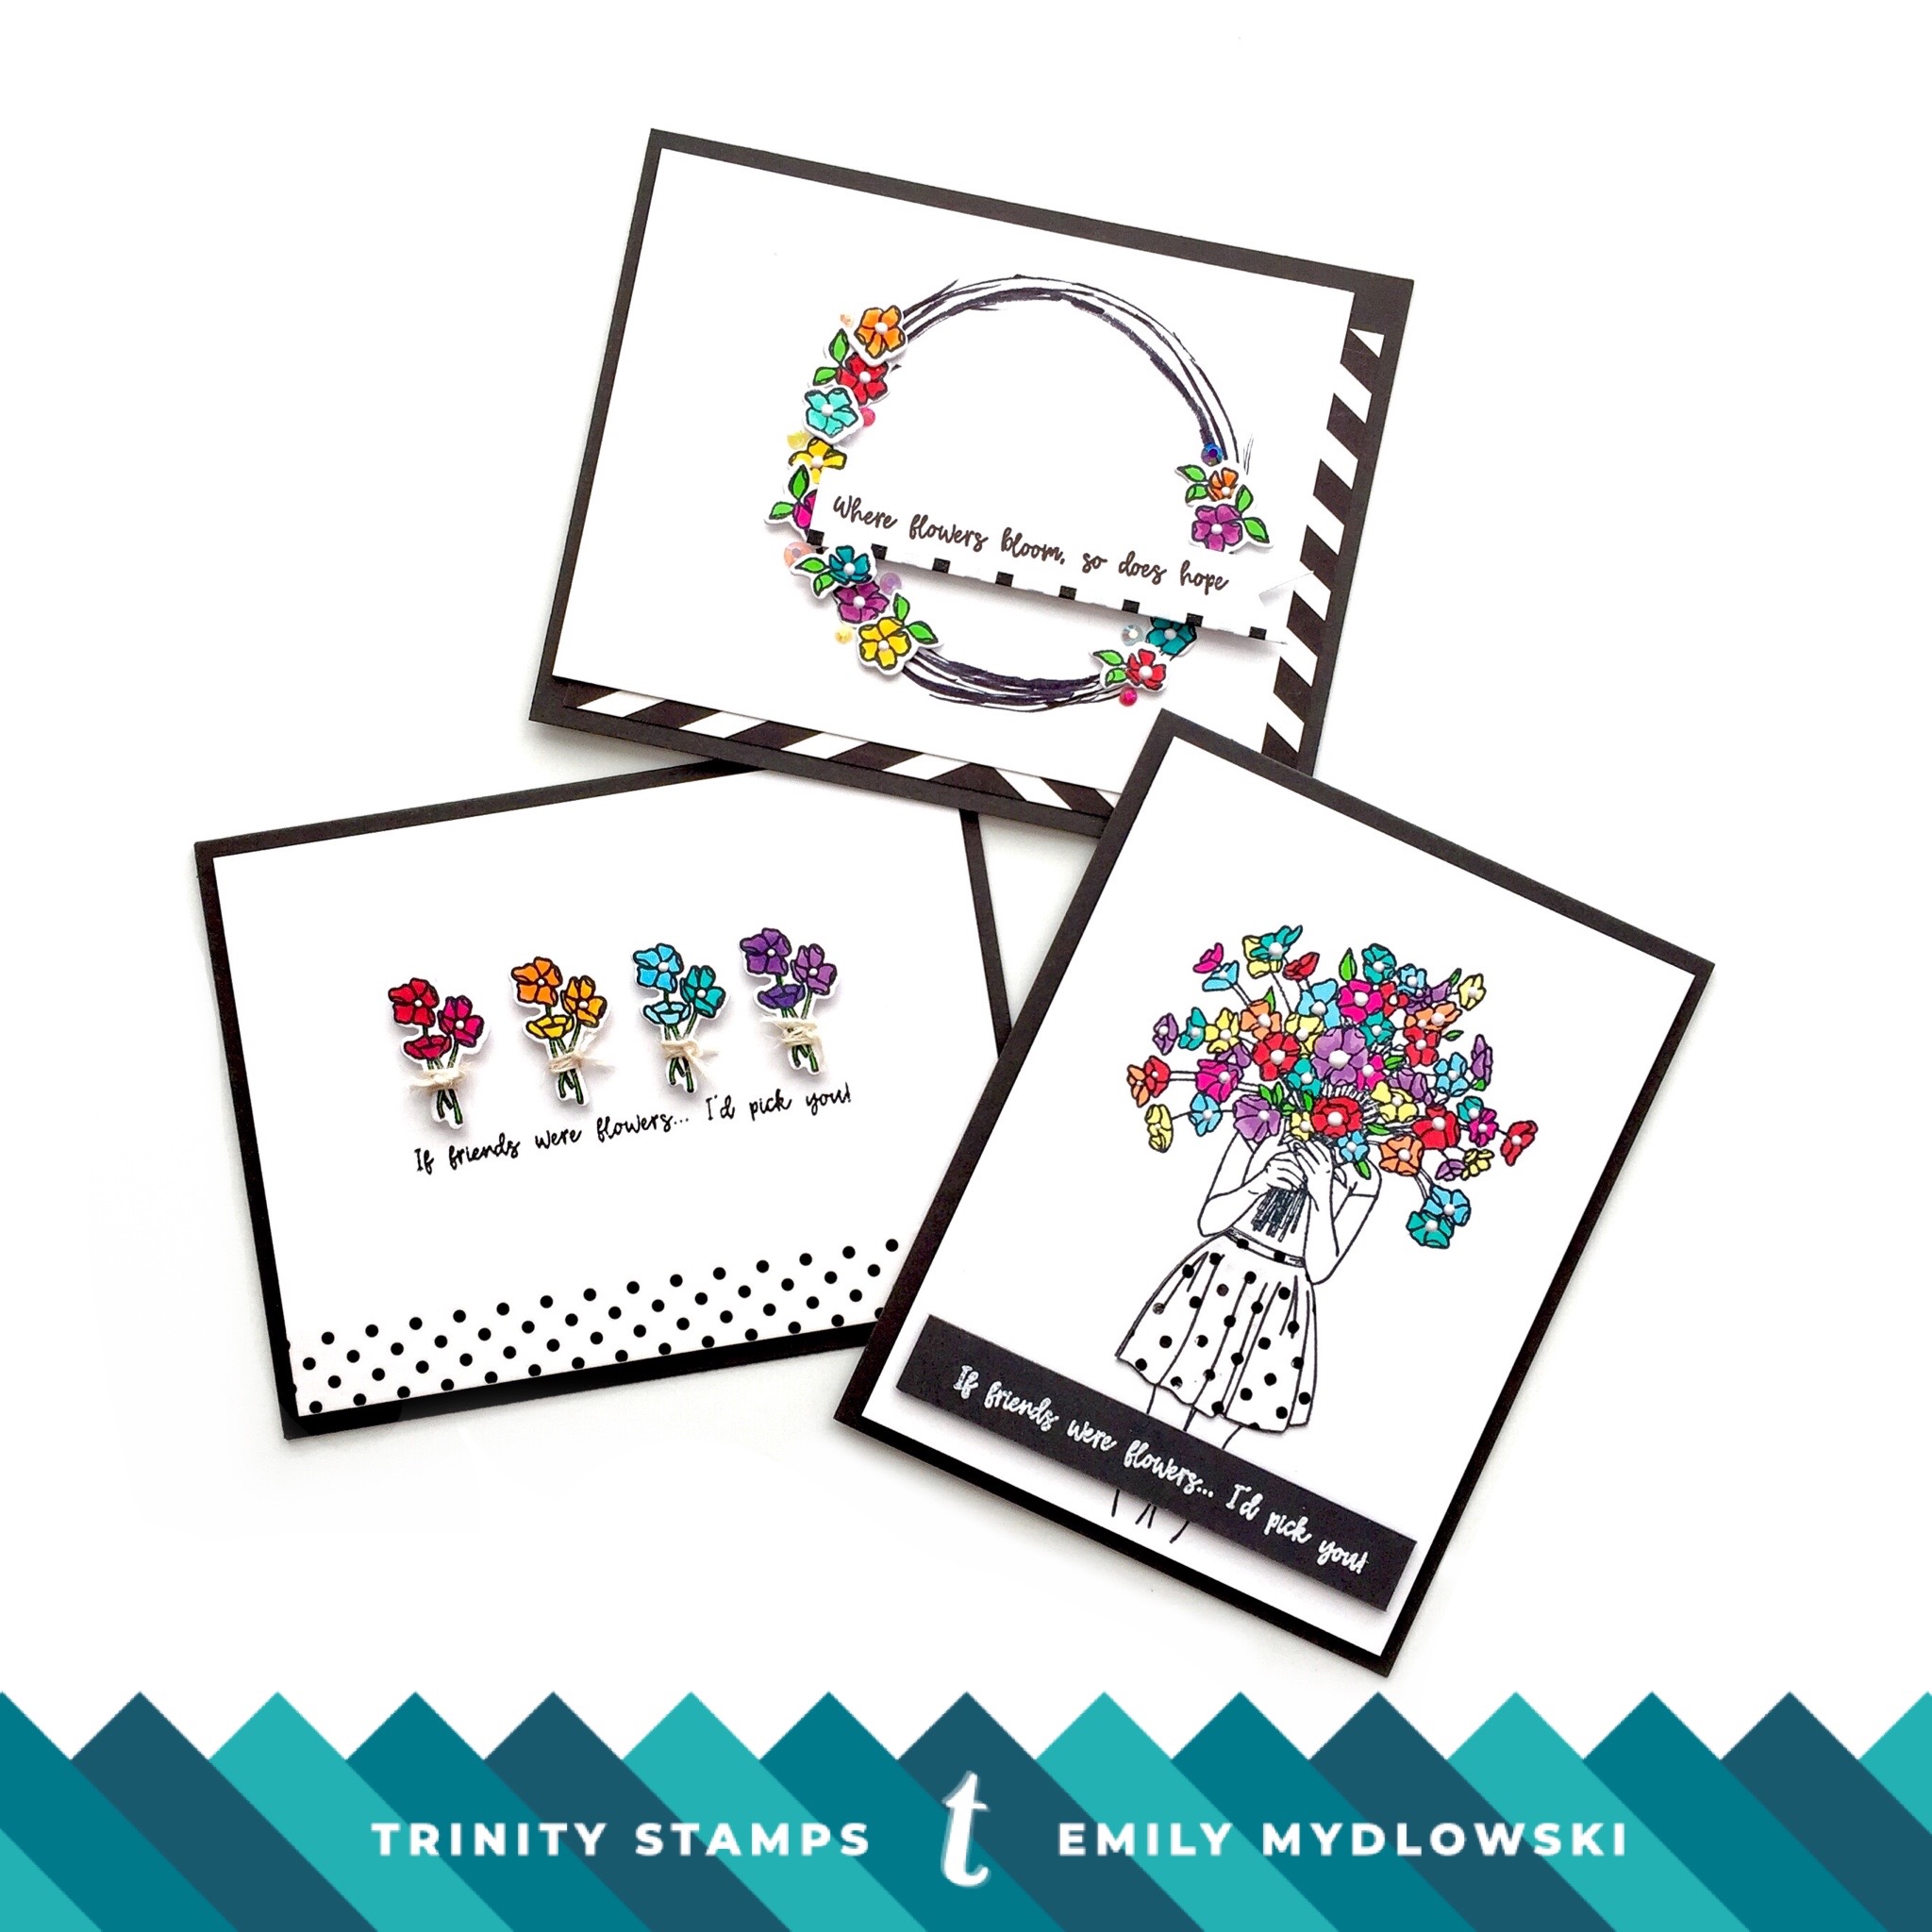
For the second card, my inspiration was the sentiment “If friends were flowers, I’d pick you”. I wanted to create bundles of fresh picked flowers. To create the flower bouquets, I die cut the flower bunches, stamped the images and then colored the flowers with Copics. I then wrapped twine around the flower stems. Then I assembled the flower bunches into a rainbow pattern, adhered them to the card with dimensional foam squares and for a crisp black impression I added the sentiment with VersaFine Clair Nocturne Ink.
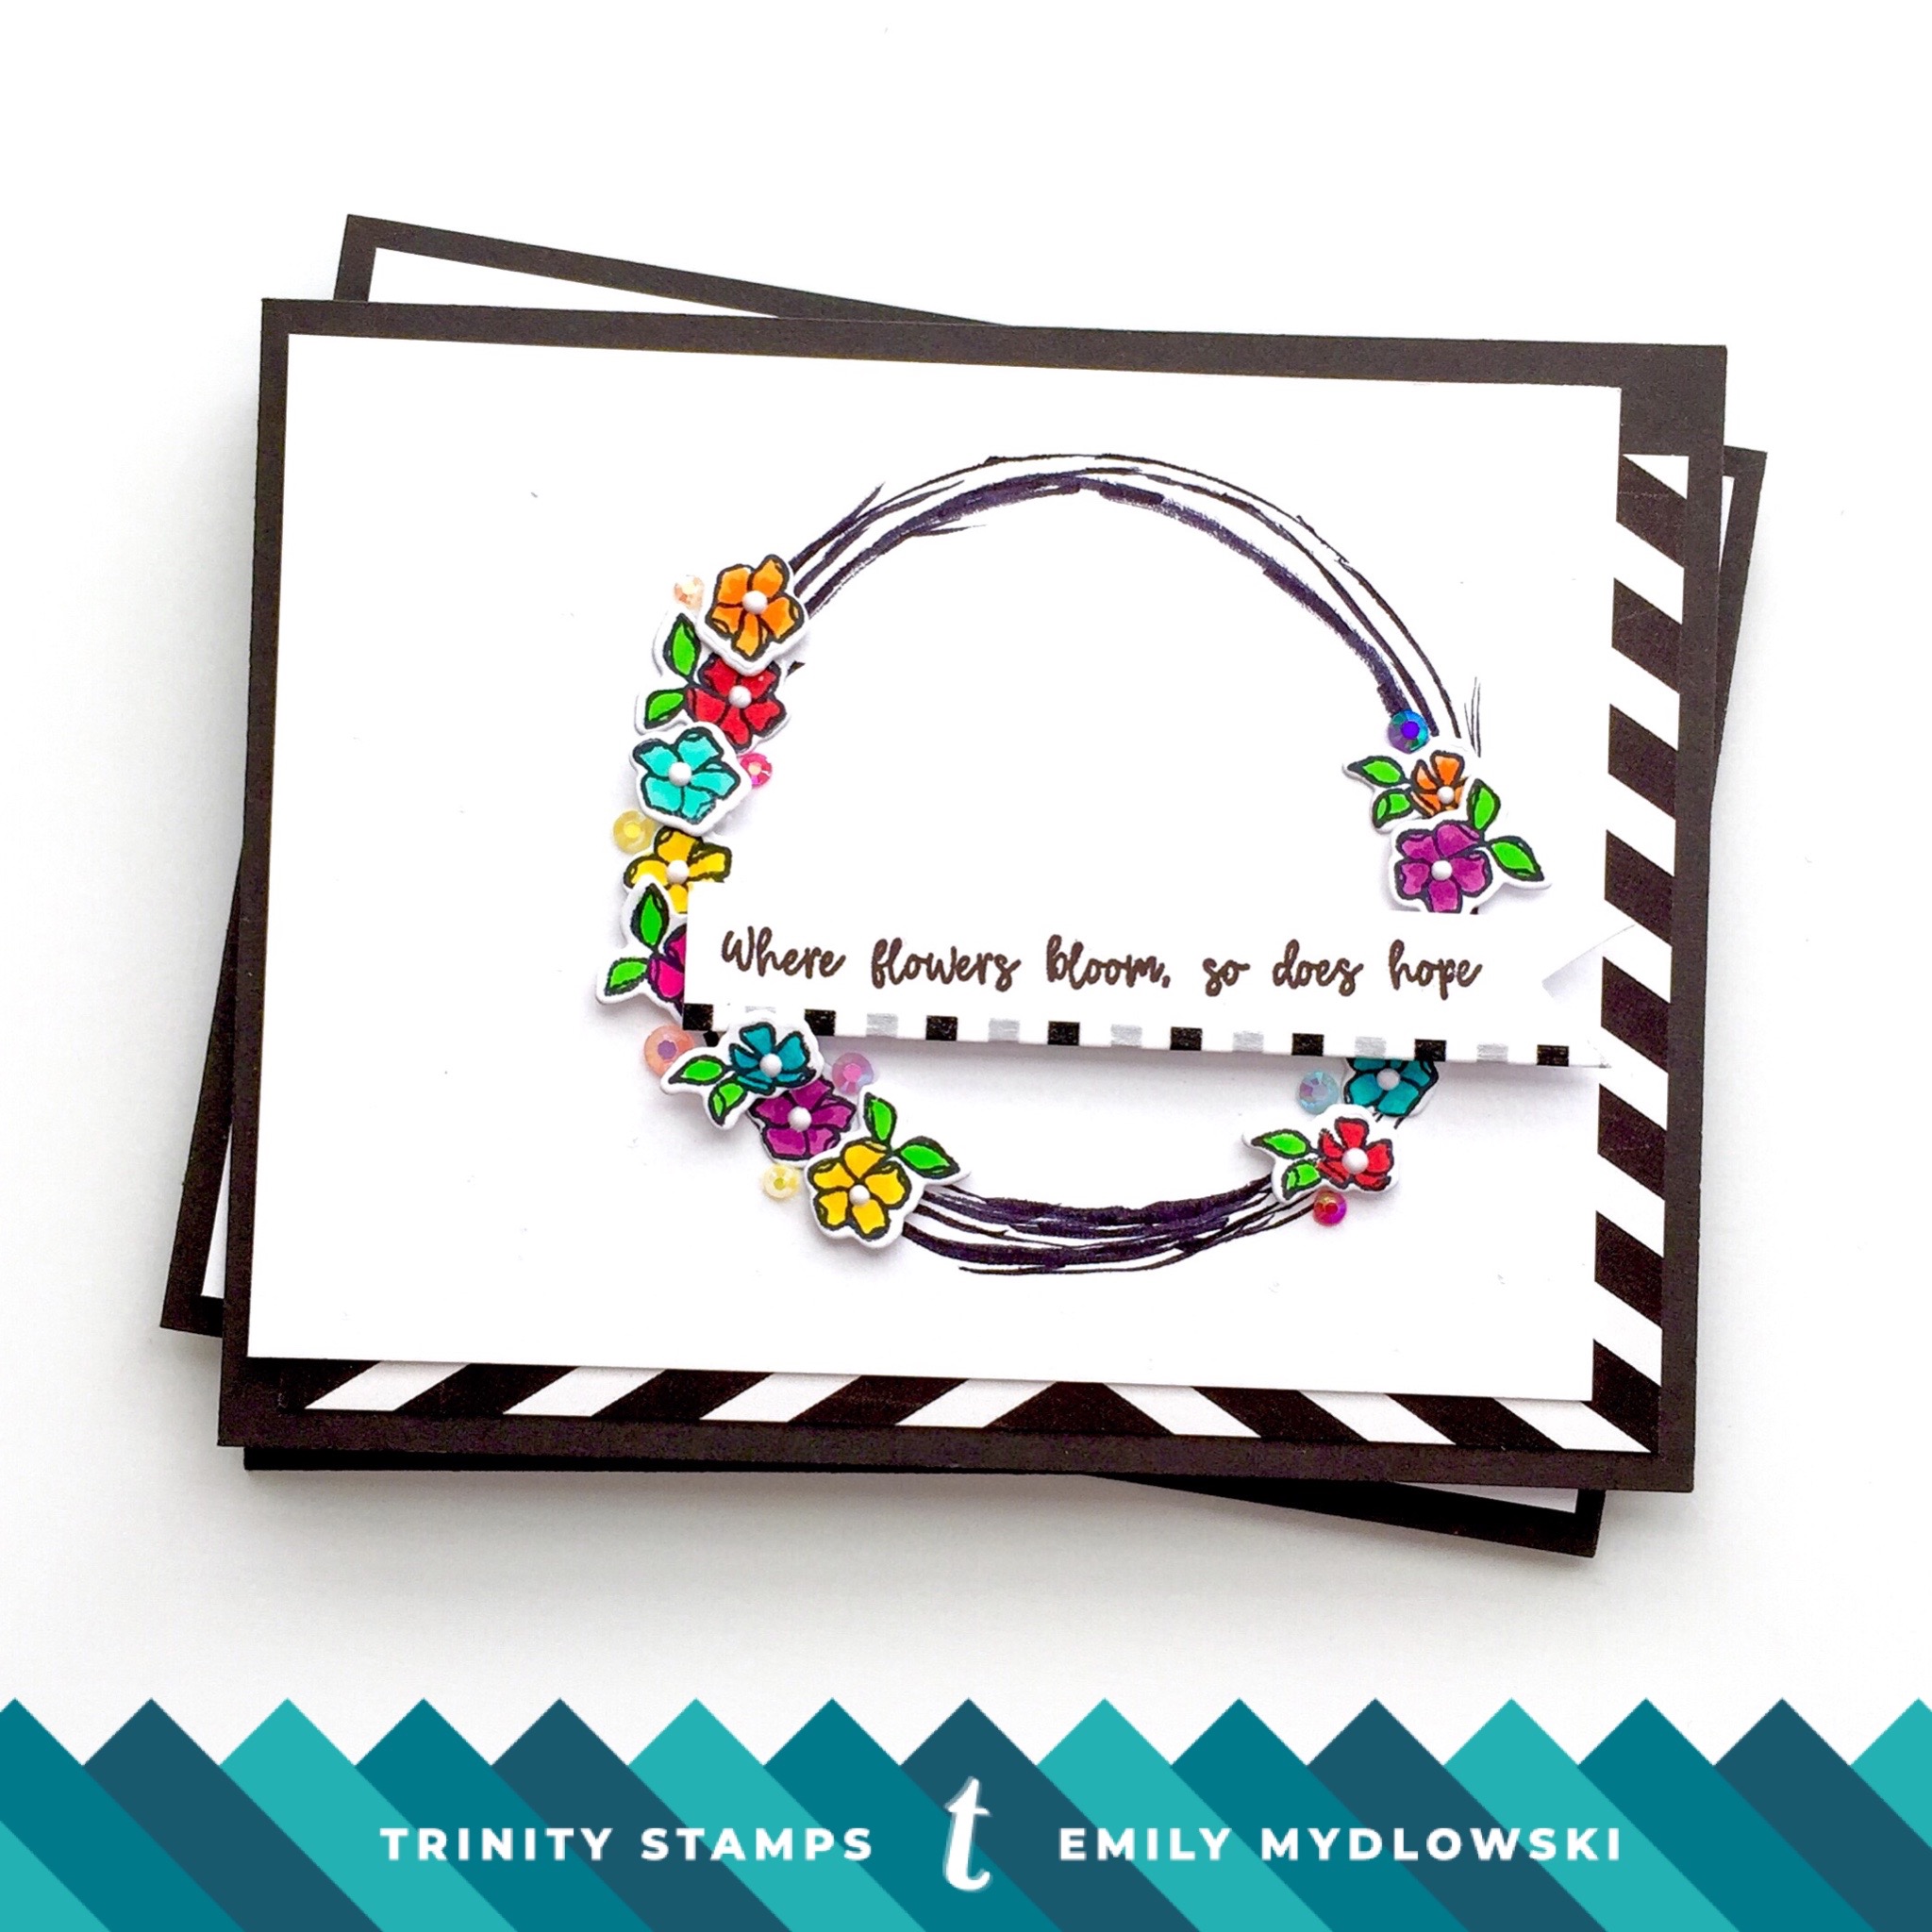
For the last card, I wanted to create an organic floral wreath with the little flower images in the set. Here’s how it all came together.
- To create the wreath: I die cut a circle as a template and because I wanted an organic look I used a Zig brush marker to trace/draw three intertwined circles.
- For the flowers, I die cut and then colored the images with Copics. I then assembled the flowers around the wreath with foam tape and glue. Then I adhered rainbow jewels in the empty spaces between the flowers.
- For the sentiment, I stamped the words on a strip of white card stock. Cut a banner edge and then added some washi to the bottom of the banner. I adhered the banner and then added and adjusted the flowers around it.
- When everything was in place, I added Nuvo Simply White Crystal Drops to the center of the flowers.
- With some striped pattern paper in the background, I layered all the pieces together on the black card base.
For all of the projects, here are the Copic colors I selected: RV06, R27, YR02, YR04, YR04, Y13, Y08, YG06, BG13, BG01, BG15, BG32, V12, V15.
And there you have it, friends! Three ways to use the beautiful Bouquet of Hope Stamp Set and Matching Dies. Have a wonderful week ahead and I’ll see you next Monday. Until then, you can catch me on Instagram @popsofpaper or on my blog: www.popsofpaper.blogspot.com. Don’t forget to stop by the Trinity Stamps Shop, You Tube and Instagram for more inspiration from the design team!
Big Paper Hugs!
Emily @popsofpaper


The bright pops of color against the b&w make me think of the song lyrics… “Like sunshine, on a cloudy day…” 🙂