
A bouquet of flowers and gratefulness with Erica
Hello, hello!
It’s Erica back on the Trinity Stamps blog again! You might wonder why I’m back so soon and there is a very simple explanination. My DT package was held hostage with DHL for weeks! I missed my first scheduled post because I had nothing to create with. Luckily for me, I’m part of a wonderful and supportive Design Team and one of the other ladies filled in my spot for me. I’m back today to return the favour. Next month, it should all be back to normal schedule and postings.
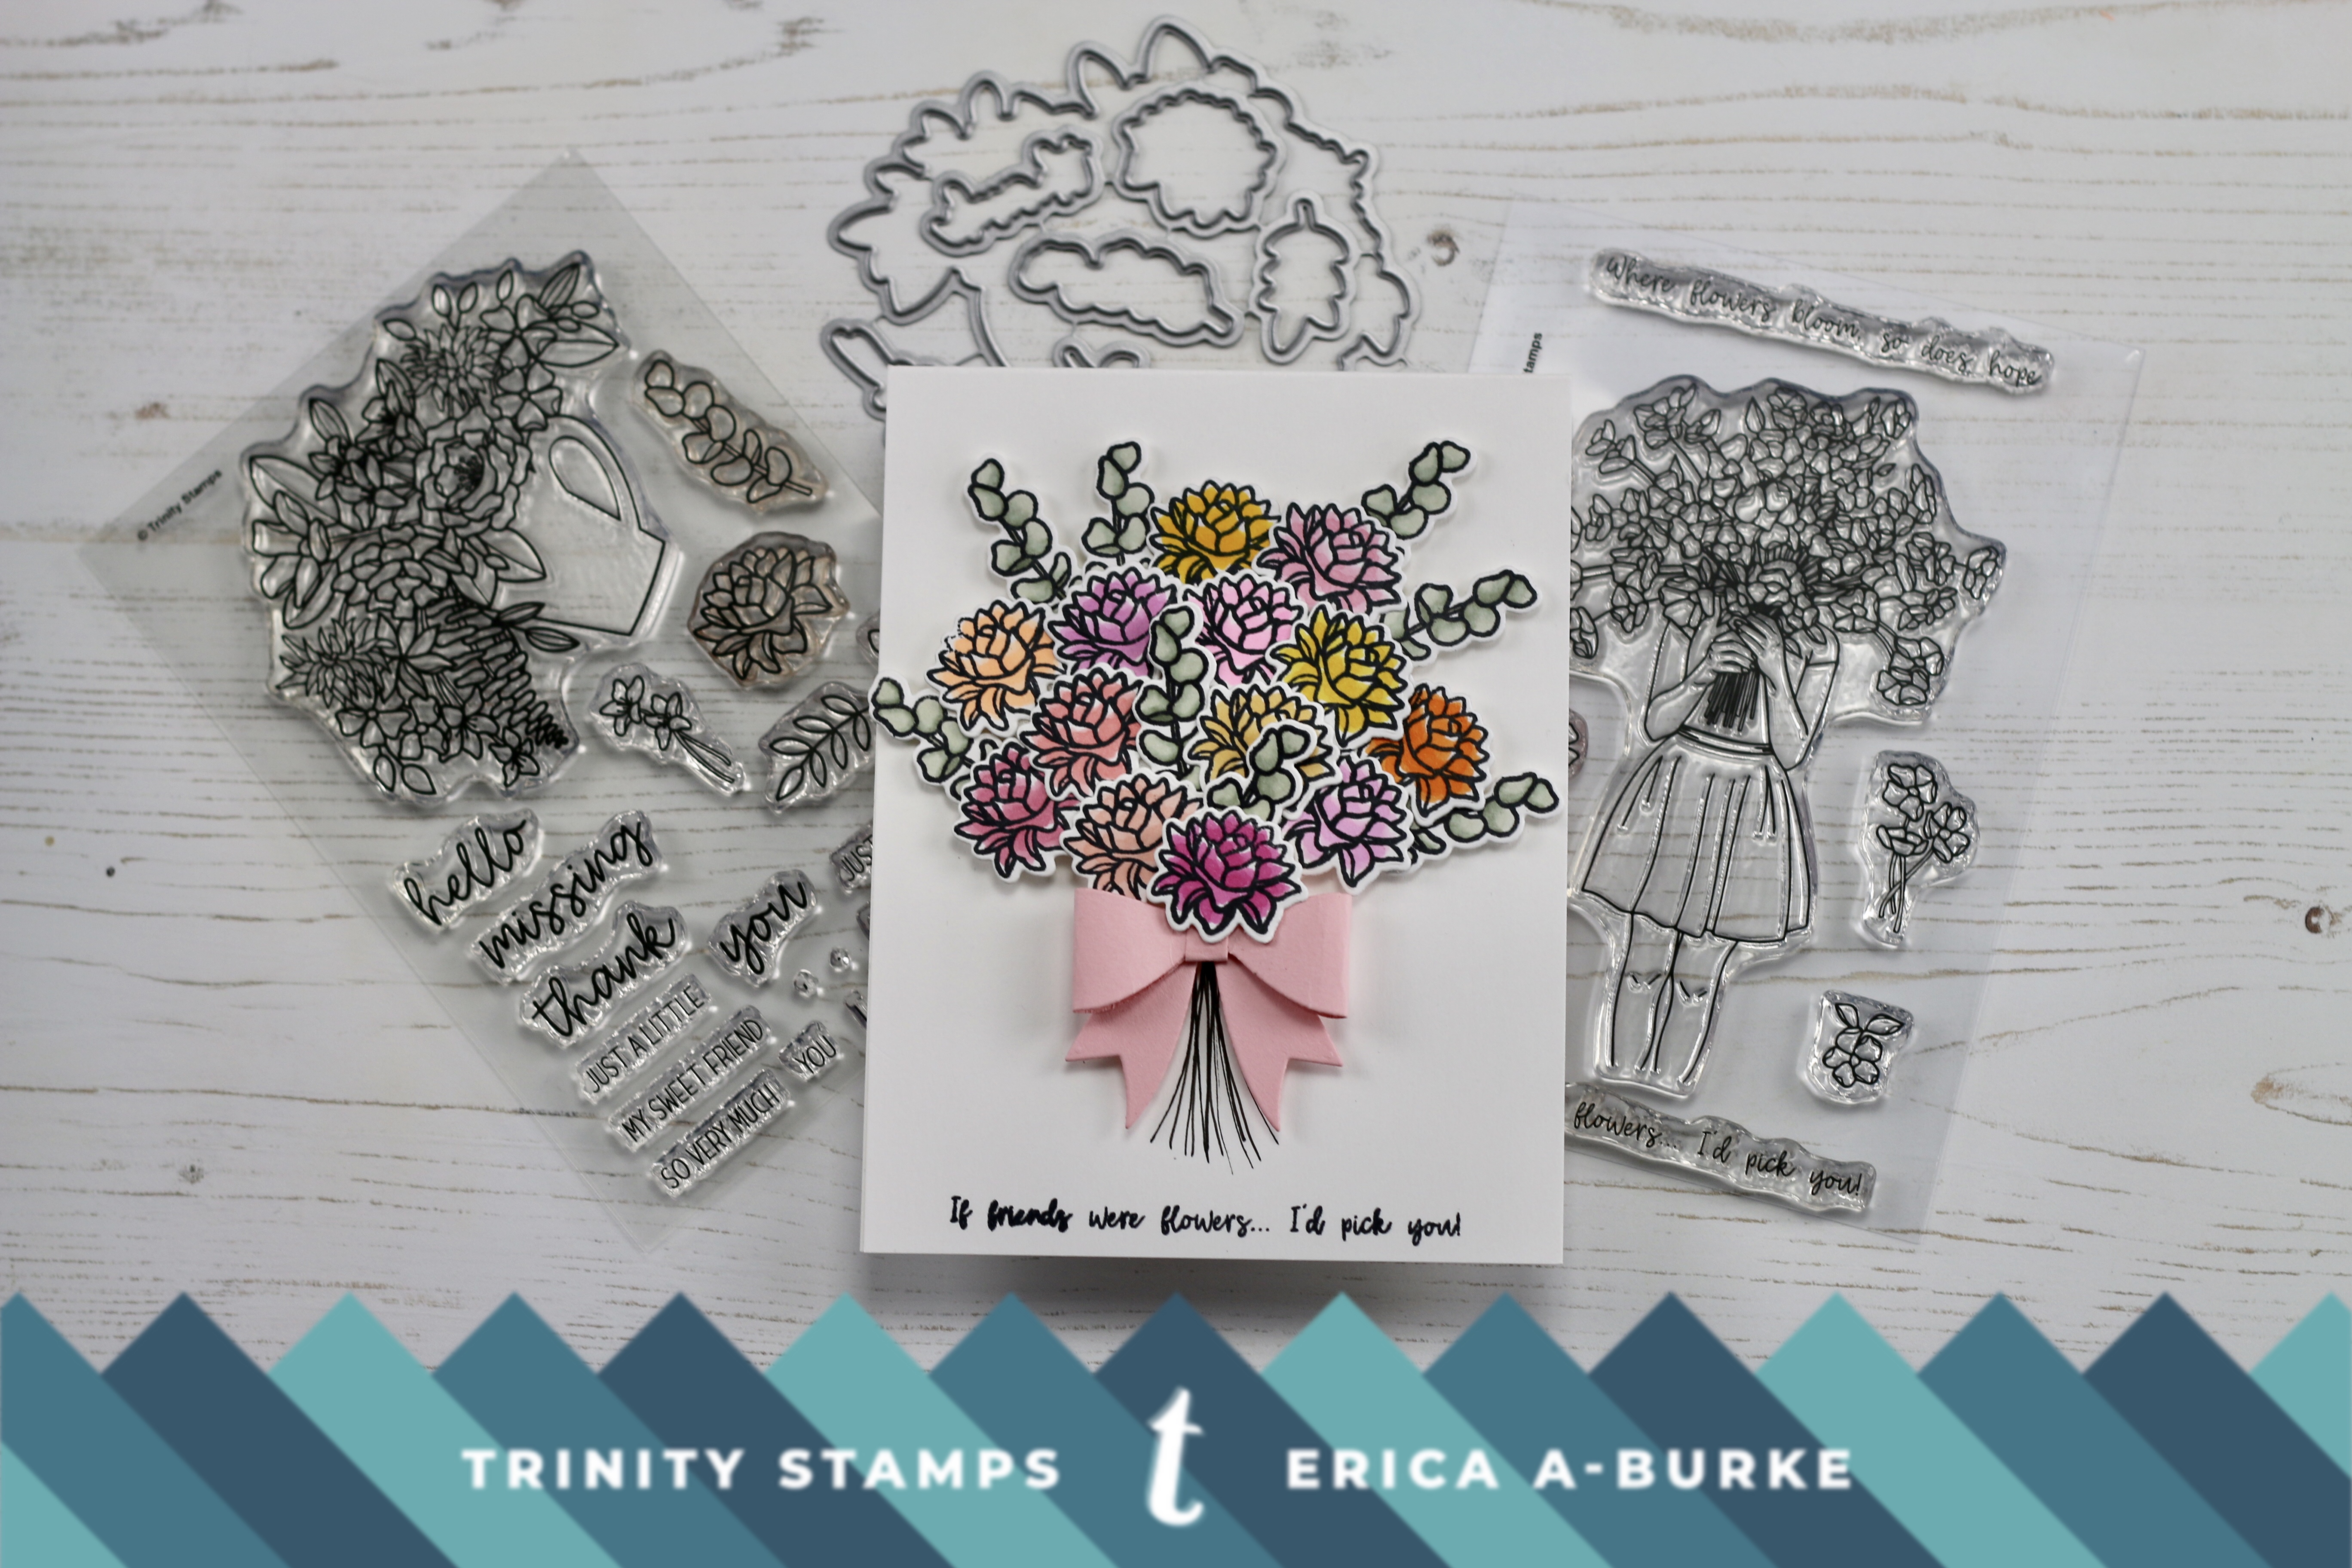
In light of this being a ‘thank you for helping me out’ post, I decided to make a friendship card. As my first three cards have all been coffee themed, it was time for something new. I started out with the Hello Sweet Friend stamp set. It has a coordinating diecut too, yay!
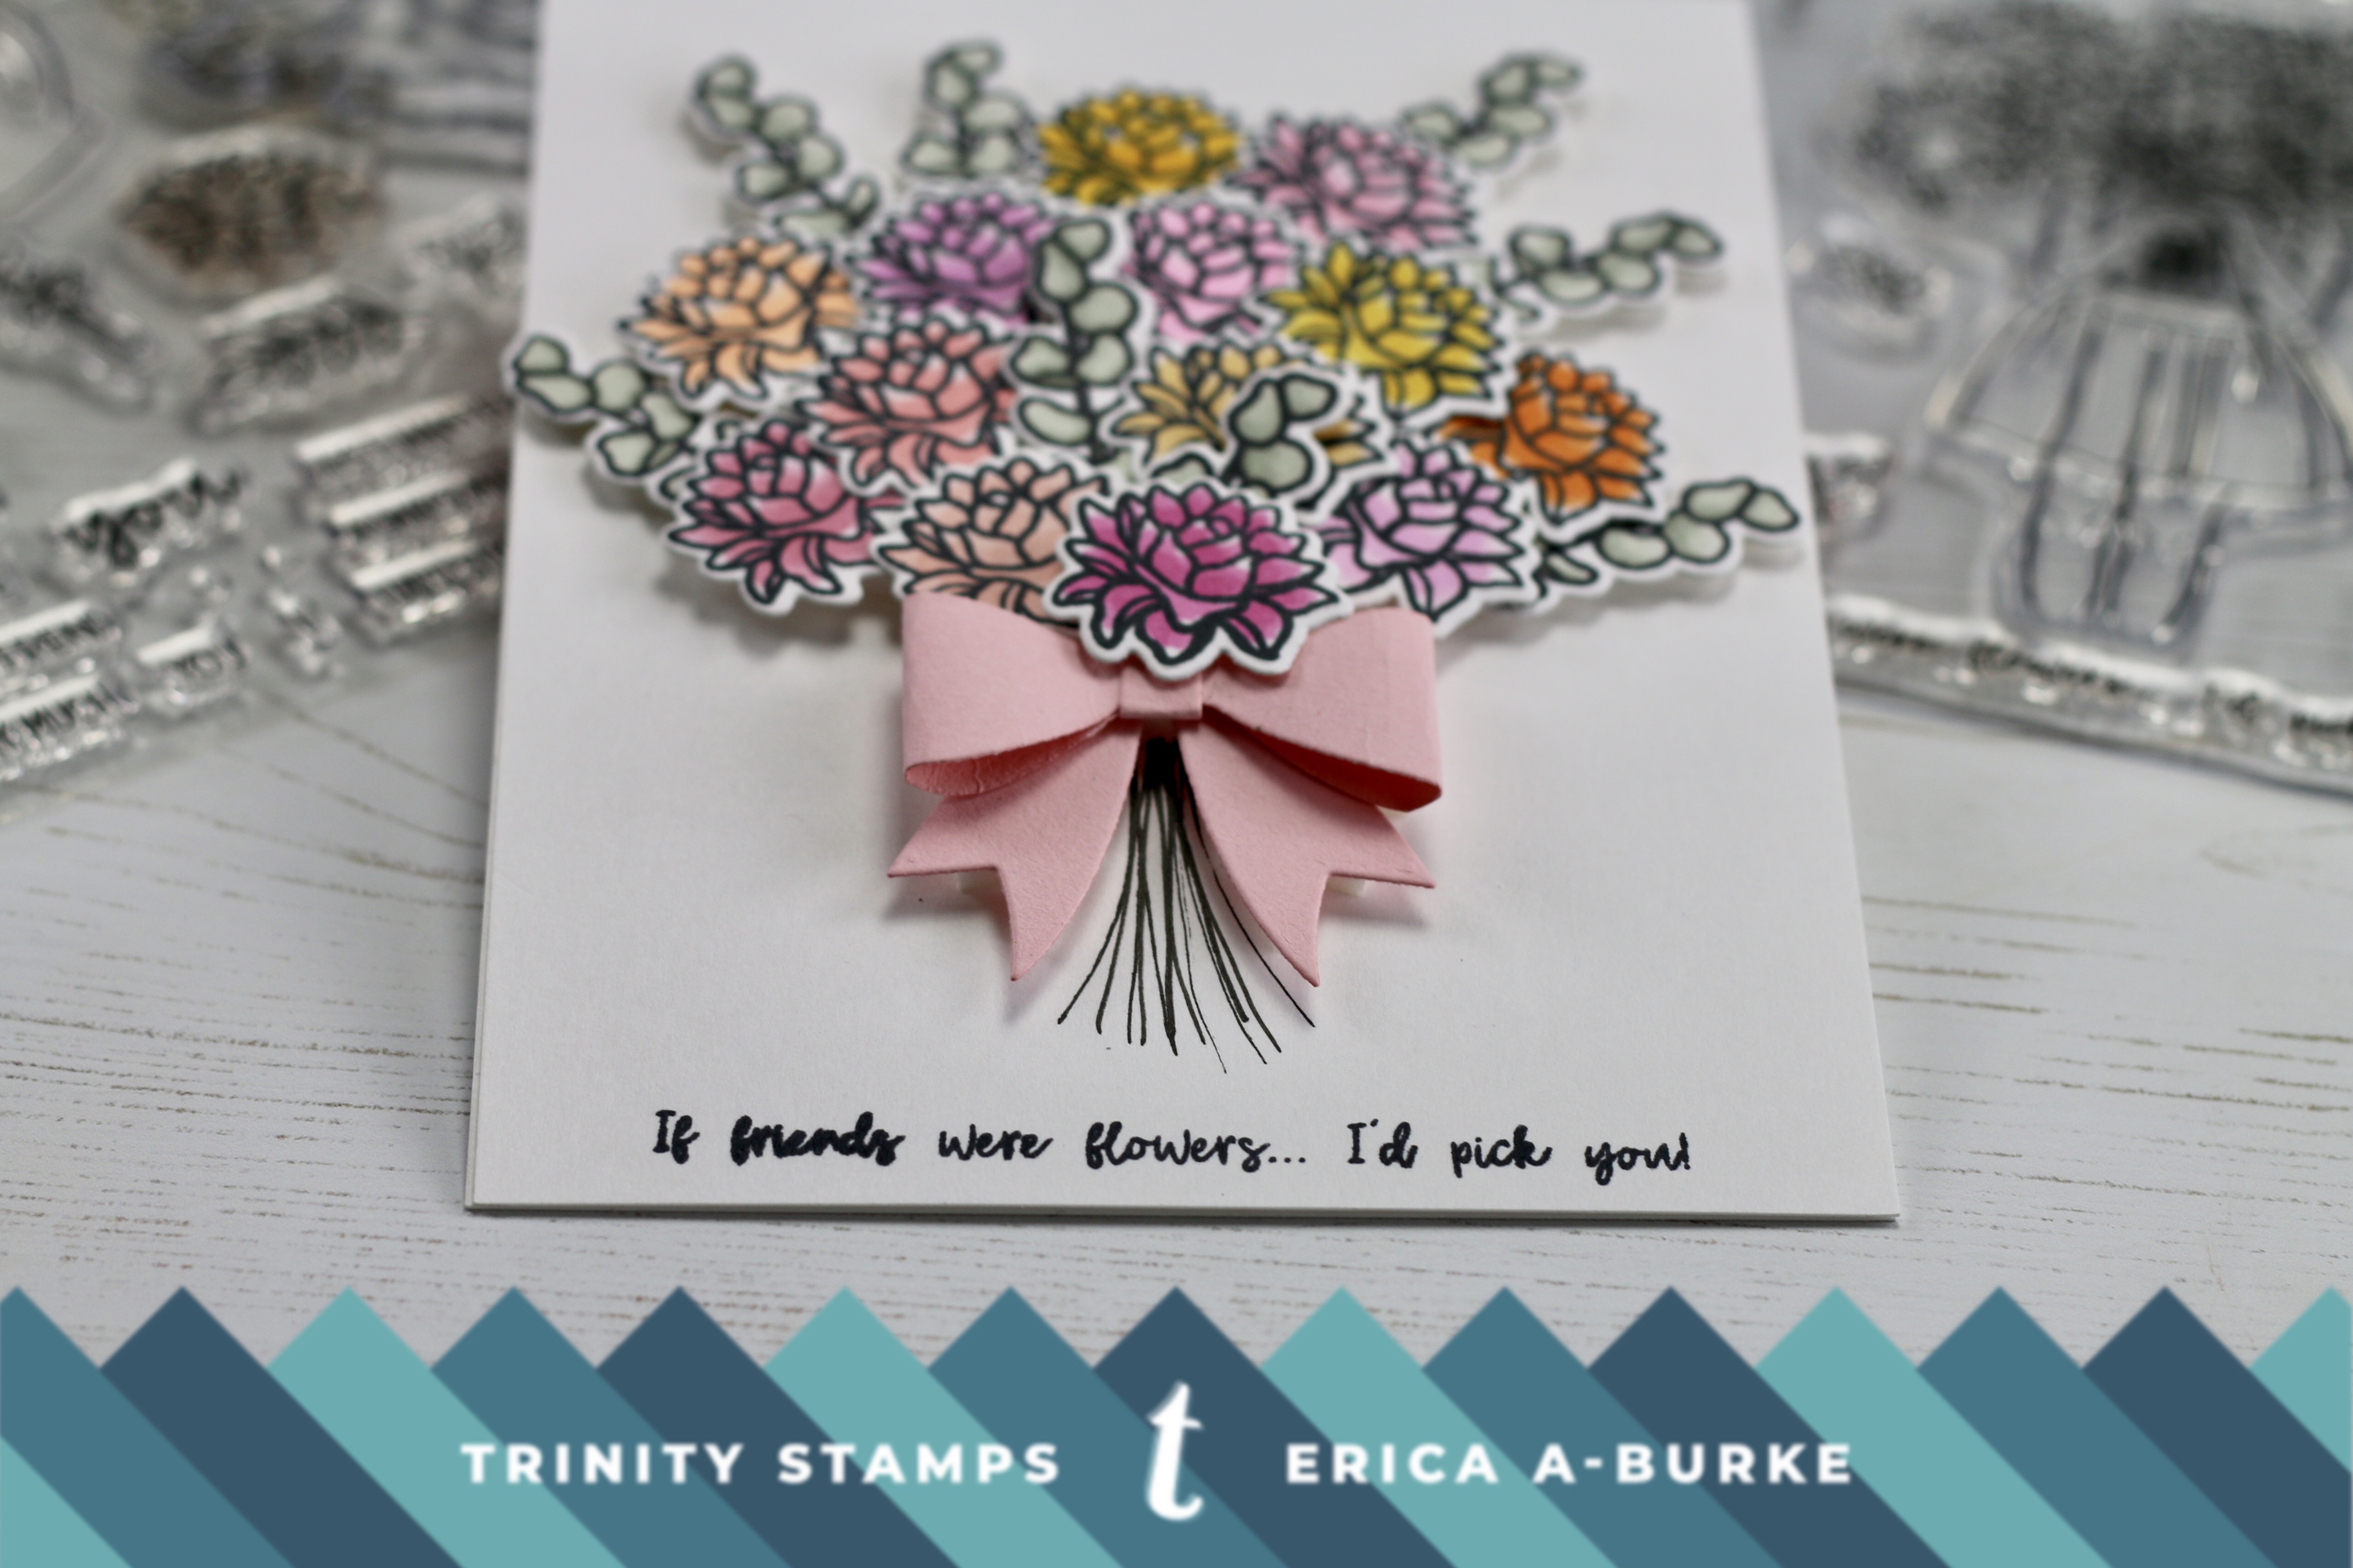
At first I decided to stamp up a single flower and finish it off with two foliage images under it. The sentiment ‘If friends were flowers… I’d pick you’ I stamped underneath this for a very simple CAS card. However, it was not to be, I managed to mess up the stamping and it either didn’t stamp solid or I made a mess. Ay, mama.
Right, then, on to Plan B!
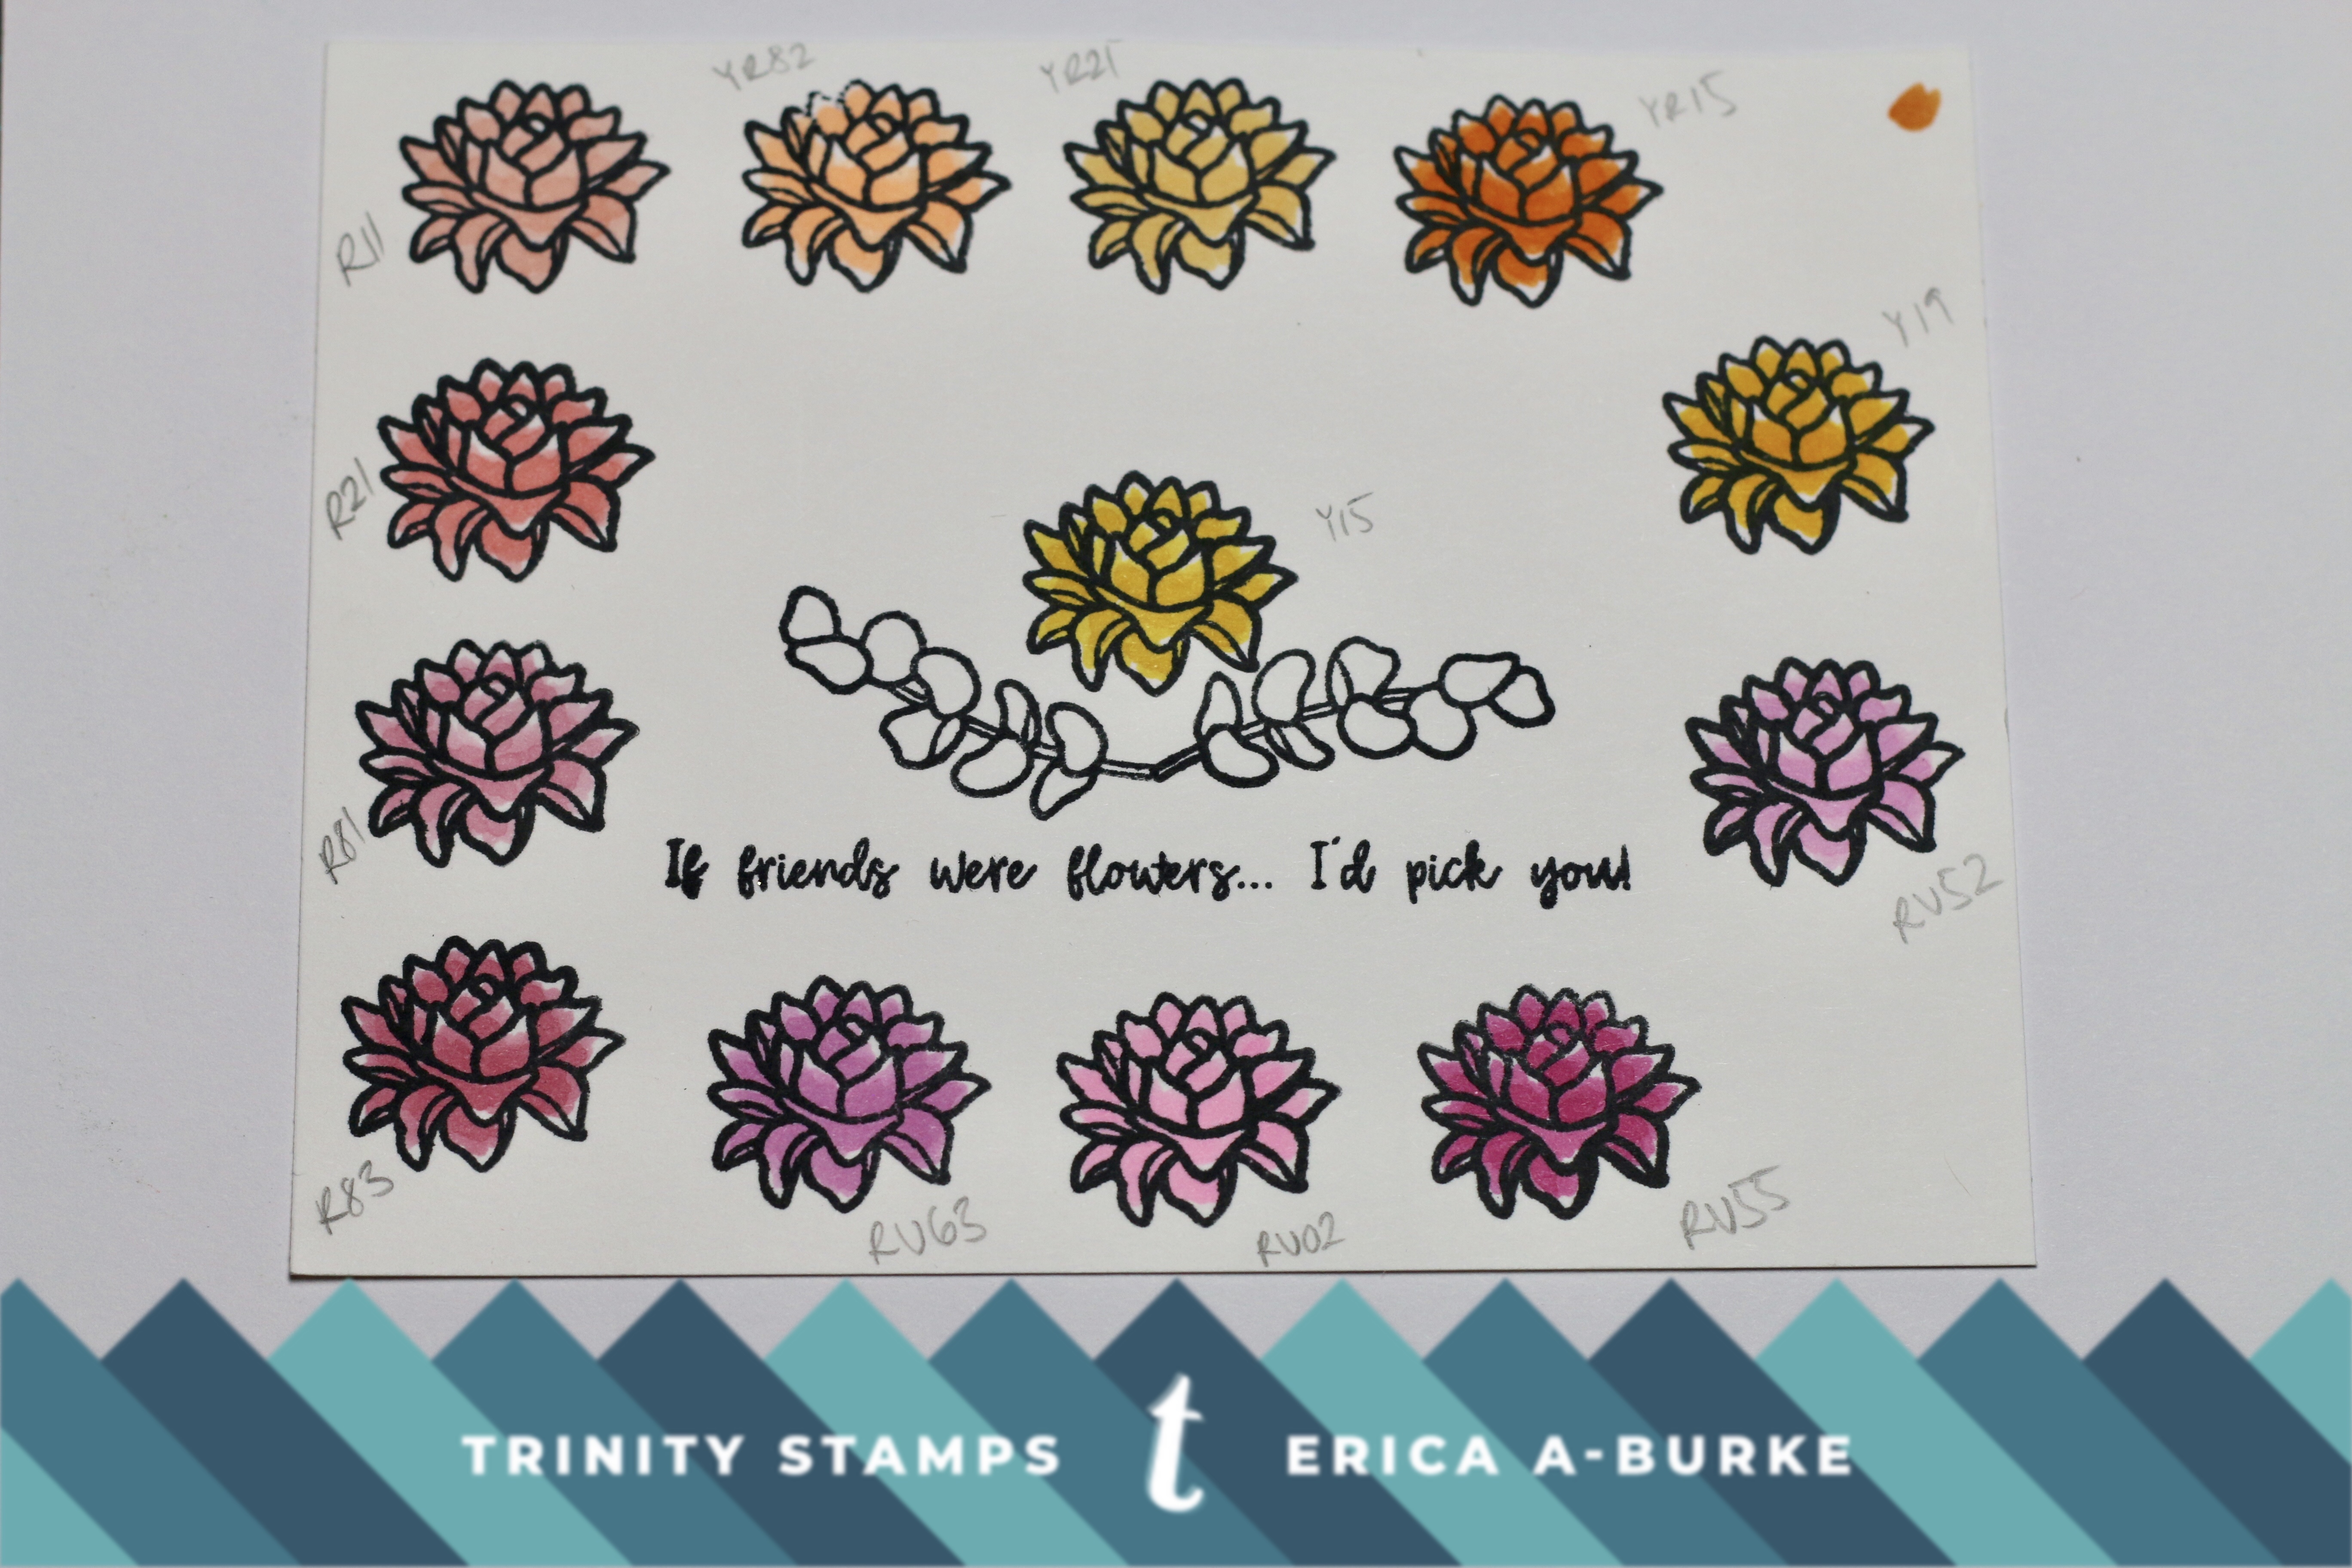
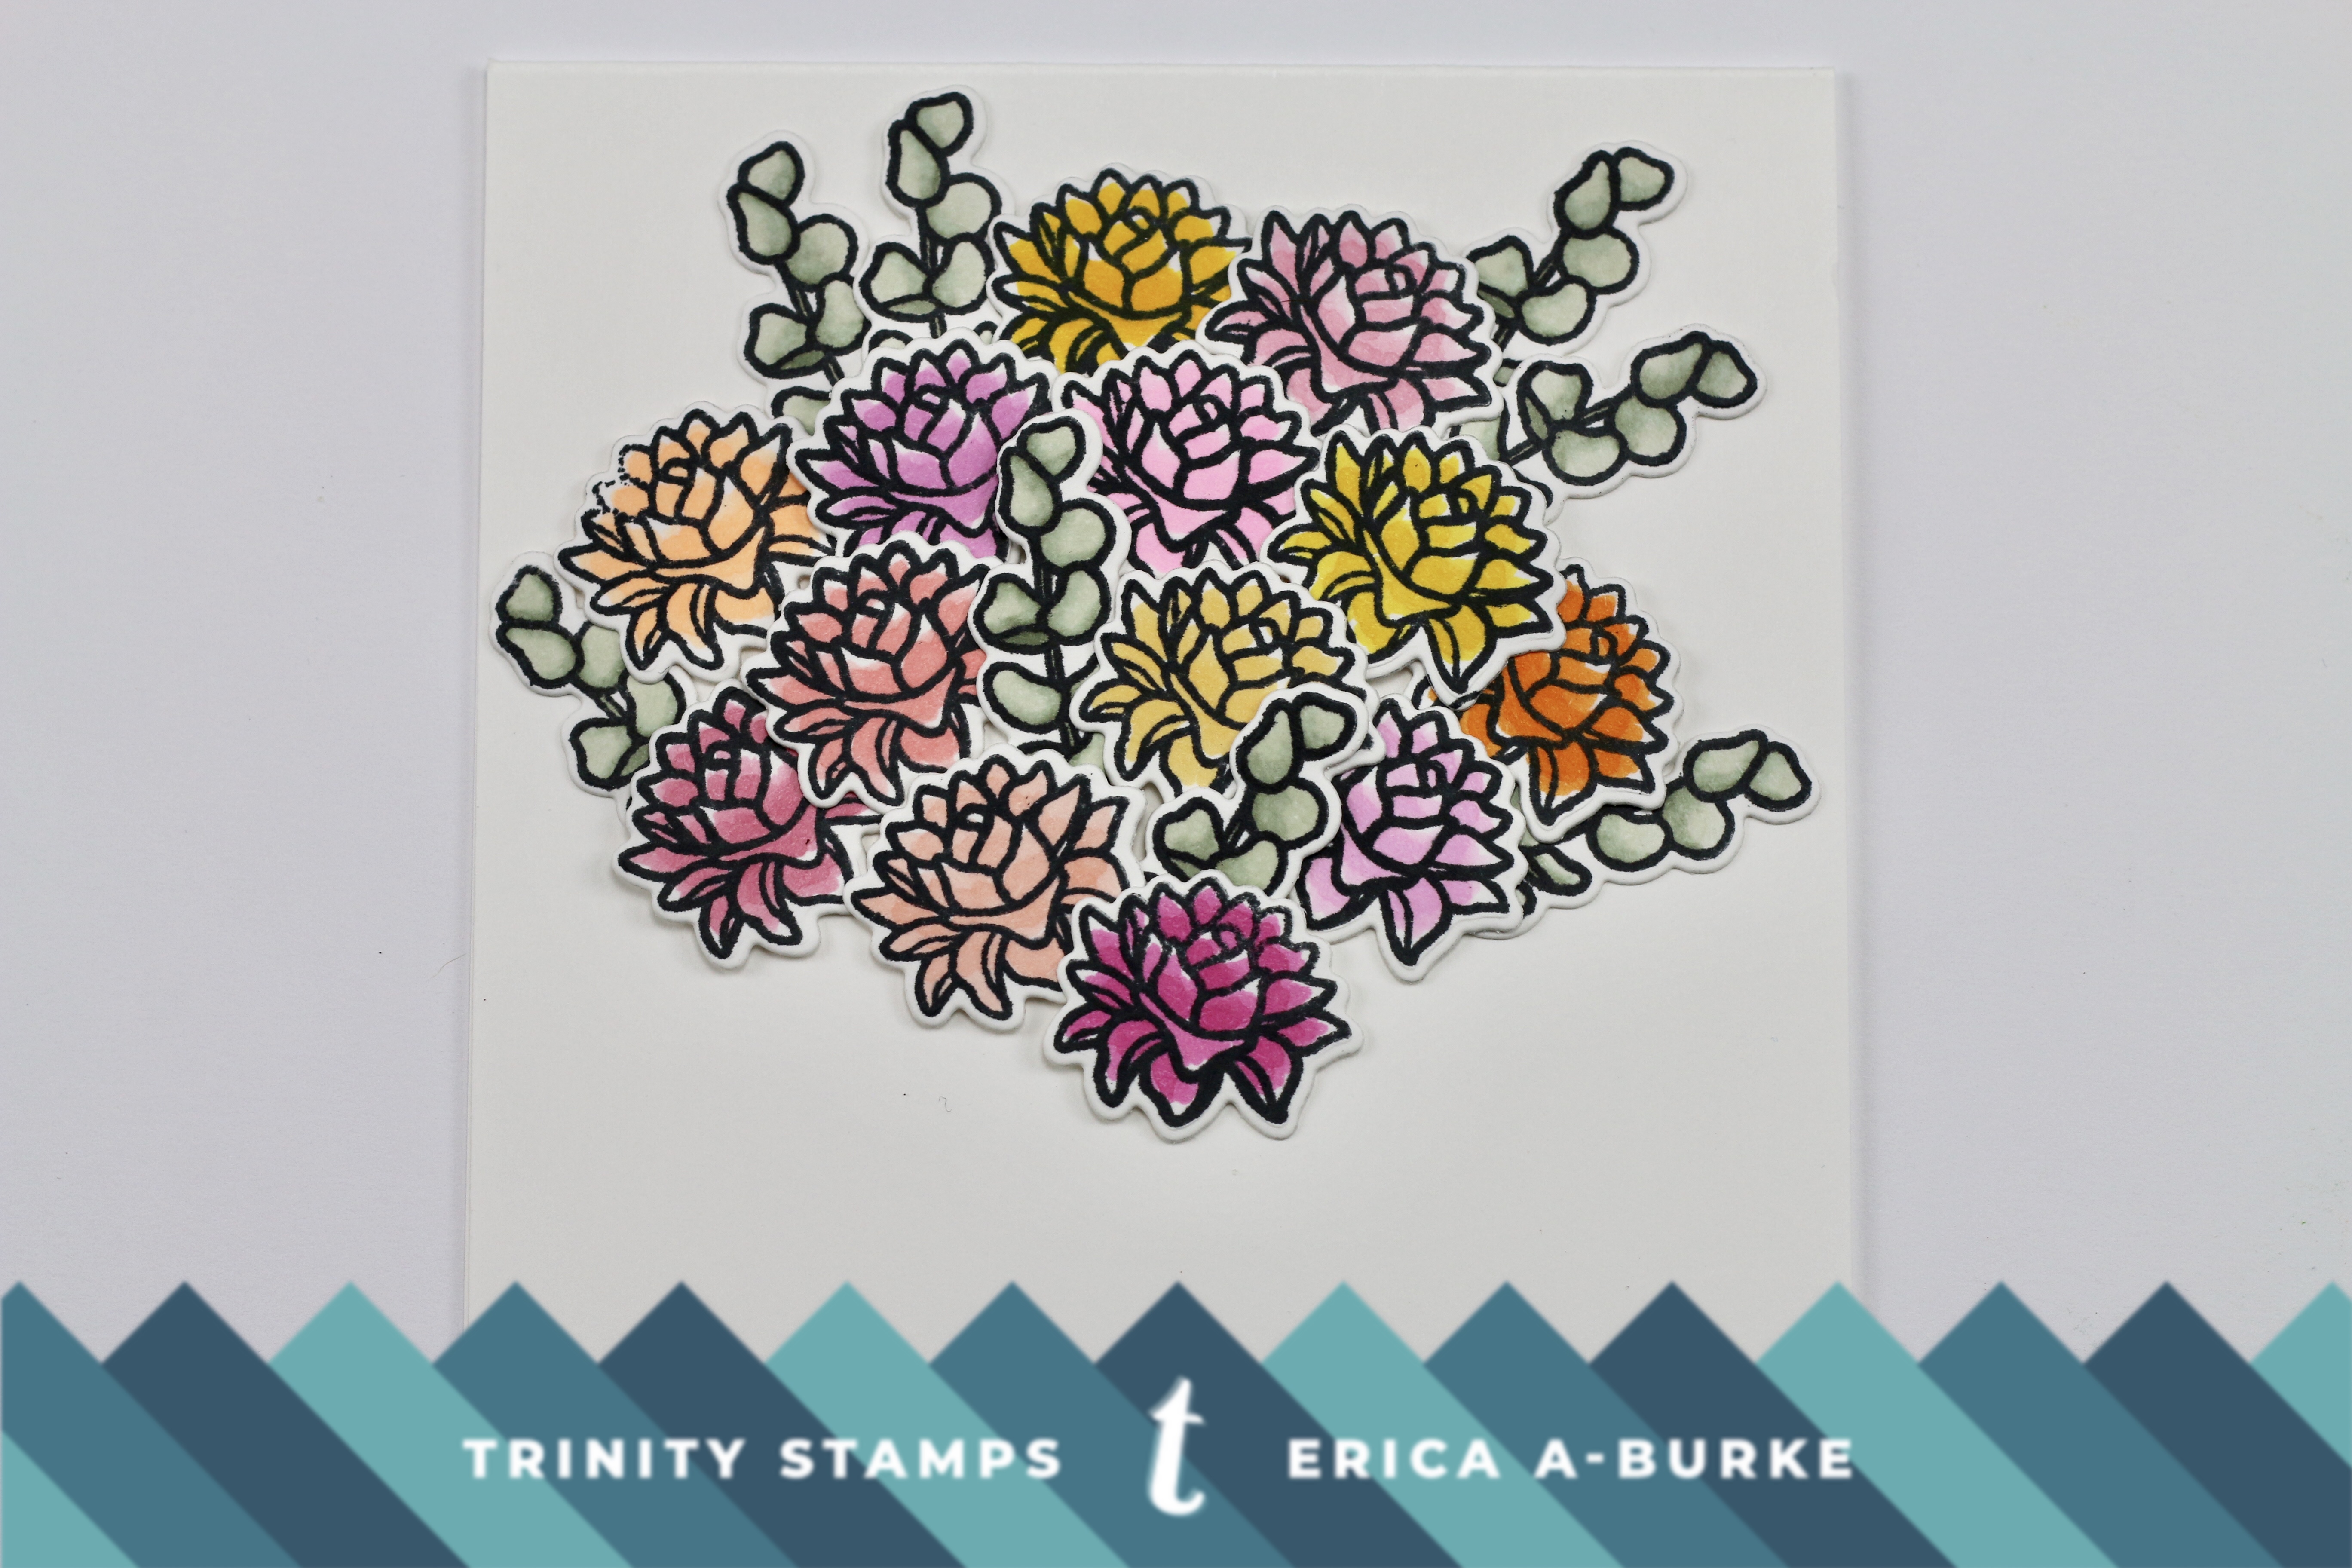
On the same piece of card stock I stamped up lots of flowers and coloured them all in using only a single Copic marker for each. All of these then got cut out using the coordinating diecut. This flower is from the Hello Sweet Friend set.
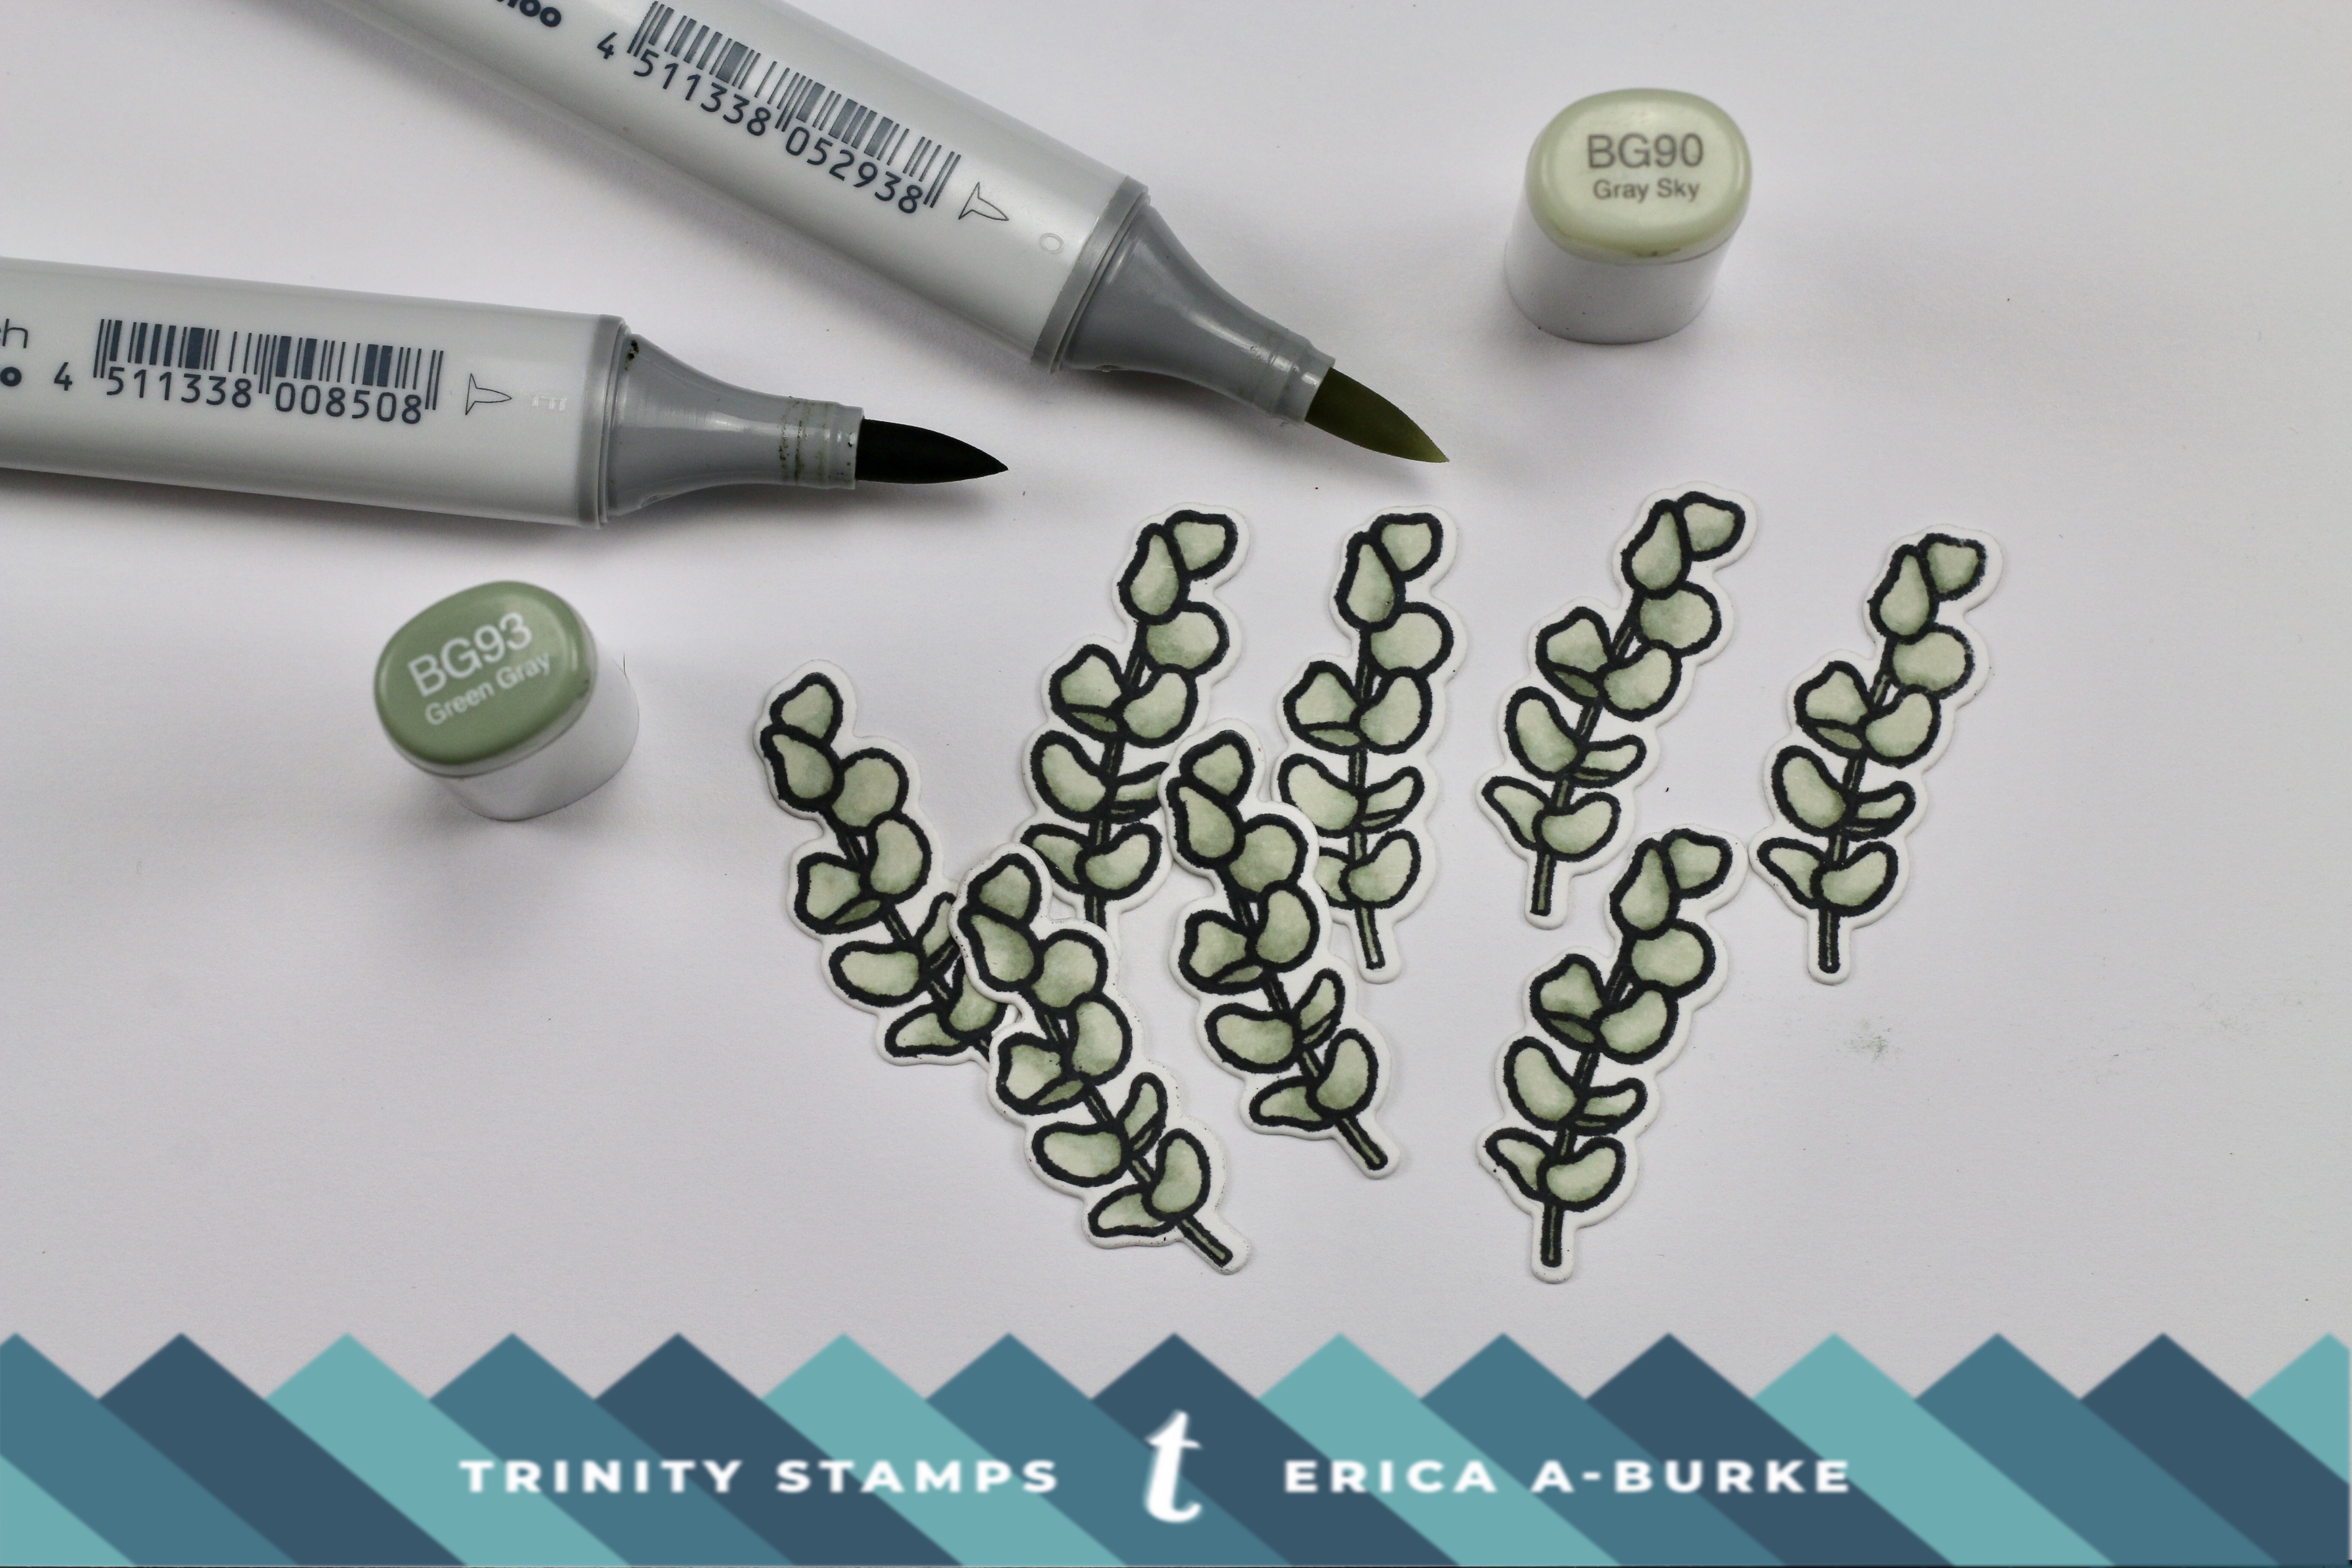
On another piece of card stock, I stamped up the foliage that looks like eucalyptus and coloured them all in as well. I used only two Copics for these, BG90 and BG93, to create that silvery green look of eucalyptus. I used the coordinating diecut to cut all these out as well.
With all my flowers and leafy bits done, it was time to start thinking of assembling it. I used a plain card base as a guide to make sure they stayed central and didn’t stick out too far.
When I was happy with the bouquet, I covered it in PostIt tape to keep all the bits and pieces where they belong. This is a reasonably good hack for those of us who don’t have things like Press’n’Seal.
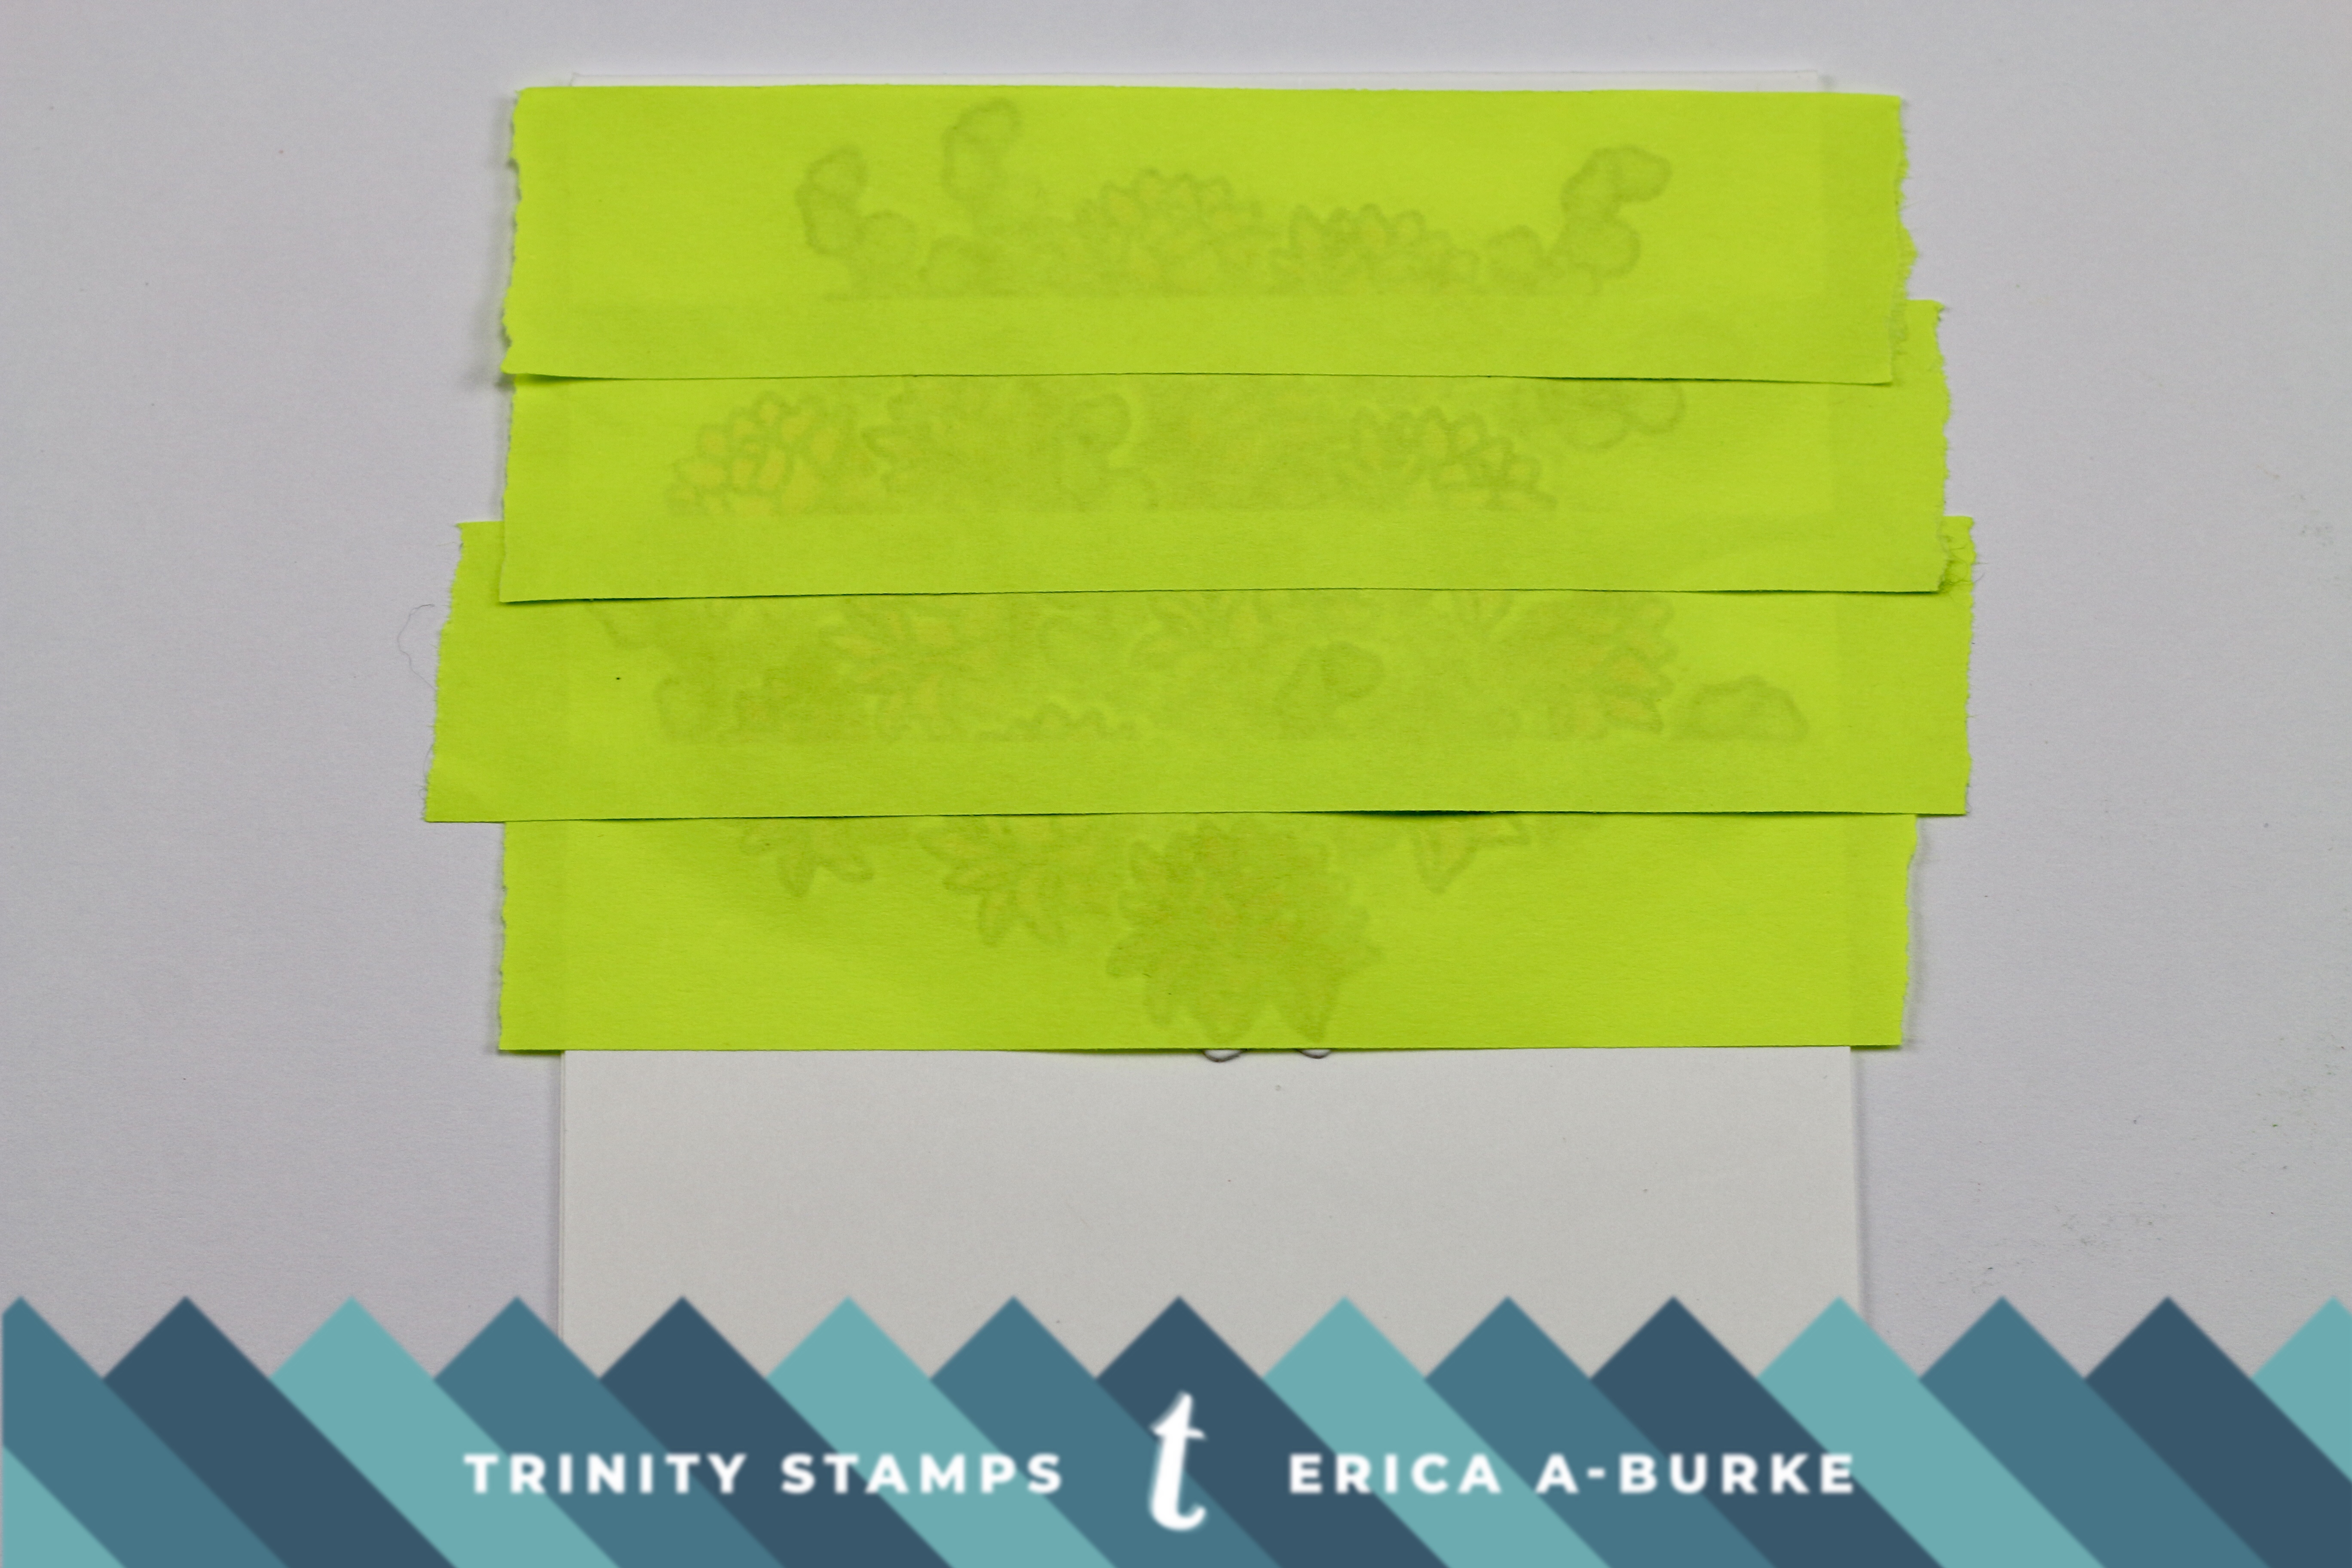
It feels very MacGyver-esque to come up with a good solution to a problem, doesnt’ it? Sure, I’m aware it’s not perfect, but it will certainly do the job.
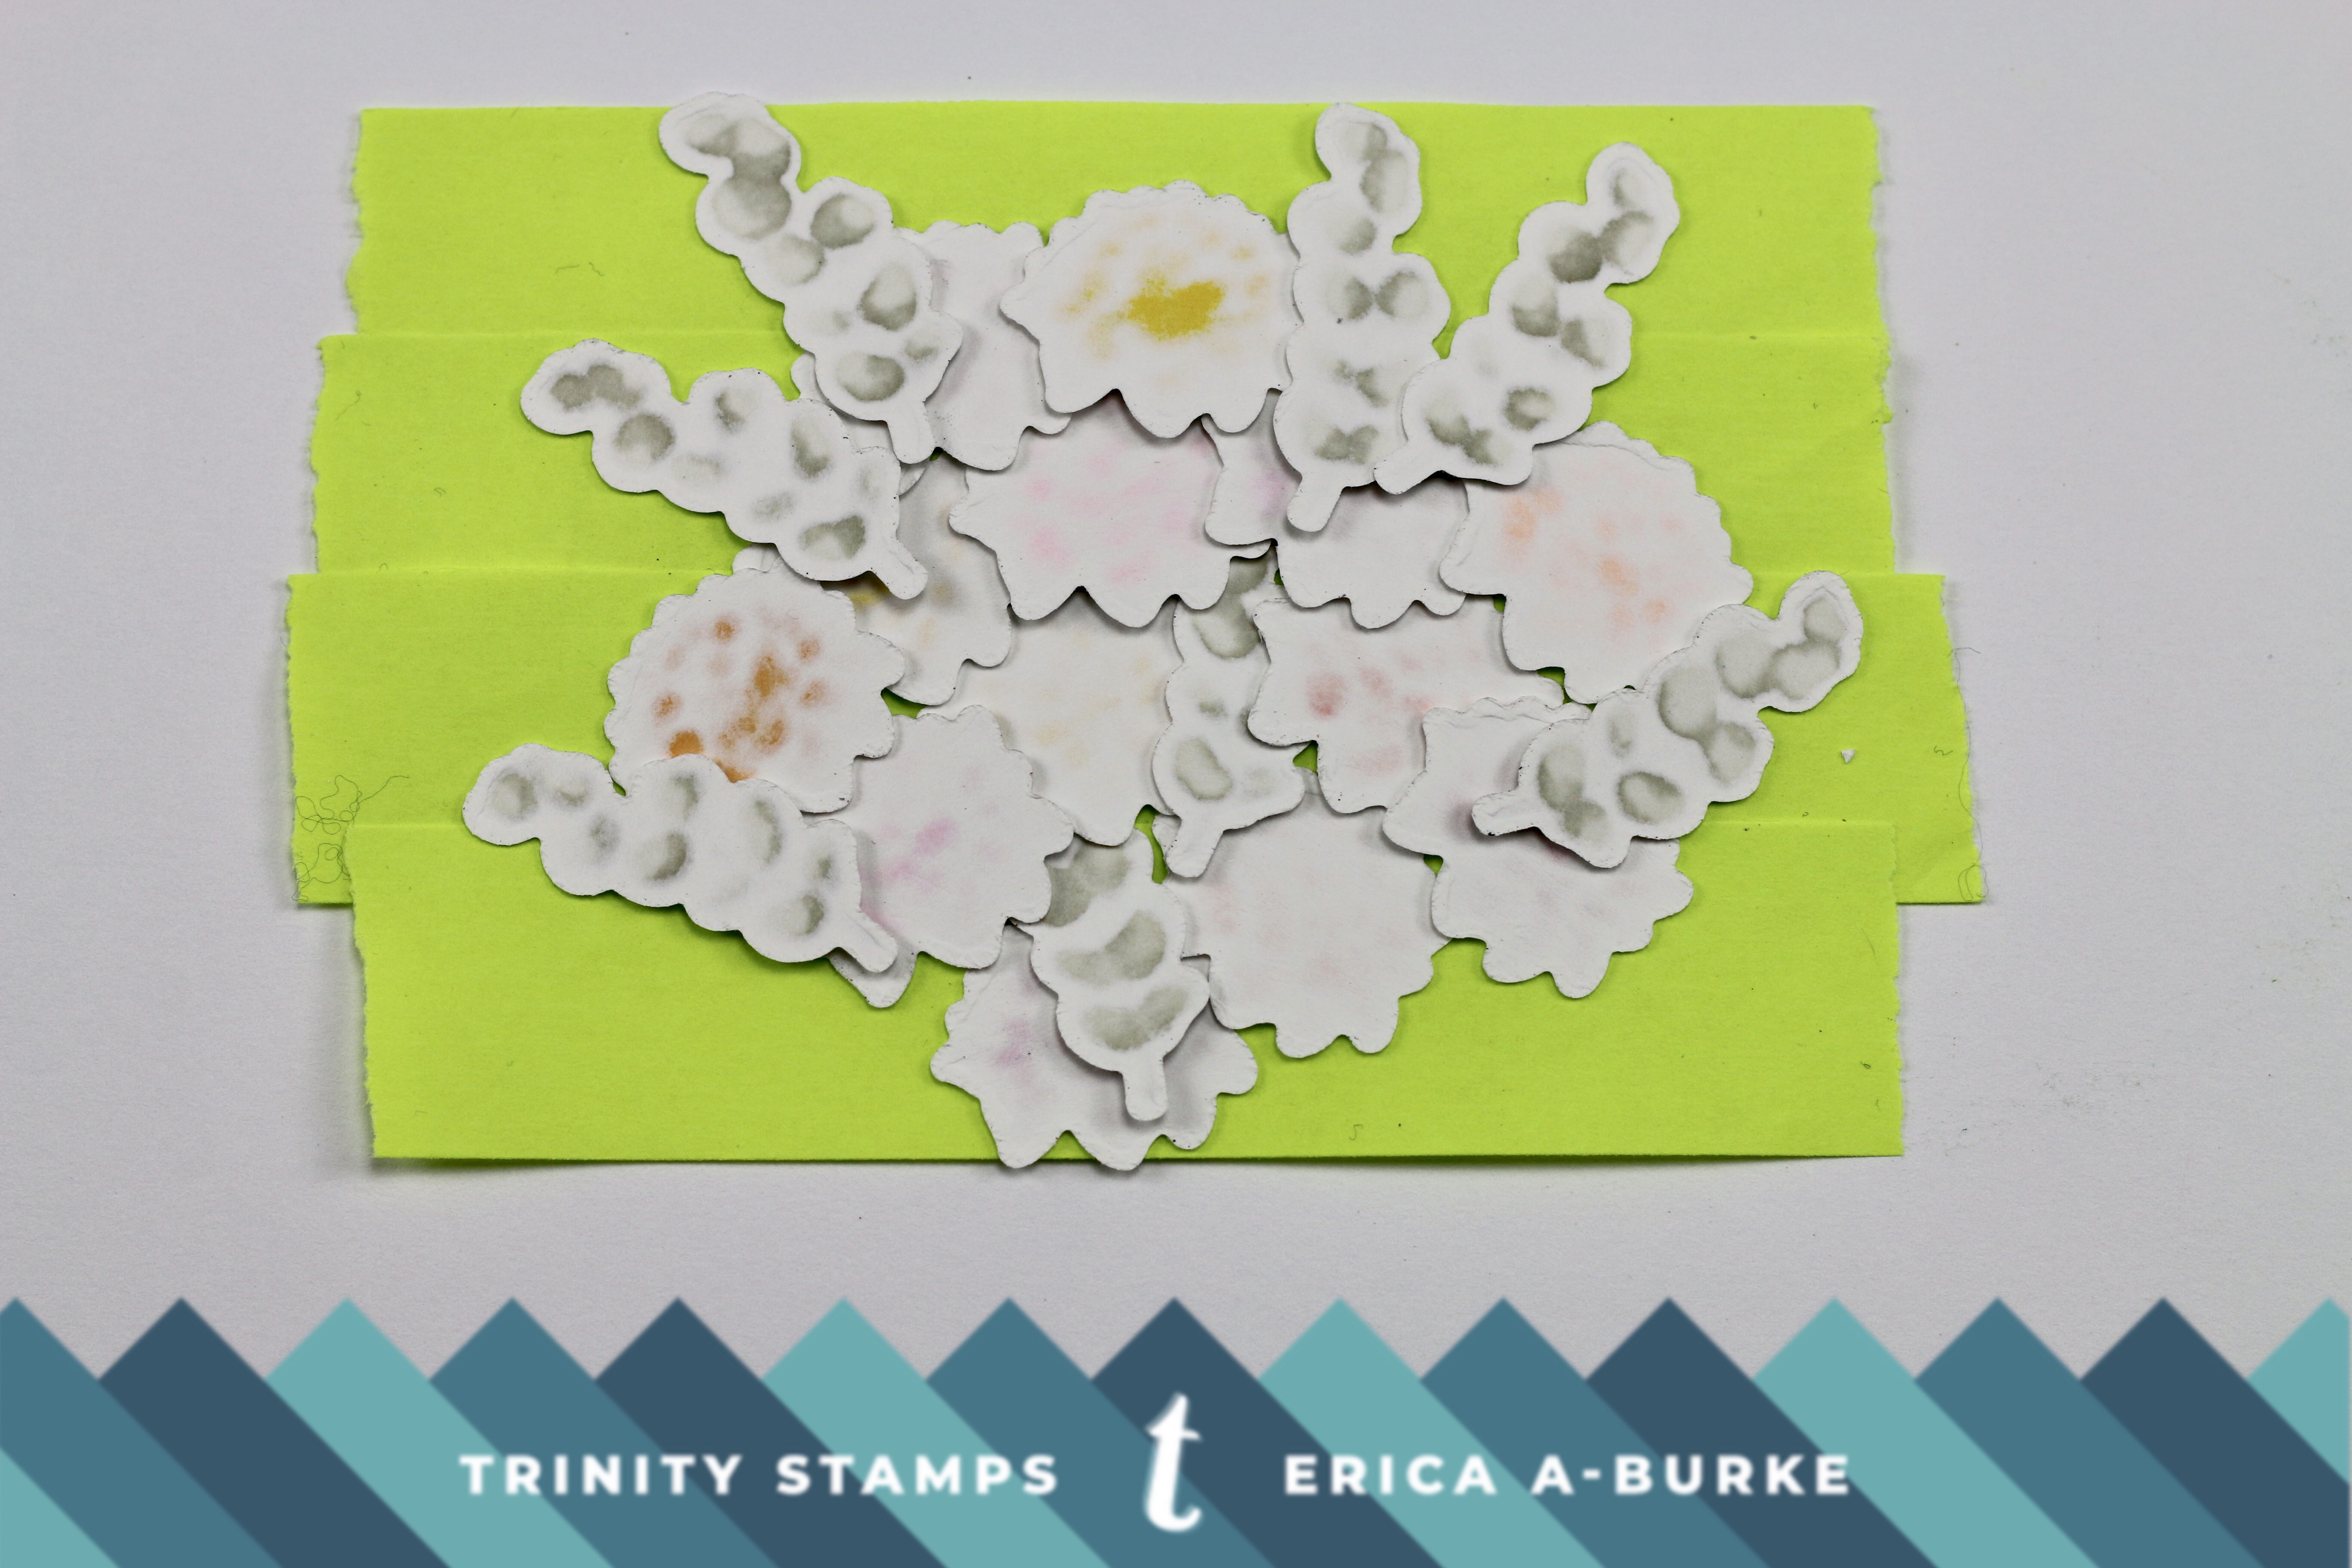
Turning the whole shebang over and armed with foam tape of two different thicknesses, I started dotting these on the back. The foliage got the thinner ones and the flowers the thicker ones.
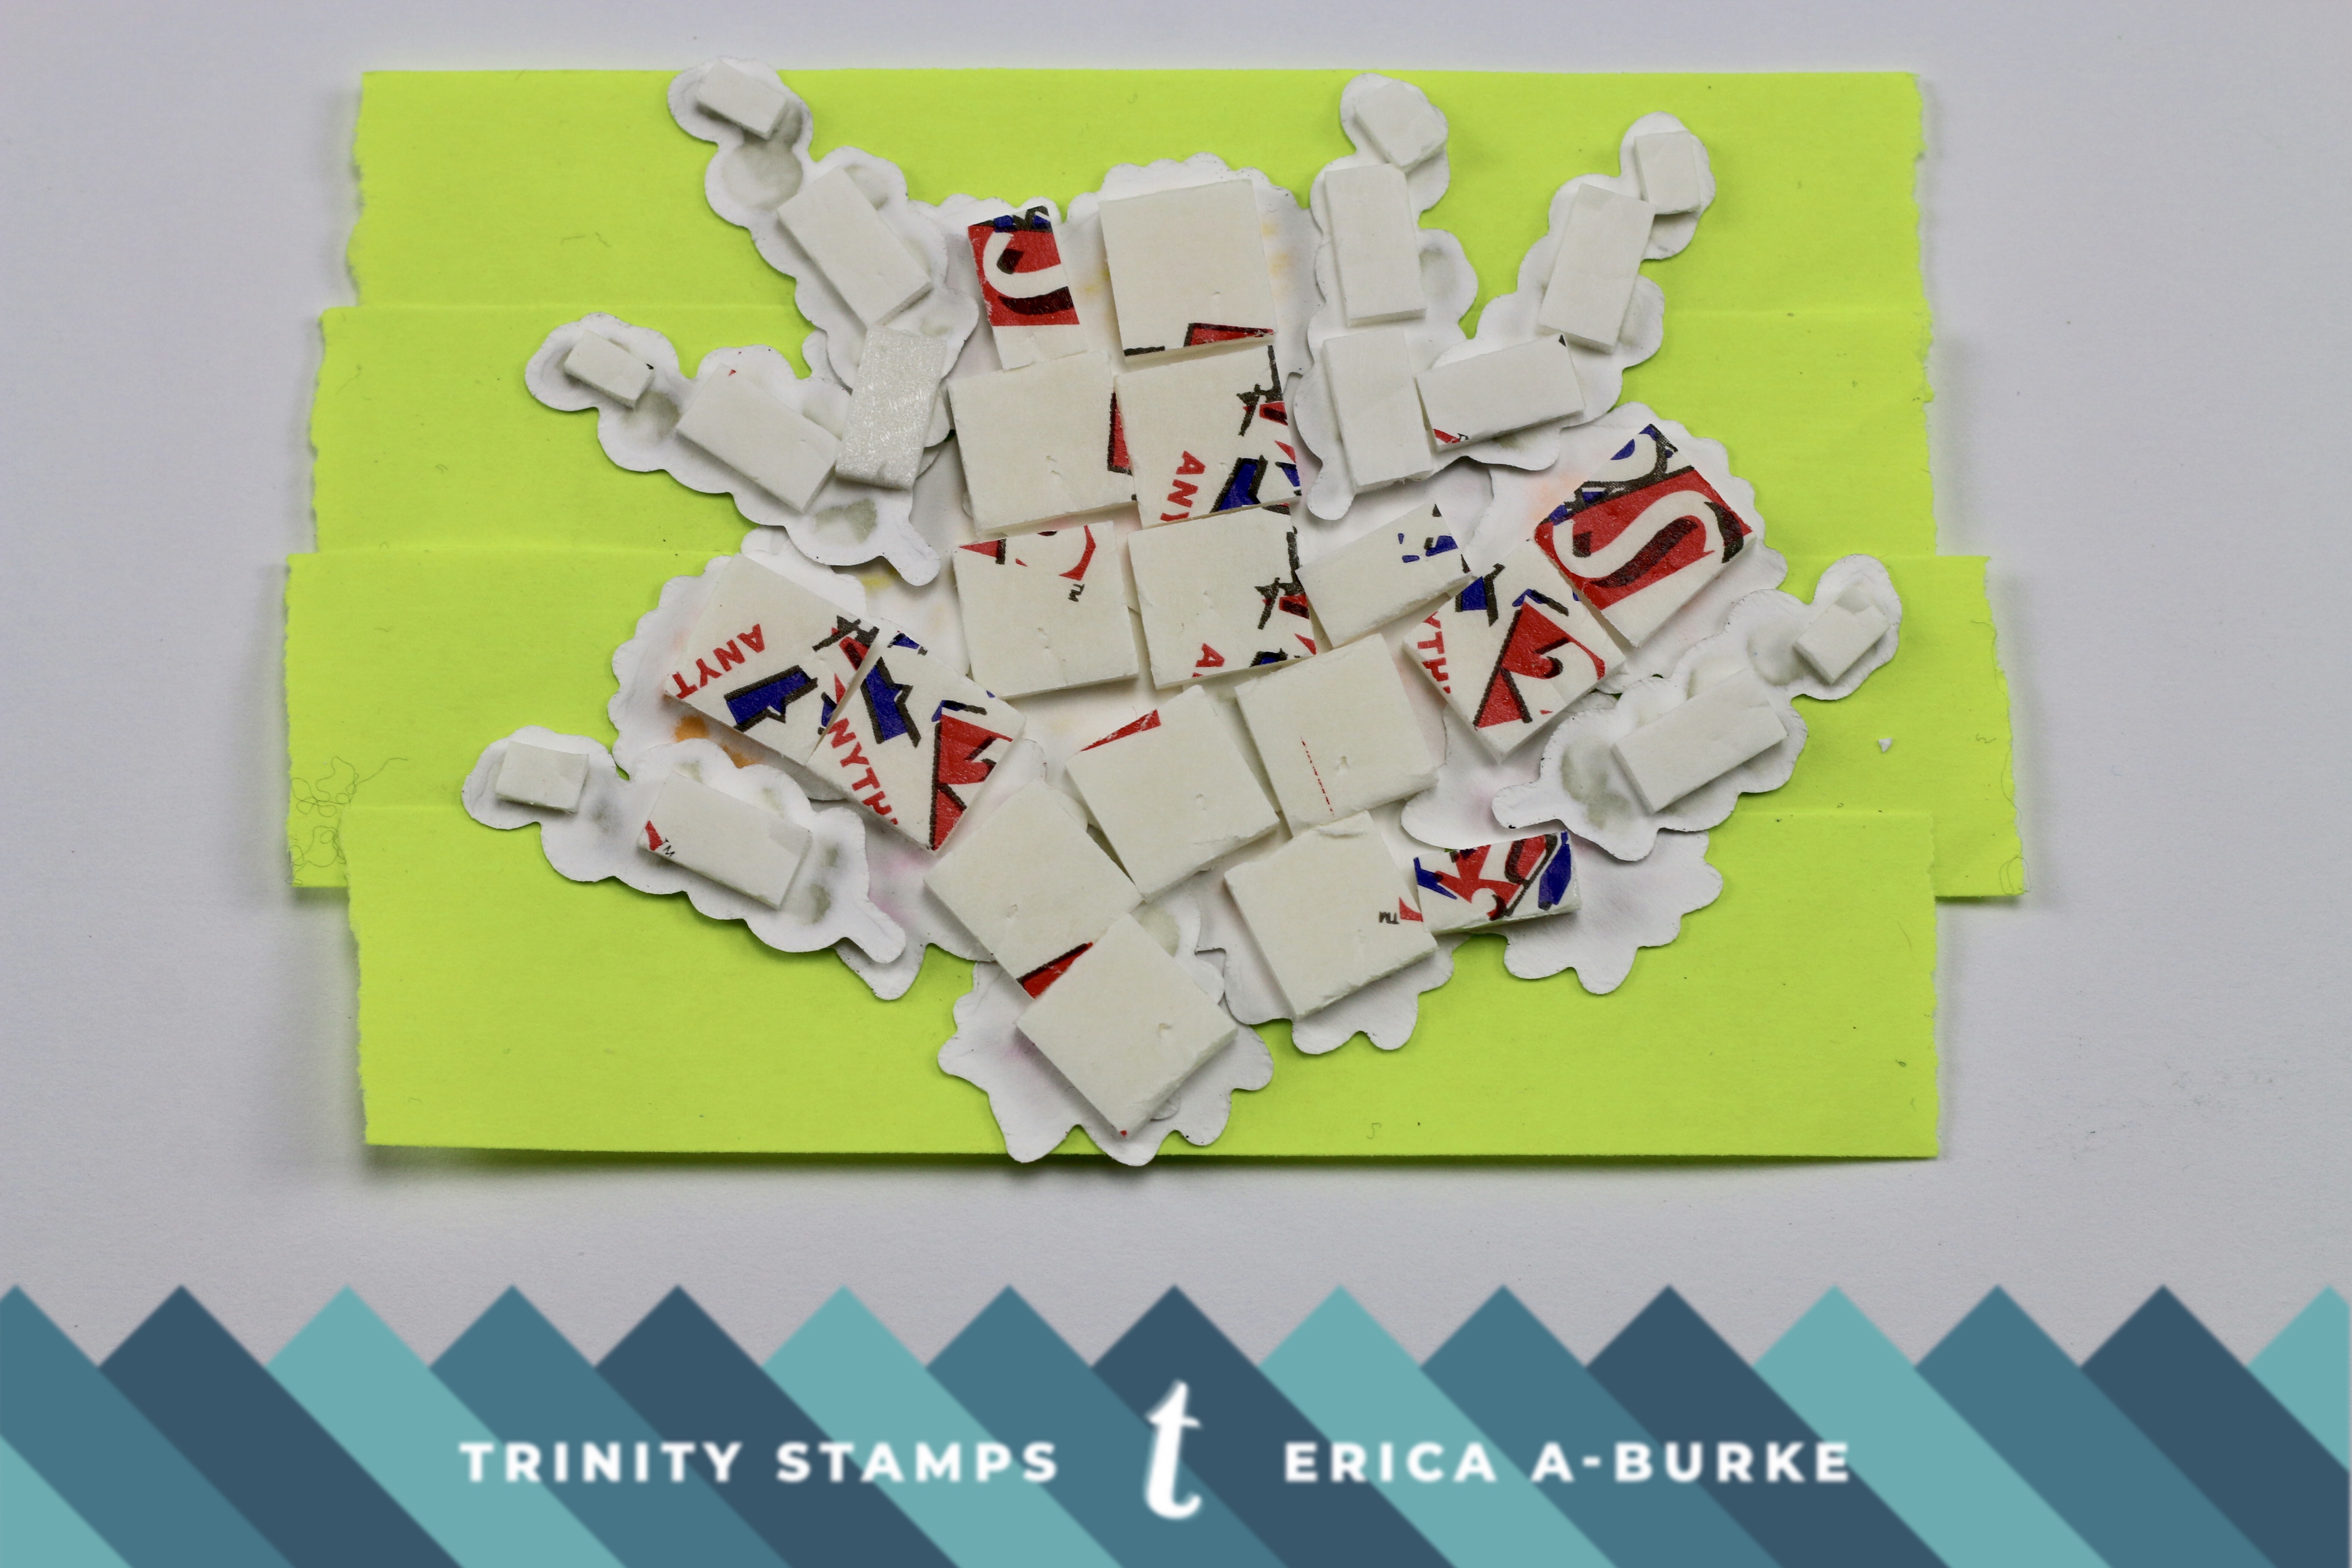
After removing the backing of the foam tape, it is a simple job of pressing it down on the card base. I added a few more little bits of foam tape here and there to create the illusion of 3D to the bouquet.
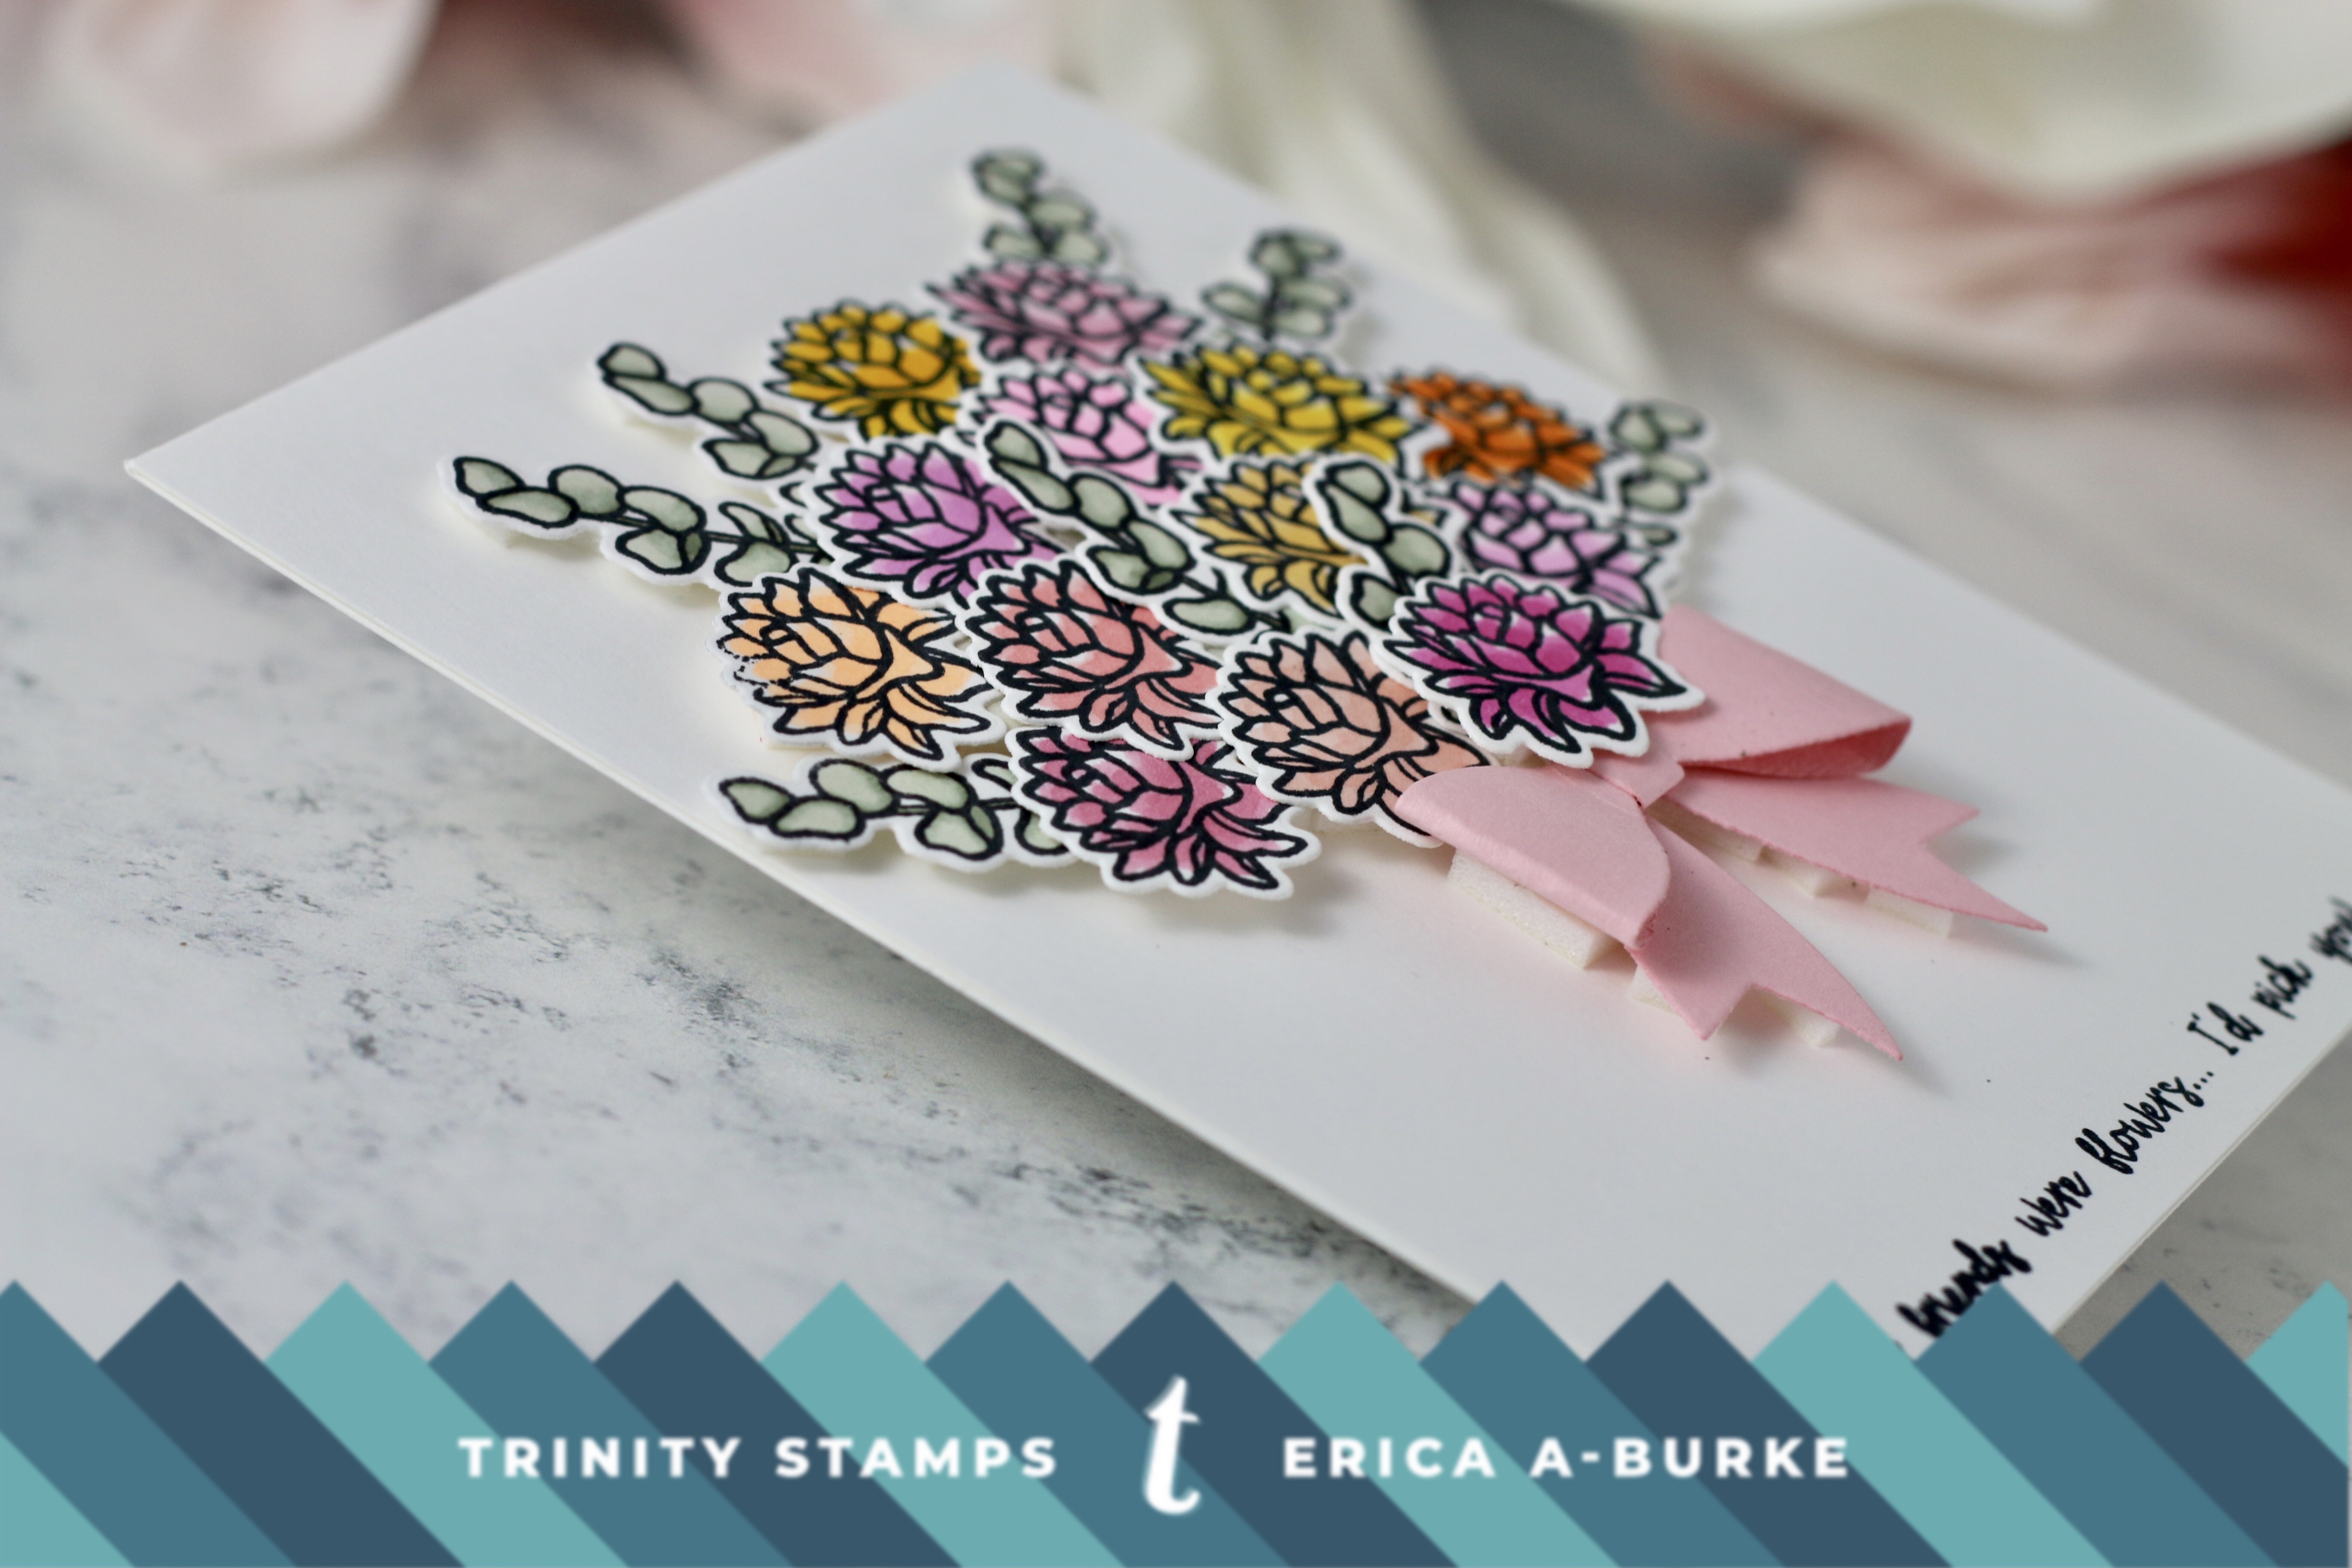
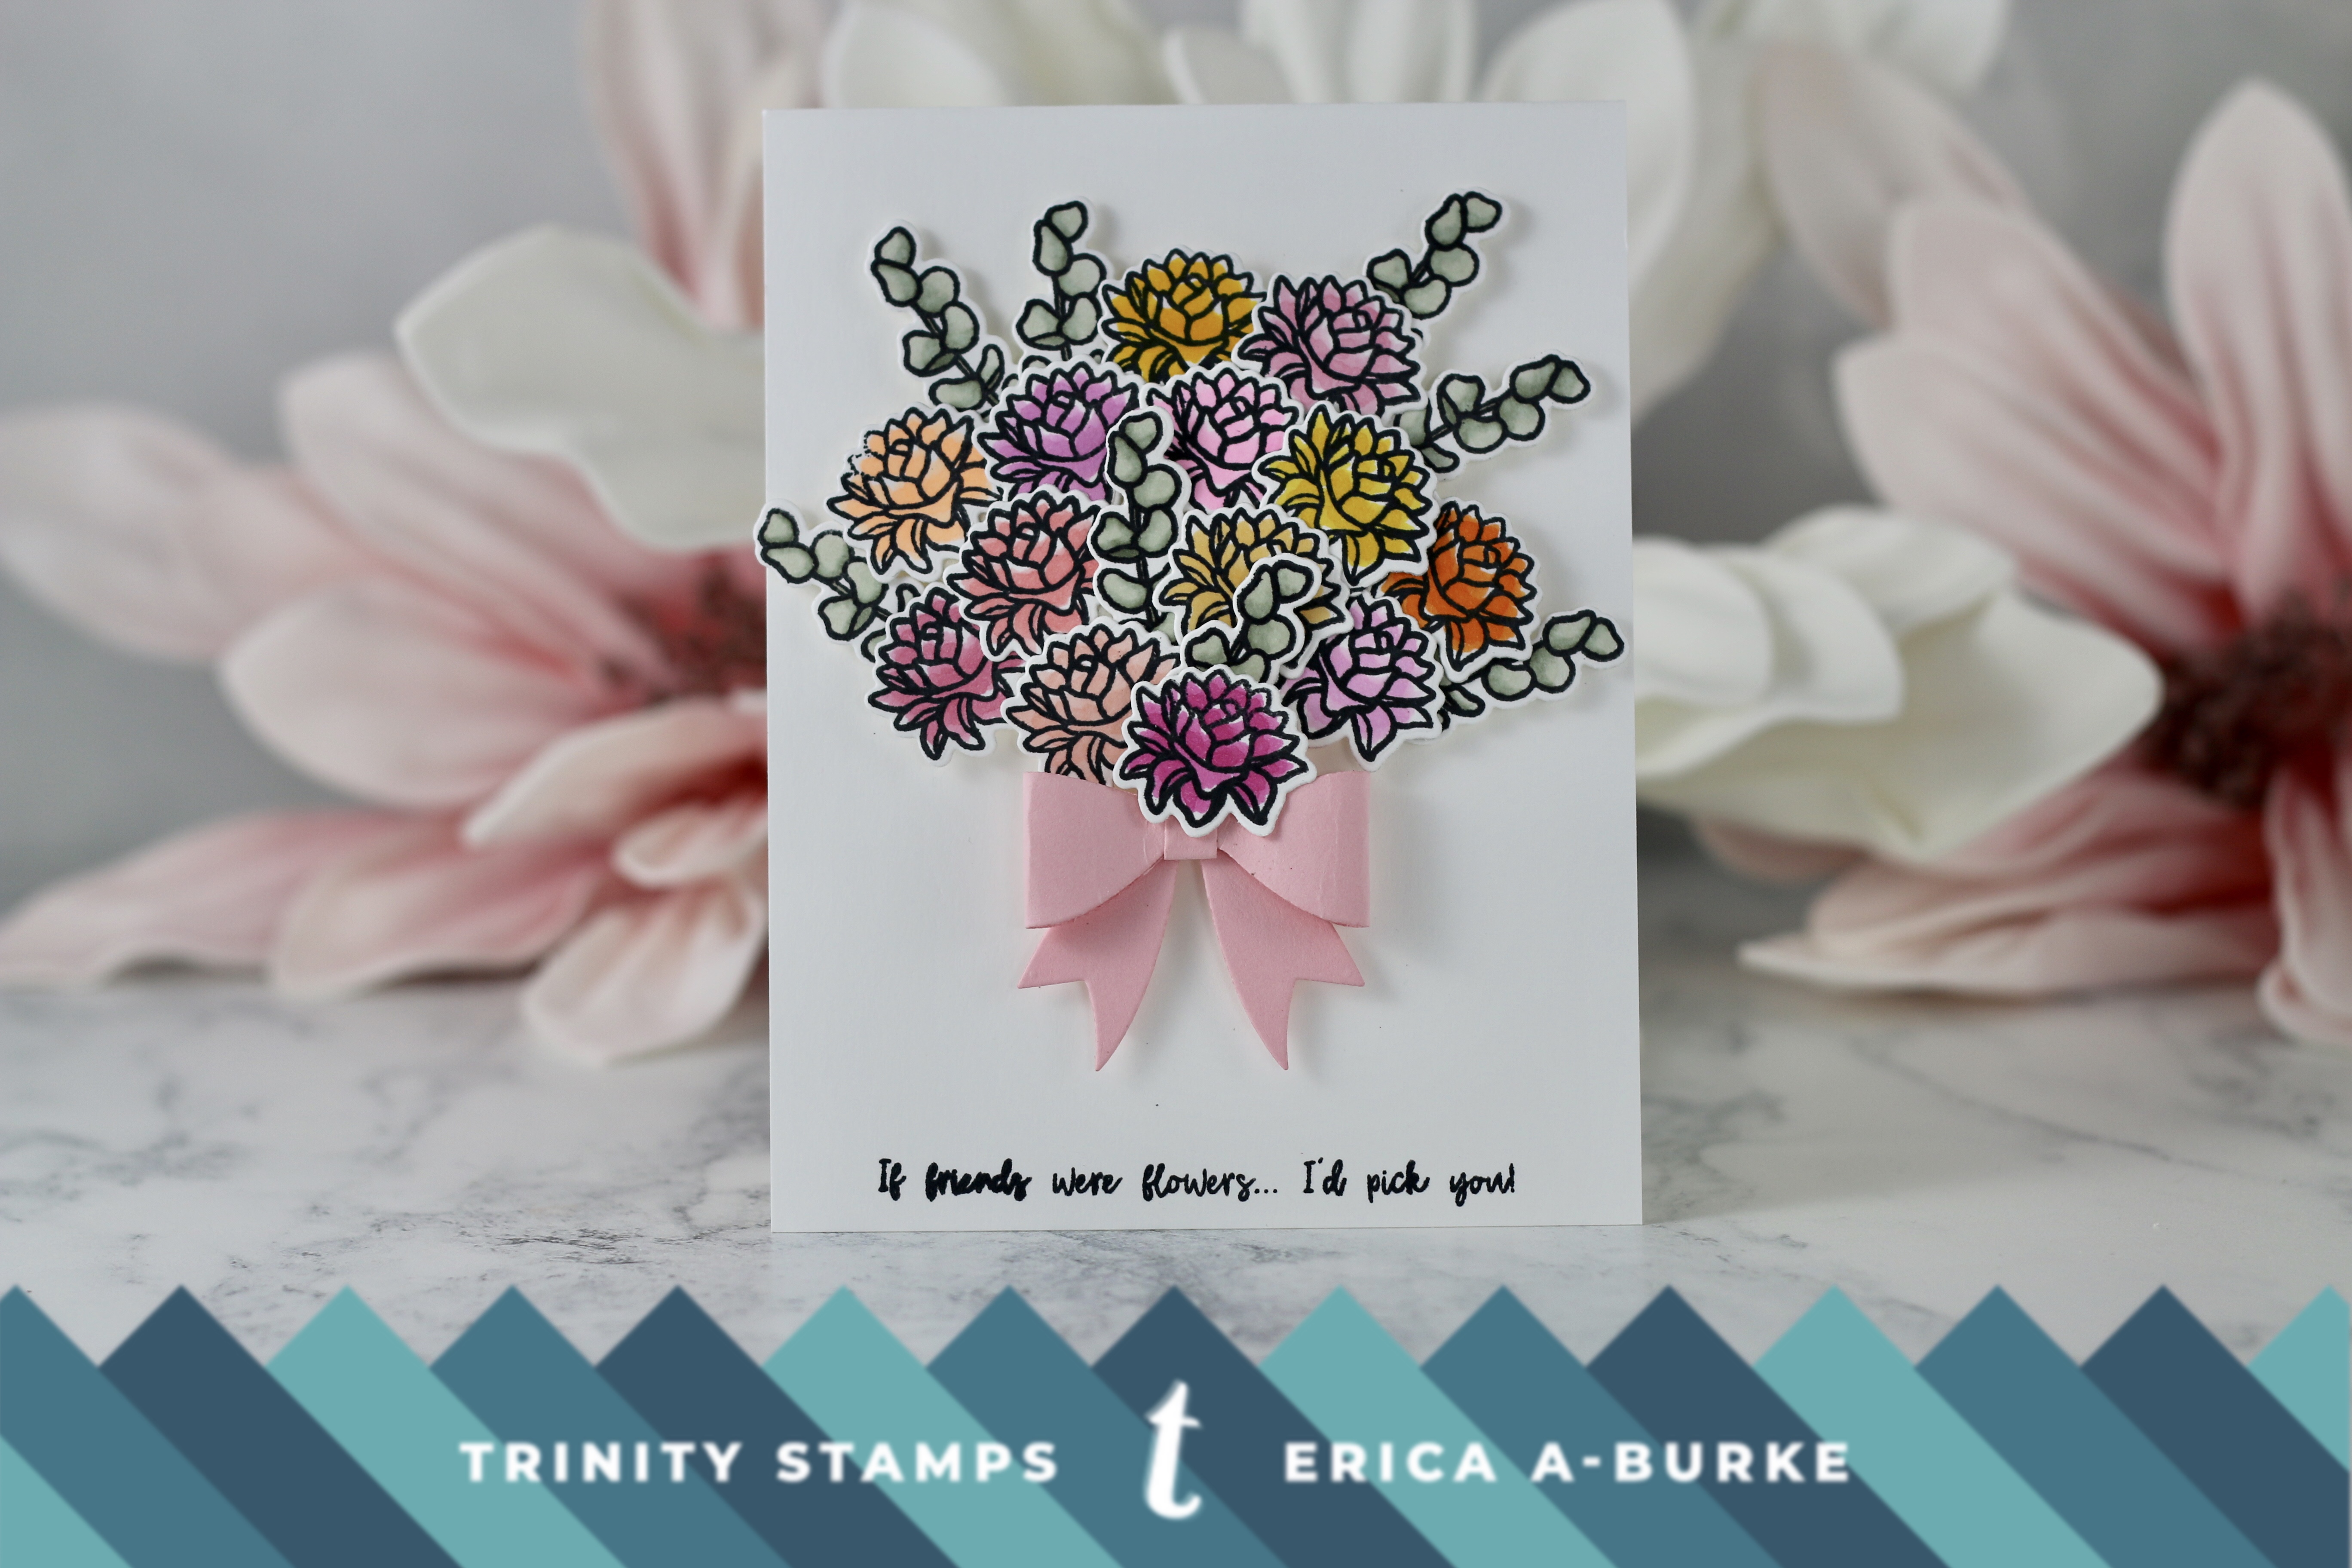
To finish the card off I made a bow out of pink card stock and added that to where the handle of the bouquet would be.

I toyed with the idea of drawing stems coming down BUT I chickened out. What if it I messed up and the whole card got ruined? I decided to play it safe and leave it.
Ironically, I made a mess of the sentiment when I stamped that. Of course it was the last thing I added to the card too. So, with that in mind, I decided to be brave and add stems after all. I much prefer it with stems if I’m totally honest.
The sentiment is from Bouquet Of Hope, and this stamp set also has a coordinating diecut. Yay for that!
This card I feel is lovely enough as it is, without adding sequins. I’m sure it would look lovely with a few but I have a moderation problem when it comes to sequins. ‘A few’ to me is what ‘a lot’ means to others.

Right, with that, I’m done for today but thanks for stopping by! I hope this post has inspired you to look at the smaller images in your sets and think outside the box.
Happy crafting and lots of love from Erica


Absolutely GORGEOUS!
Thank you so much for all your support, Amy! You are the best!!
Beautiful bouquet of flowers, Erica. It is great that you shared so many details. You clearly demonstrated masterpieces don’t have to be scary. Smiles!!!
So very pretty!