You Rock – Cards for guys

Hi Everyone, Mirella here today!
I don’t know about you, but I find making cards for guys rather challenging. I love cute images, sparkle & tonnes of embellishments, and I feel happiest when creating with pinks and purples (or rainbows, LOL!), and all this doesn’t usually add up to a good male card (unless that male is a little boy – then I can usually still get away with it!).
When I saw the You Rock stamp set, I immediately knew that it would come handy for those “troublesome” cards. And I was right! Have a look at what I have for you today.
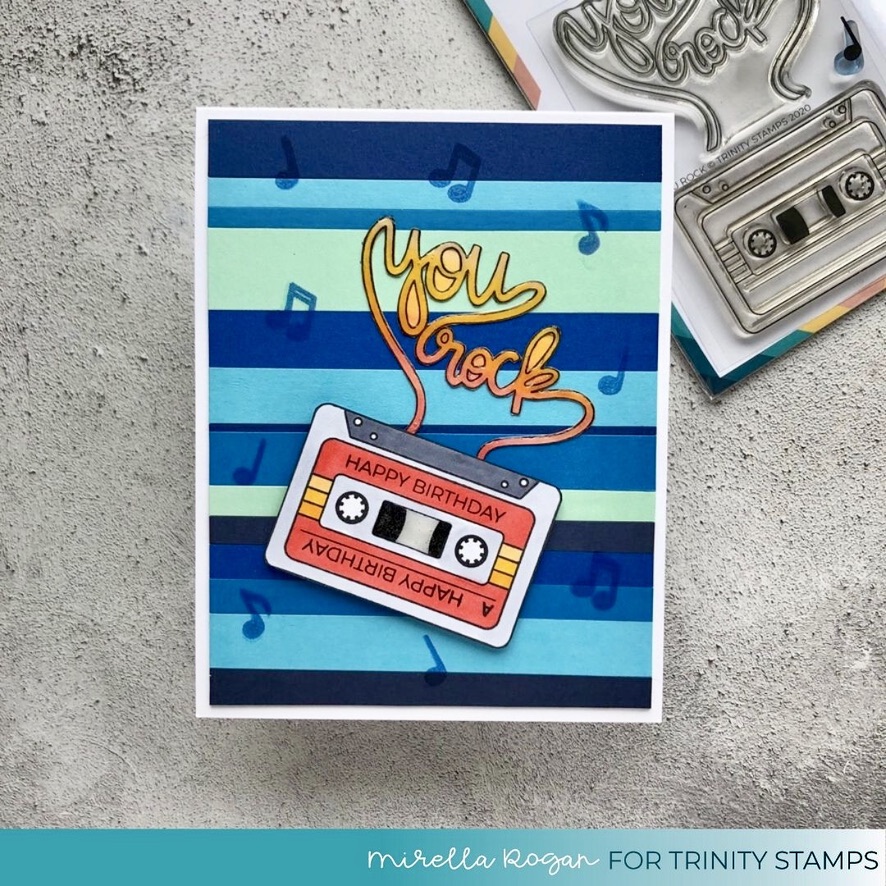
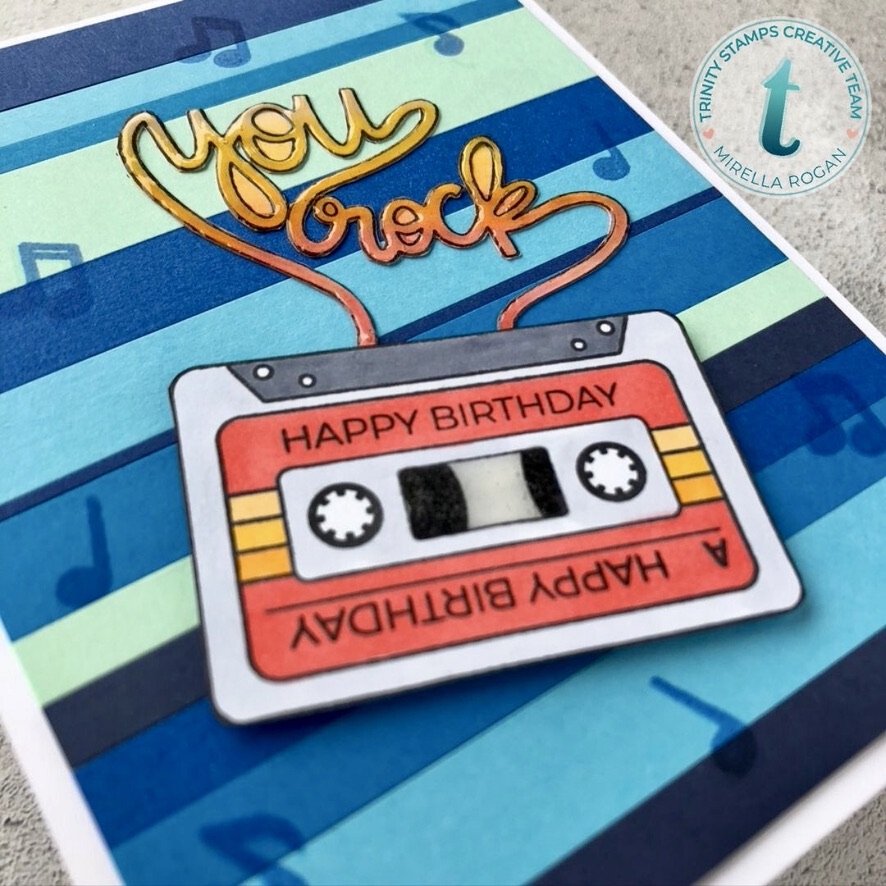
The first card is relatively simple, although a bit fiddly. For the background, I used various scraps of different shades of blue cardstock. I stamped the notes that are part of the stamp set all over the background, and moved onto the cassette.
I stamped and coloured the cassette & the “you rock” sentiment on a separate piece of paper, and then fussy cut them. Yup, I know, fussy cutting that tape is not easy, but with a bit of patience it’s totally doable! I was even considering cutting out the insides of the letters (like the Y, O or K), but in the end decided not to – I was worried it would be a little bit too unstable, and my initial plan was to pop it up on foam tape.
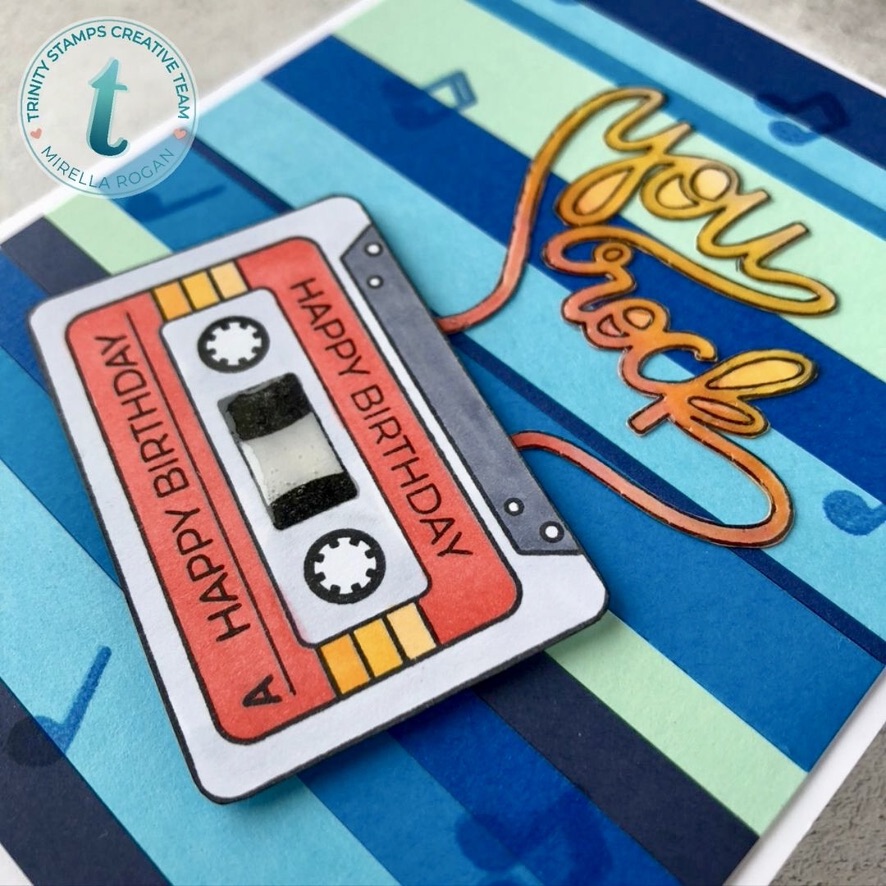
In the end, I adhered the “you rock” sentiment directly onto my panel, and only the cassette got popped up for a bit of dimension – I decided that it looked better that way. For some finishing touches, I added Glossy Accents to the whole tape sentiment, and to parts of the cassette.
And here we have it – the first card is ready!
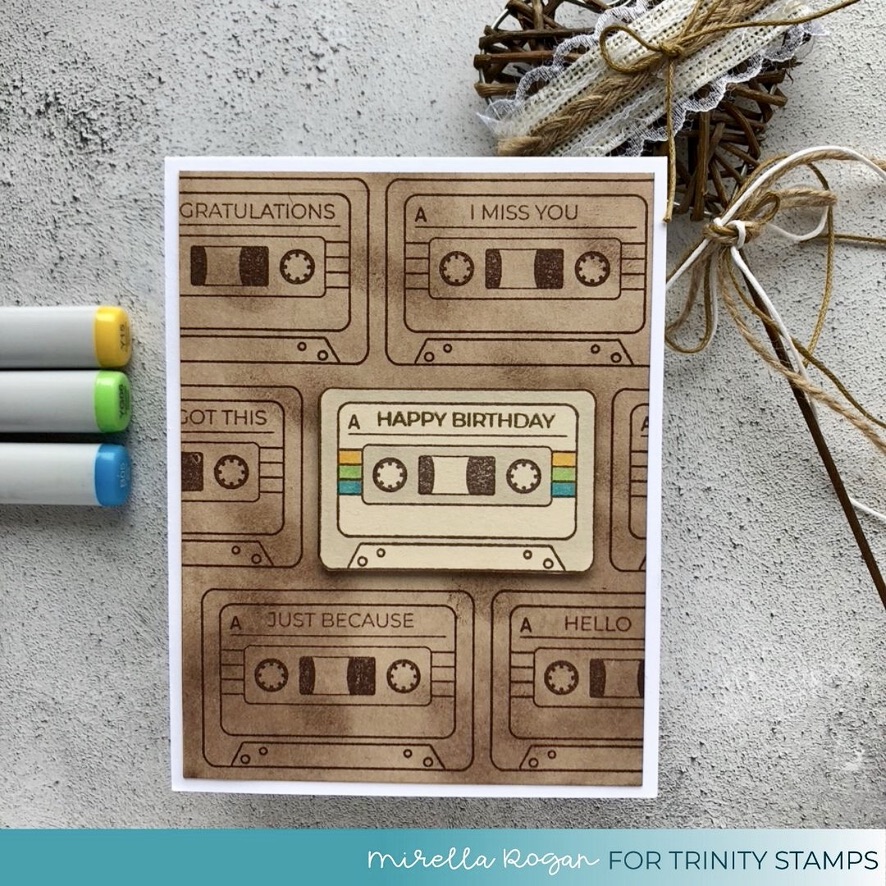
For the second card, I opted for my go-to kraft colours – I very frequently use kraft coloured cardstock for cards for guys.
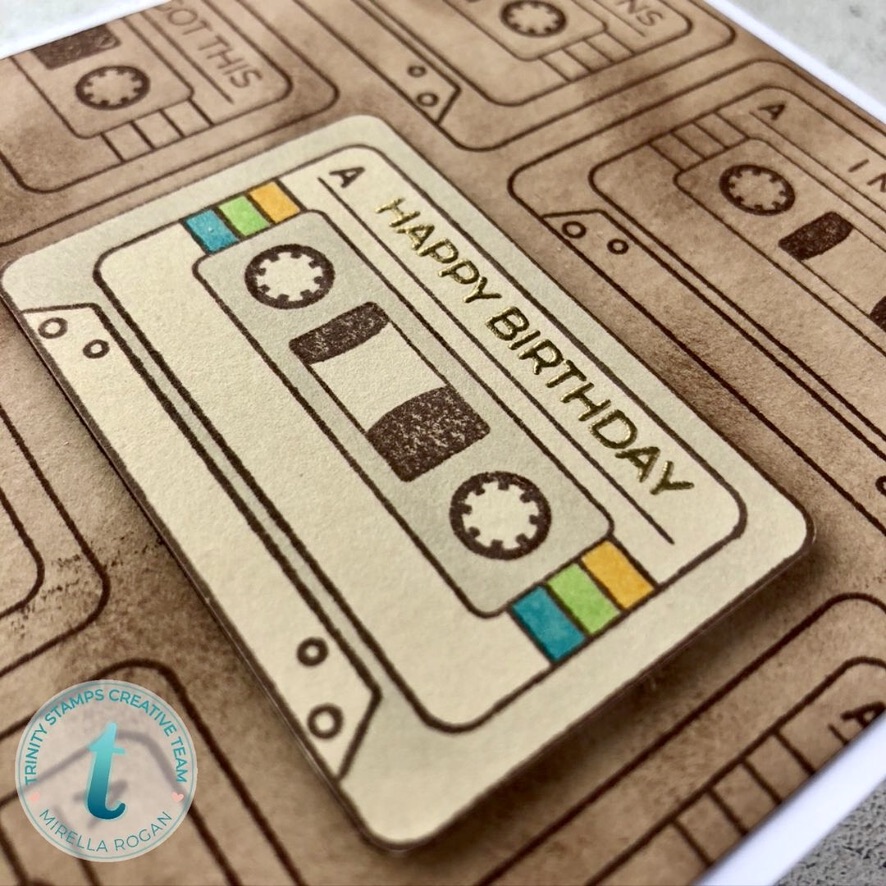
I stamped the cassette all over the panel – a stamping tool was really helpful here, as I wanted to have the image evenly spread on the card. I dabbed some brown ink here and there, to make the background a little bit more interesting.
I chose various sentiments from the A Sentiment For (Almost) Everything stamp set, and added them to the cassettes, as their “titles”. My main sentiment – “Happy birthday” got heat embossed in gold on a cassette I stamped separately. I then fussy cut the cassette and popped it onto my panel with some foam tape, to make it stand out even more.
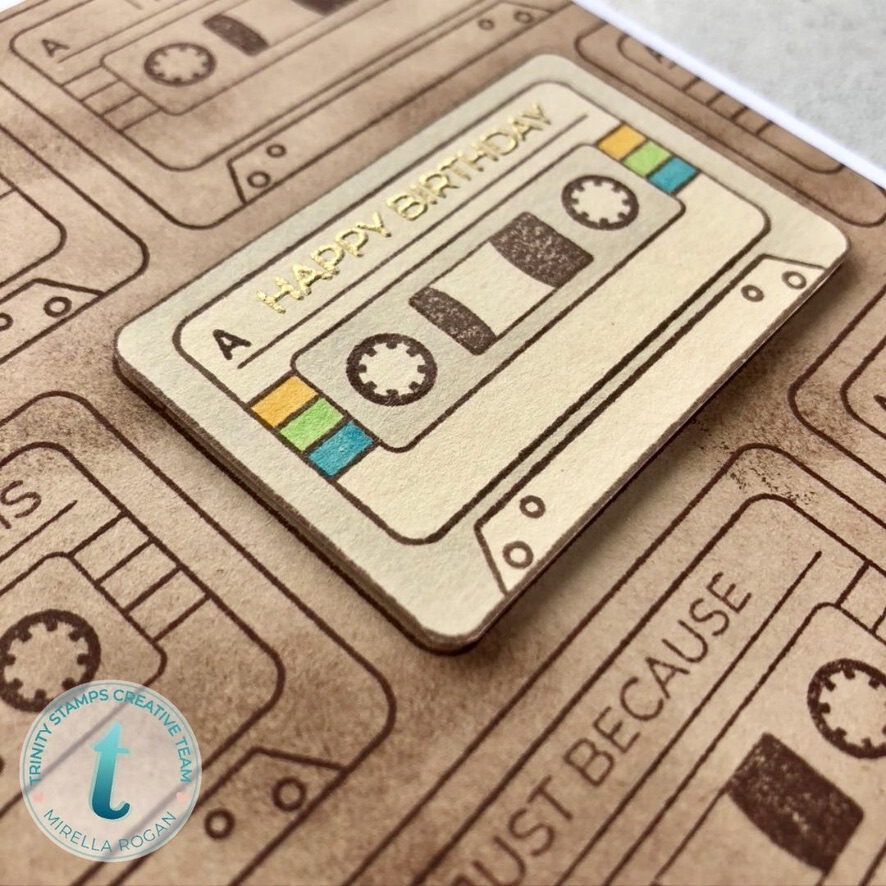
All that was left was to mount the panel onto a white card base, and the card was ready! Me being me, I really wanted to add a lot of embellishments to the card, but I tried to refrain myself! I think it still looks good, right?
I hope I inspired you to make some cards for guys with this fun (and inexpensive!) cassette stamp set. As always, the full list of supplies is available on my personal blog.
Stay safe, everyone, and until next time!
Mirella

Love your cards!
Thank you!
Love the masculine versions!
Thank you!