
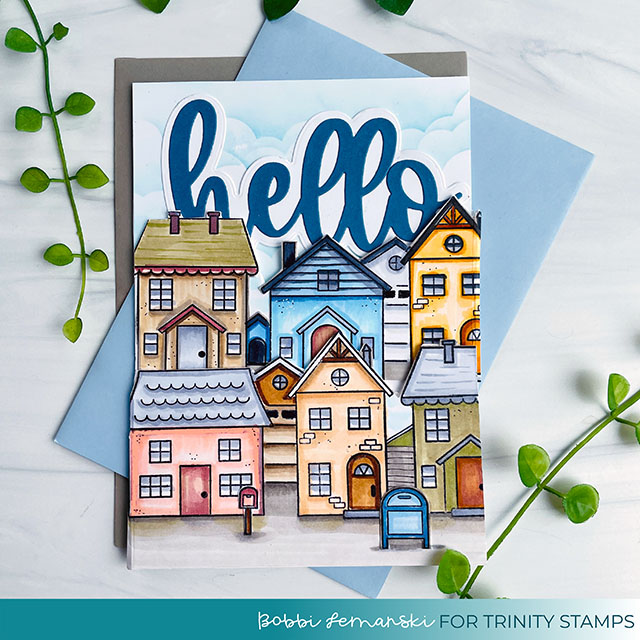
Welcome to the Neighborhood!
Hello, Trinity friends. It’s Bobbi Lemanski here with a gatefold card full of happy homes and neighborly love! With lower mortgage interest rates available, I have several nieces and nephews building homes this summer. I am going to need a few “new home” cards ready this fall to accompany my housewarming gifts. 🙂 Here’s one card ready to go!
I am using the following Trinity Stamps products:
Beautiful Day in the Neighborhood stamp set and coordinating die set
A Sentiment for (almost) Everything stamp set
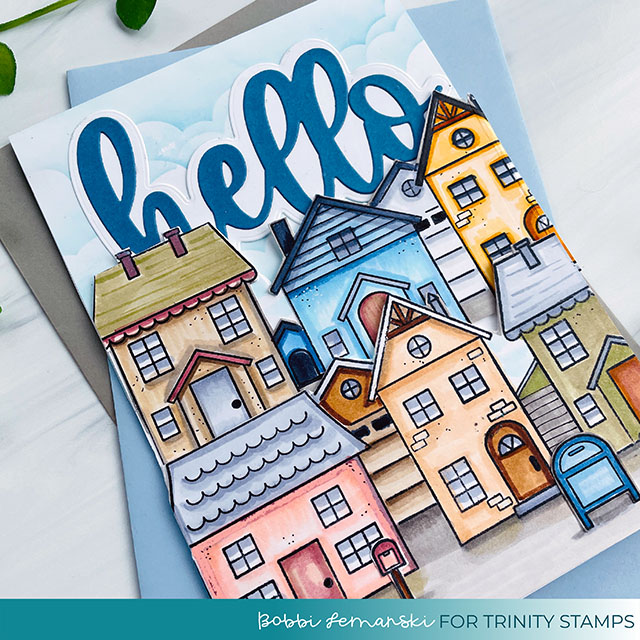
To make this 5″ X 7″ gatefold card, I started by stamping and coloring the houses and garages on two pieces of white cardstock – measuring 5-1/2″ wide X 7″ tall – to create two streets (rows) of homes. The left gate or first row was stamped about 3/4″ from the bottom edge. The second row was stamped 2-5/8″ from its bottom edge. I stamped the “beautiful day in the neighborhood” phrase below the second row of houses, making sure it will be covered by the left gate. I fussy cut the top edges of both stamped rows, around the roofs. I also scored 1/2″ in from the left side of the left gate and 1/2″ in from the right side of the right gate. These will be the tabs/hinges for the gates. Because the gates were colored using Copics, I backed both with white cardstock for a clean finish inside.
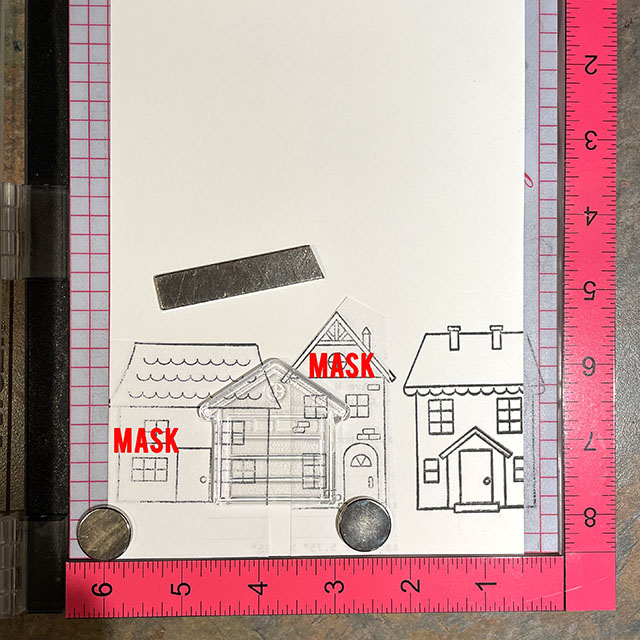
TIP: When stamping the rows of houses, I created masks using stamped white copy paper to stamp the garages and dog house between and behind the houses. For the mailboxes in the foreground, I simply stamped, die cut and attached them to the front.

I also cut two 5″X 7″ pieces of cardstock, one for the back panel (layer #1) and one for the inside center panel (layer #2). Layer #2 was stenciled using the Puffy Cloud Layers Stencil with Broken Glass Distressed Oxide Ink and my Blending Buddy. The phrase, “Congratulations on your new home” was centered and stamped inside. I also die cut the “hello” layered scripted word and shadow and adhered the layered word to the top of the inside panel, over the clouds, but slightly behind the closed gates (still viewable when the gates are in a closed position).
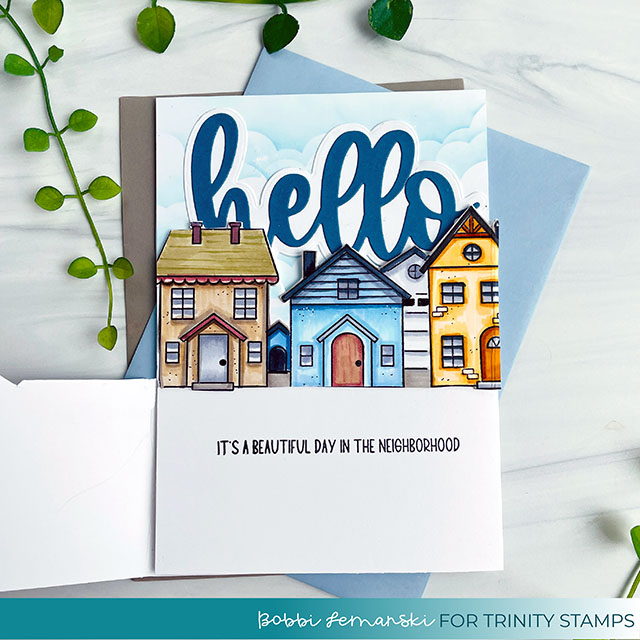
The card layers were adhered together by layering them in order, 1-2-3-4 with the 1/2″ tabs on layers 3 and 4 “sandwiched” between layers 1 and 2. I used double-sided tape on the tabs to give them an extra sturdy hold inside the “sandwiched” layers. When the left fold gate is opened, the second street is fully exposed and the beautiful day phrase is readable as shown here.
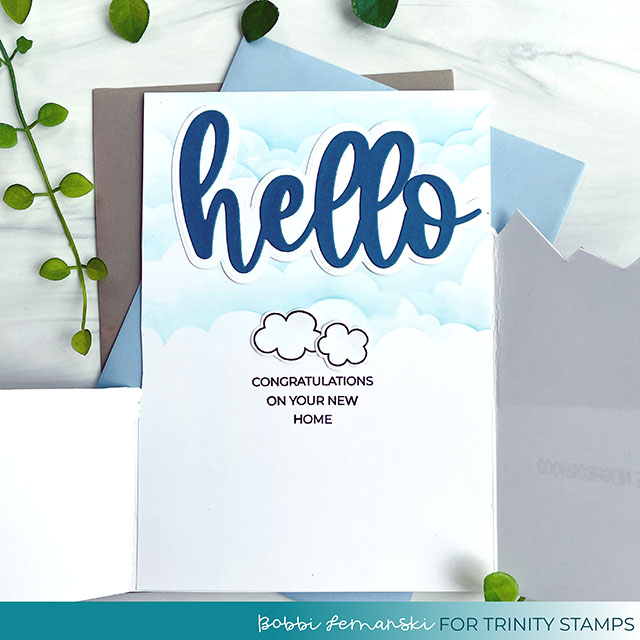
When both gates are opened, the interior center panel phrase is revealed as well as two clouds from the Beautiful Day in the Neighborhood stamp set and coordinating die sets. This card is completely flat when closed and fits inside an A7 envelope for mailing. Welcome to your home!
You can shop the entire Trinity Stamps store here. If you decide to place an order, please use the links in this post so that Trinity Stamps knows which ideas inspired you!
Thanks for stopping by today. If you want to see more ideas and inspiration from me, subscribe to my blog, BobbiHartDesign.com. I’ll send you updates on new posts! You can also find me on Instagram as @BobbiHartDesign and on Facebook as BobbiHartDesign.


That’s such a cool card! I love the coloring on the houses and the gatefold design.