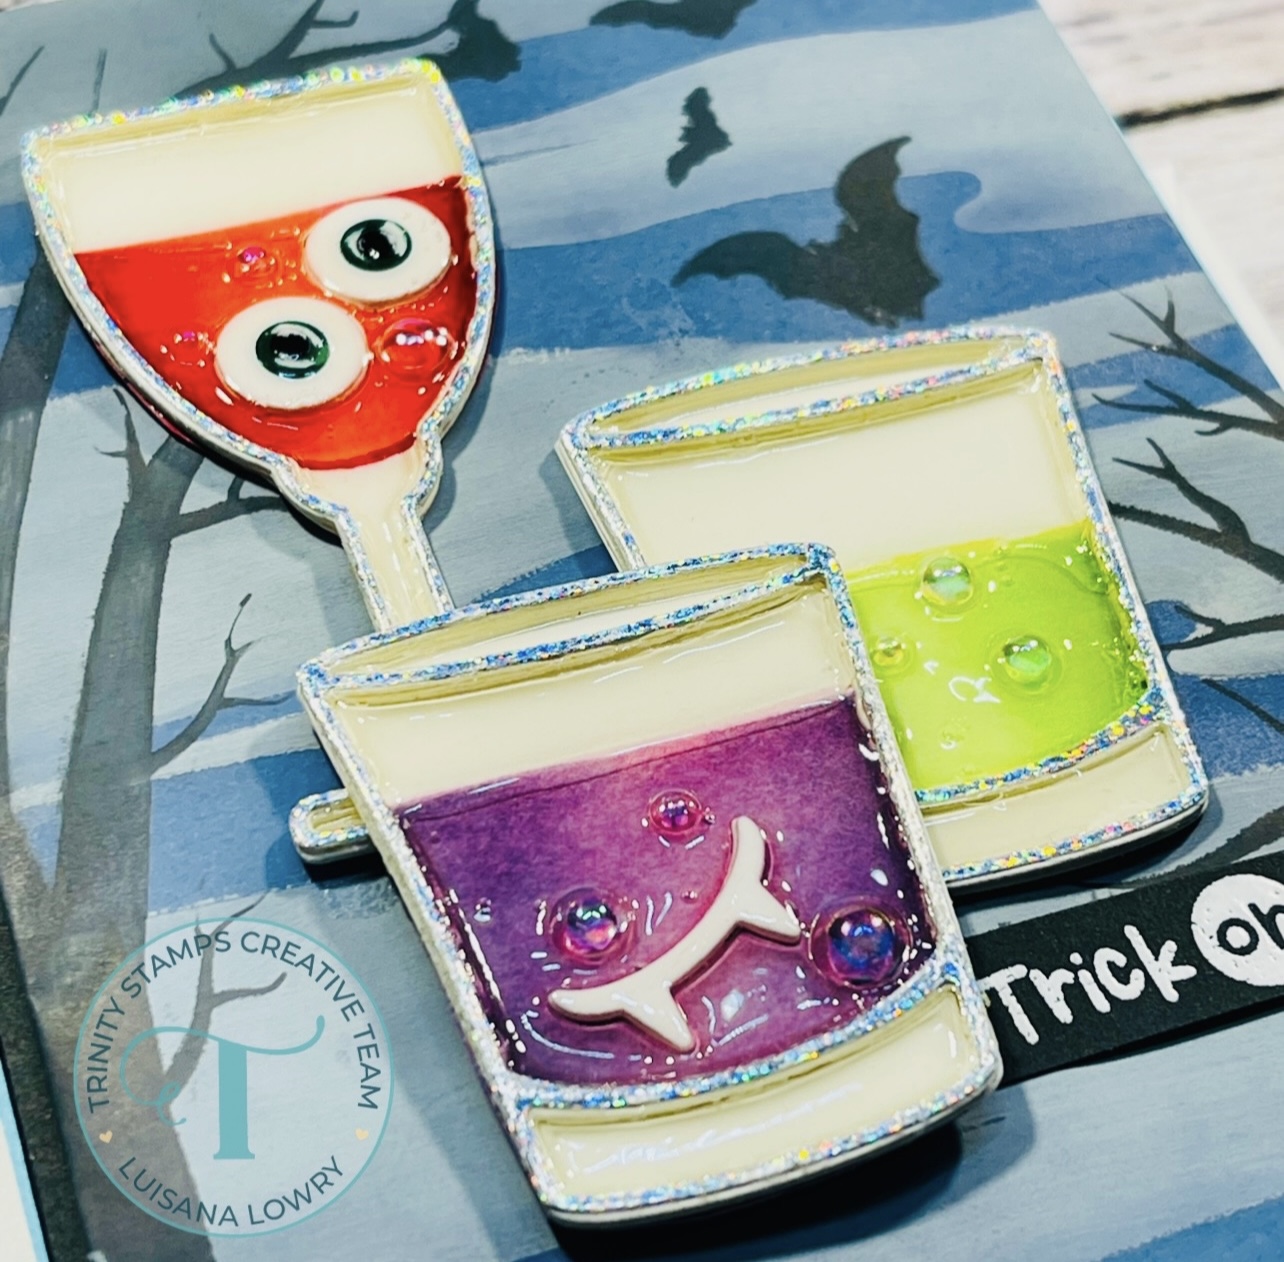
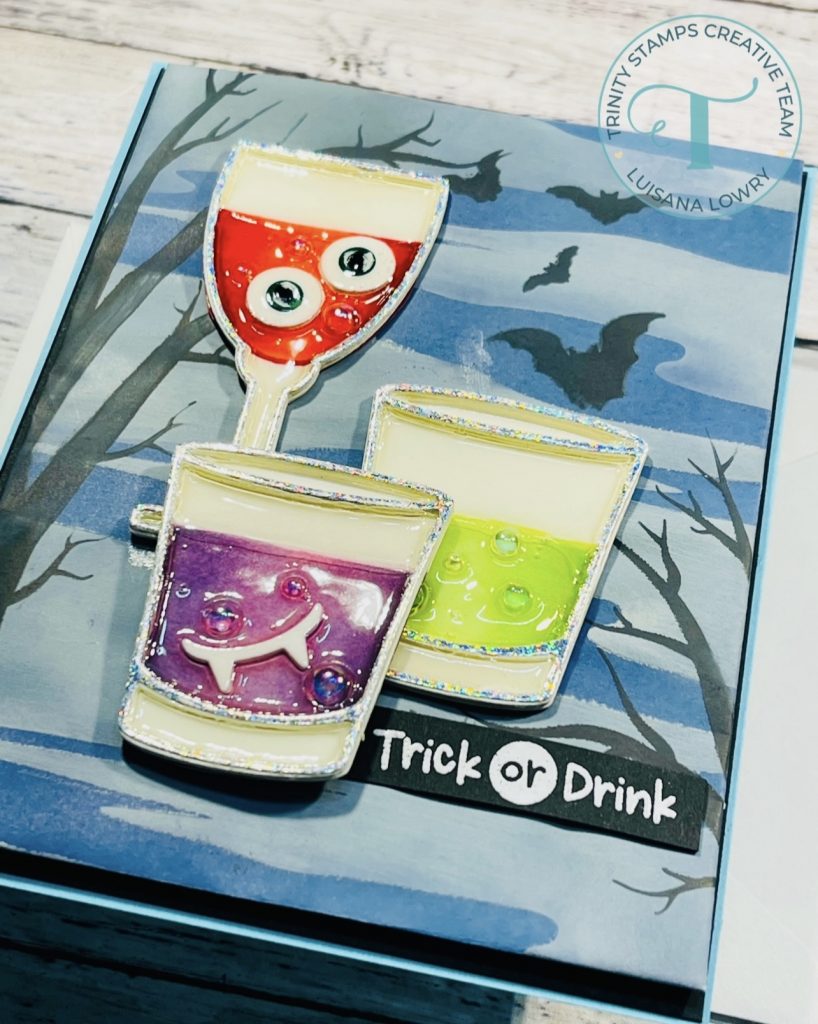
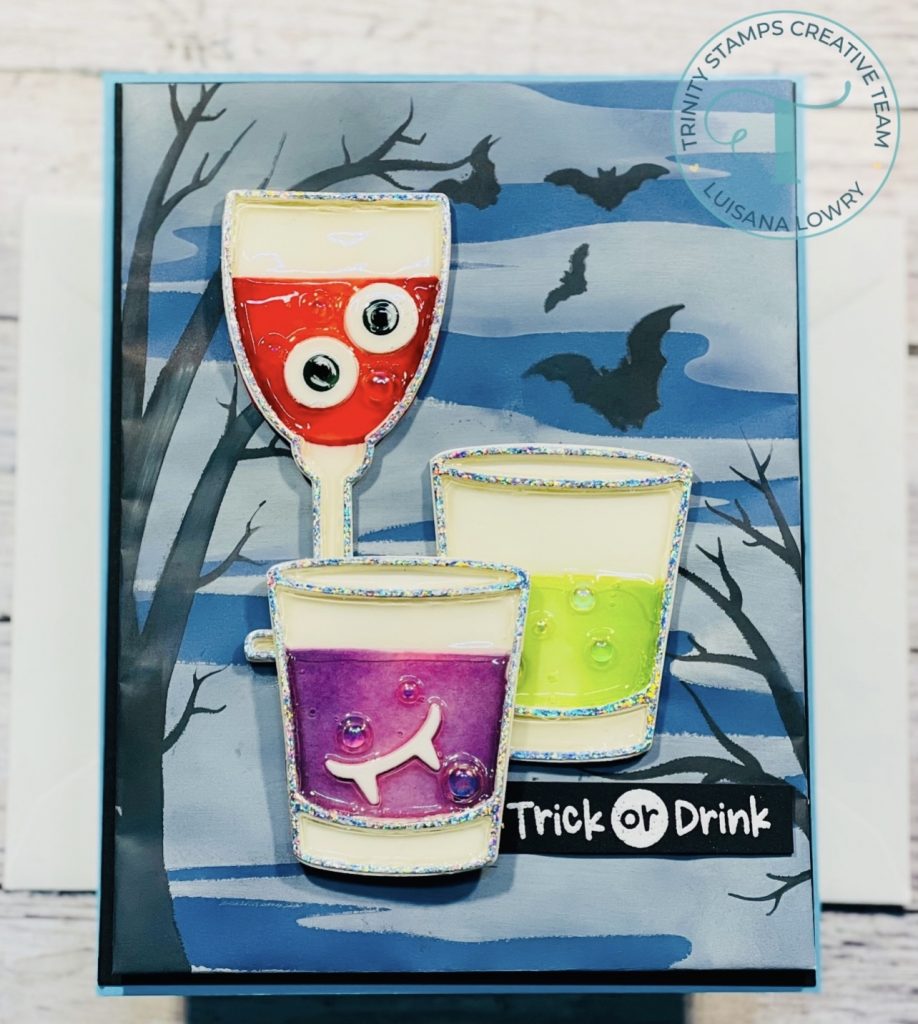
Trick or Drink, a fun, spooky card.

Hello my friends,
can you all believe its already September!? Time is flying by for sure.
I am so excited to be back this week with a super cute, and spooky project for y’all. Did you all check out Trinity’s latest release yet?
For my card today I was super inspired by the Creepy Cocktails die set and the October night sky layering stencil set. I was determined to make these two products work together.
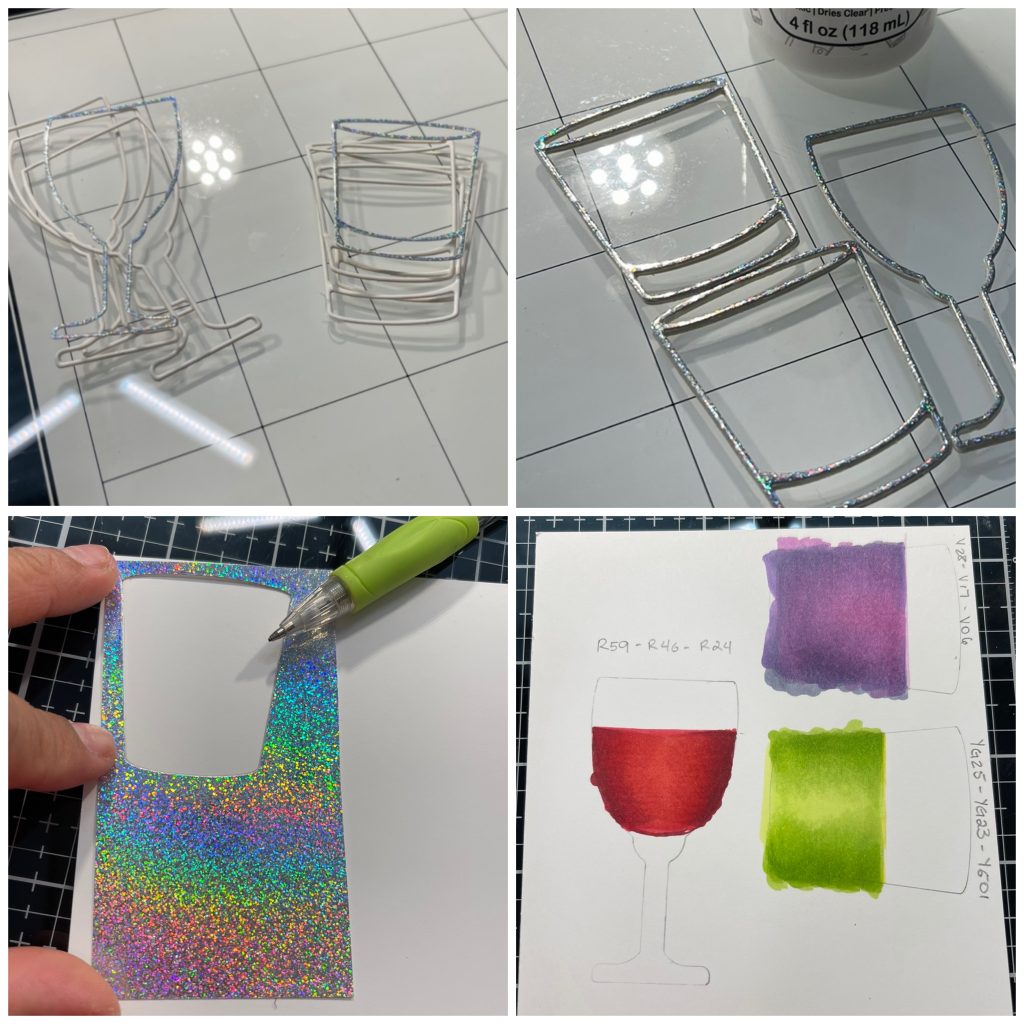
I started by cutting out three layers of white cardstock using the dies. I wanted to have to shot glasses and one wine cup. For the top layer, which is the one that will actually show, I chose to go with a holographic paper so it would resemble more of a glass effect. I then glued the 3 layers of white and the top layer of holographic paper for each element. For the base of each cup I decided I wanted to custom color them using my copic markers so I used the negative portion of the paper from the previous step to outline the shape of the cup and shot glass using a pencil and then colored each using a different combination of copic markers.
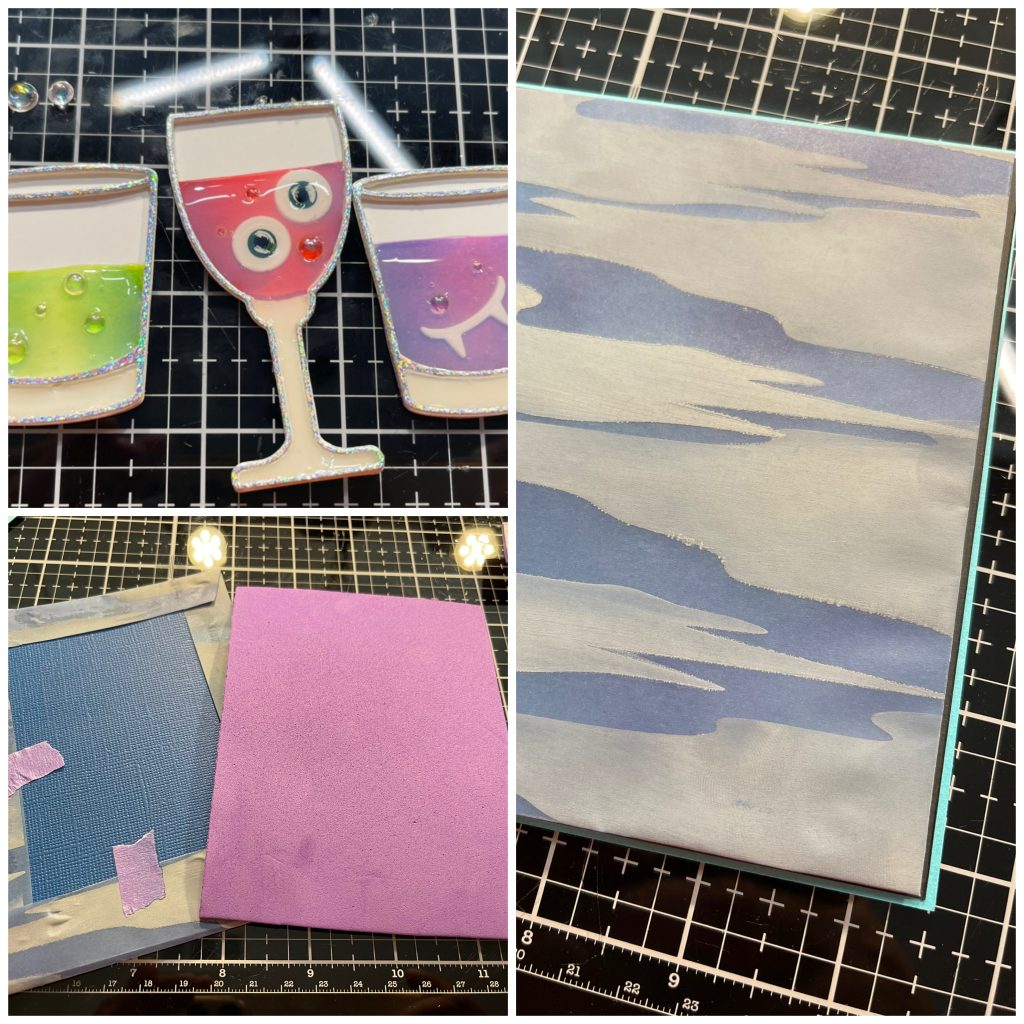
The next step was to glue my outlines to the copic colored layers after I had fussy cut them out. I glued the bottom portion of the shot glass back to the underside part of the glasses and used my pick up stick to push the piece of cardstock down. The next step was the funnest for me. I grabbed my Boiled sugar baubles and glued them inside each die cut piece to give them the look of real liquid. These baubles are super cool! they are a must have, for sure! I also placed a pair of eyes and teeth that I assembled inside two of the cups. Next I filled each cup and glass with glossy accents. This was such a therapeutic activity for me. I waited for a few hours before touching these pieces again because I wanted to let them dry completely.

Now it was time to work on my background. I grabbed my stencil and just let it “speak” to me. I chose to make the background on a piece of vellum. I inked my vellum using hickory smoke distress oxide and a blending brush and when I was done I heat set it using my heat gun. I then turned my vellum to the other side and inked the whole are using distress ink in faded jeans and a blending brush. I also heat set this after I was done. To assemble my background I chose to use a blue cardstock to place my vellum on top of, that way the blue of the underside would show more. I folded the vellum around the cardstock I had previously cut to be 4 X 5.25 inches and taped the back so the vellum would not move. I glued some fun foam all over the backside to cover the tape and also give that layer some extra dimension. I matted my vellum onto a piece of black cardstock (5.3/8 X 4.1/8) and placed both these layers onto a teal piece of a2 size cardstock. I felt like it still needed a little extra something so I grabbed my stencils again and using black ink and a brush, I stenciled some backs and a couple of silhouette trees. Now its perfect.

By now, all of the glossy accent in my die cuts had fully set so I was able to place them on my background. I arranged them so they would look cute. I glued them all into place and placed my sentiment from Trick or Drink on the bottom right portion of the card.
And that is all for me this week. I seriously enjoyed making this card and I hope I was able to inspire you to create something using your Trinity stamps.
I will see you all again next time, take care!

This is a very cute Halloween card!
So fabulous and thanks for the tutorial!!