TOAD-all Holiday Vibes

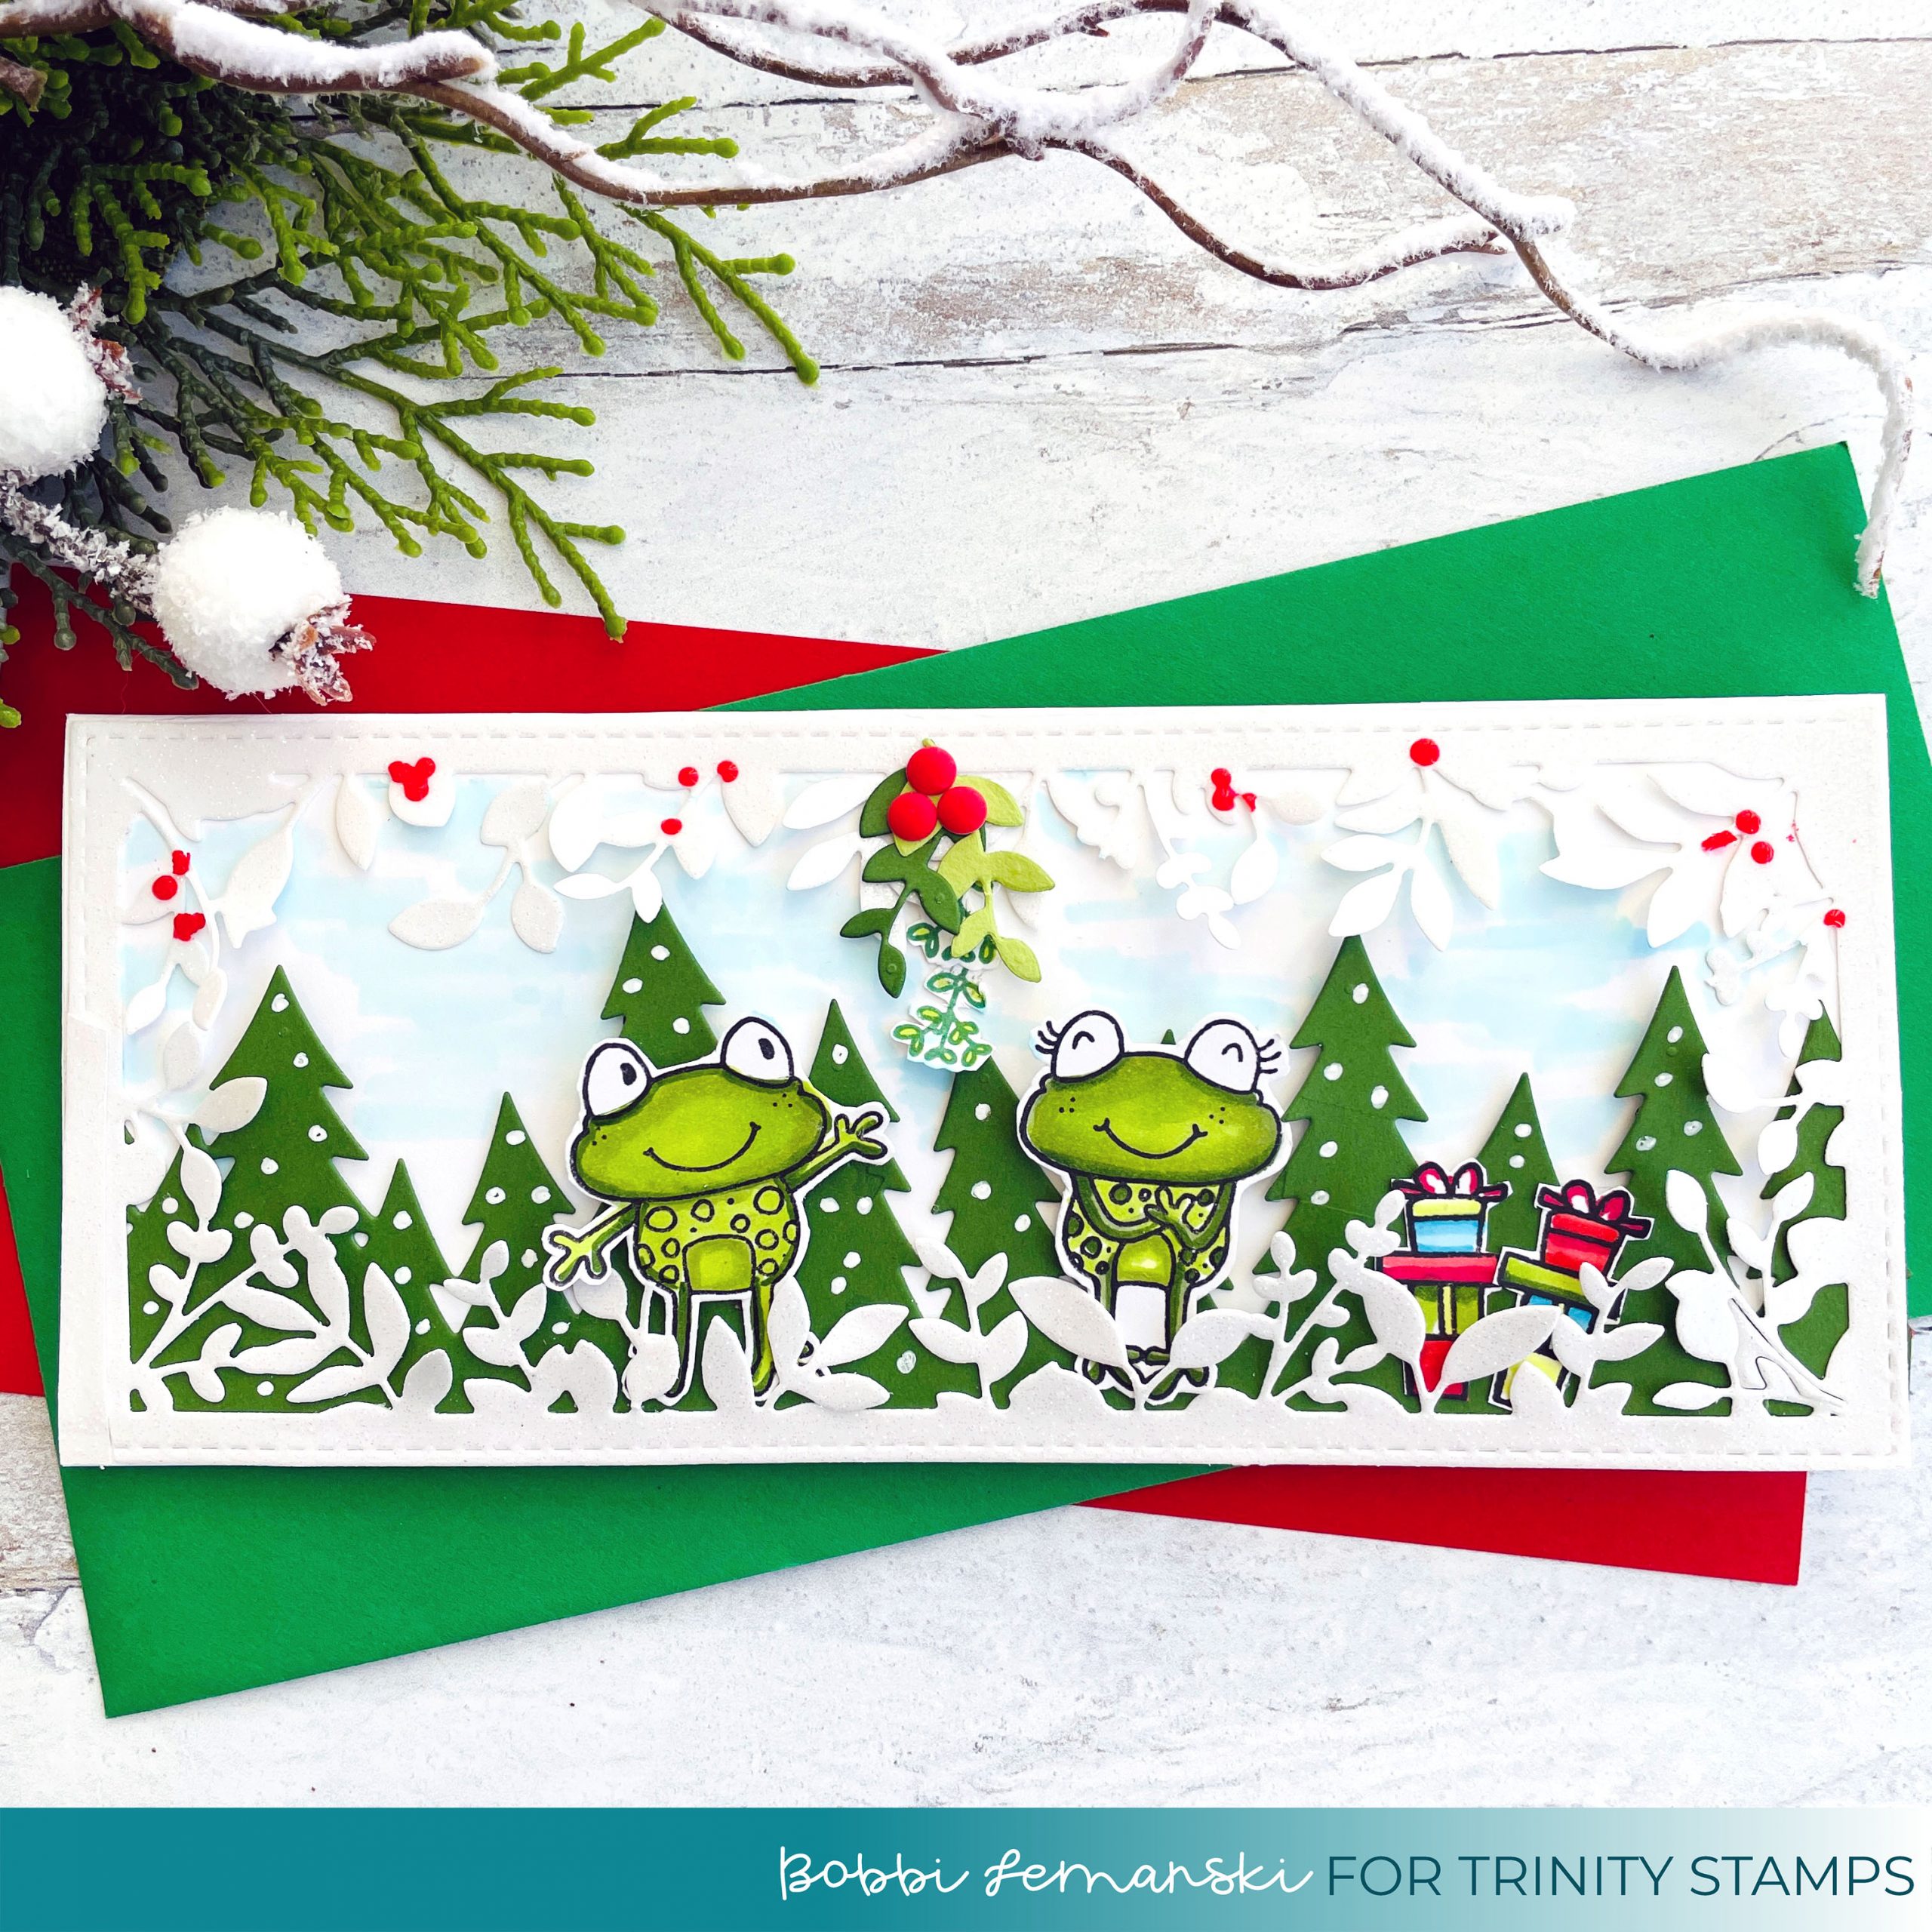
Hello Trinity Stamps friends! It’s Bobbi Lemanski (@BobbiHartDesign) here to share a fun, holiday card using a new set from the latest Treetop and Trimmings release by Trinity Stamps. It’s called, Mistletoads and it is so cute! Honestly, it made me chuckle when I first saw this set. It’s adorable. I am using the following Trinity Stamps products:
Mistletoads stamp set and coordinating die set
Slimline Forest Border die set
Slimline Series: Foliage Frame die set

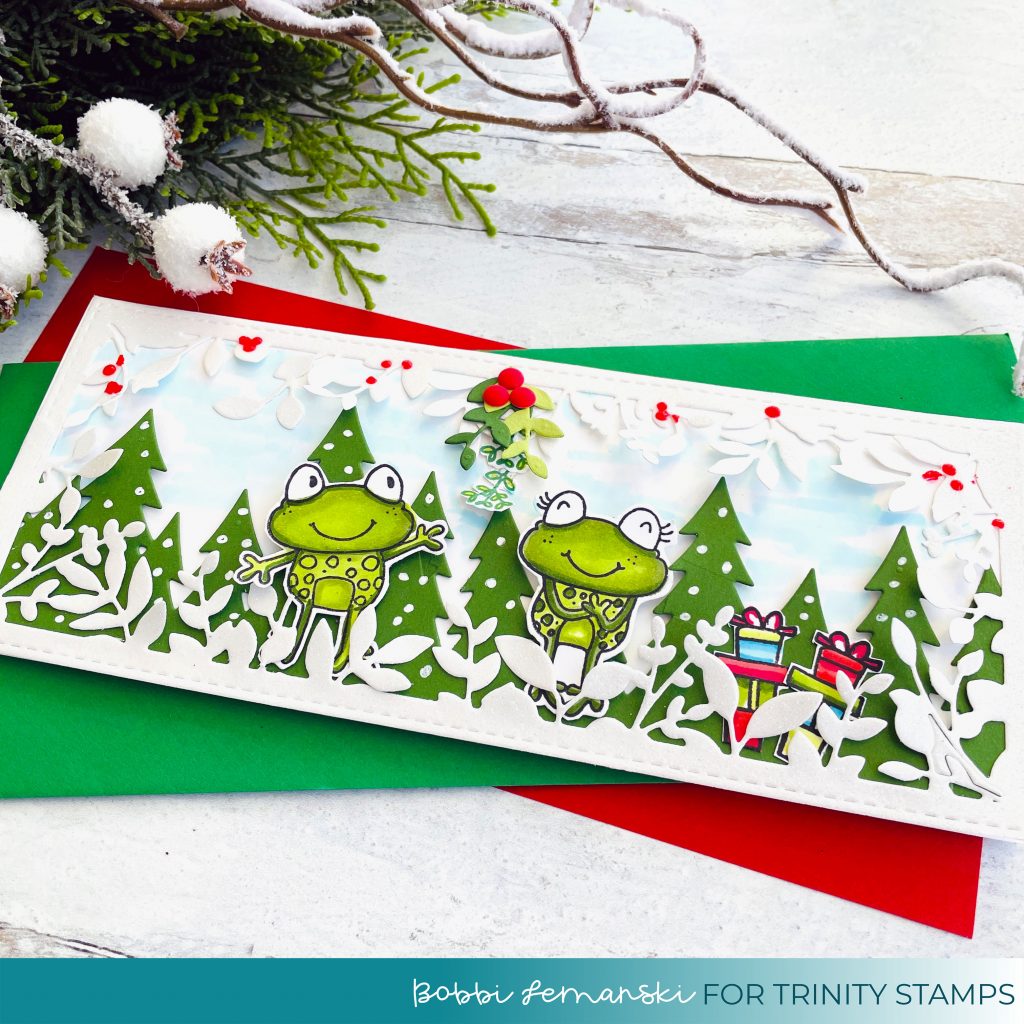
This festive slimline card measures 8-1/2″ wide X 3-1/2″ tall. The card base and card front panel are made from 80lb Neenah Solar White cardstock. To create the background for this card, I started by adding light, scattered blue clouds to the white card front panel using Copic markers, B000 and B00. You could also use the Puffy Cloud Stencil and Tumbled Glass Distress Oxide ink to add the soft clouds.
Next, I die cut dark green, pine tree line using the Slimline Forest Border die set. I used a white gelly roll pen to add “snow” / dots to the trees.
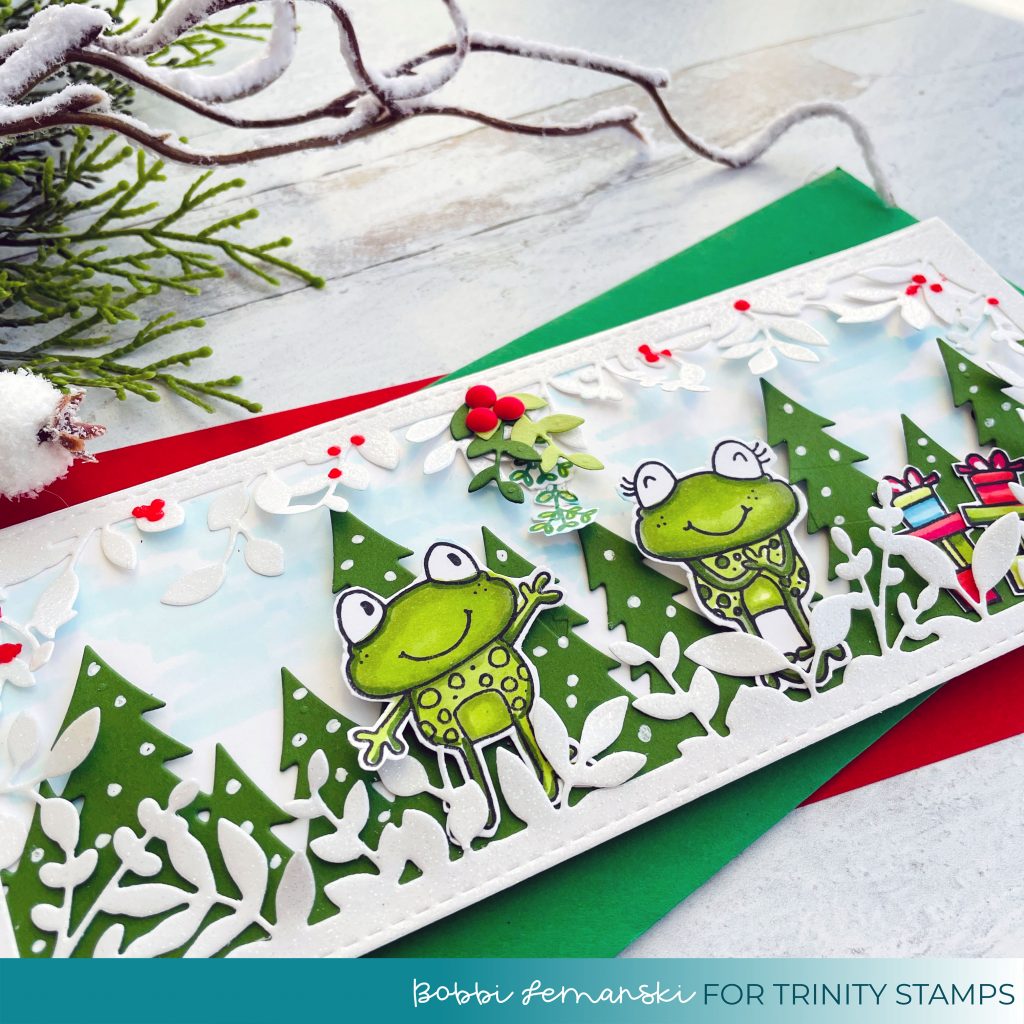
To finish the background layers, I cut the Slimline Series: Foliage Frame die from white glitter cardstock. It’s hard to see the glitter in the photos, but it is sparkly, just like fresh snow in the sun! The front panel, pine tree line and foliage layer were adhered together.

For the focal images, I stamped, die cut and colored the adorable toads, mistletoe and stacks of gifts using the following Copic Sketch Markers:
- Toads: YG67, YG03, YG00
- Packages: R46, R14, B02, B00, RV09, RV55, YG67, YG03
- Mistletoe: stamped in green ink and colored in using YG03
I added the colored die cut images to the scene, adhering them right behind the foliage. I also added mistletoe between the toads by die cutting two individual leafy branches from two colors of green and adding in the stamped mistletoe sprig, too. The reason I added the two die cut leaves is because the mistletoe stamp is quite small and I wanted the hanging mistletoe to be larger. The mistletoe was hung in the middle, at the top. I added three red berries using Doodlebug Sprinkles Adhesive matte-finish Enamel Dots. I also used red Pearl pen to add additional berries along the upper foliage for a bit more color.

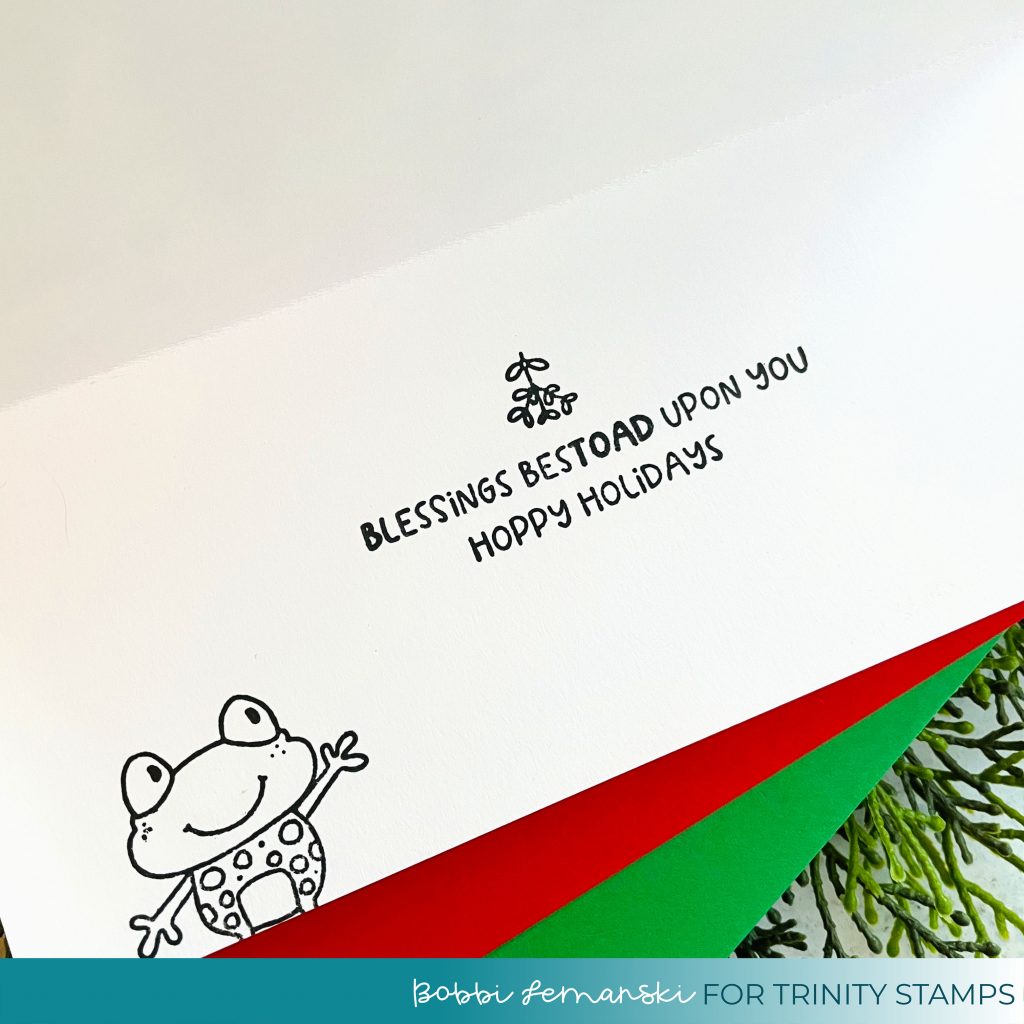
Inside the card base, I stamped the two phrases included in the stamp set and stamped a sprig of mistletoe and the head of one of the cute toads. I think it’s fun to add a little element of surprise inside. How cute is that?! I don’t color interior, stamped images because the ink would bleed through to the back of my card base. It also takes away from the front panel. My card is now ready for the holidays!
Thanks for stopping by today! If you decide to place an order, please use the links in this post so that Trinity Stamps knows what inspired you. You can Shop Trinity Stamps now! I appreciate it very much. It helps me to continue to bring more ideas to you!
Thanks for stopping by today. If you want to see more ideas and inspiration from me, subscribe to my blog, BobbiHartDesign.com. I’ll send you updates on new posts! You can also find me on Instagram as @BobbiHartDesign and on Facebook as BobbiHartDesign.
Bobbi Hartmann Lemanski, Bobbi Hart♥ Design, Adding h♥art into every design
