
Tis’ the Season to…..
Hello Crafty Friends!!
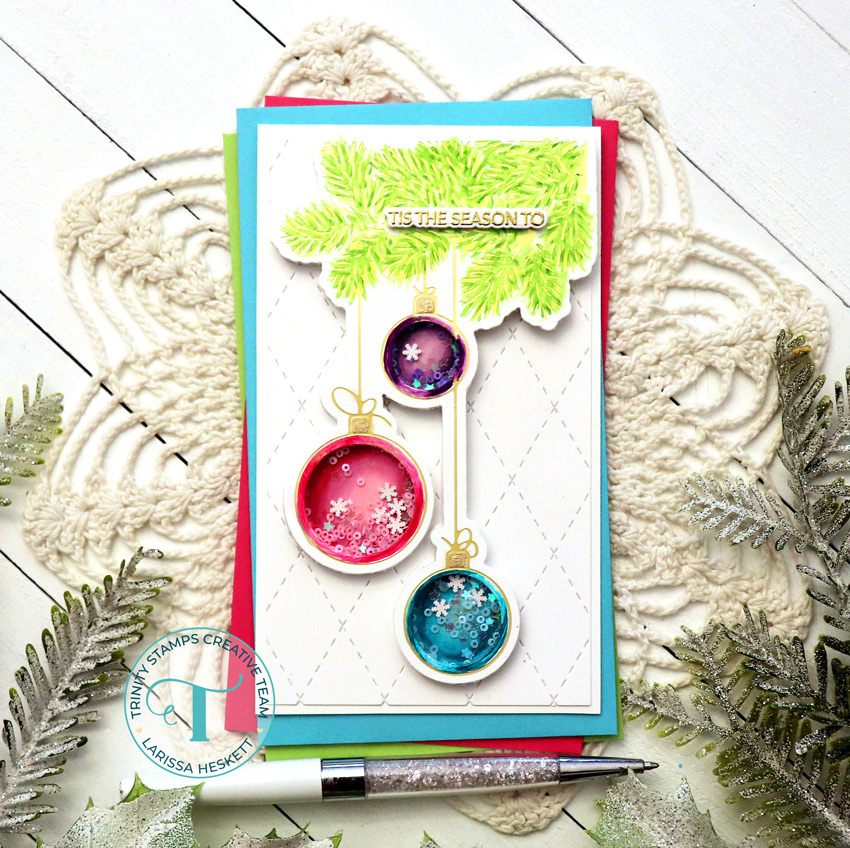
Larissa here today to share a Festive CAS Mini Slimline Shaker Card with you using the NEW Ornament Trio Cut & Foil Die Set!! This Die Set it so versatile and can be used in many ways, and I LOVE the Clean and Simple Design!! Shakers are one of my FAVORITE Card Designs to make, but if they aren’t your thing a CAS Design would be just as Elegant!!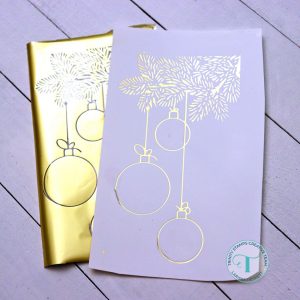
I Started by Hot Foiling the Image onto some White Cardstock using the Gold Glimmer Foil and my Glimmer Foiling System along with my Platinum 6 Die Cutting Machine!! SWOON!! Just look at that BEAUTIFUL Image!! You have SO MANY Options when coloring this Image!! You could use Distress Inks, Distress Stains or Mica Stains, Watercolors, Colored Pencils or Markers!! 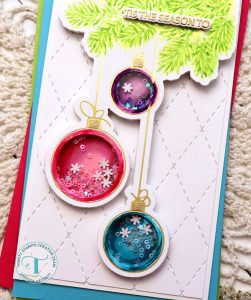
I Chose to use Copic Markers to Color my Image!! Before I could Start though, I had to Die Cut another Image using the coordinating Die Set so I could color the inside of the Shaker Elements!!
Pink: RV00, RV25, RV55 & RV09 Purple: V00, V1, V15 & V09
Turquoise: BG00, BG10, BG45 & BG49 Green: YG00, YG11, YG17 & YG25
Once I colored the main Image, I Die Cut it out using the coordinating Die and then I Die Cut the center out of all of the Ornaments using the coordinating Circle Dies!! I then Die Cut another Image out of Acetate and adhered it to the back of the Ornament Die for the Shaker Windows!! Then I added some of the Trinity Stamps Double Sided Foam Adhesive Strips to the back side of the Acetate!! This created my Shaker Wells and also added Dimenson to the rest of the Image to make it sturdy for adhering it to my Card Panel!! They are the PERFECT Size for this Die making it really easy to create a Shaker Card!! 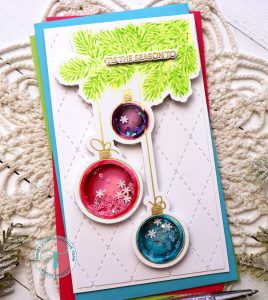
I added my Shaker Elements using some Micro Sequins from my stash along with some Iridescent Stars and some Vanilla Sugar Snowflake Sprinkle Embellishments!! Then I adhered the back Panel to the Front Ornament Panel and pressed everything firmly into place!! I used a Metallic Gold Pen to Color in the Ornament Tops!! I LOVE how this turned out and feel like if you were going to create several of these it would be FUN to change up the different Colors used for the Ornaments!! 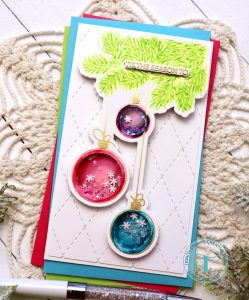
Next I Die Cut the Cardbase Panel from some White Cardstock using the NEW Argyle Stitch Backgound Die!!
Then I adhered the Shaker Ornament Image onto the Card Panel using some Crafty Gluefriend Liquid Adhesive!! I Then adhered the Panel onto a Mini Slimline White Cardbase!! 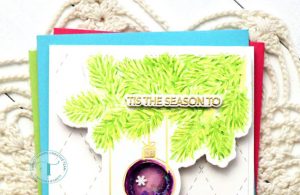
I Stamped and Embossed the “Tis’ the Season to” Sentiment from the NEW Sparkle Season Stamps Set using Versa Mark Ink and embossing with Ranger Princess Gold Embossing Powder!! It’s the PERFECT match tot the Gold Glimmer Foil!! Then I Die Cut the sentiment out using the coordinating NEW Sparkle Season Die Set!! Then I adhered it to the front of the Card using some Trinity Stamps Double Sided Foam Adhesive Strips!! I also Stamp and Embossed the “Sparkle and Shine” Sentiment from the same Set and adhered it to the inside of the Card!! 
I hope I’ve INSPIRED you today with my Festive CAS Mini Slimline Shaker Card and if you haven’t tried the NEW Cut & Foil Dies, I hope this gives you that nudge you NEED to give it a try!!?? I myself LOVE them and get EXCITED about all of the different possibilities when creating with them!!
THANKS SO MUCH for stopping by today!! If you create something please share with us on Social Media using the #hastag #trinitystamps #trinitystampsllc as we LOVE to see what you’ve created!!
You can join us in our FB Community HERE!!
I hope you have a FABULOUS WEEK!! Make sure you continue to visit us as we share Projects to INSPIRE You with the NEW Sparkle Season Products!!
LARISSA HESKETT


