
Simple, classy and elegant Christmas cards
Hi Everyone, Mirella here today.
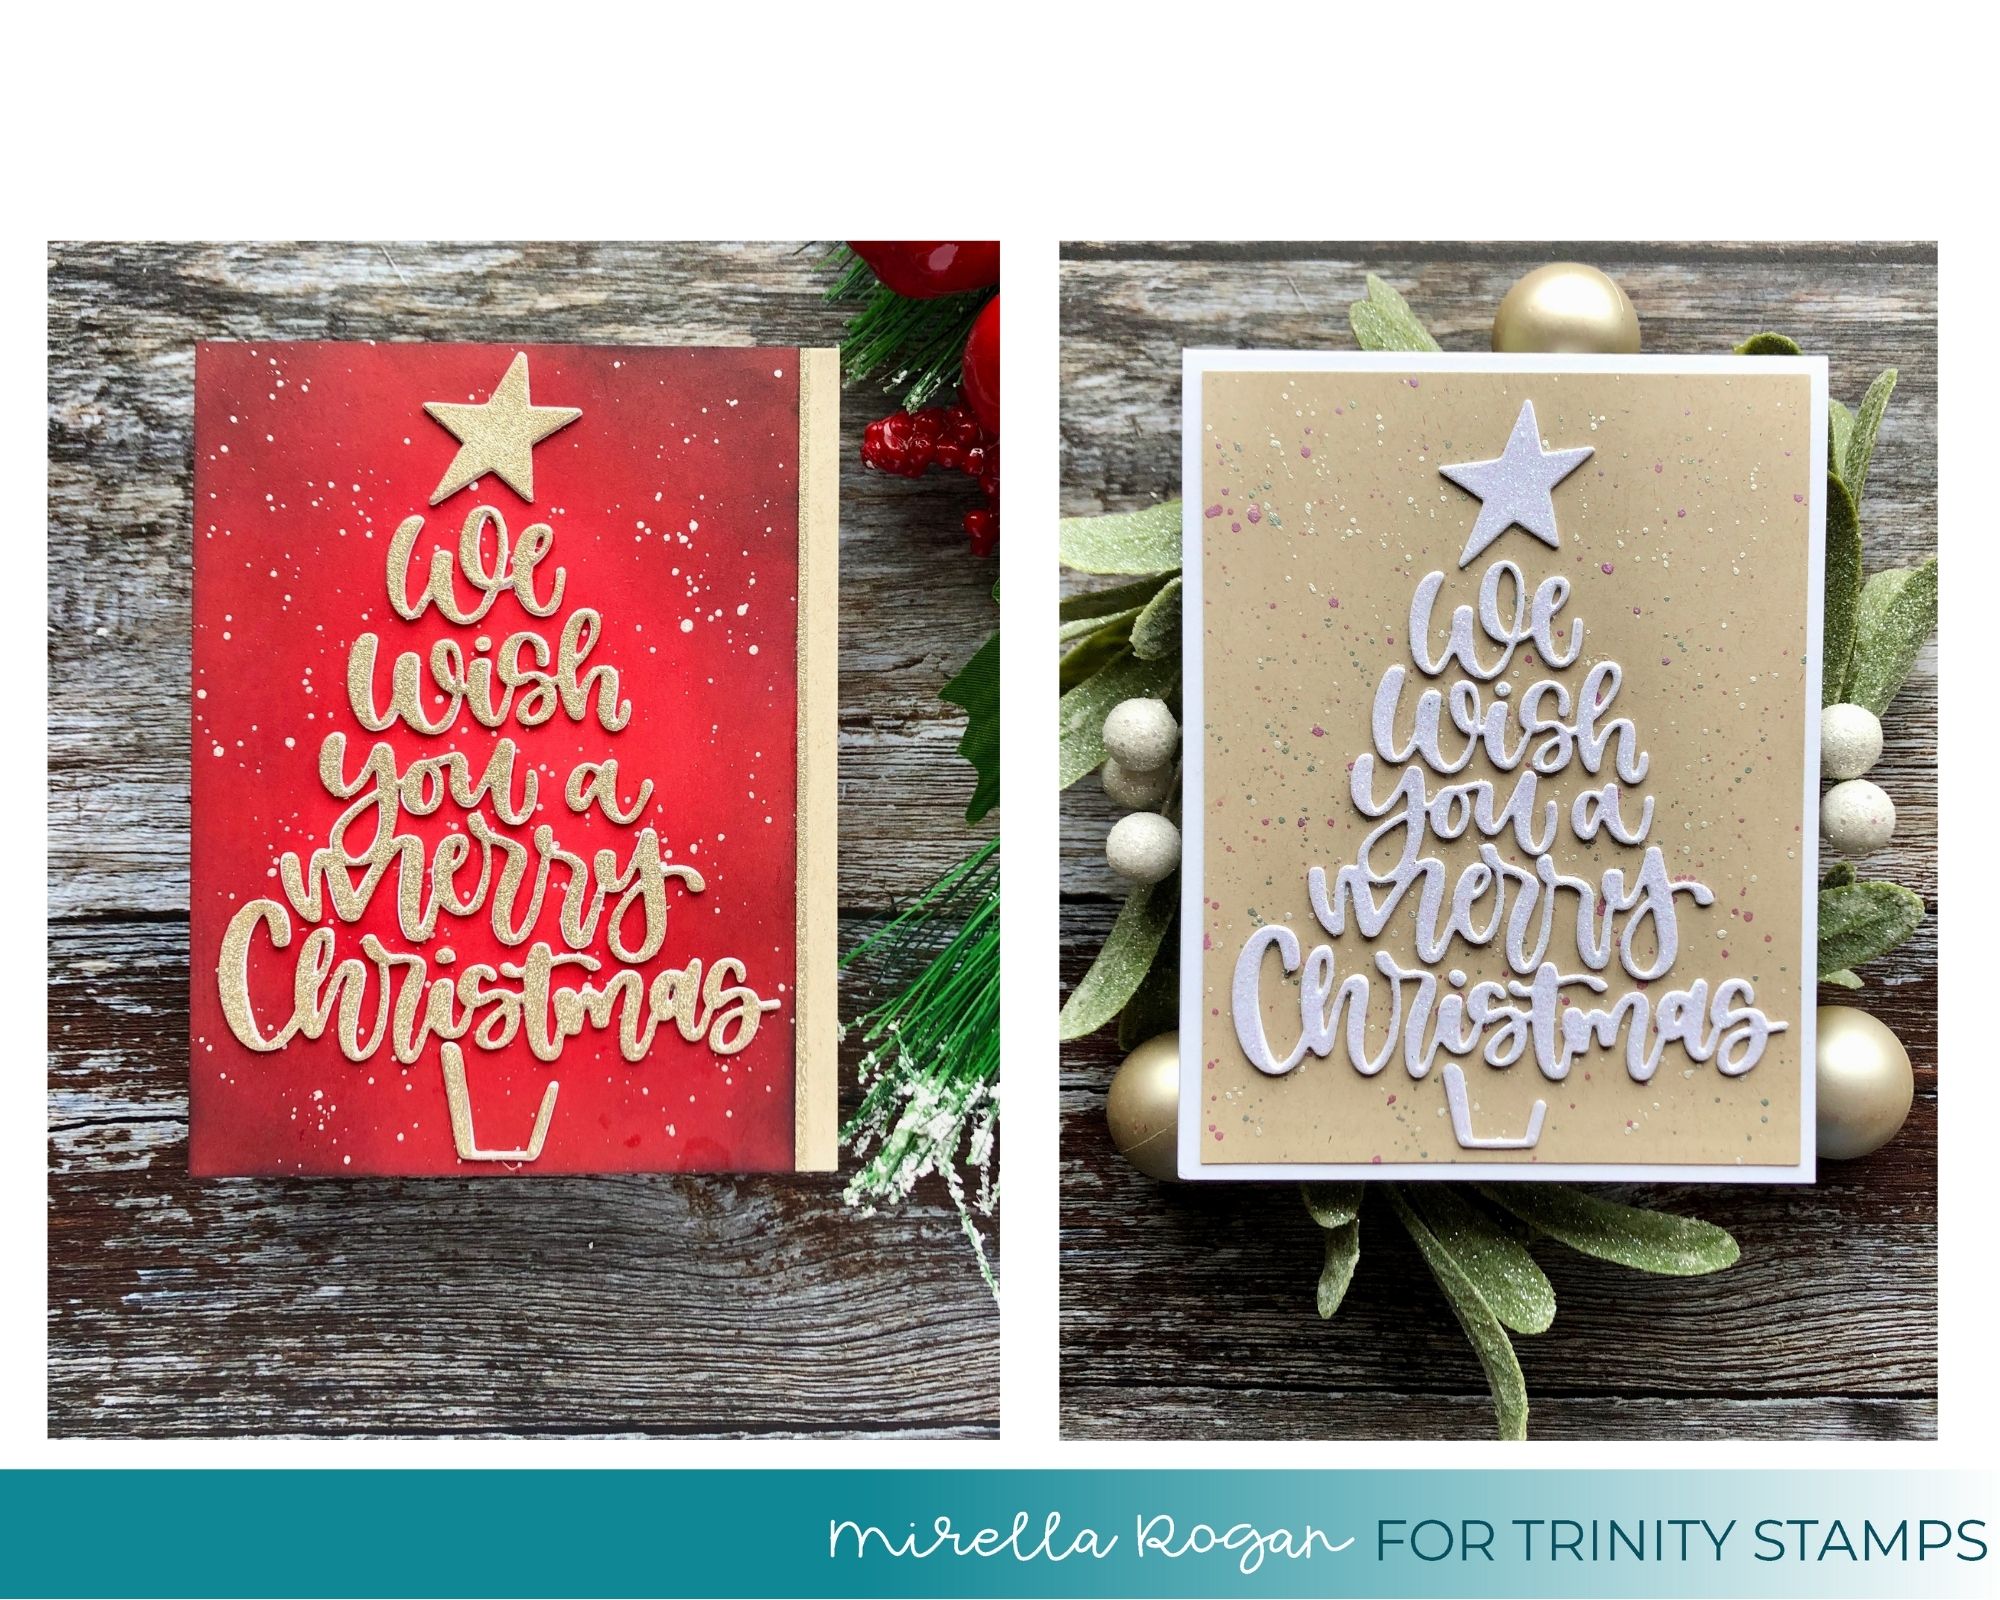
I don’t know about you, but amongst all the cute and funny Christmas cards I make, I also like to have a few classy and elegant designs. And, even though I called my cards today “simple” – I must warn you, they did end up being quite time consuming! However, if you only use one layer of die cuts, you can reduce the time needed to make these by LOADS.
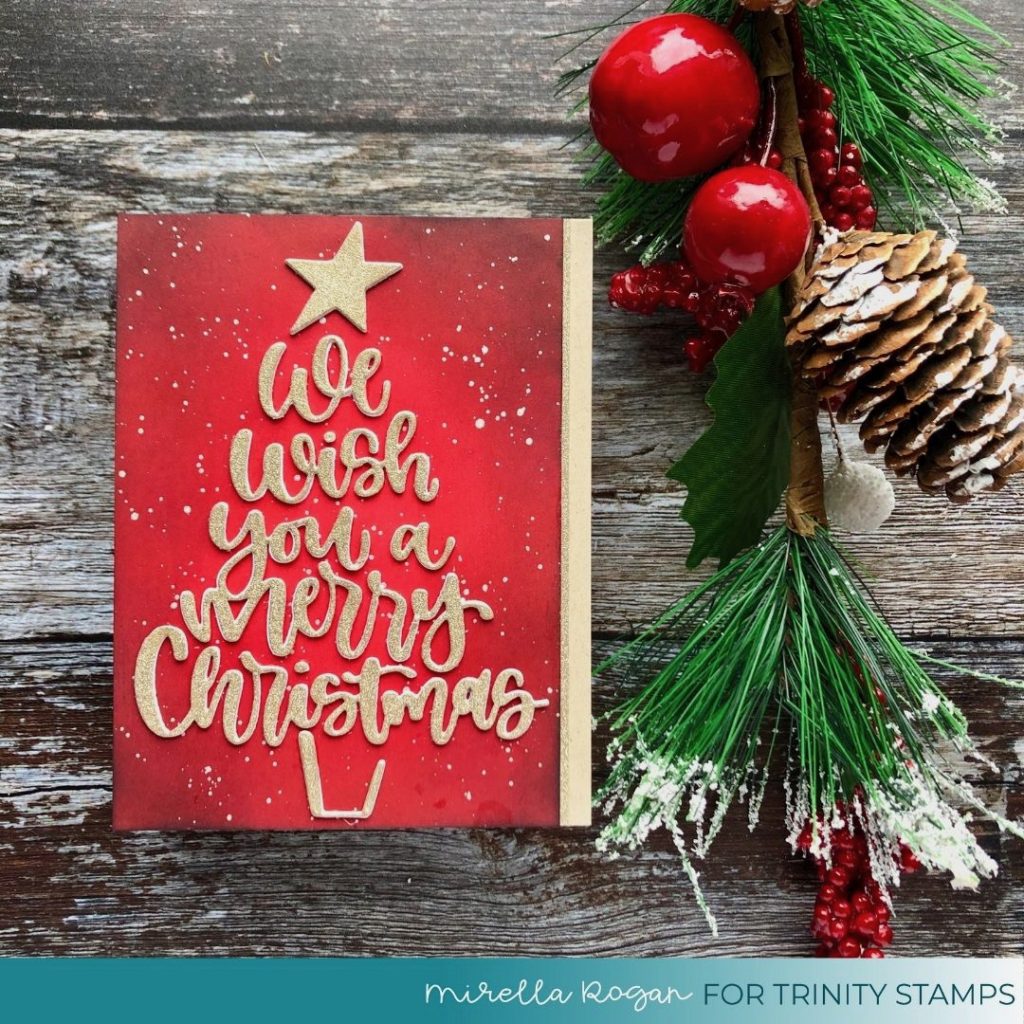
For the first card, I opted for my favourite Christmas combo – red and gold. I ink blended the background, using Distress Inks & my Blending Buddies, and once dry, I splattered it liberally with a white metallic paint. I also trimmed the panel slightly, to be a little bit narrower than the standard A2 size.
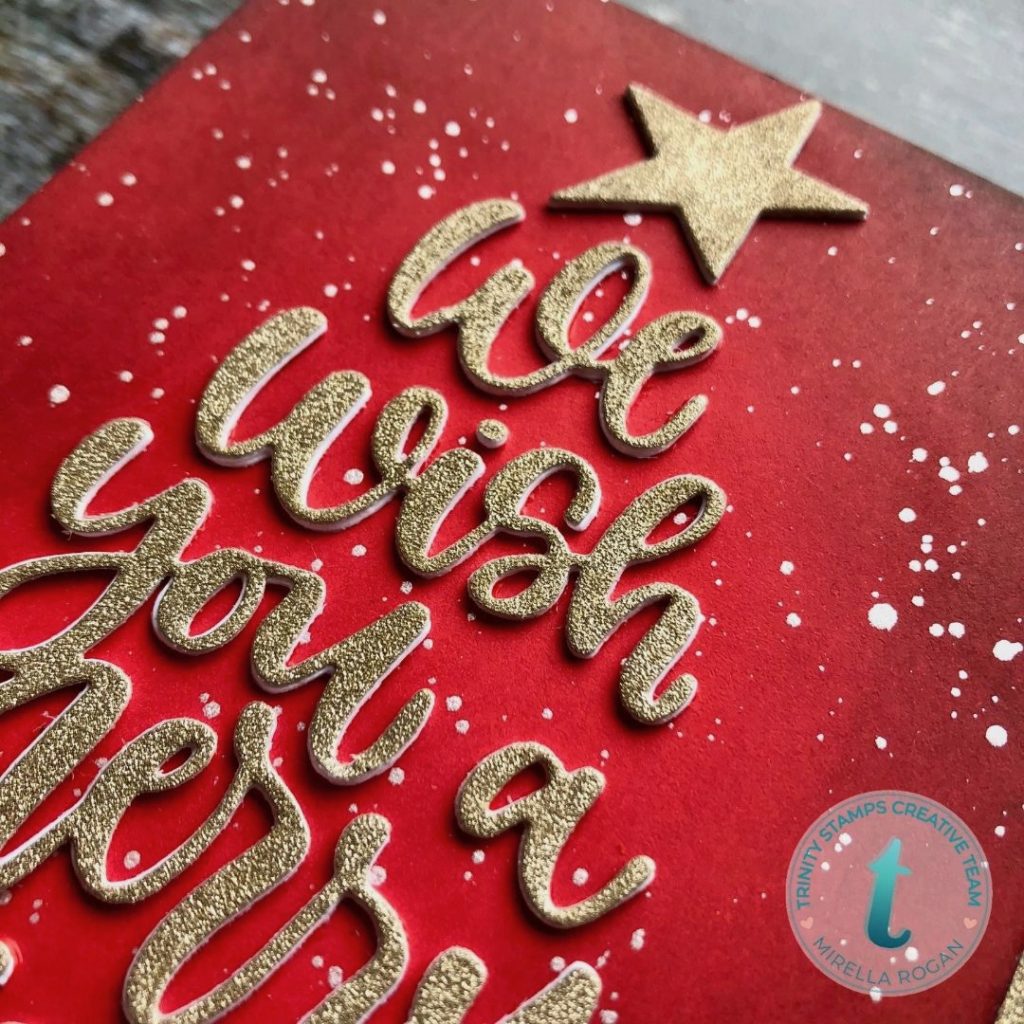
I then die cut the “We wish you a merry Christmas” sentiment three times – twice out of thick white cardstock, and once out of gold glitter cardstock. It did take a bit of time to adhere these all together, but I was watching a TV series in the background, so I didn’t really mind. I think the dimension was worth it!

To finish the card, I adhered the panel to a kraft card base, and added a thin strip of the same glitter cardstock I used for die cutting. I did consider additional embellishments, but in the end decided not to use any, not to distract from the focal sentiment/image.
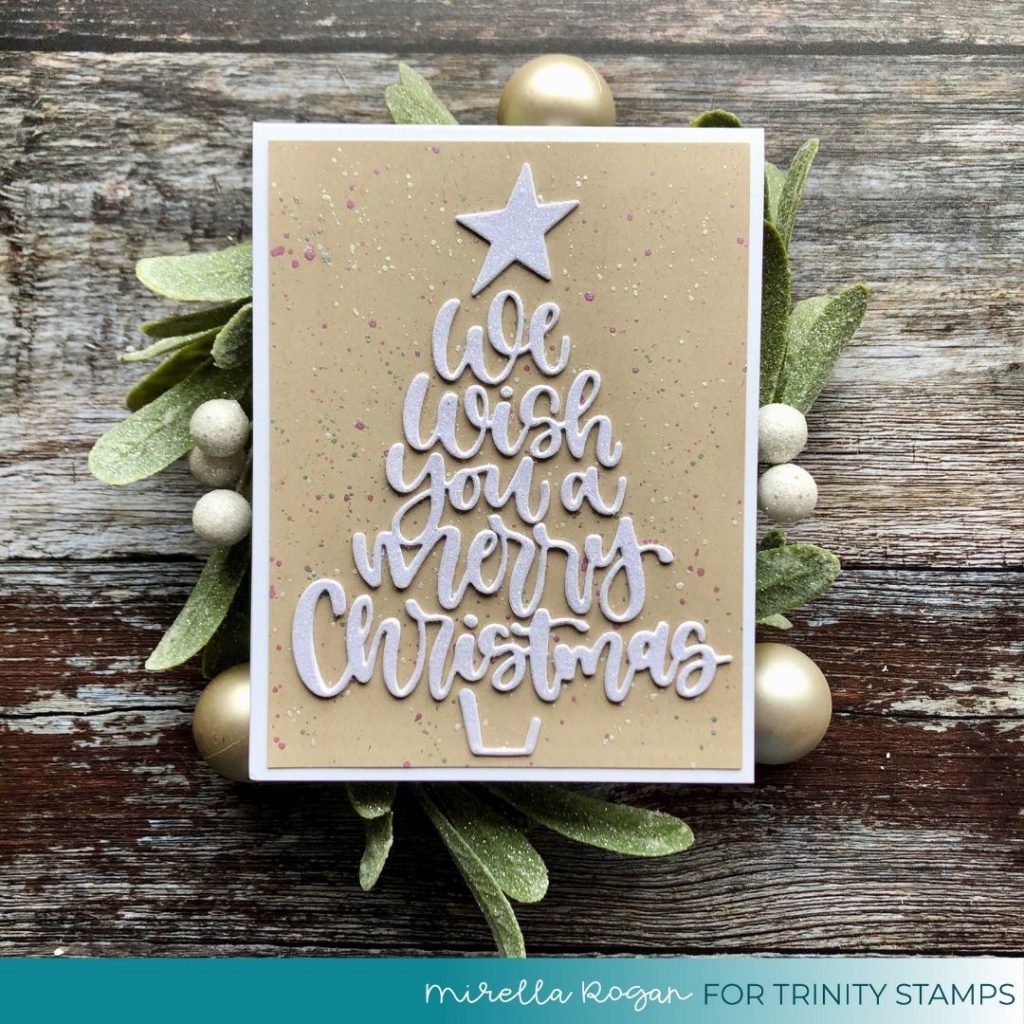
The second card followed a similar process. This time, I used kraft cardstock for my panel, and splattered it with a few metallic paints – I used a pink-purple mix, a mint-teal kind of a colour, and white. These coordinate well with the glitter cardstock I used for the die cuts – when you tilt the while glitter cardstock, you can see that it contains some pinkish and mint/teal elements.
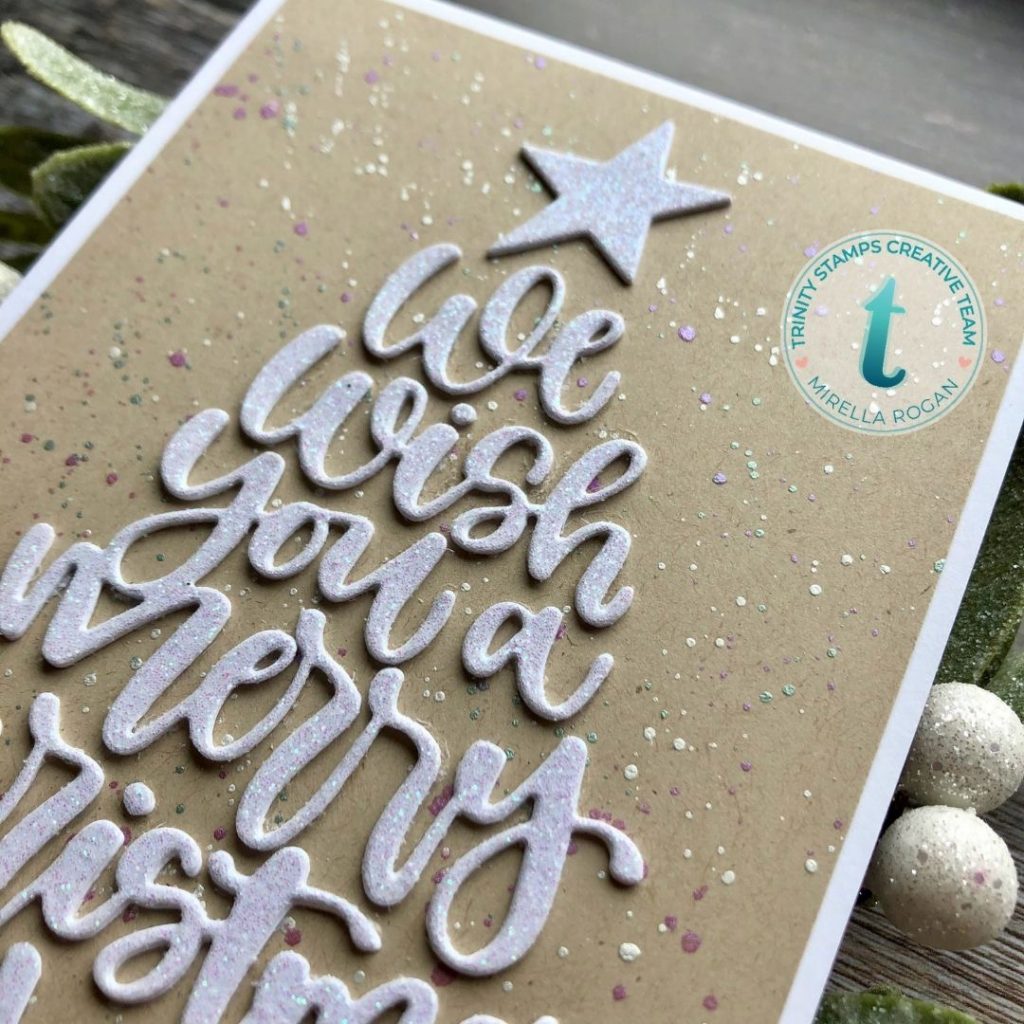
For the sentiment / focal image, I again used three layers of cardstock – two layers of white, and one layer of glitter cardstock.
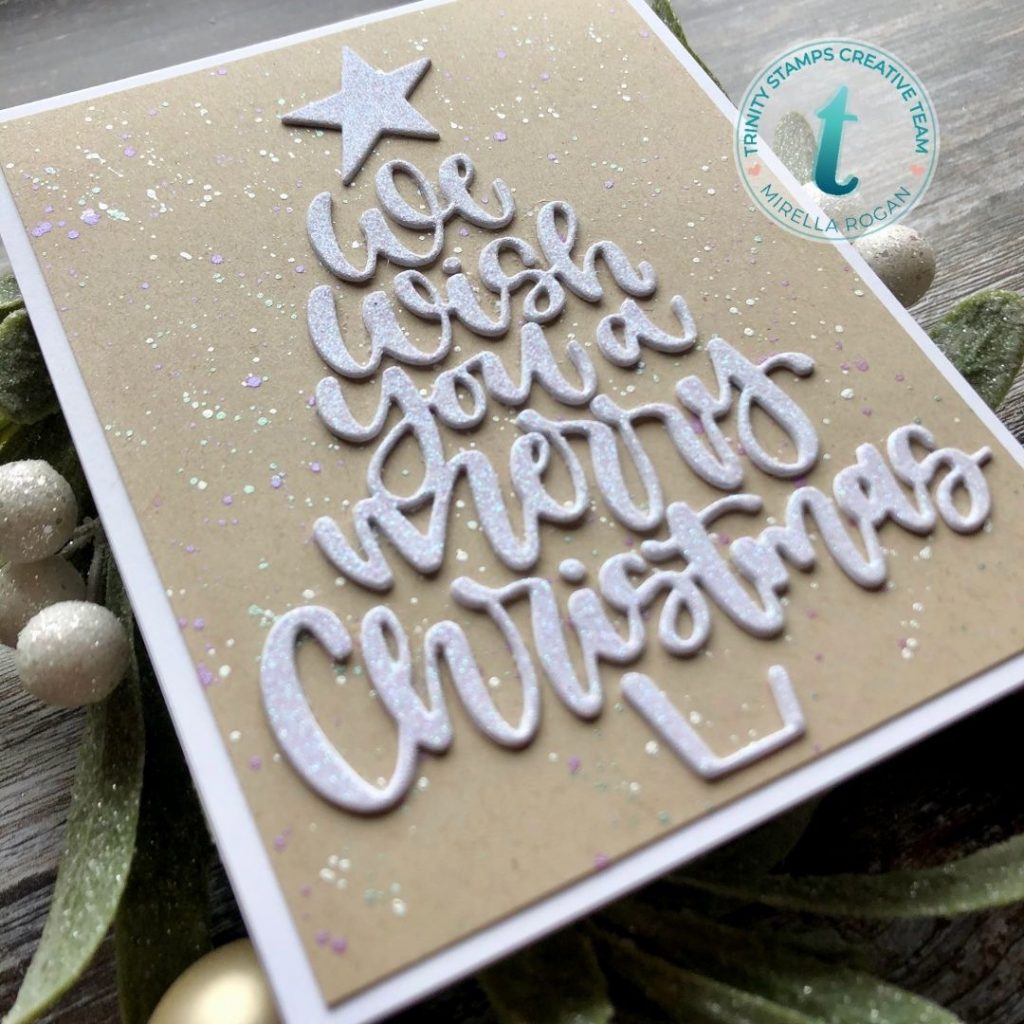
As a final touch, I trimmed the kraft panel slightly, and adhered it to a white card base, so that the panel looks “framed”. Note – I planned ahead with wanting the kraft panel a little bit smaller, hence I trimmed the tree “trunk” a little bit, and put the sentiment slightly closer together.
I am so in love with this new die set, and it will for sure stay in my permanent die collection, as I can’t see it going out of “fashion”: the font is beautiful, the size is perfect, and it can be used separately, too, for a bit of variety – who says it needs to stay in the tree shape?!
As always, you can find the full list of supplies used over on my blog.
See you again in two weeks,
Mirella


