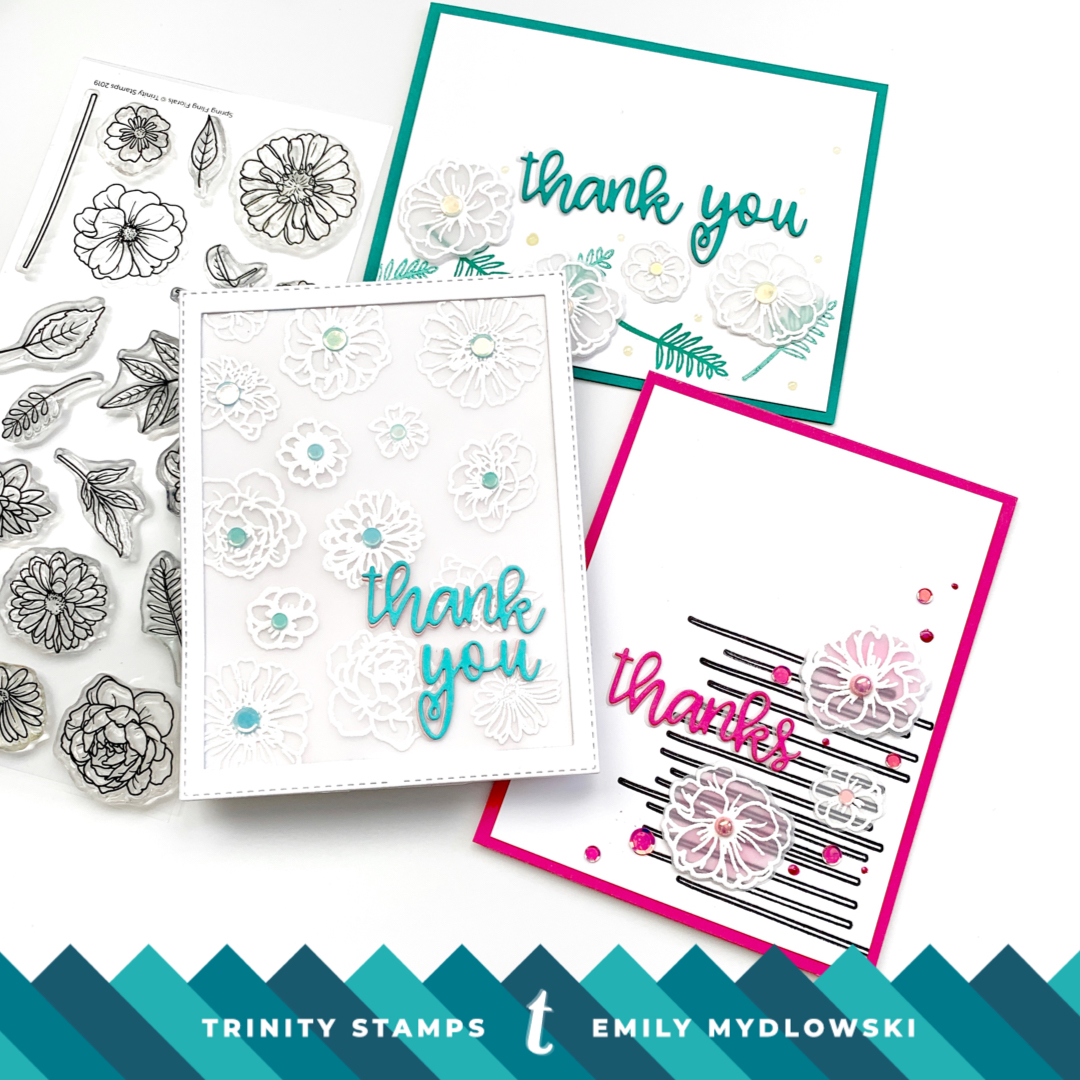
One Stamp and One Die, Three Ways with Designer Emily M!

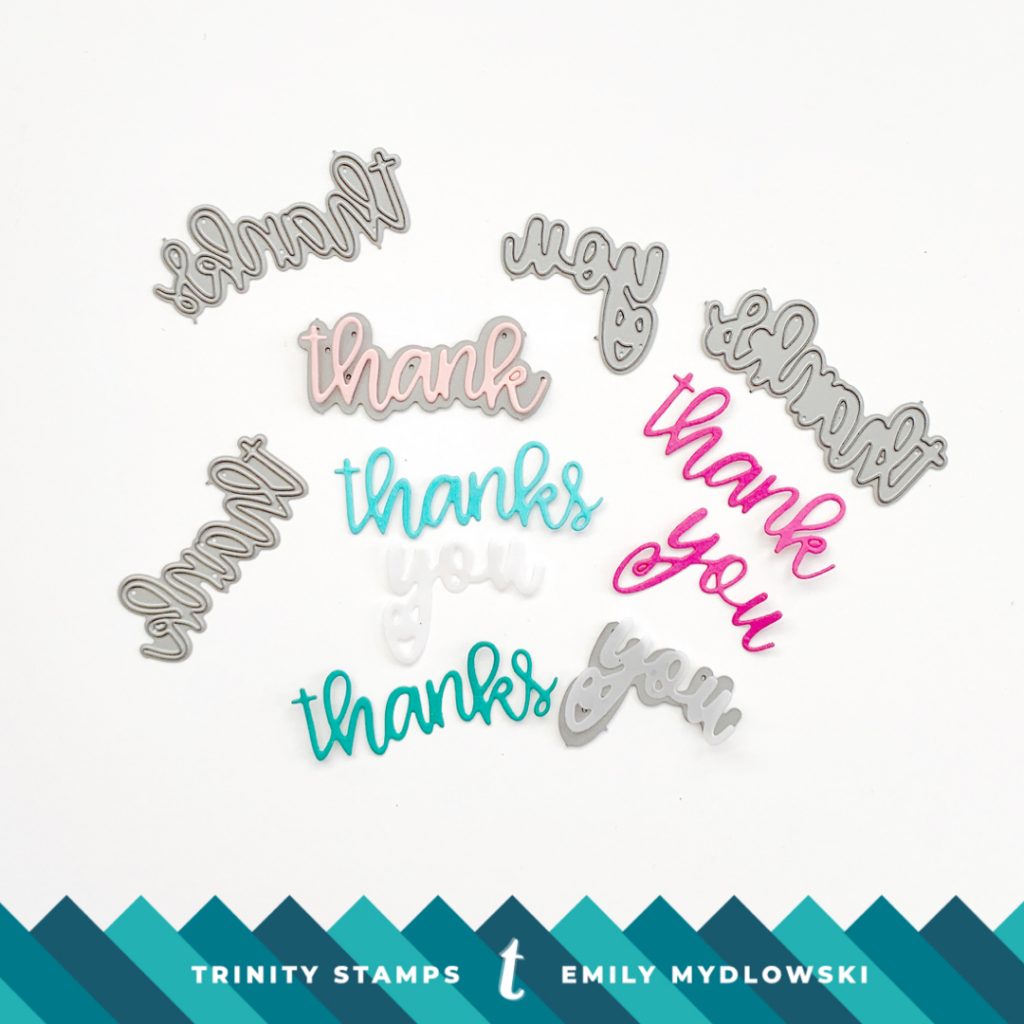
Hello Friends and Happy Monday! Hope you all had a wonderful weekend! Usually I only feature One Stamp, Three Ways but I thought this month I would also include one Senti-Mini die from our new release. This week I’m featuring the Spring Fling Floral Set and Coordinating Dies and the Thank You Senti Mini dies.
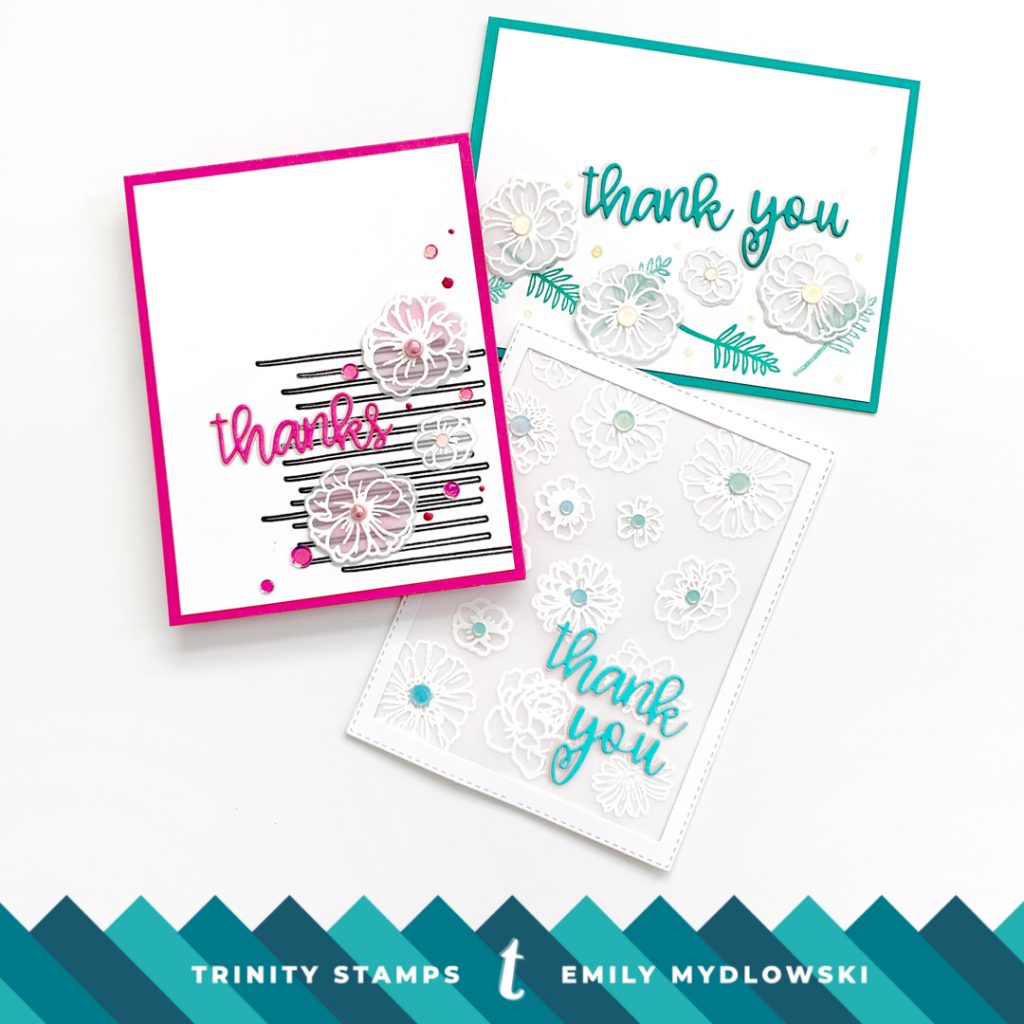
All of the cards include white embossed vellum floral images. I love how delicate florals look when embossed on vellum so I knew this was a style of card I needed to create.
A couple tips that I’ve learned along the way about heat embossing on vellum:
- Don’t forget your anti-static powder
- Make sure you don’t use too much pressure when stamping the image to vellum or the lines will be blurry and thick.
- Let your heat gun heat up for at least one minute; this will melt the embossing powder faster so you don’t warp or worse burn your paper. If you have to count “1 Mississippi”, “2 Mississippi” all the way to 60 I highly recommend it. Singing “Happy Birthday” is also a fun way to pass the “wait for the heat gun to properly heat up” time.
- Move your heat gun around the images; try not to stop in one place…take caution as long pauses on your paper can “burn” your paper.
Some more vellum tips:
- When coloring vellum with Copics, start with light color then add a darker color and then blend out towards the embossed lines to remove any blotchiness. Always color on the non-embossed side of your image.
- Using vellum as a shadow to your word dies, is a simple way to add some extra dimension to your words without a heavy outline.
- When glueing vellum to paper, hide your foam dots with a pretty embellishment in the center of your floral images. Or…add little dots of liquid adhesive along the embossed lines to hide the glue marks.
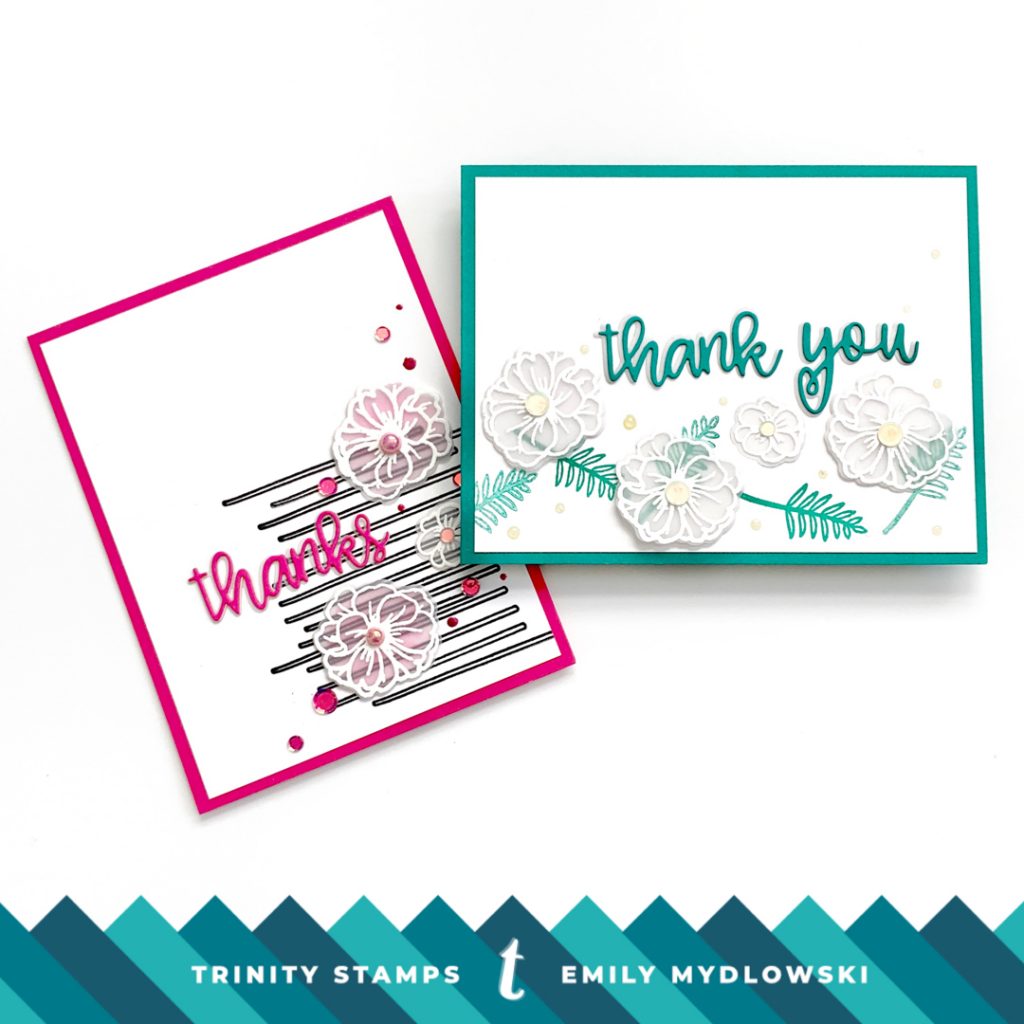
A Hot Pink & Stripe Thanks Card
For this card, I used the stem image to create a horizontal stripe pattern. I colored the flowers with pink Copics, added some Pink Peony Light Pink Opal Glow Confetti and Pink Shiny Baubles to the center of the flowers and adhered them to the stripe pattern. Then I added the Thanks sentiment to the card and add more Plastic Flamingos Confetti and Nuvo Jewel drops for just a little more pop.
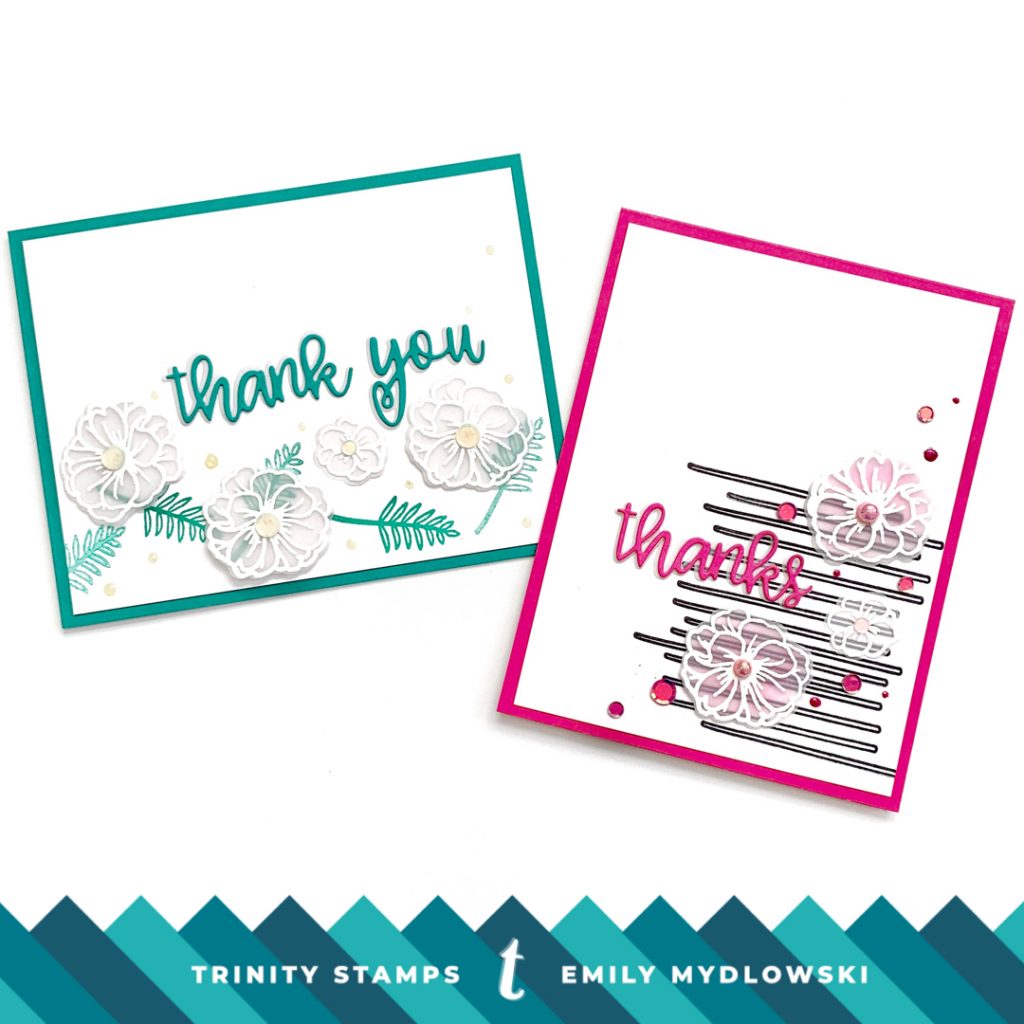
A Green and Yellow Thank You Card
For this card, I did some second generation stamping using a foliage image and Catherine Pooler Mardi Gras ink. Then I added the Thank You die cut sentiment to the card. The heart in the “Y” is the sweetest thing ever!. Then I added Lemon Macaron Light Yellow Opal Glow Confetti to my vellum embossed flowers and adhered them to the card. A quick and simple card once you have all the pieces die cut and ready to go.
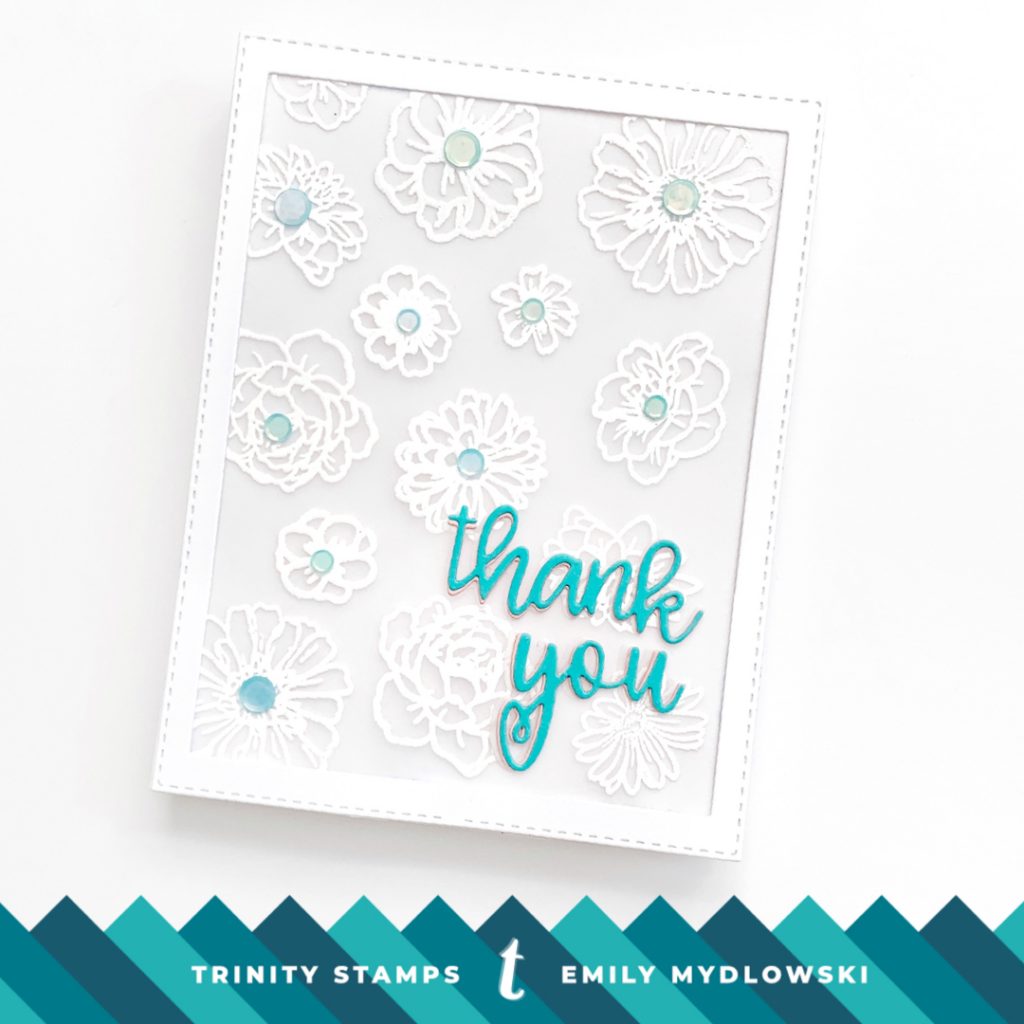
Full Vellum Embossed Background
For this card, I stamped and heat embossed an entire 5.5 x 4.25 piece of vellum with multiple different floral images from the Spring Fling Florals set. Then I tapes the vellum to a rectangle frame that I created by cutting away the clouds from the Cloudy Day A-2 Card Scene Build Die Set. Then I adhered some Sea Breeze Confetti and Hawaiian Shore Confetti and the Thank You sentiment to the bottom right corner of the card. I chose to adhere the entire panel to a white card base but layering another color card stock or pattern pattern would also look lovely behind the white floral embossed vellum.
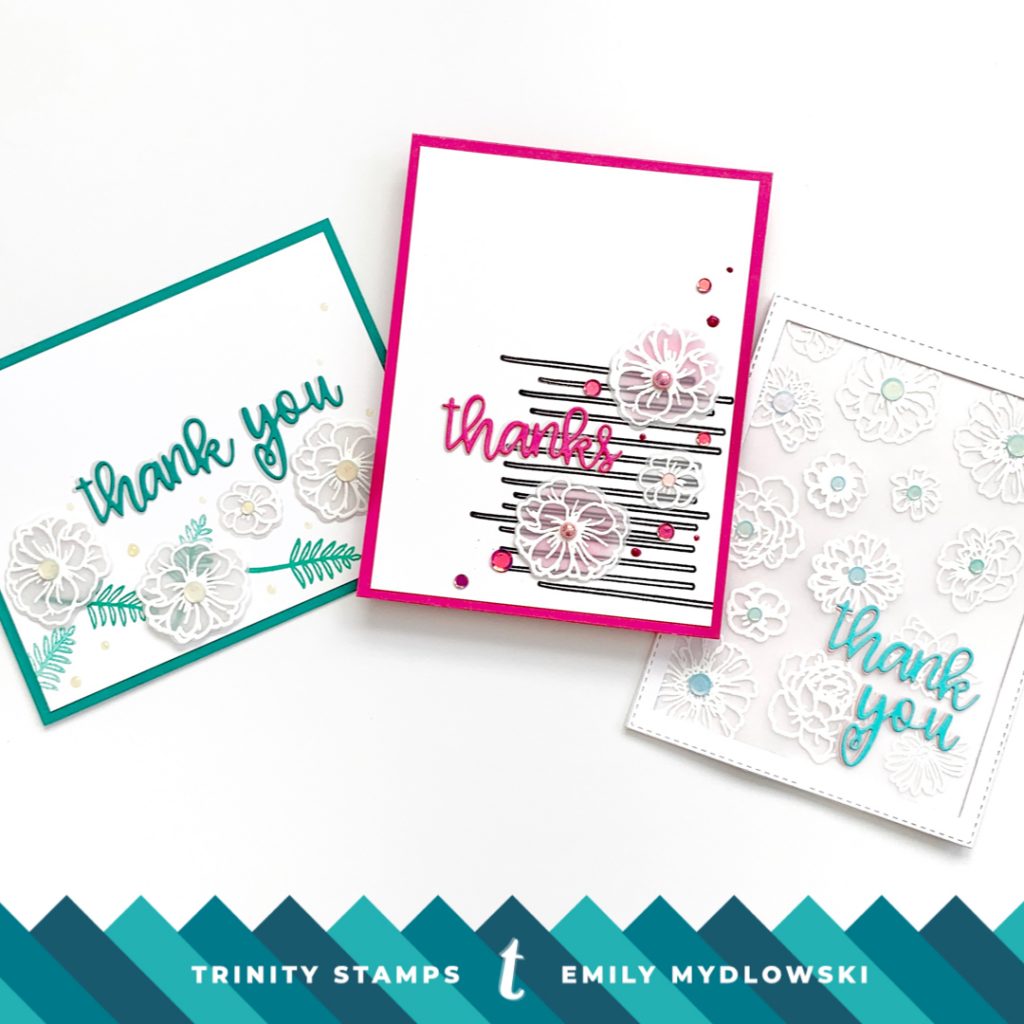
So there we are friends, three Clean, Bright and Simple Heat Embossed Vellum Thank you cards using Spring Fling Florals and Thank You Senti Mini dies. I hope you enjoyed these cards and look forward to seeing you next week!
Remember to check out/subscribe/follow the Trinity Stamps Blog, You Tube Channel and Instagram feed for more design team inspiration all week long. We always love to see your Trinity Stamps creations. Join us on the Trinity Stamps Facebook Community group, the Trinity Creativity Monthly Challenge and when posting to Instagram use #trinitystamps so we can see your awesome Trinity-Inspired designs!!
Big Paper Hugs!

Gorgeous, and beautifully done!
A unique approach and beautiful card in its simplicity as well as complexity xxx Love it!