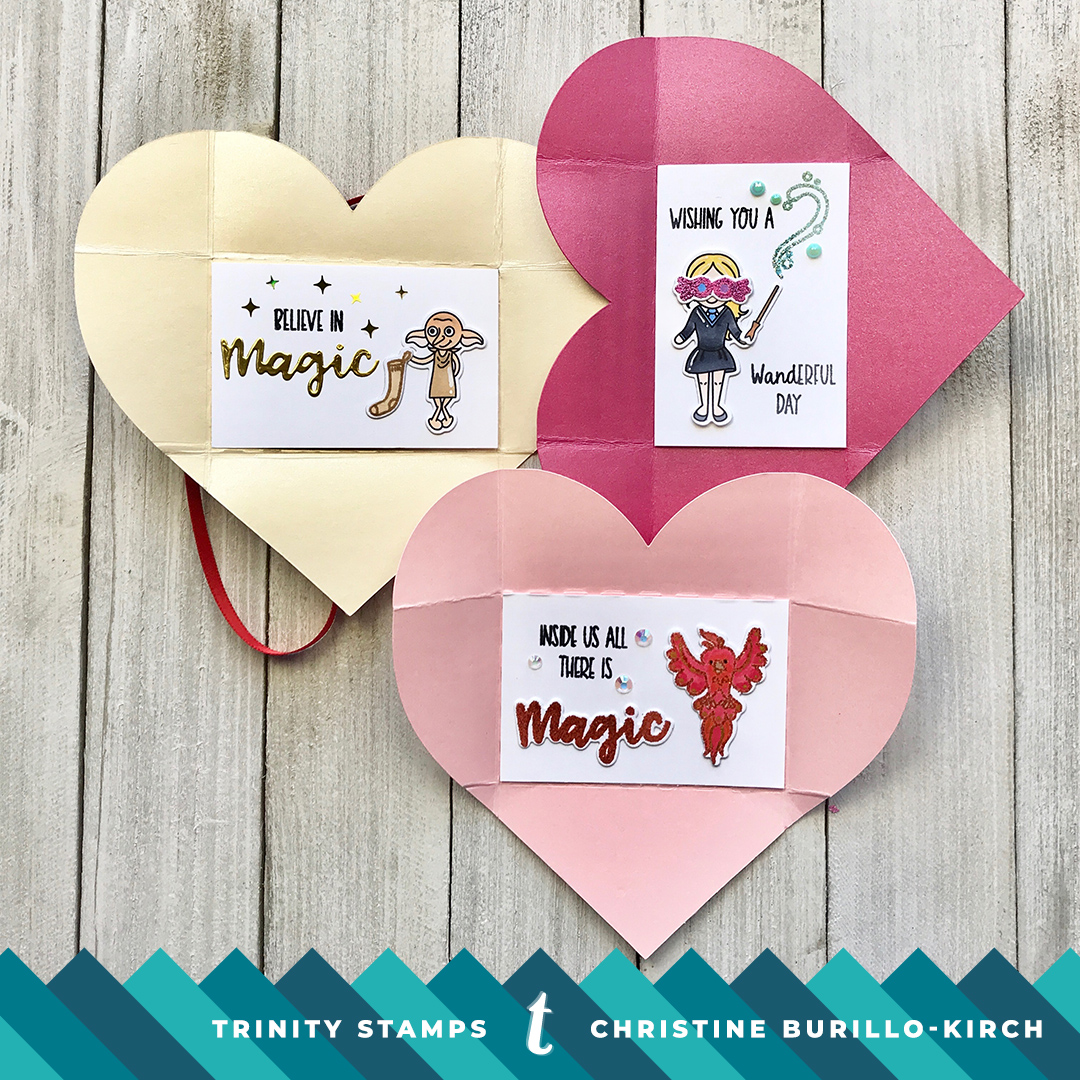
Magical Wizard Valentines

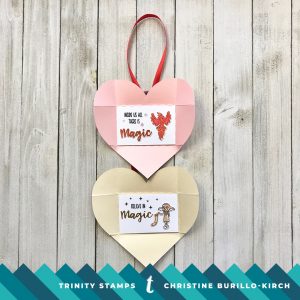
I love to give my daughter a card and gift each year for Valentines Day. This year I decided to do something different this year and make a Valentines display that can be hung up on a wall or on a door. I used the Wizard Friends stamp set and the Magical Sentiments stamp set and die set.
I envisioned using a large heart that could fold into an envelope. Not having a die to make this, I turned to my Silhouette Cameo and made a heart with a stitched line rectangle inside. You can easily make one yourself, or feel free to download the one I made at my blog.
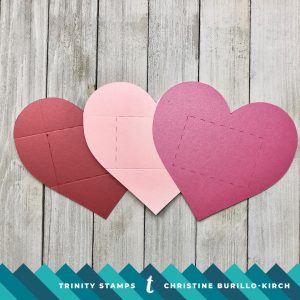
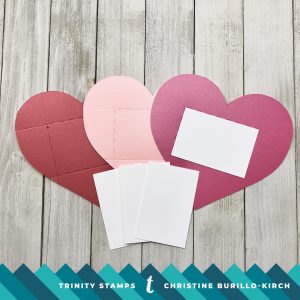
I love to add sparkle to anything I make, so I decided to start out with Crafter’s Companion Shimmer Cardstock in rose pearl, pink pearl, candy red and gold dust. My cameo cut out this thicker cardstock using the setting for “Silhouette-brand” chipboard. I then cut out 2 inch by 3 inch rectangles of lighter weight Neenah cardstock as can be seen in the photo here:
I decided for even more sparkle using the WOW embossing powders shown here:
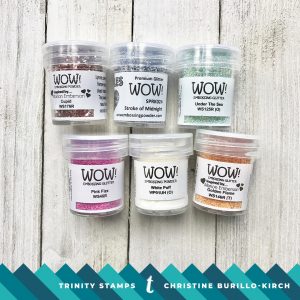
I decided to stamp my images with ink first prior to heat embossing with WOW powder. Using a MISTI or similar tool allows one to do this with ease. Stamp with the desired copic-friendly ink, wipe off the stamp then copic color so as not to have your copic colors interact with the embossing powder. Now place the image again in the same spot in the MISTI, ink up the stamp with versamark ink and stamp again. Add your favorite embossing powder and then heat set with a heat gun. Easy peasy and the results are lovely! I chose to do it this way because 1) some lighter embossing powders do not show up as well on light cardstock and 2) some images, such as the phoenix, need a mixture of gold and red to bring it to life.
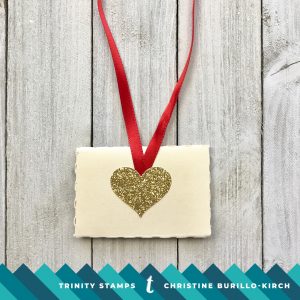
Once you have finished a 2 inch by 3 inch panel, adhere it to one of the hearts within the outlined area. Gently fold along the dotted lines to make the heart into an envelope. Adhere a inch ribbon to the front (as shown in the photo below); using this length of ribbon will allow you to intertwine the hearts as shown in the first photo. As a final touch you can add a heart to cover up the ribbon, so that when you fold it up, it will look like an envelope.
I hope that I inspired you to make your own valentines this year for all your valentines! Thank you for stopping by!

Super fun!
Thank you Amy!