
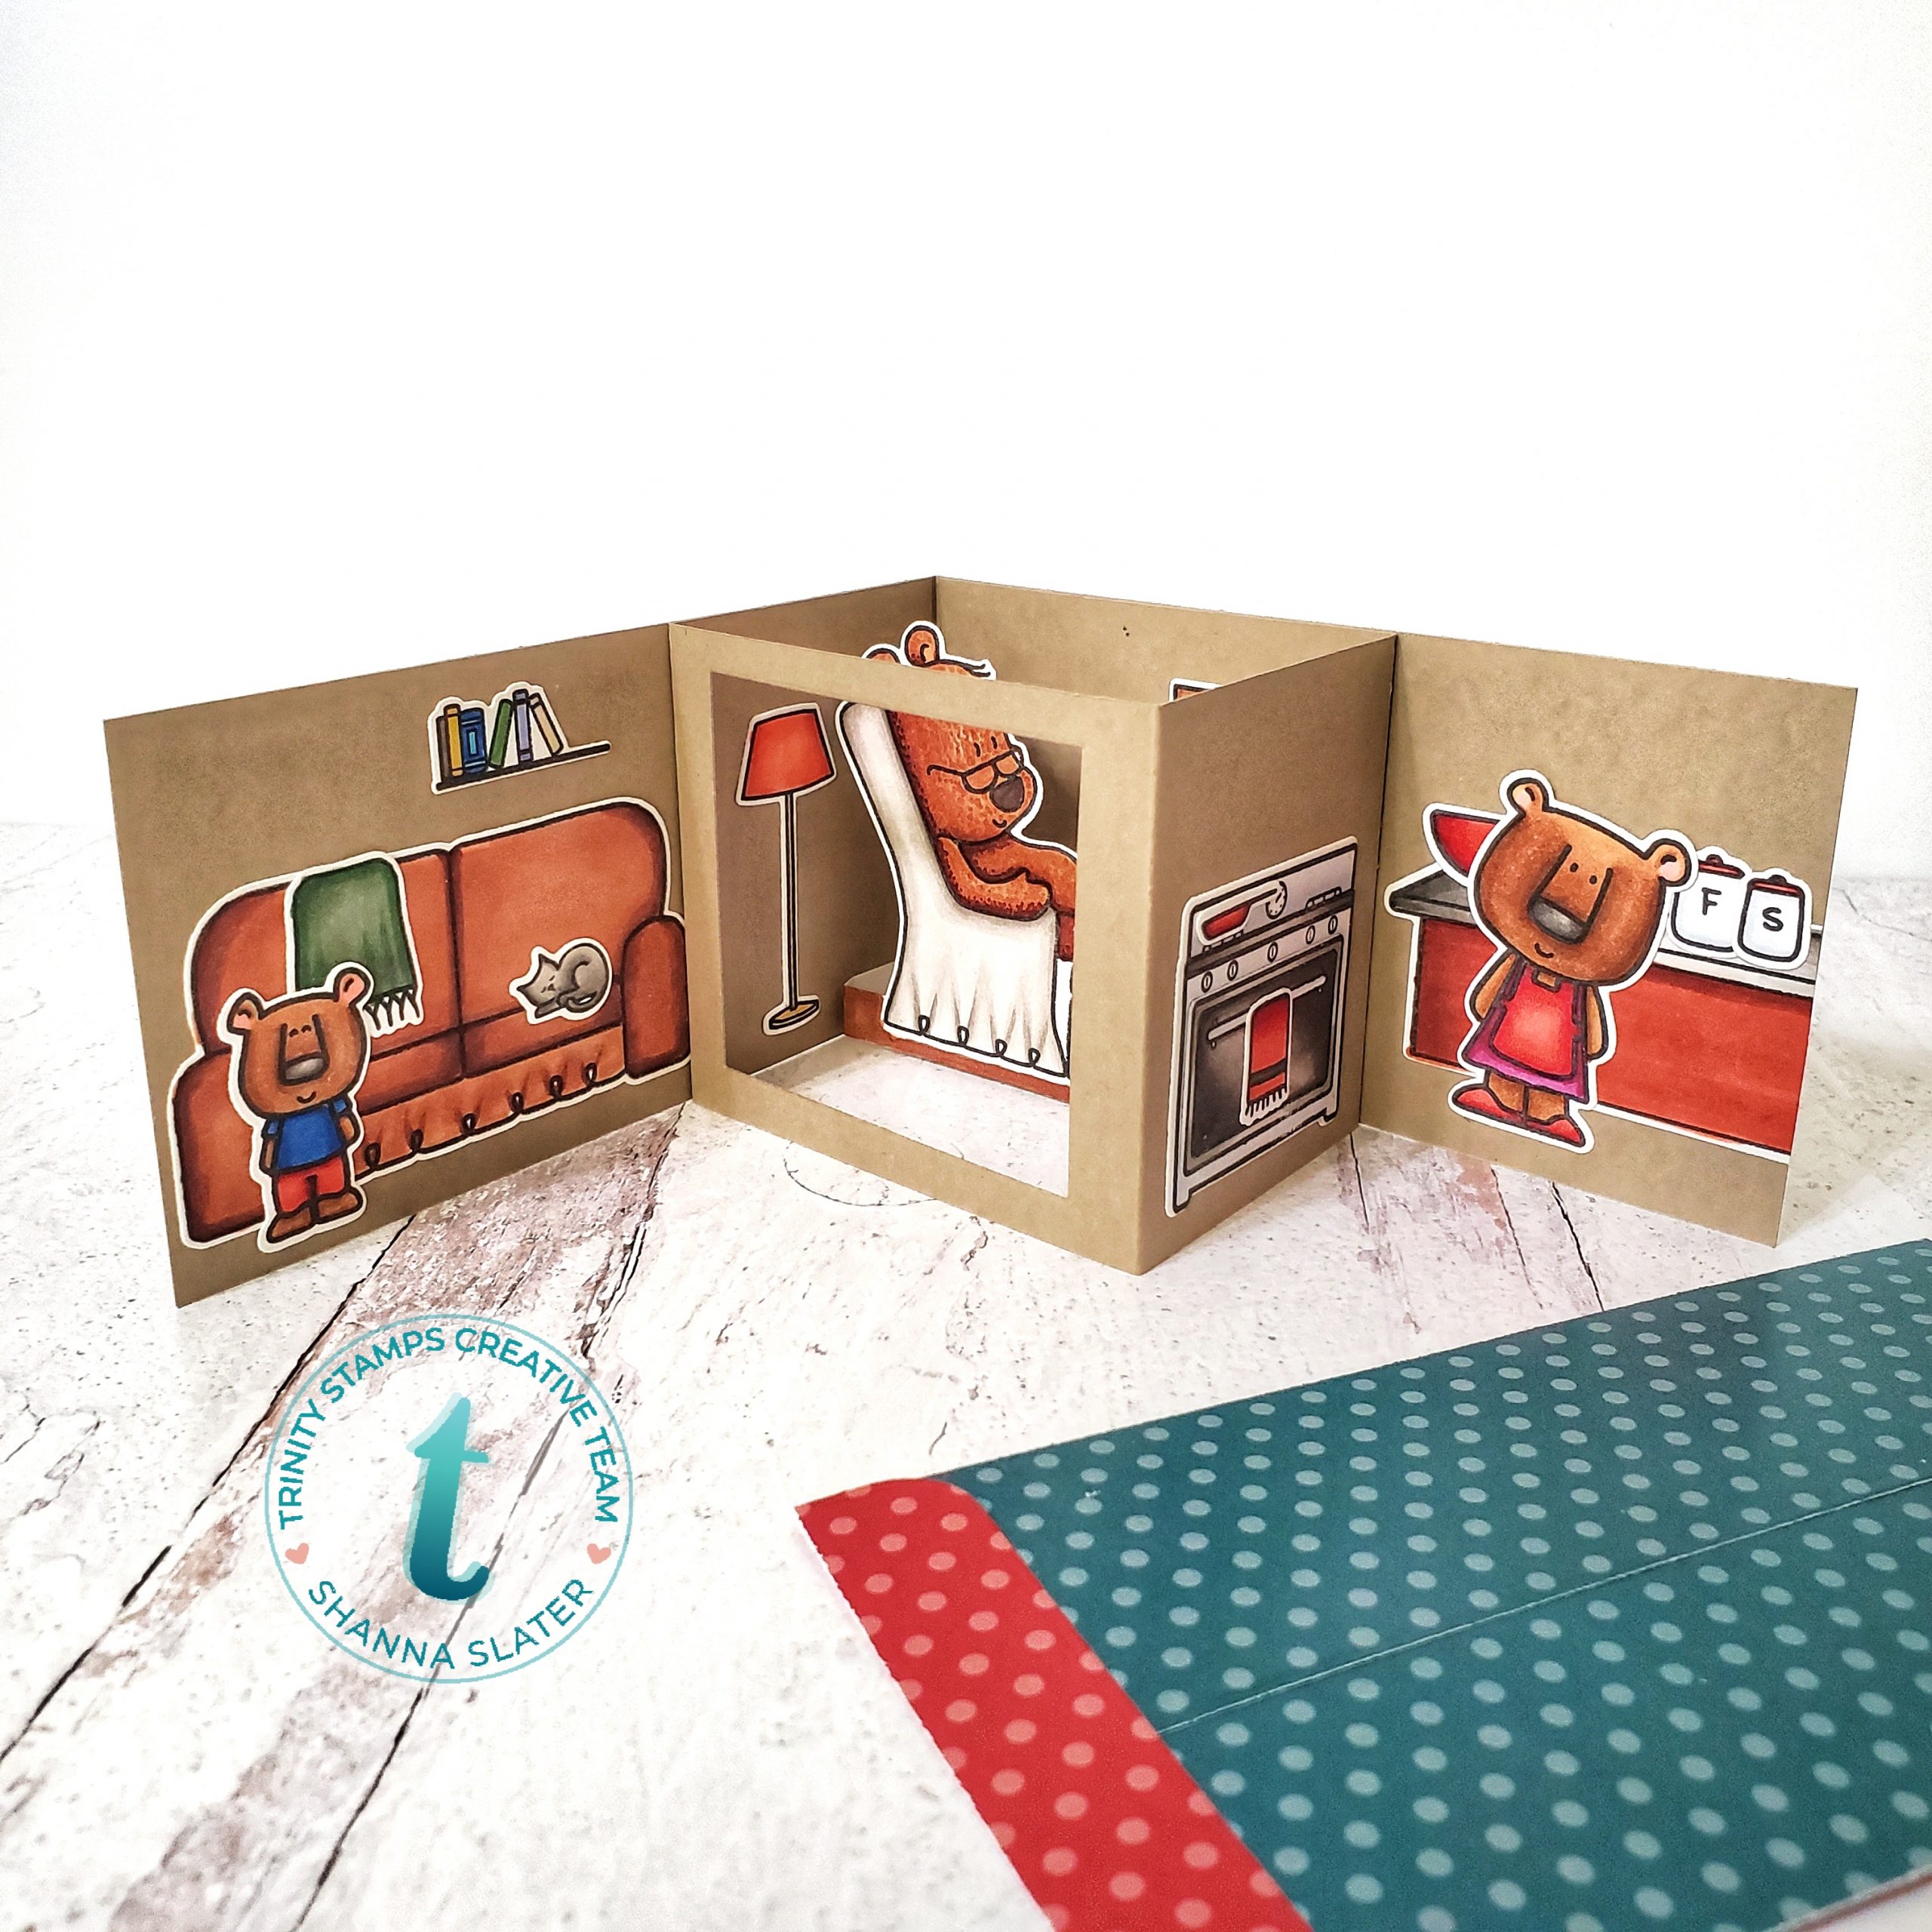
Interactive Mini-Slimline Shadowbox scene card
Hi everyone! Thanks for stopping by today! This is Shanna from Caffeinated Craftiness, and I am here sharing a fun interactive mini-slimline card for my Product Trio Tuesday!
Here is this week’s Product Trio:
Cottage Kitchen Stamp Set
Cozy Bear Stamps
Clean and Simple Mini-Slimline dies
In all fairness, you might see that I snuck in a few more products (shhhhh!) but the main card is created with the featured trio!
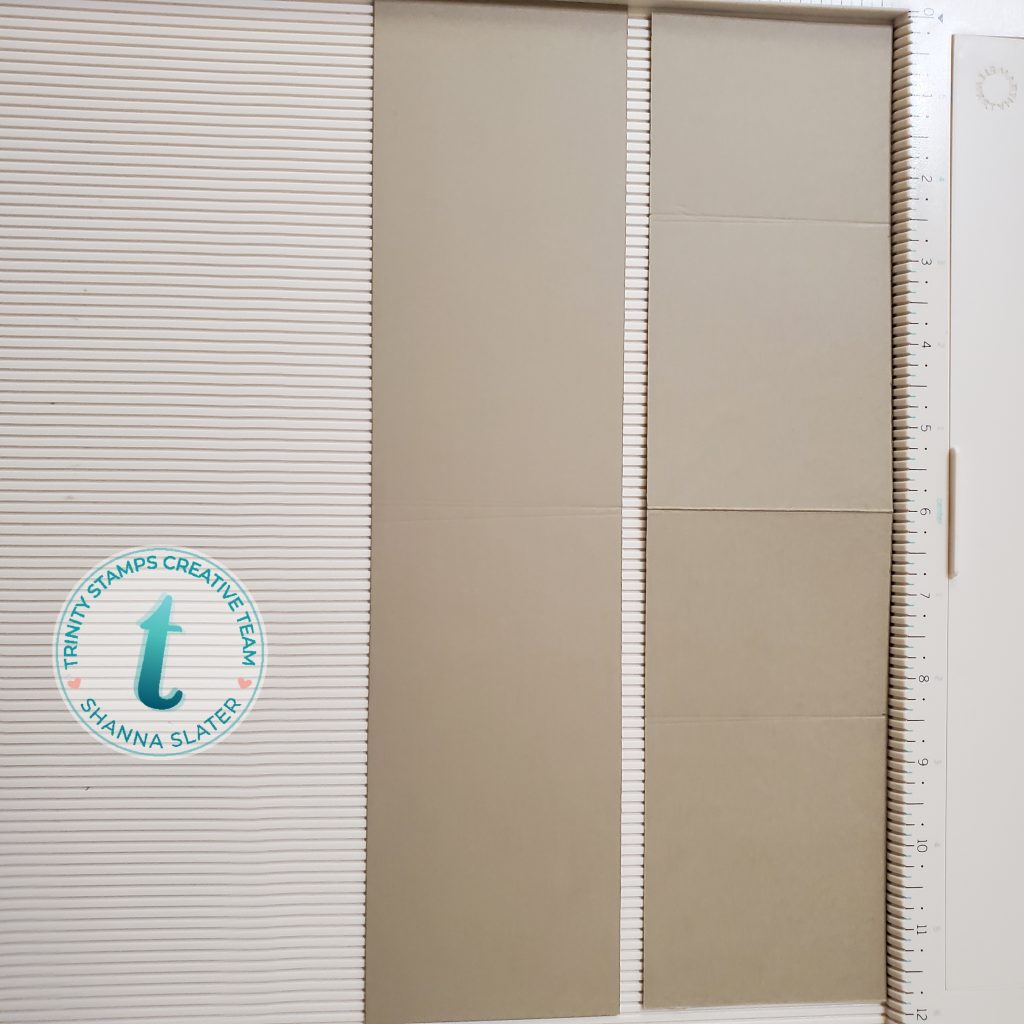
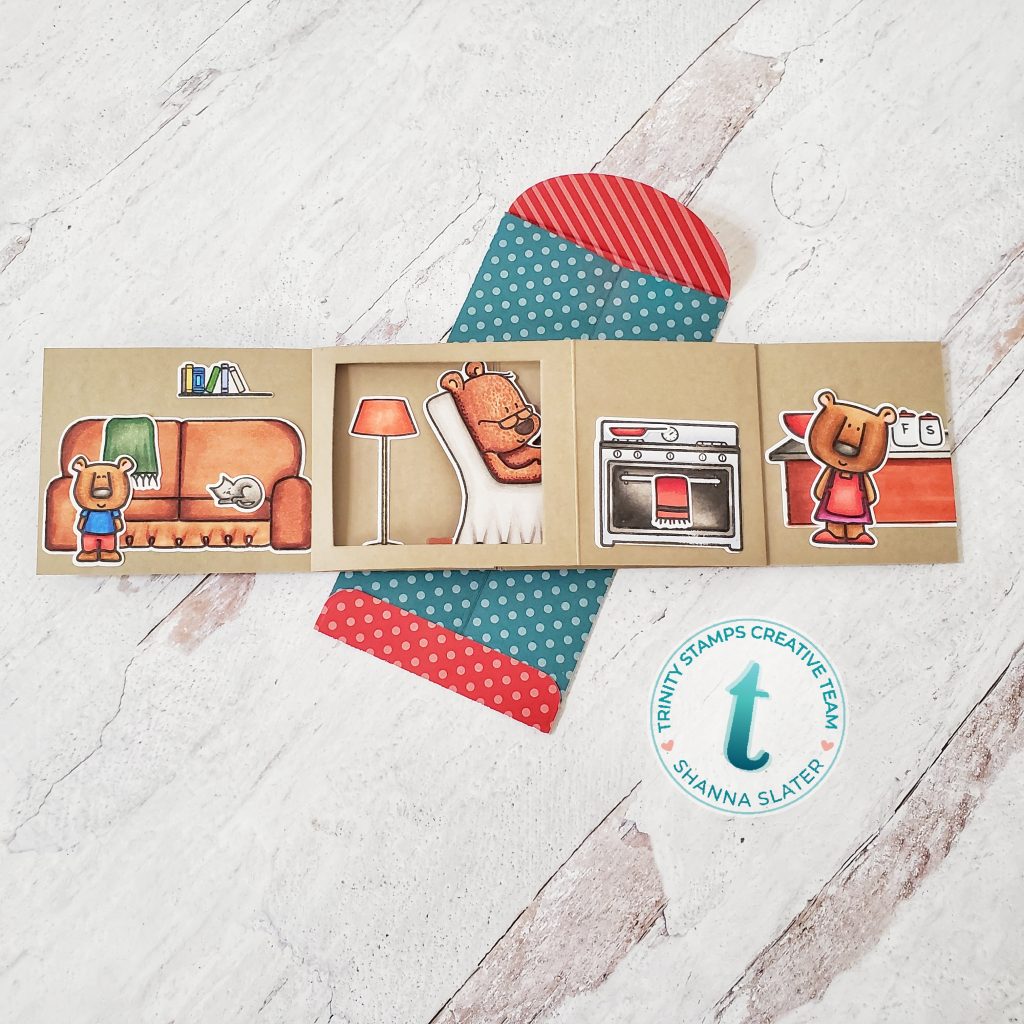
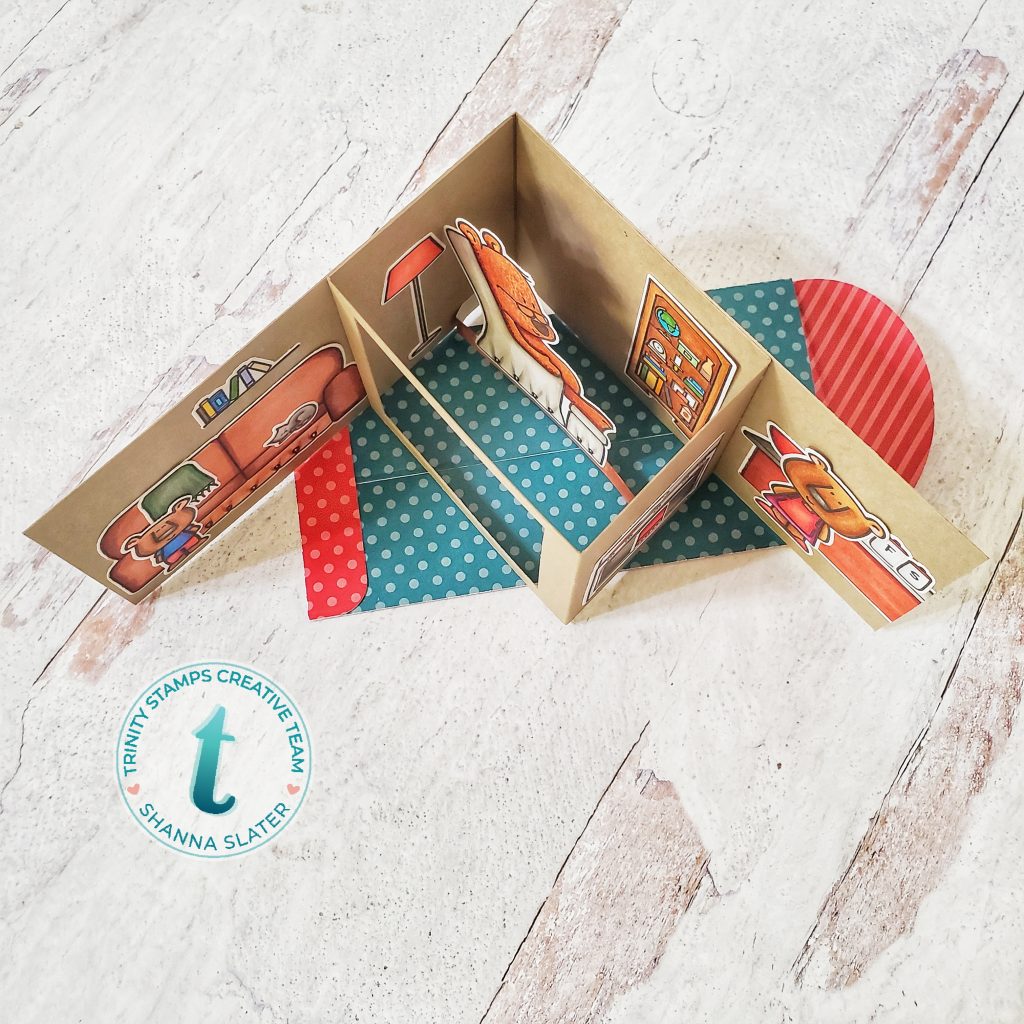
The main card base consists of 2 pieces that measure 3×12. I used a piece of 12×12 cardstock and cut it into 3″ strips.
One 3×12″ piece will be scored and folded at the 6″ mark—creating the base
The other 3×12″ piece will be scored to create a box shape. This can be done equally, or in more of a rectangle. The key points to the math is alternating the measurements if you do not keep them all equal. I scored mine at 2.5″, 6″, and 8.5″.
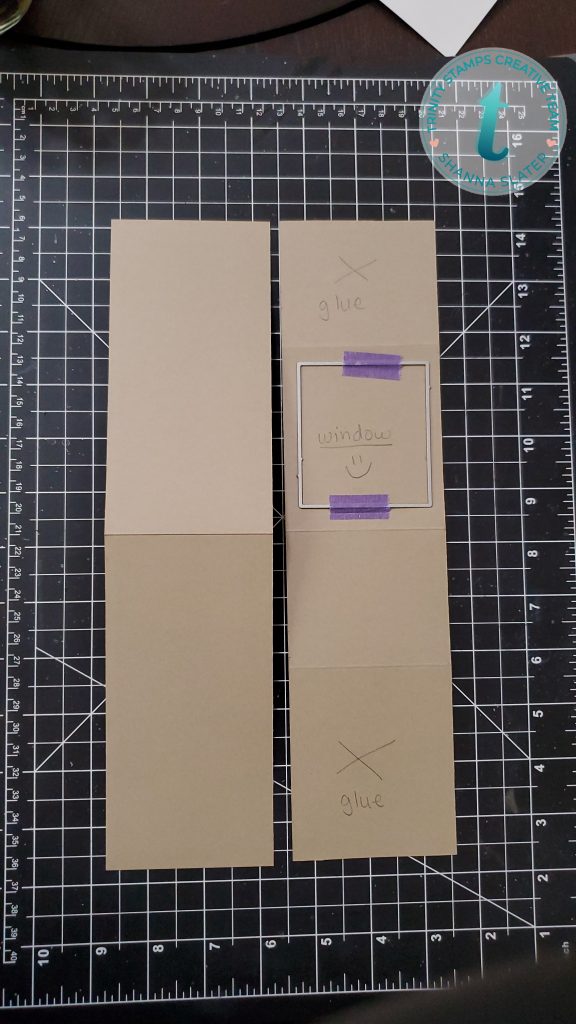
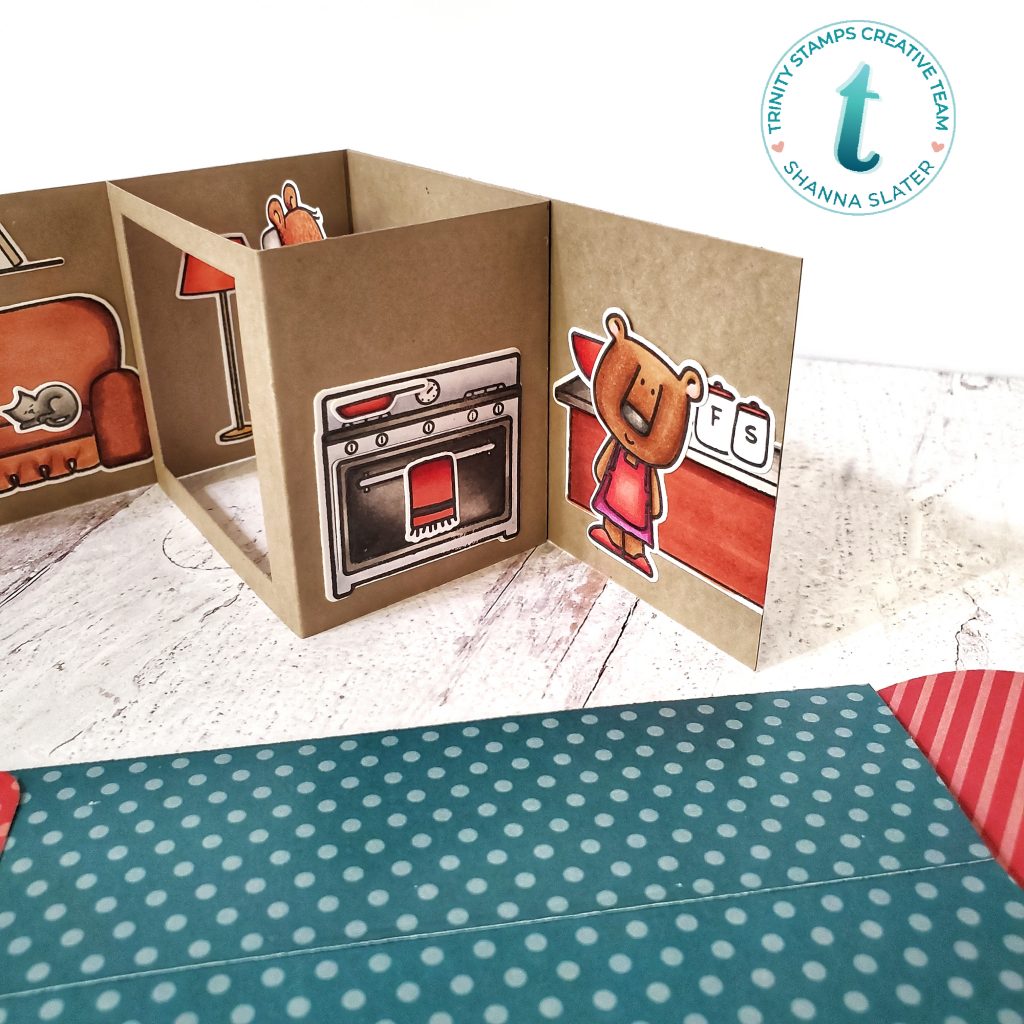
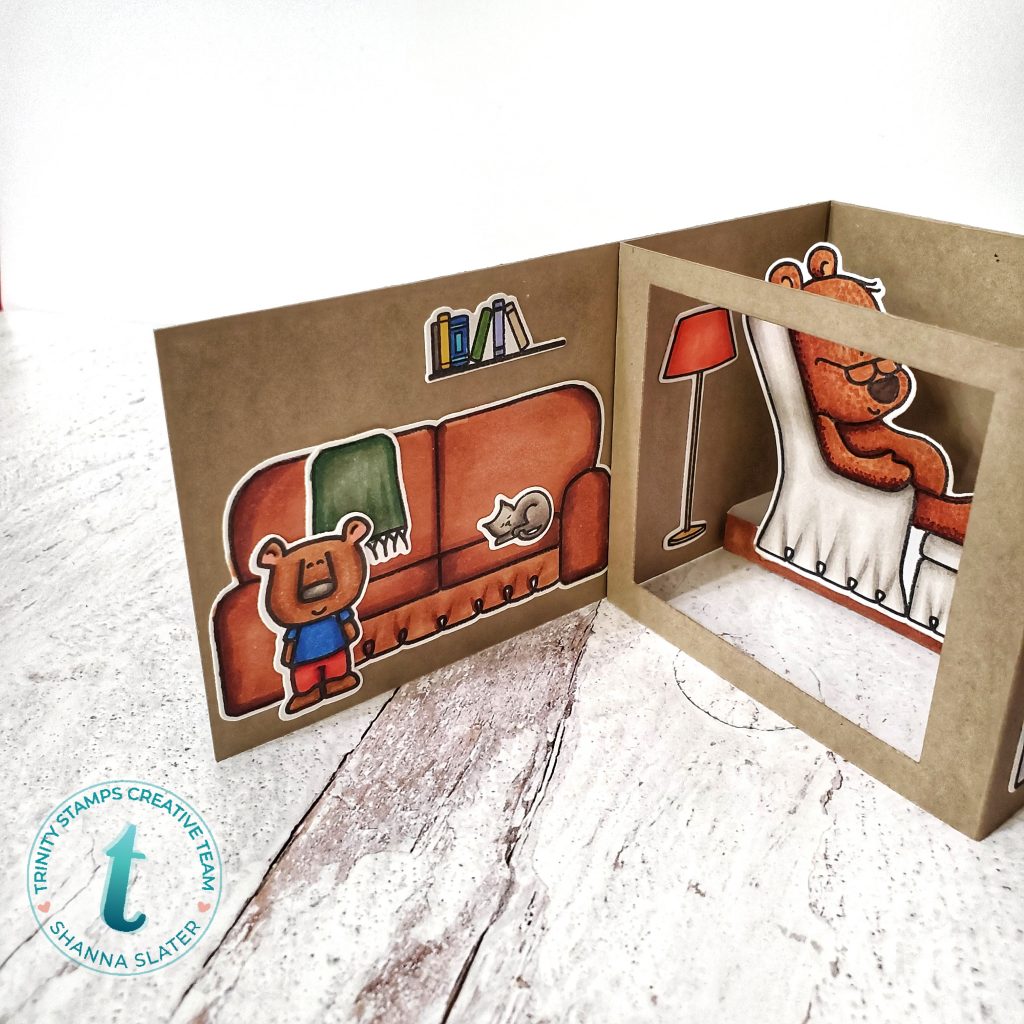
After scoring, set aside the base and we will work on the shadowbox. You will need a square die (or another shape of choice) to create the “window”. I used a square die from the Frame and Fold Slimline dies. I wrote some reminders on the card to help me remember the different “zones” on the box.
After the window is created, you need to add a spacer piece inside that will act as a bridge to hold images on. I used a scrap piece of white cardstock and colored it brown with my Copic markers. It measured .25″ 4.5″ and I folded in a 0.5″ tab on each side to glue to the box panels. I found it easier to add my die cut images to the box at this stage, but it is optional as they could be added in later.
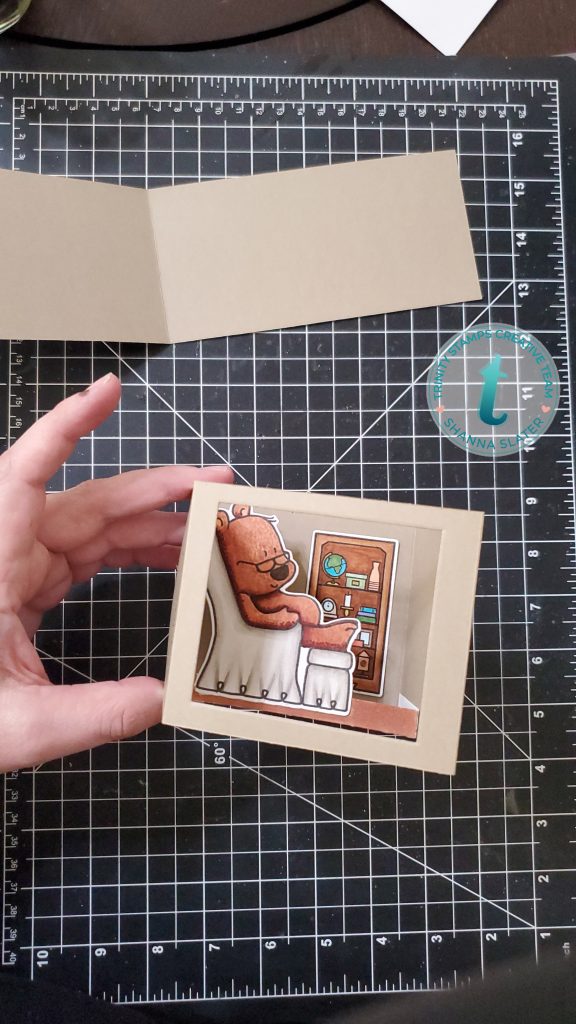
Next I glued the box into the 3×6″ card base–lining up the raw edges with the center fold on the card. Depending on the weight of your cardstock you might find it helpful to trim a scant amount off each end of the box to help the card fit snugly inside the card base.

After the shadowbox was glued, I added the rest of the die cut images to create my scenes. I used the Cottage Kitchen and Cozy Bear stamp sets to create multiple mini scenes! I love how the bears coordinate so well.

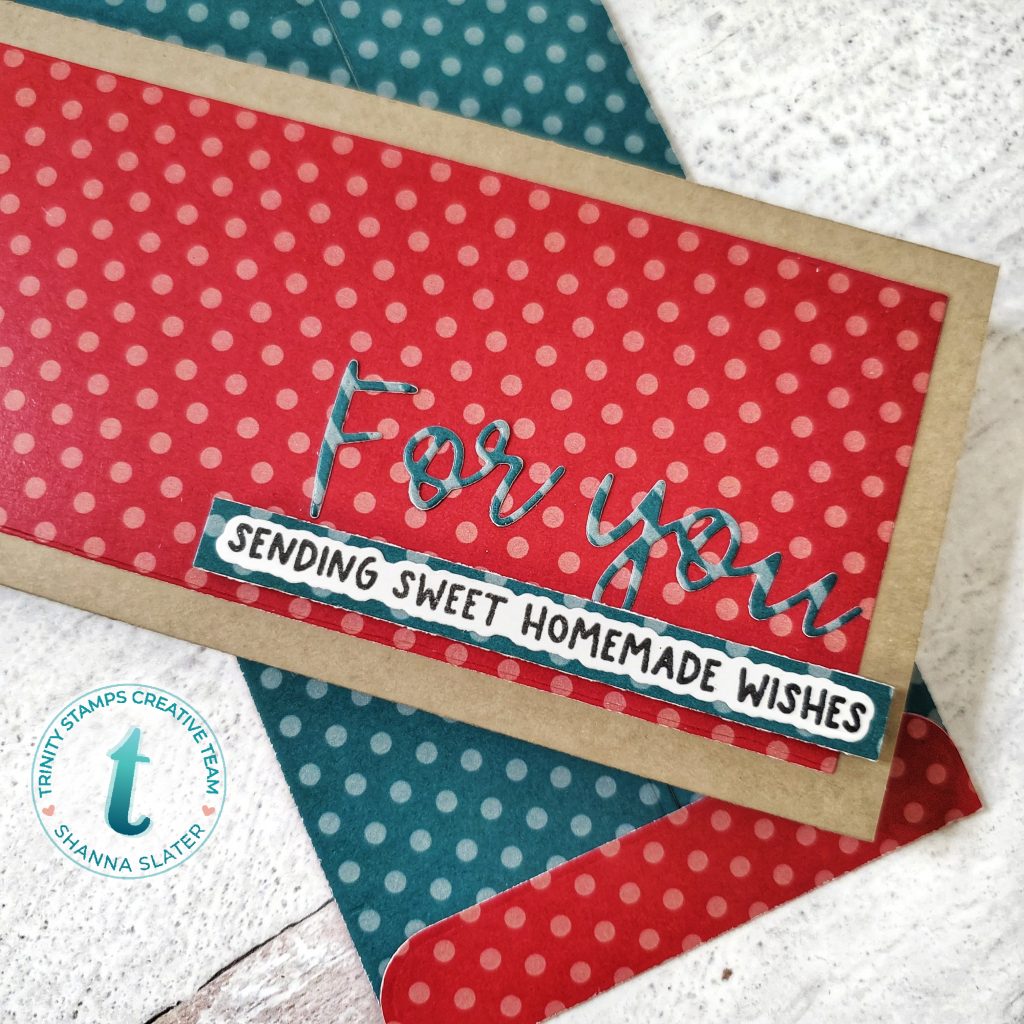
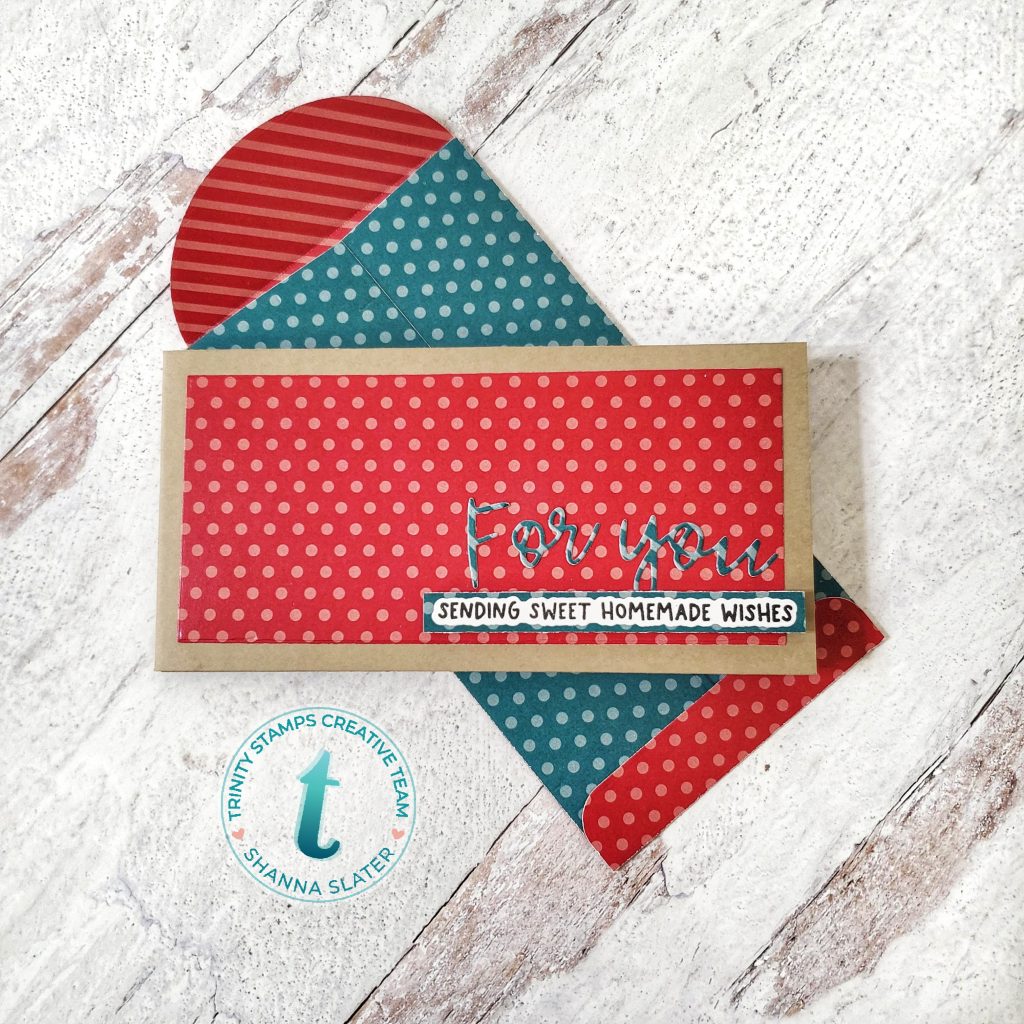
Now that the inside is decorated–I needed to decorate the front! That’s a bit backwards from my normal! LOL I grabbed the Clean and Simple Mini-Slimline dies and the Holiday Trimmings Slimline Paper Pad to die cut a panel, then grabbed the word dies “For You” from the Mini Slimline Card and Envelope die set to create my sentiment. The smaller sentiment is part of the Cotage Kitchen stamp set!
Since I had the dies out, I made a quick envelope to match as well! All you need is 3 die cut pieces and some adhesive—so easy!
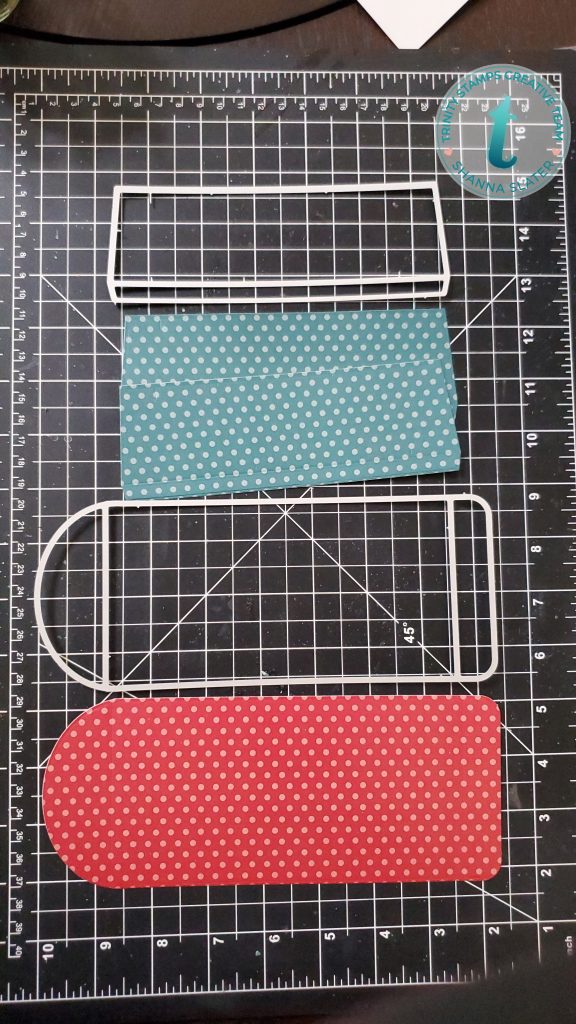
You glue the 2 flaps to each side, and then fold in the top and bottom flap! Voila!! Mini-slimline envelope that matches your project perfectly!

That wraps up my post for today! Let me know if you have any questions in the comments! I have an IGTV video up on my Instagram as well with a birdseye view of me creating the card!


Thank you so much for stopping by and supporting Trinity Stamps! I will be back again soon with another fun Trinity Stamps project! For loads more inspiration, be sure to check out the Trinity Stamps Instagram and Imagination, Inspiration, and Conversation Facebook group! I hope to see you again soon. If you enjoyed my project today, be sure to follow me over on Facebook and Instagram as well to keep up with all my caffeinated adventures! Until next time!! ~Shanna


