

Four seasons with one stamp set – Leafy Background
Hi Everyone, Mirella here, and today I have a fun post for you – I decided to challenge myself, and see if I can make a card for each season, using the same stamp set. I was itching to use the Slimline Leafy Background stamp set, and wanted to see if it was as versatile as I originally thought it was… I still have tonnes of ideas for it, but for today I went with the “four seasons” theme. Let’s jump right in!
For the sake of time saving, I decided to make all cards pretty comparable – I opted for the slimline format (but you could totally use the stamp set for standard A2 size also!), and only used the main “background” stamp. I kept the sentiments and embellishments to a certain minimum, too. The thing I changed, however, were the techniques I used for the backgrounds, to show the versatility of the stamp. And now, for the results…
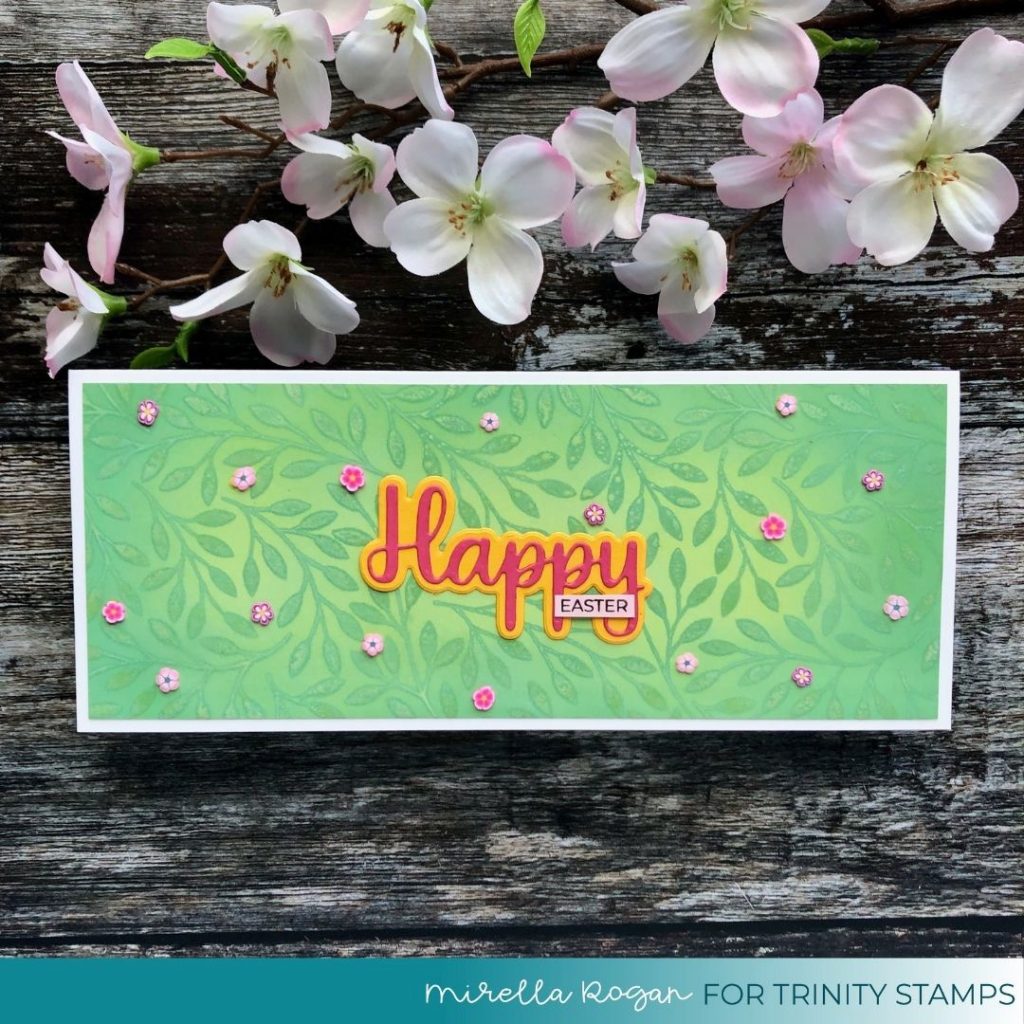
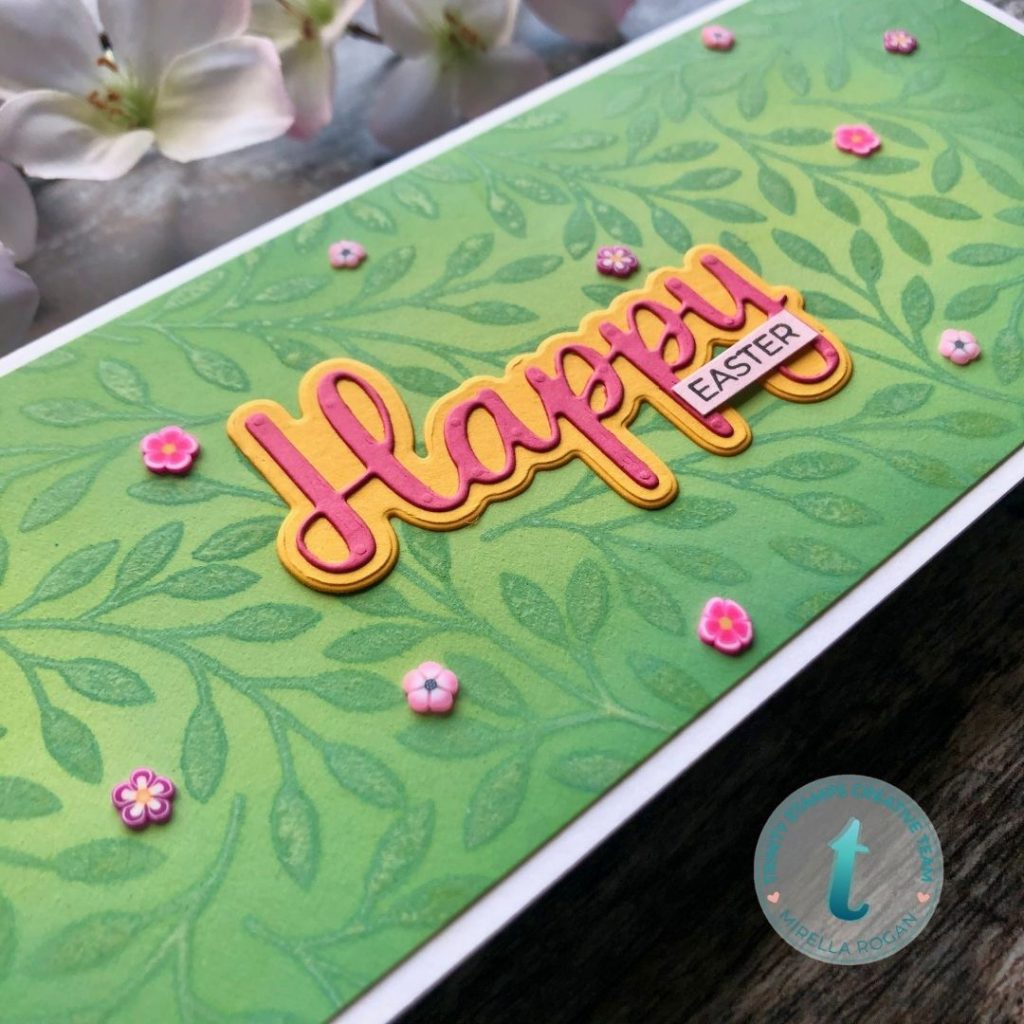
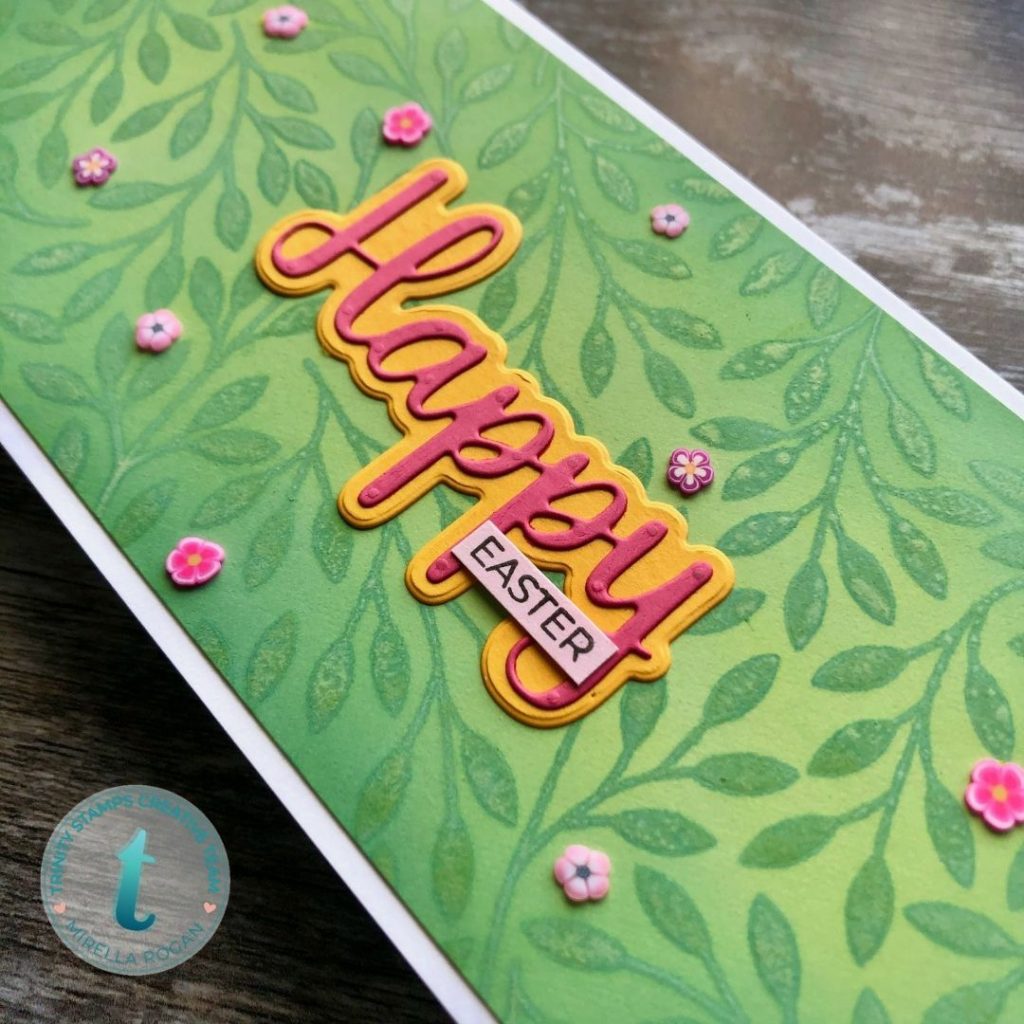
SPRING
When I think of spring, my mind brings up greens, yellows, pinks, flowers and… Easter. And so I decided to incorporate all of it on my spring themed card, LOL. I ink blended the background, using Distress Oxide inks and the amazing Blending Buddies, and then tone-on-tone stamped the leafy background, using the darker of the inks I used for blending. For some additional interest, I lightly sprayed my stamp with water, so the oxidisation would happen. I then scattered around some little flower embellishments, combined a die cut sentiment with a stamped one, and voila, the first card was ready!
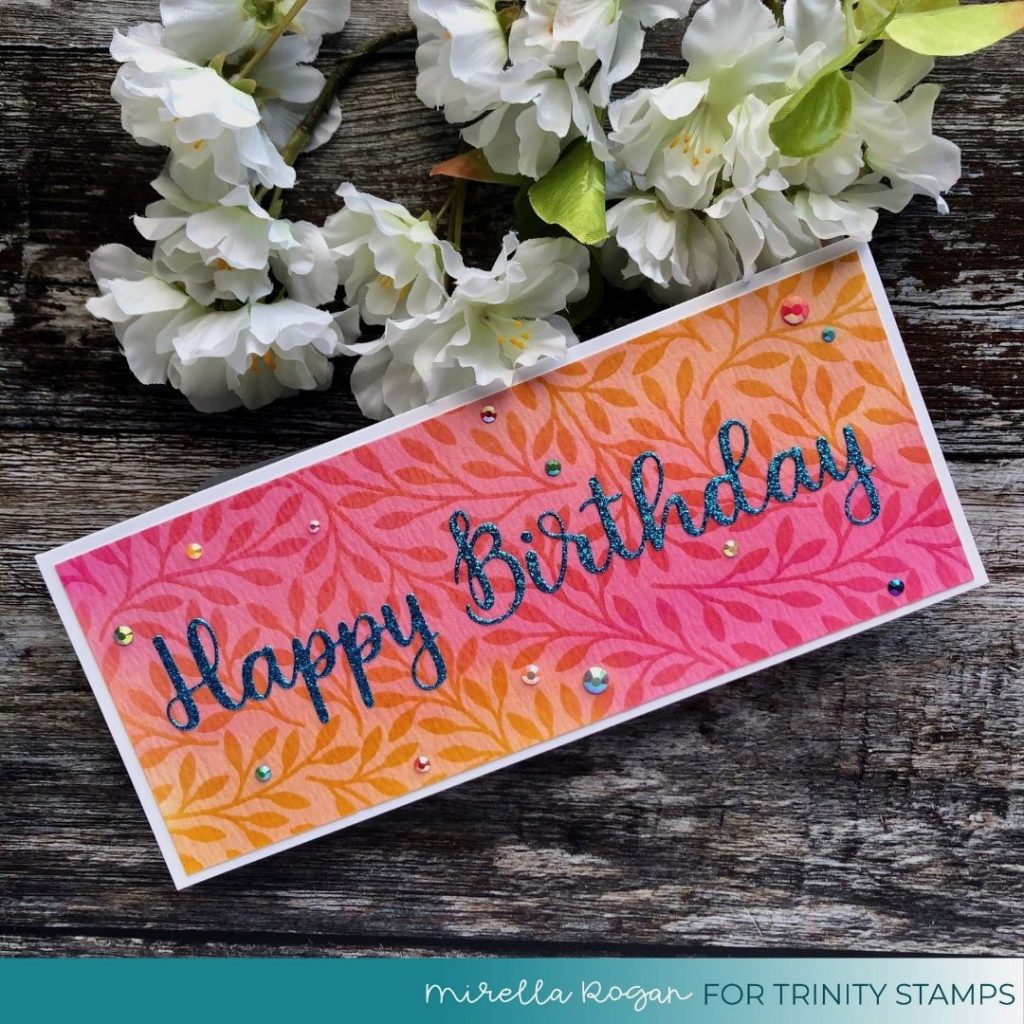
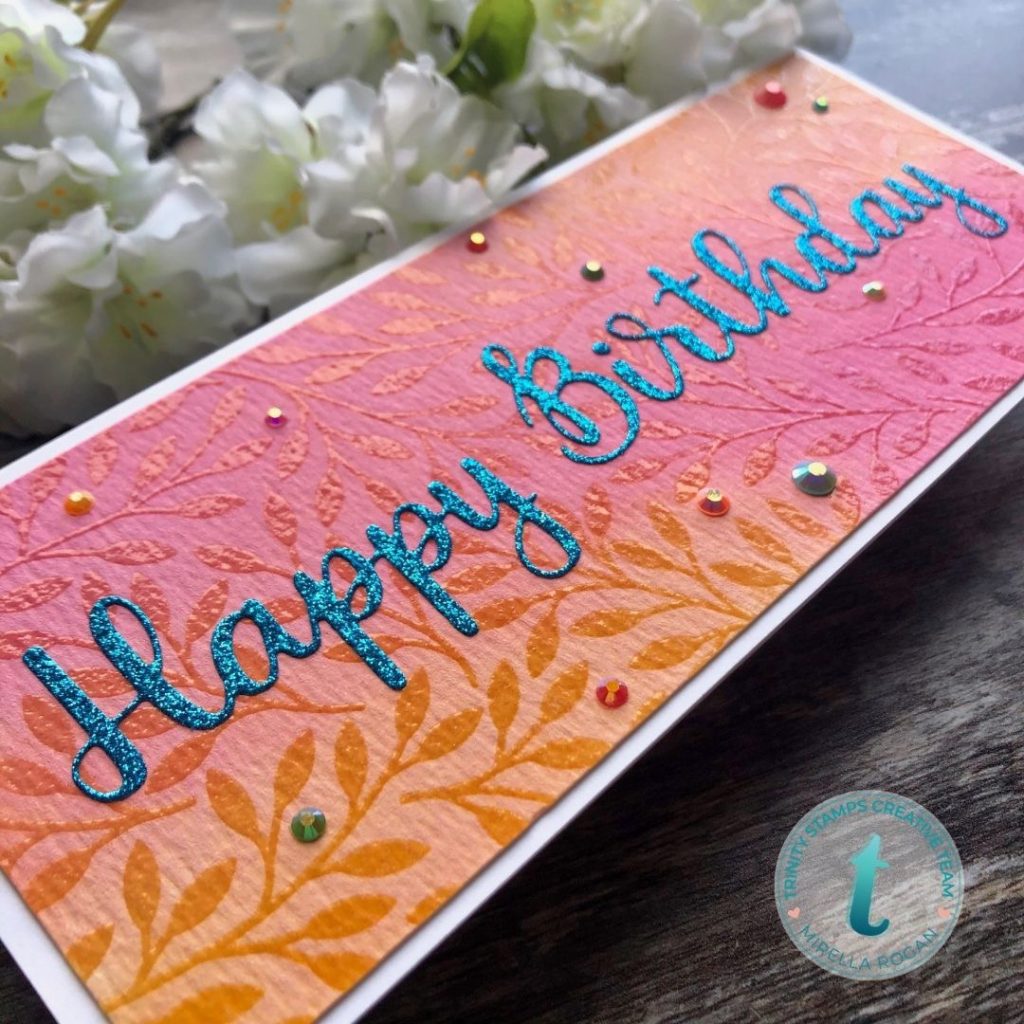
SUMMER
Summer is all about yummy fruity ice cream & sorbets, bright colours, sandy beaches and a sparkling sea side/lake. This time, therefore, I opted for a pinky/yellowish background, created on watercolour paper, with the use of regular Distress Inks, playing the part of “watercolours”. I trapped the darker colours under the heat embossed image (heat embossing done with clear embossing powder), and then toned the background down a bit, by reactivating the inks with some water, and dabbing the colour off. The die cut sentiment has some blue/teal sparkle to it – to mimic the idea of water sparkling in the sun.
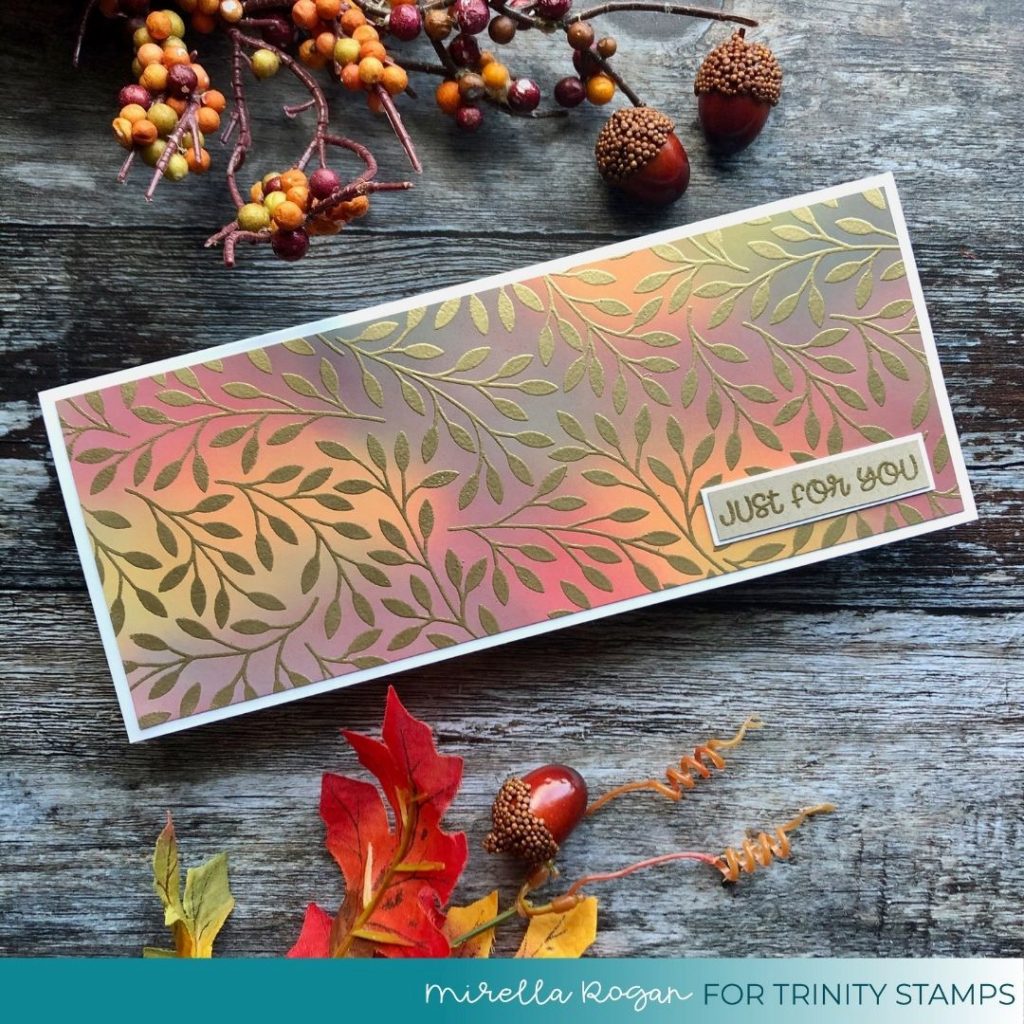
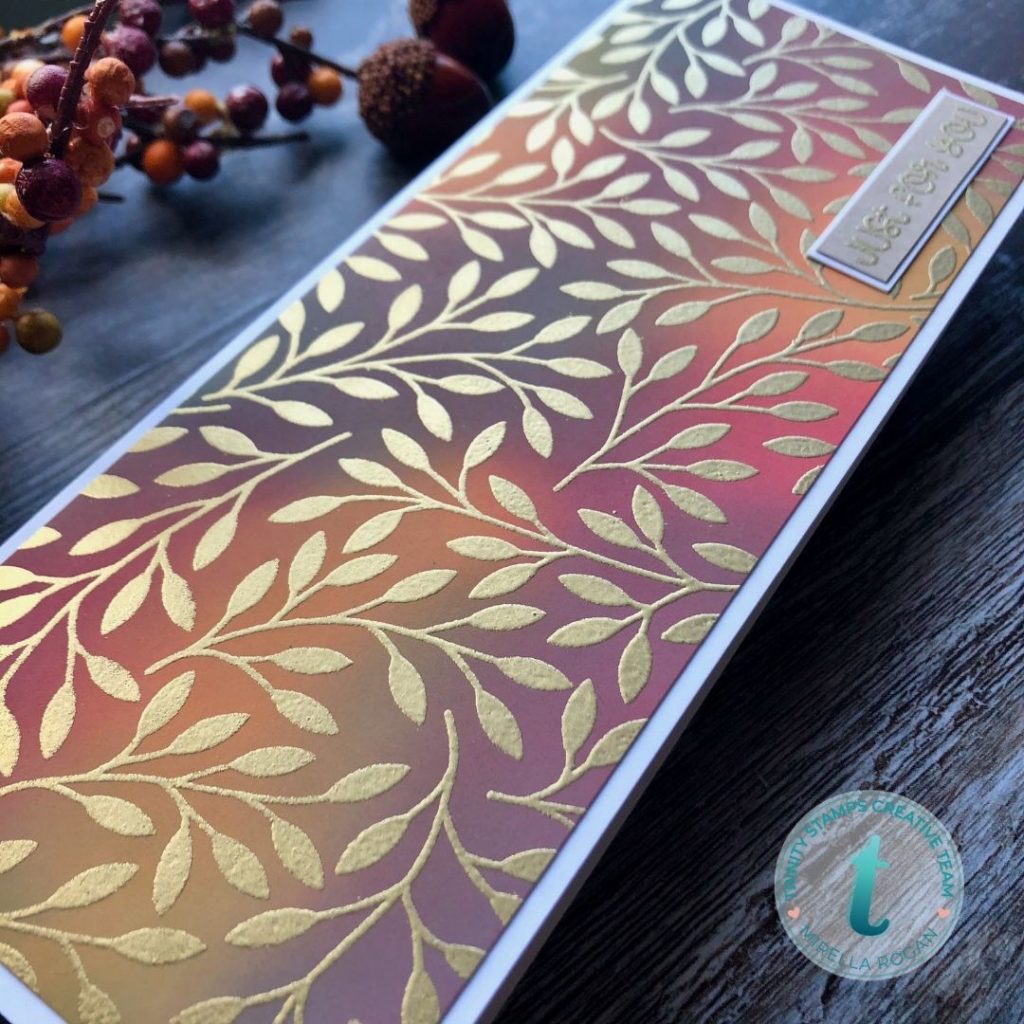
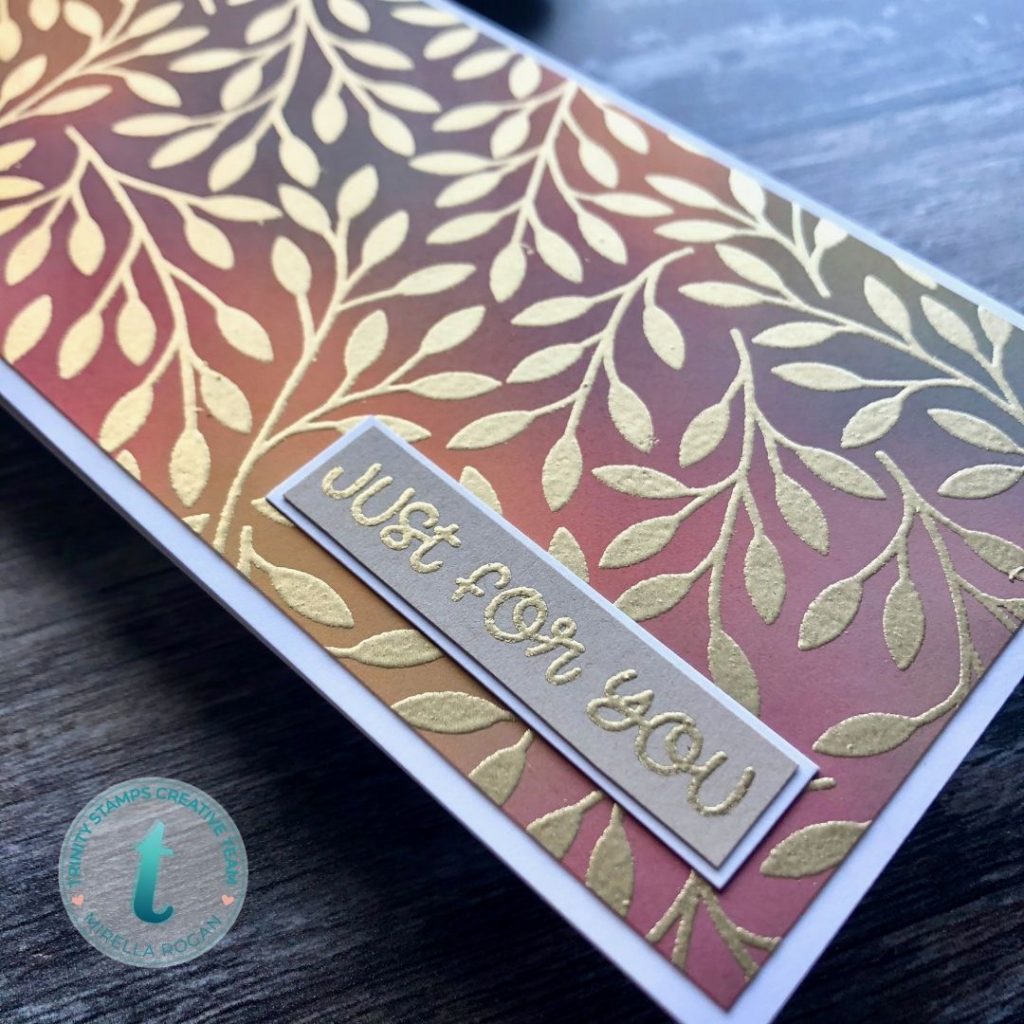
AUTUMN
This one was a no brainer for me – autumnal colours and gold embossing for the win! I did get a bit of a surprise whilst making this card, however, as my browns and greens turned blue & purple during the heat embossing process! I think the background still evokes the autumnal feel, but maybe using inks other than Distress Oxides could be a safer way here?! (Has this ever happened to you?)
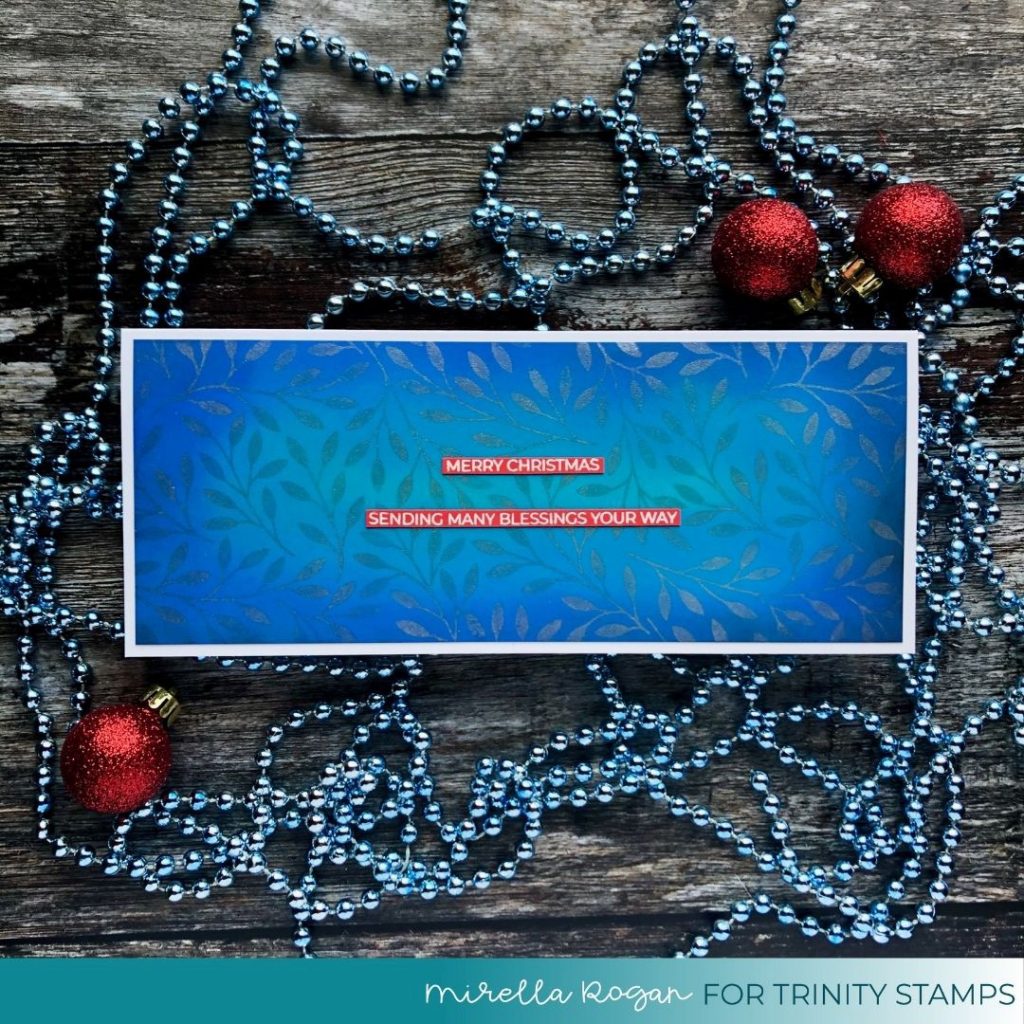
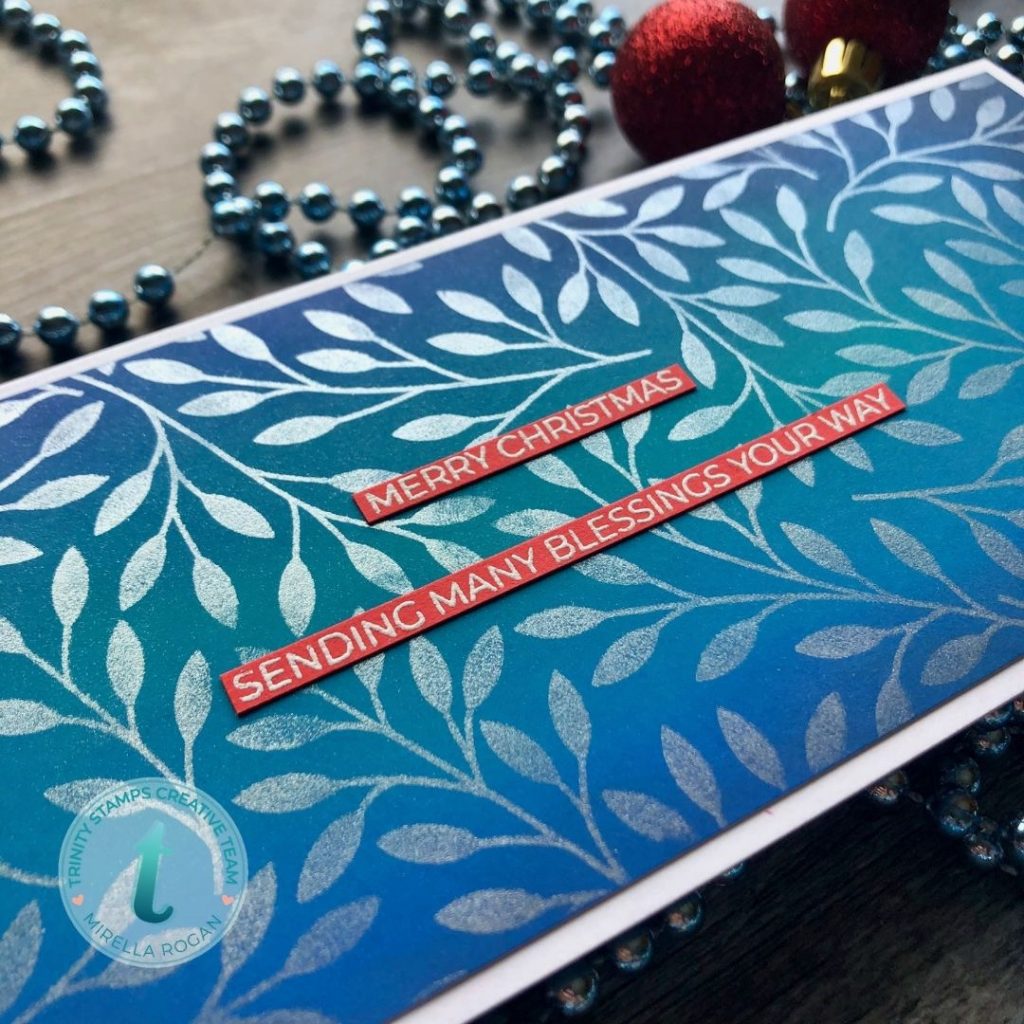
WINTER
And finally, winter. Well, if you know me, you know that I am always happy to add a Christmas card to my stash, so this is what I opted for. But you could totally turn it into a wintery “hello”, “thank you” or “happy birthday” card, if needed! I ink blended the panel with some teals, blues & a tiny bit of black on the edges. Once dry, I stamped the leafy background with Versamark Ink, and dabbed some Perfect Pearls on top – in the photos, the card might not look like much, but in real life it’s absolutely mesmerising. I only wish I had more colours of Perfect Pearls in my stash, but even the one basic colour did some magic! I added the sentiments on red cardstock, for some additional “pop” and Christmassy feel.

And there you have it – same stamp set, and 4 totally different feels to it! There are still so many options – I think this set would be amazing for wedding cads, for example, but let’s leave something for posts to come 😉
Have you ever tried a challenge like this? If you haven’t, you should give it a go, I had a lot of fun!
Stay safe & crafty, and until next time! As always, all of the supplies used can be found on my blog here.
Mirella


