
With Sympathy Slimline Card & Slimline Envelope
Happy Friday, fellow stampers!! I hope you’ve had a great week!! Here in the Midwest, the leaves are definitely turning but the temperature is back in the upper 80s!! It’s felt more like summer here this week than fall!! I’ll be dreaming of this weather when winter hits, though…ugh.
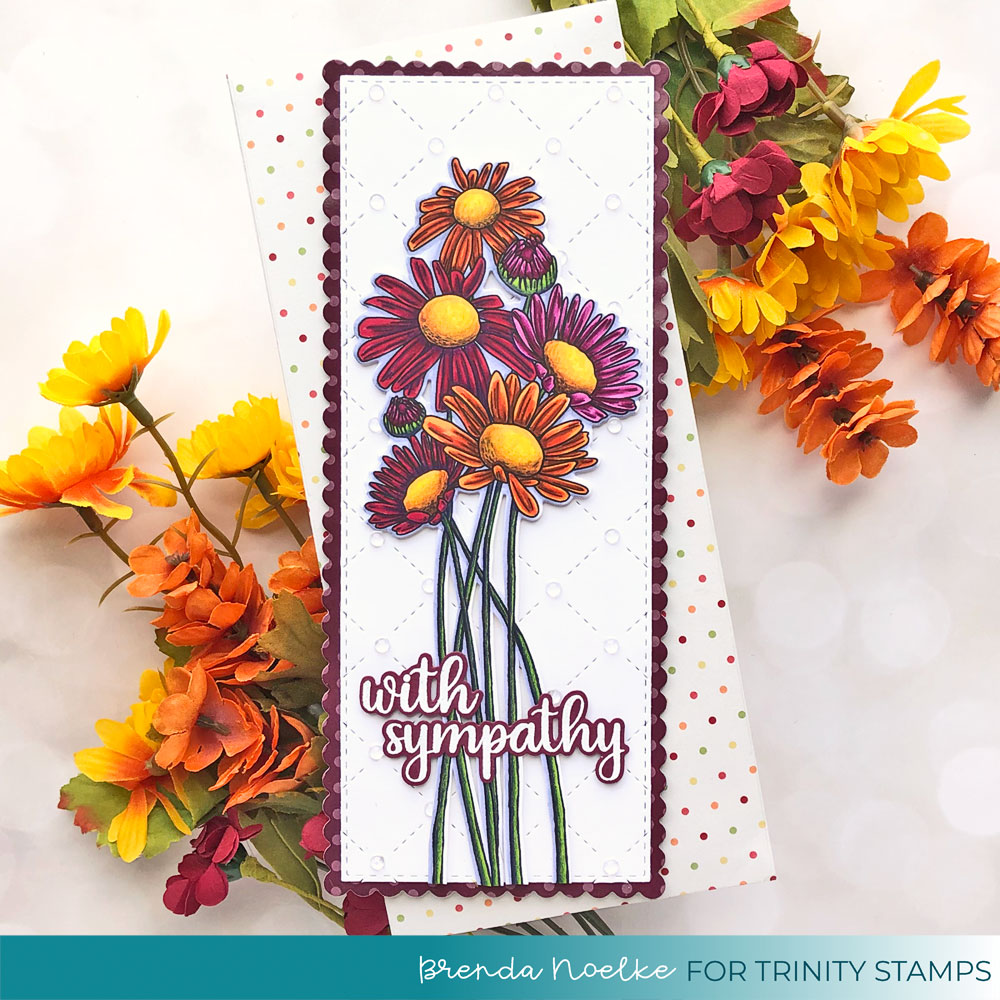
Sympathy cards are definitely the most difficult cards to make, so I like to have some on-hand when I need them. The new With Sympathy set has a beautiful bouquet of daisies (one of my favorite flowers) and several sentiments to express your condolences or just let someone know that you’re thinking of them!!
Let’s get to my project!!
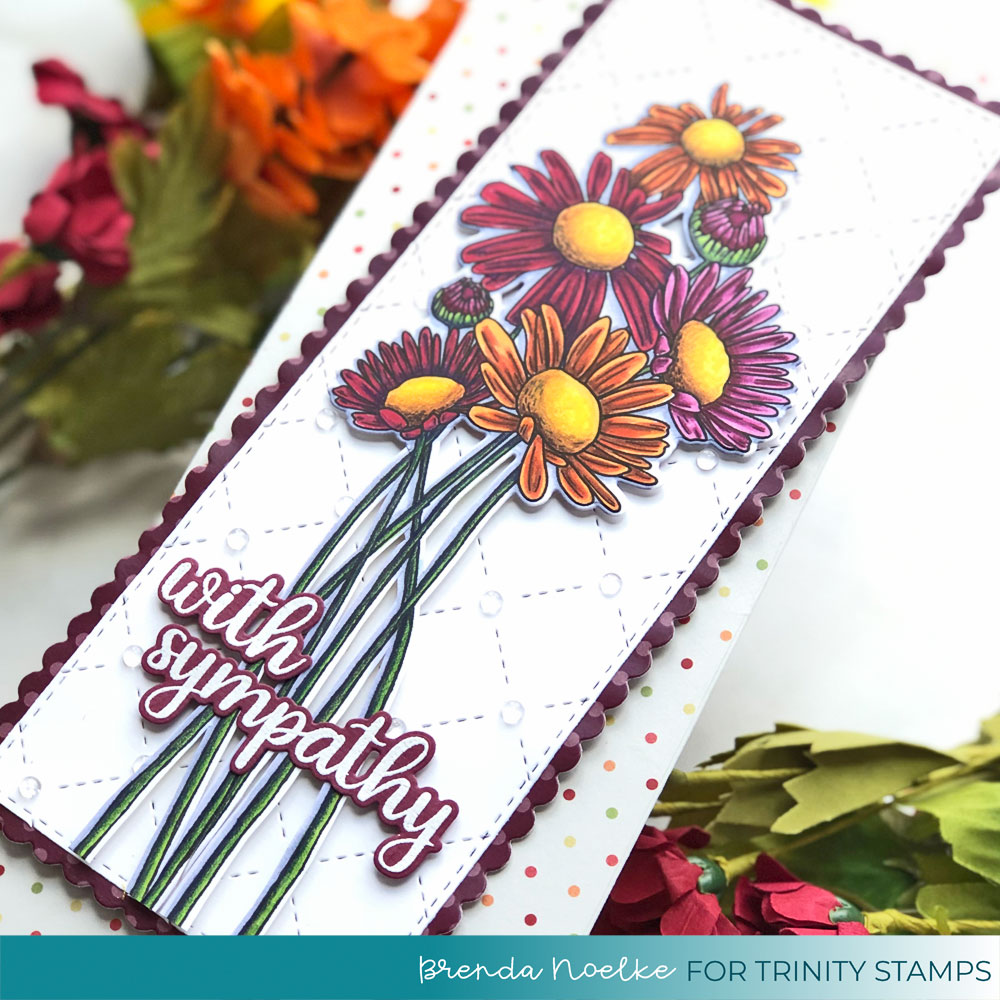
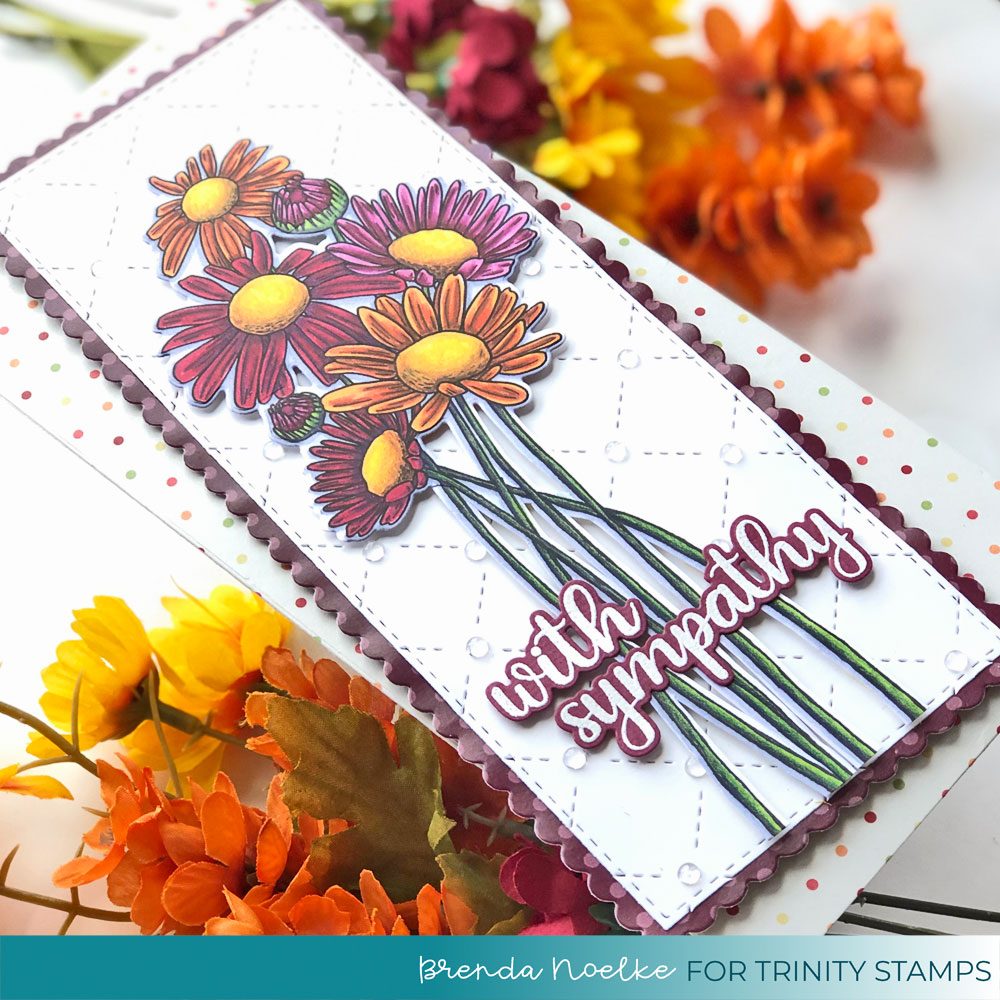
I began by stamping the daisies from the With Sympathy stamp set onto white cardstock with InkOn3 Blackout Ink. I wanted to make a slimline card, so I just extended the stems with a Copic Multi-liner, then colored the image in autumnal hues with Copic markers. I added a little more depth with colored pencils. I die-cut the bouquet with the Coordinating Dies, but since I drew in the stems, I used the partial die-cutting technique and fussy cut around the stems.
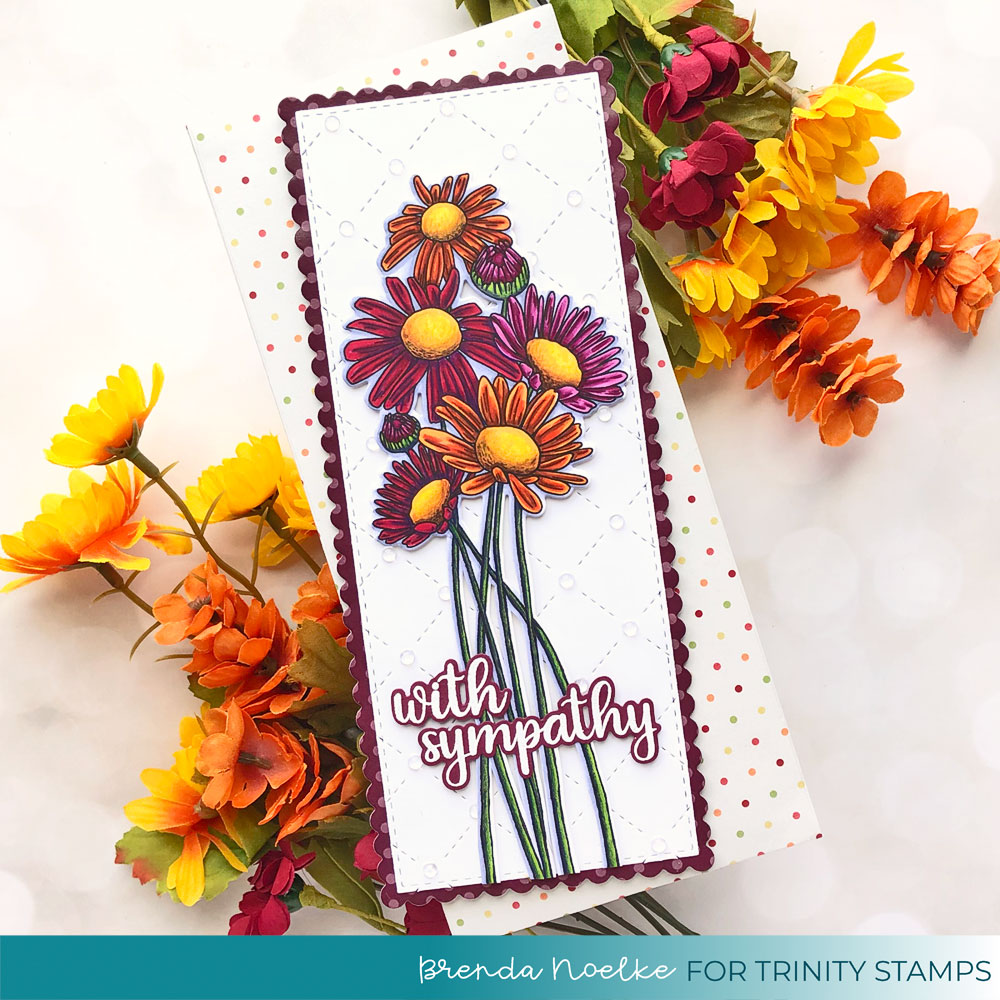
I die-cut the background from white cardstock with the Slimline Series Quilted Cover Die. This die cuts to the exact size for a slimline card, but I wanted it a bit smaller, so I die cut it with the middle die in the Slimline Series: Stitched Card Panels and Window Die Set. I die-cut the burgundy polka-dot paper from the Autumn Rainbow Slimline Paper Pack with the large scalloped die in the Slimline Series: Scalloped Card Panels and Banners Die Set and adhered the quilted panel to it. (I trimmed my cardbase slightly smaller than the scalloped panel before adhering, so my card would have the scalloped edge.)
The sentiment, also from the With Sympathy stamp set, was white heat embossed onto coordinating cardstock, then cut out with the Coordinating Dies. Both the bouquet and sentiment were popped up with foam tape. For the finishing touch, I added Boiled Sugar Clear Embellishment Drops to each point on the quilted background.
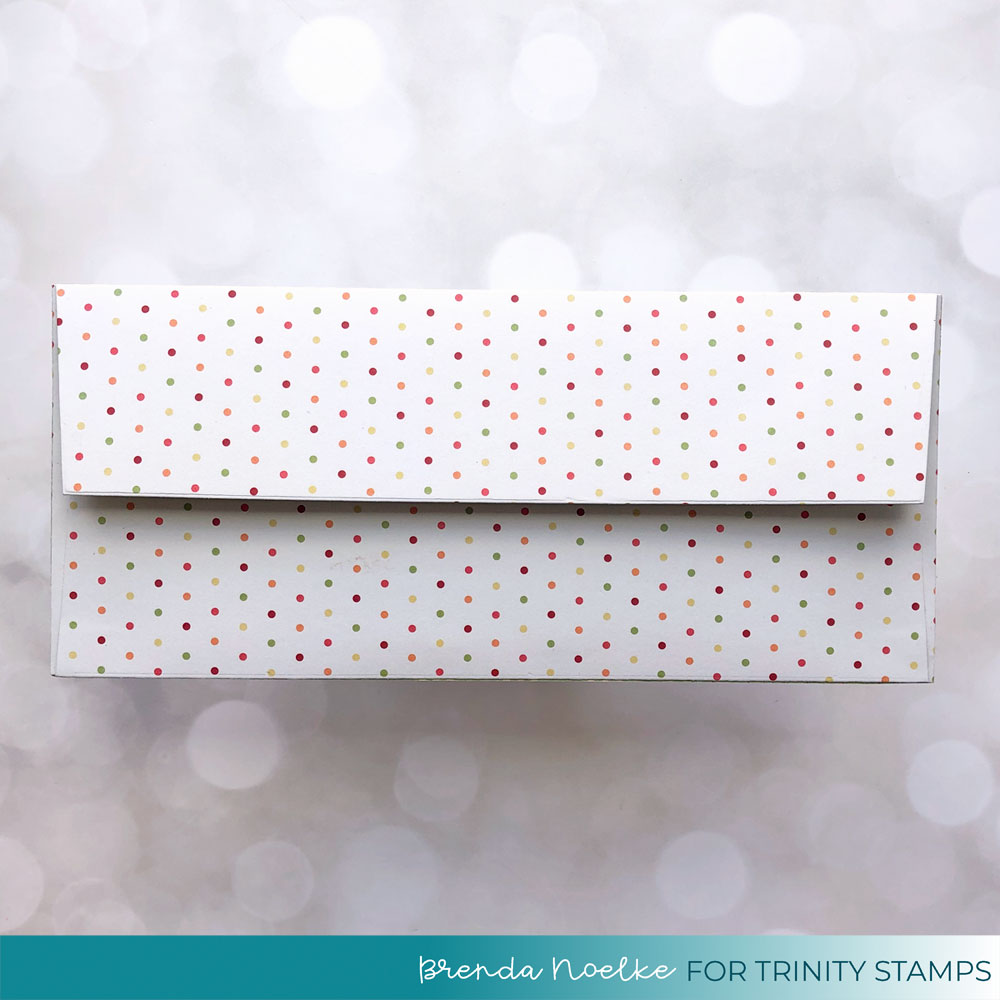
I decided to make my own envelope using the Slimline Series: Envelope Builder Die Set and the new Slimline Series: Envelope Builder Add-on Die Set. I went through my stash of 12″ x 12″ patterned paper (that I have waaaayyyy too much of…lol) and found this polka dot paper that matched really well!! This was the first time that I used the side opening flap and I really like having this option. There is awesome video for creating slimline envelopes here & diagrams for the add-on set here.
I sincerely appreciate you stopping by and spending a bit of time with me today!! Have a terrific weekend and I’ll see you soon!!


A lovely card. I like the scalloped edges peeking out. Great idea to do so and to extend the stems.
So so beautiful! Love it!