
Slimline Series: Envelope Builder Dies Photo Tutorial
Hello everyone, we have had some questions about putting together the new slimline series envelope builder dies. If you’re a video person, click HERE to watch the product close-up. If not, here’s a step-by-step photo tutorial to help you out.
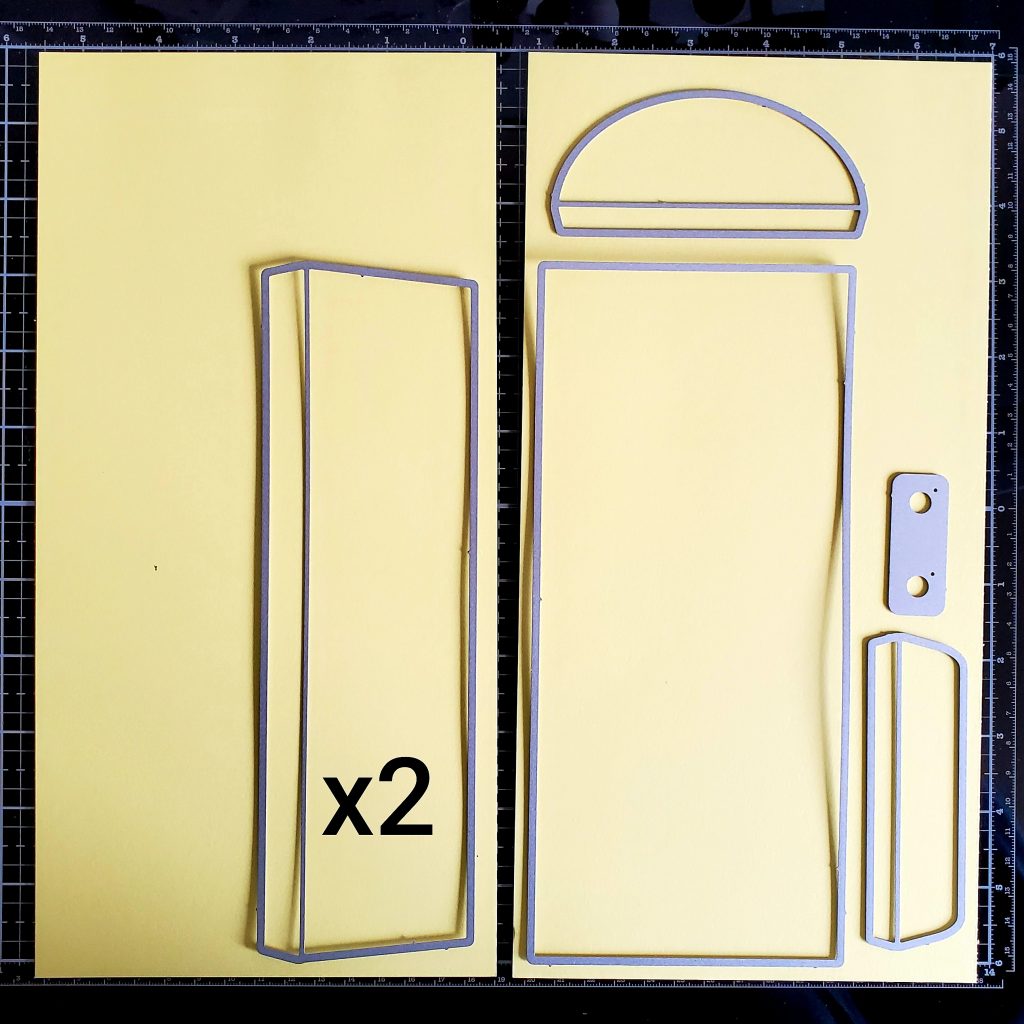
I started by cutting a 12×12 piece of cardstock in half to 2 sheets of 6×12. Then I’ve laid the dies out in the set that actually create the envelope. The others are extras such as a new border for your cards and some word and shadow dies. Note where I marked that you will need to cut 2 of the die on the left side.
Here are all of my pieces cut out now. From left to right you have 2 side flaps, top and bottom flap and the main front of your envelope on the far right.

Set the front of your envelope to the side and add your adhesive to the flaps like I’ve done above. (I prefer tear tape for these. It’s strong and easy to use.)
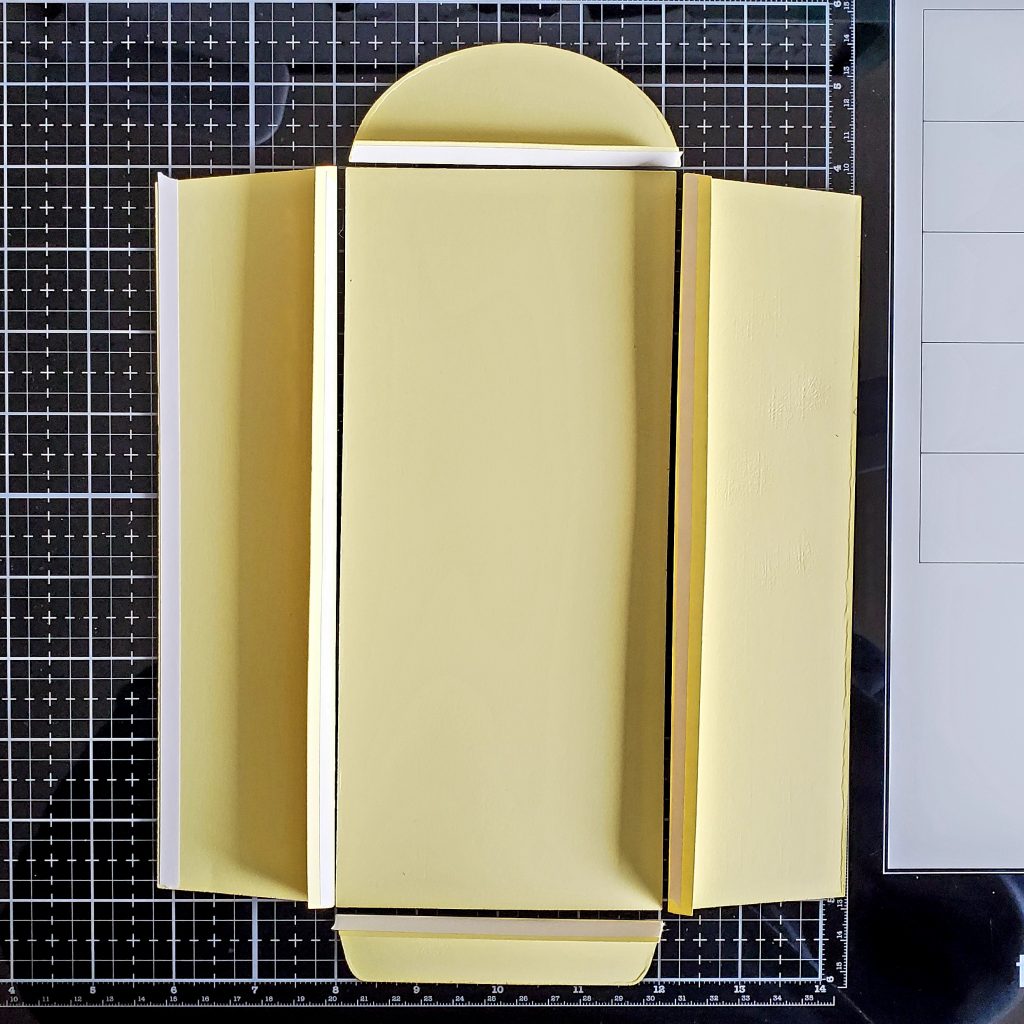
Then fold all of your pieces on the score line that the die has created and bring back your envelope front. See how I’ve laid everything out around the front piece so you can see how it’s stuck together. Remove your backing tape and adhere all of your flaps to the back of the large front piece.
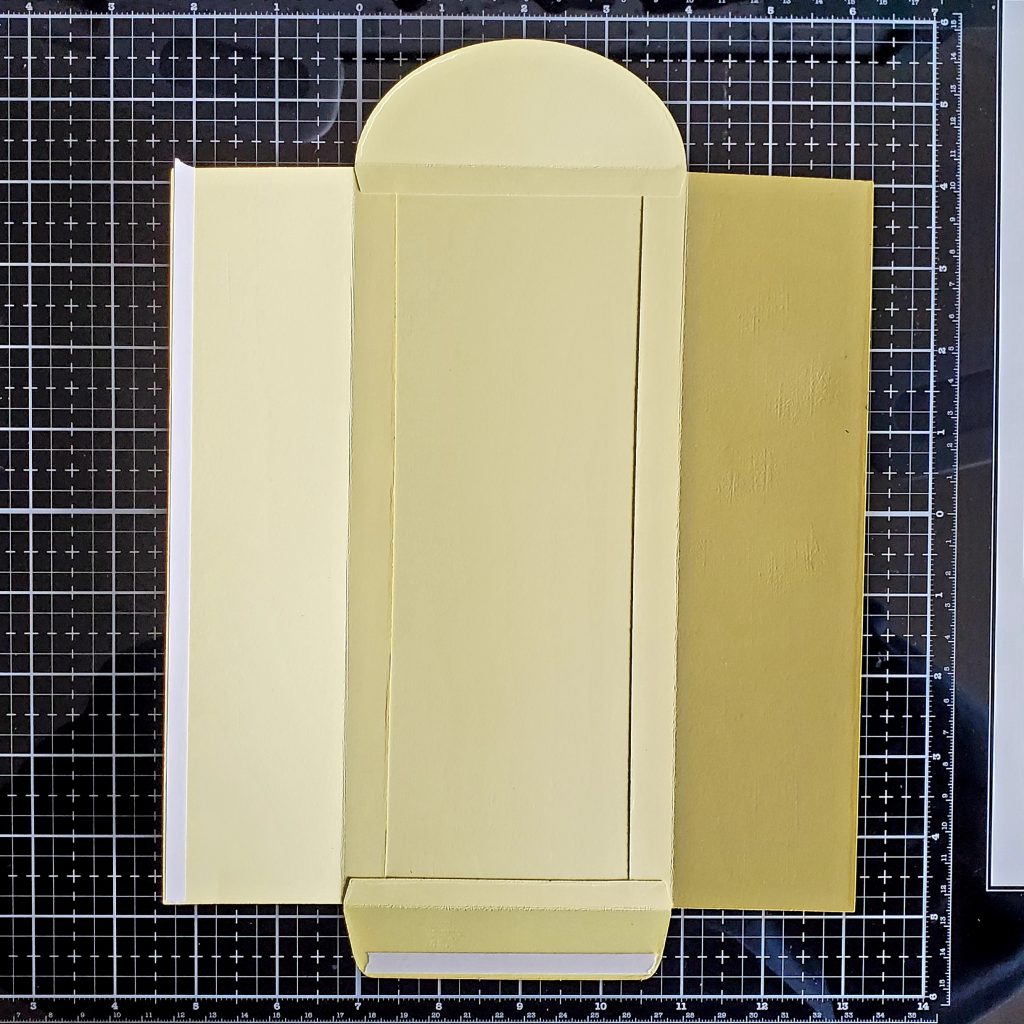
Here are all the pieces adhered to the envelope front. I prefer to glue the side panels and then the top and bottom flaps but any order works just fine.
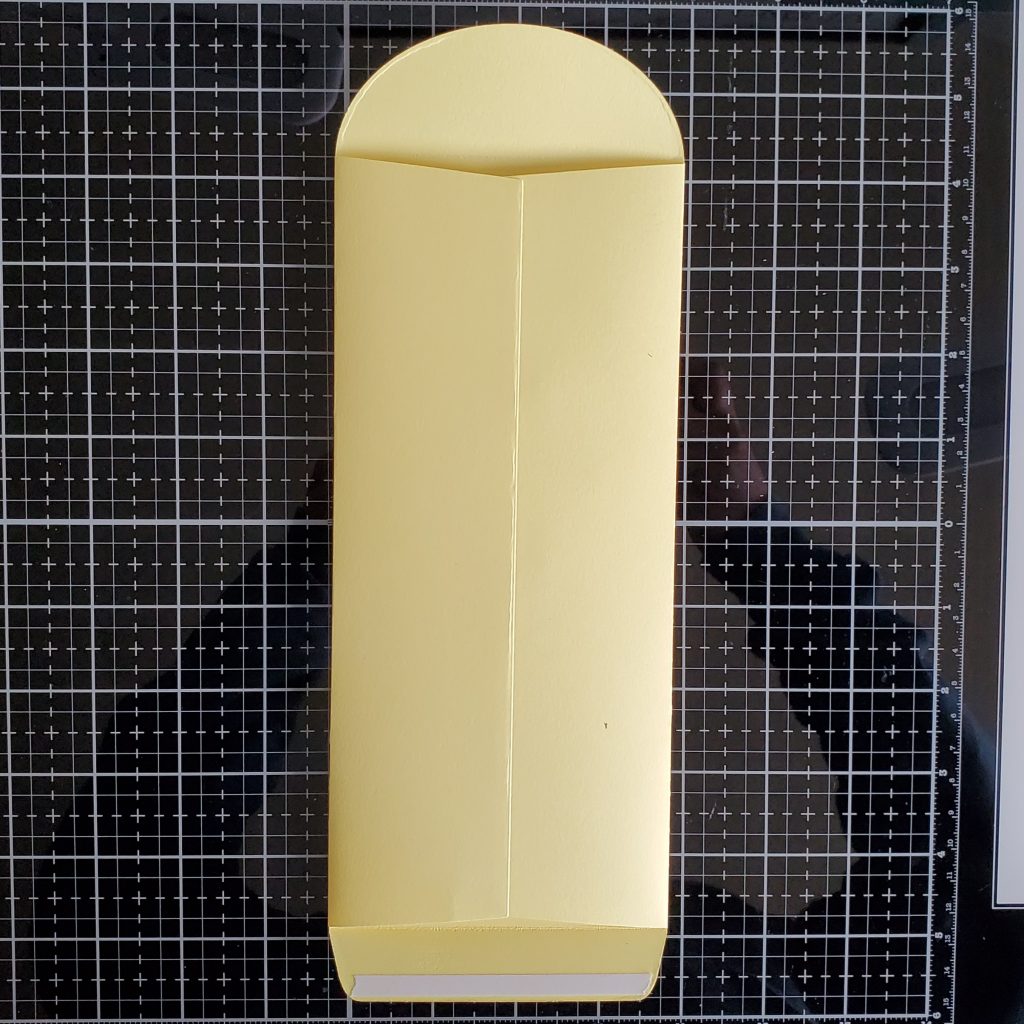
Now I’ve added adhesive to the inside of the left flap and the bottom flap. We’re going to remove the backing paper on the left flap. Fold down the right flap and push the left on top of it, securing it. Just like you’ll see below.
Now remove the backing paper from the bottom flap and fold that up, completing your envelope.
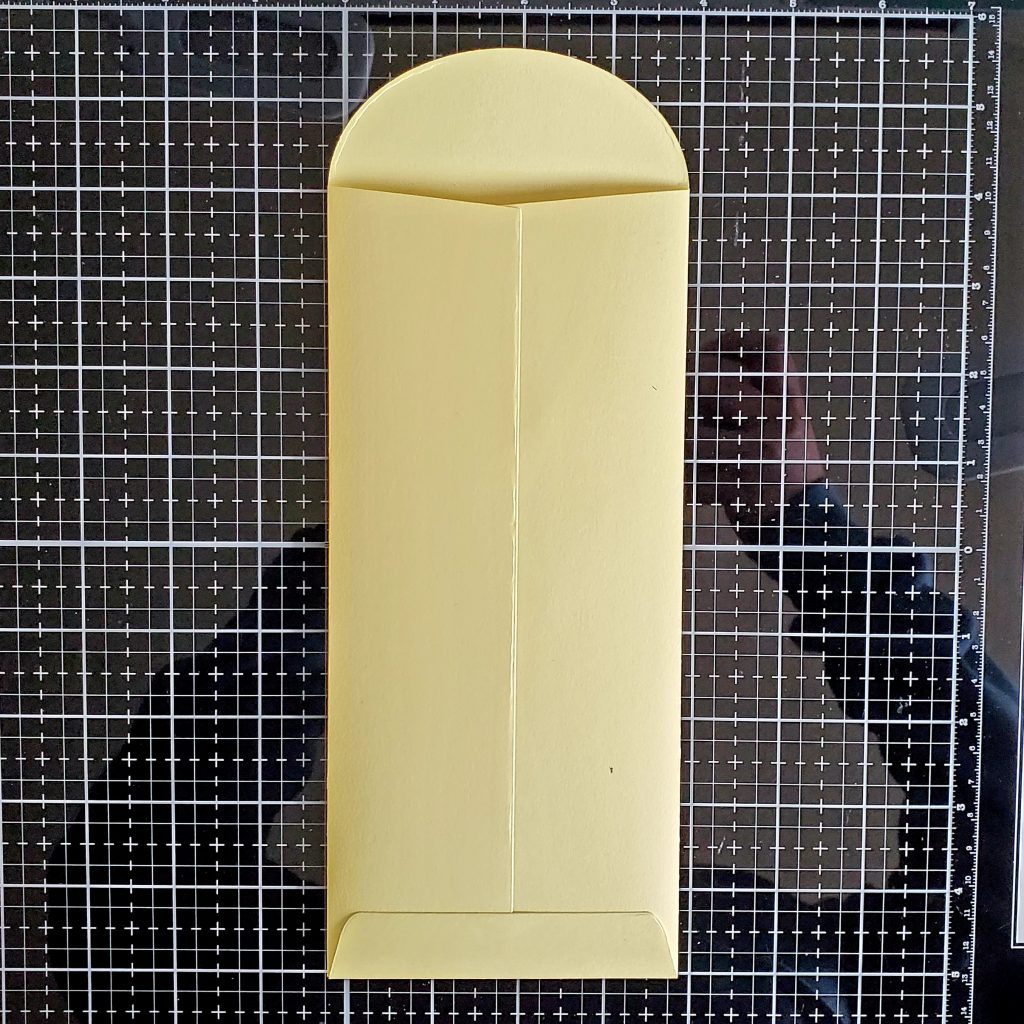
Your envelope is complete and you can decide how you want to seal it closed now. I tend to use another strip of tear tape on the top flap as well but you can use the die in the set that cuts the circles for a tie enclosure too. I suppose it depends if it’s going through the mail or being hand delivered.
I hope this has helped clear up any confusion. Please comment below if you have any specific questions. Someone else might be having the same trouble and we can help everyone that way.
Thank you and we appreciate you all! Have a fabulous day!


This is such fun die and I like how you made it easy to follow! This will be handy to have since slimlines are all the rage & you or one, can customize your envelope colors!
Fantastic!