Pumpkin Everything
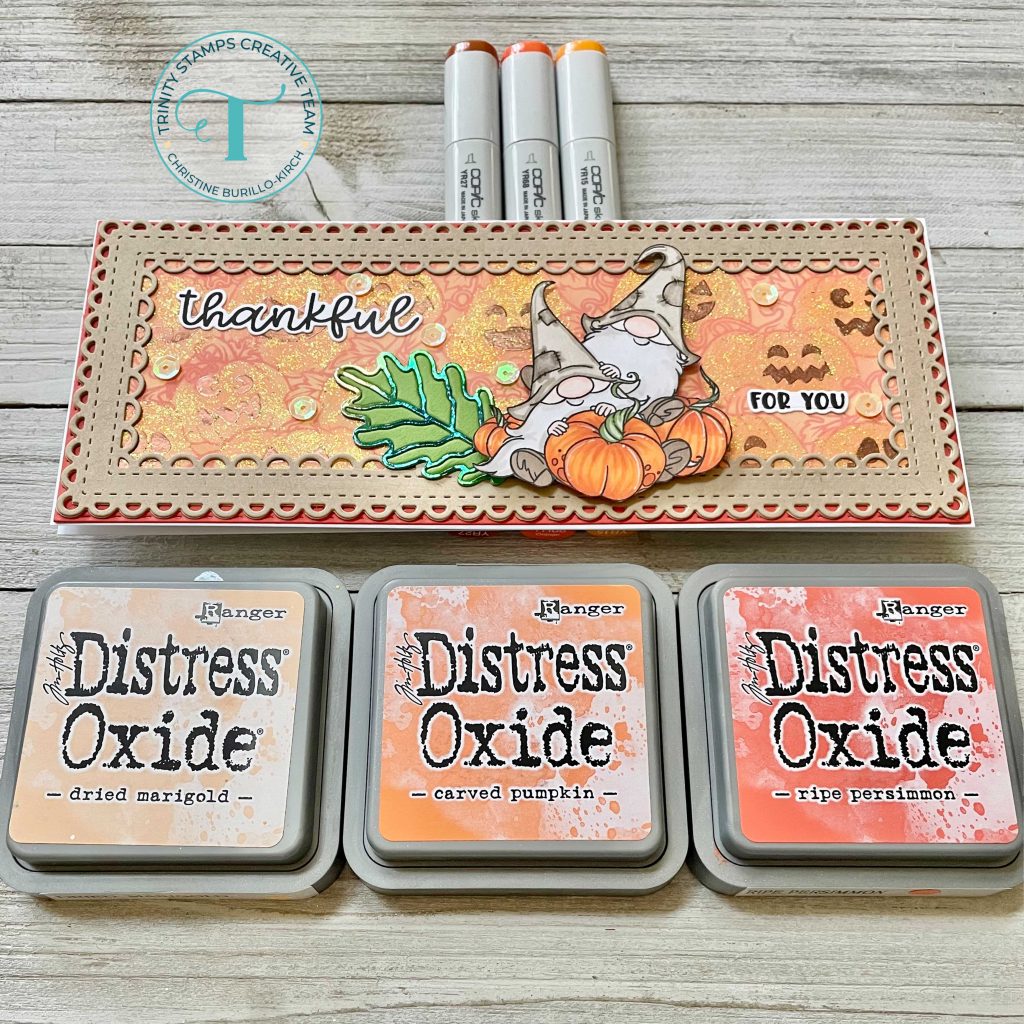
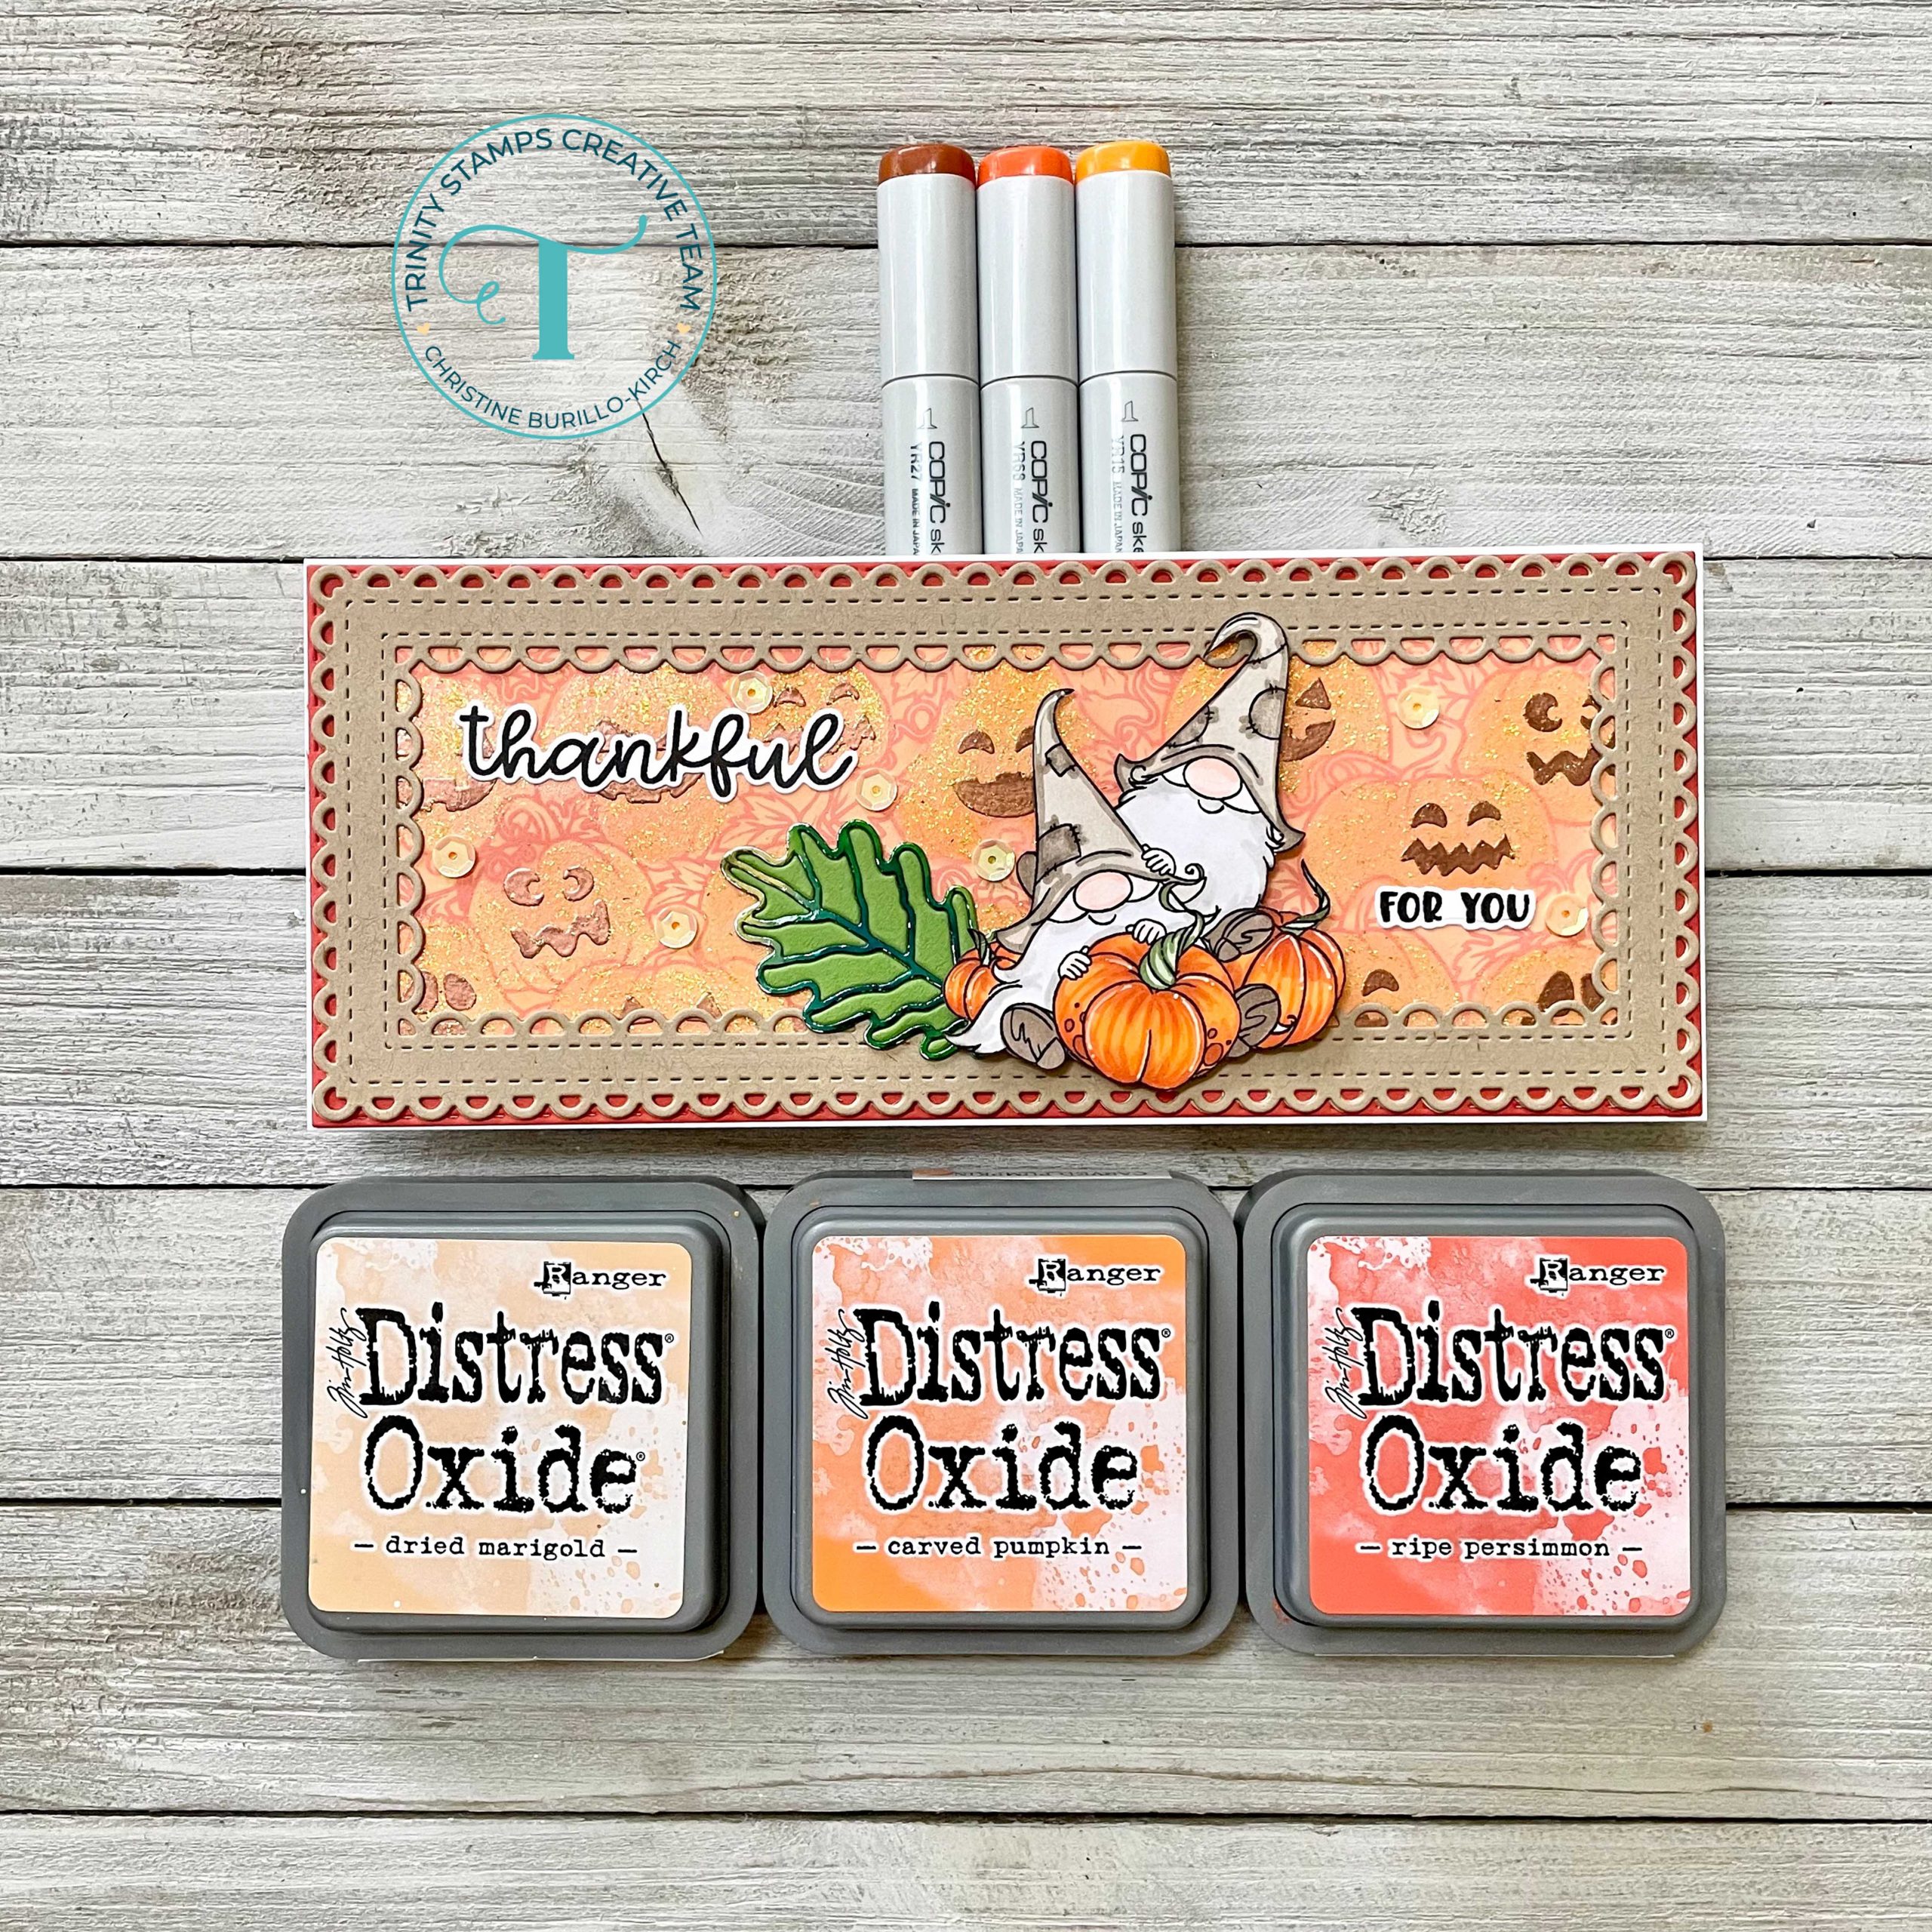
Hello there, Christine here with a slimline that uses a new stamp Pick of the Patch from this recent Autumn release and a stamp Thankful For You from last year’s autumn release. I’m going to show you my process which includes evaluating the design as I go along an making changes from my original plan.
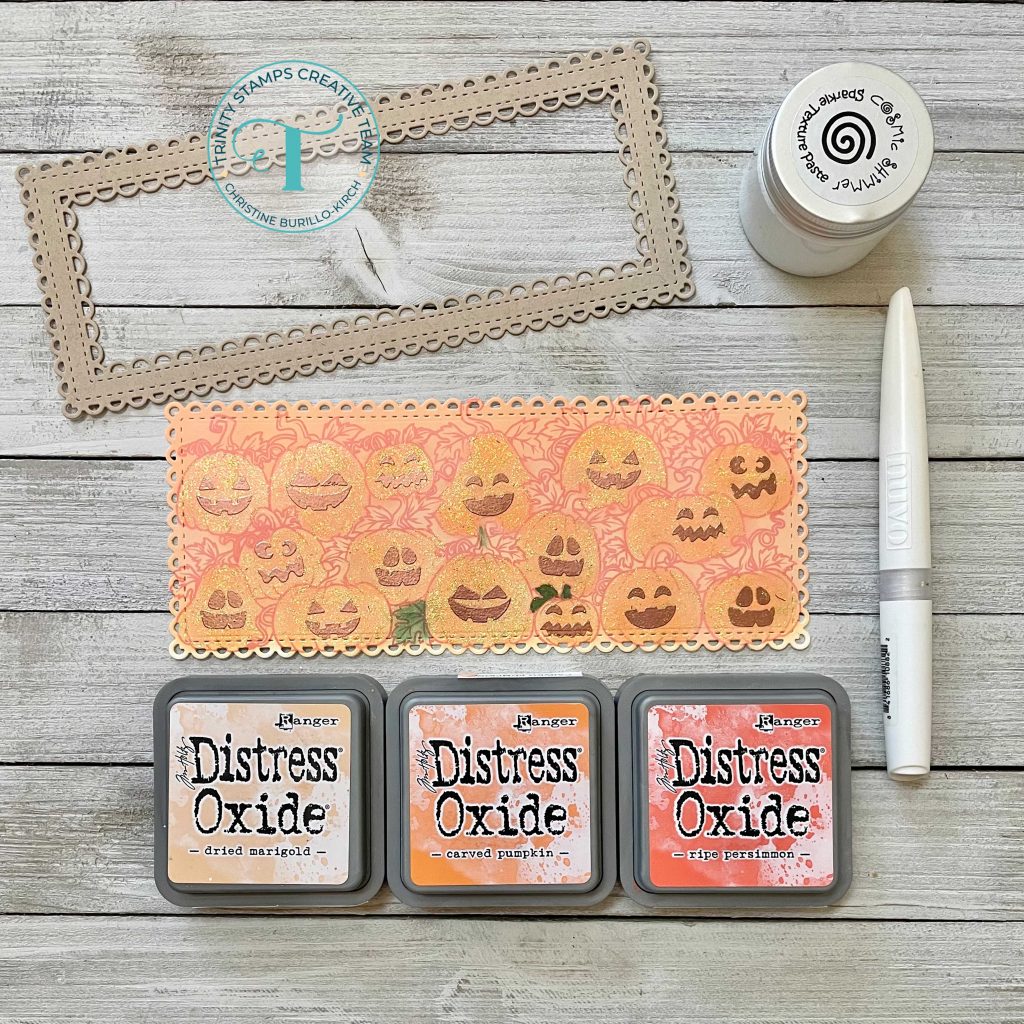
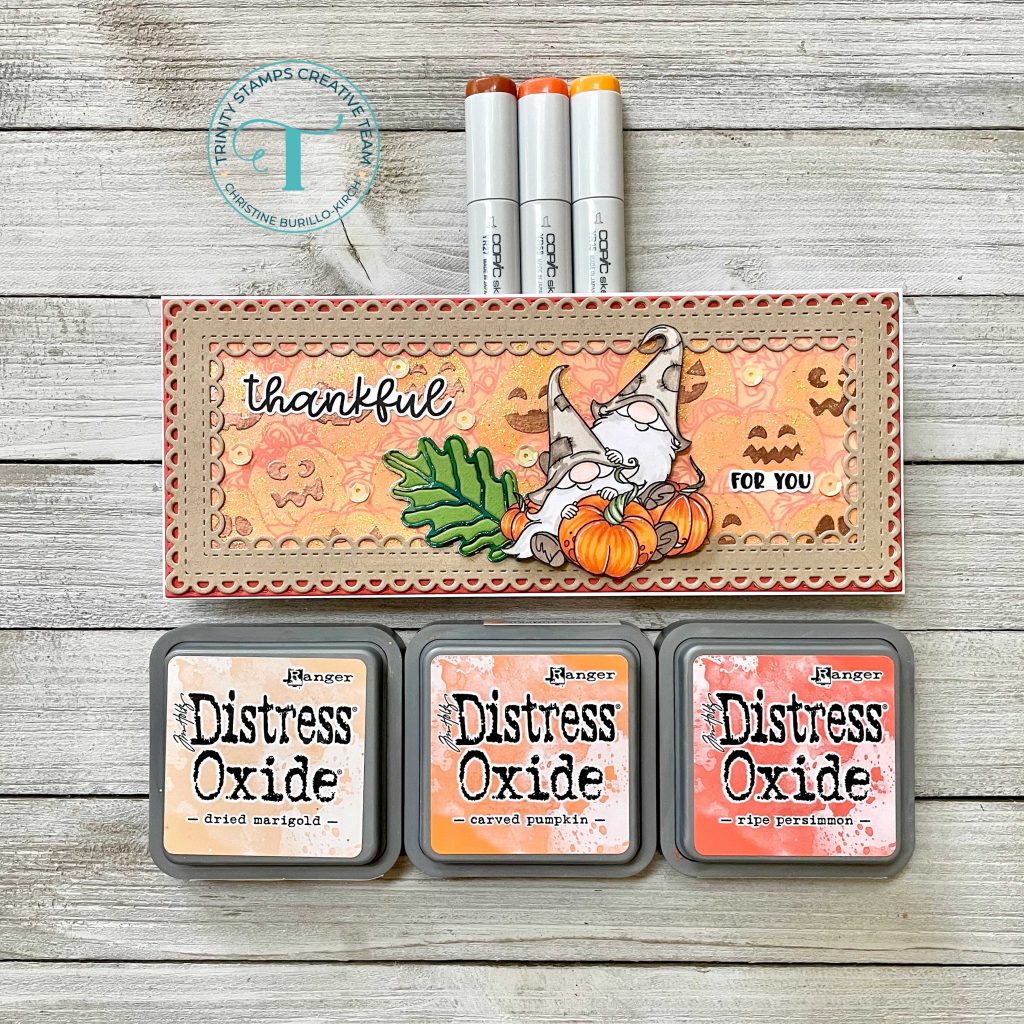
I first stamped the Pick of the Patch stamp set with Distress Oxide ink in ripe persimmon onto Neenah solar white cardstock that had been ink blended in an ombre fashion- top is carved pumpkin and bottom is dried marigold. I proceeded to use a small finger dauber to put some more distress oxide ink in carved pumpkin on top of each pumpkin in the stamped image. Here is where I totally changed my plan- I started to color the leaves green and felt it made everything too busy- I knew that I would have the gnomes as my focal point, so I tested an area that would be hidden and I didn’t like the way it looked. So I totally changed my initial idea- I work that way often! Sometimes my idea work out and sometimes they don’t. I do embrace the process and have learned to enjoy that part- that I might have to change things up. I then stamped the faces of the pumpkins with versamark ink and heat embossed with copper embossing powder. I then wanted more shimmer (also not in the original plan) and added some sparkle paste with a paint brush over each pumpkin. The water in the paste reacts with the distress oxide color and brightens each pumpkin’s face- but not too much that its too distracting! Finally I die cut a slimline frame out of kraft cardstock with the Slimline Dainty Scallop Edge die set.
Then I stamped the Thankful for You stamp set onto Neenah 110lb cardstock and fussy cut them because I thought it would look nicer on this card without the white border. I copic colored everything pumpkins (YR15, YR27 and YR68, YG67, YG61), gnomes (W3, W0, light and dark crumbcake Stampin Up markers and E44). When you fussy cut an image it is always a good idea to use a dark marker on the cut parts to get rid of white edges- it just gives a cleaner look.
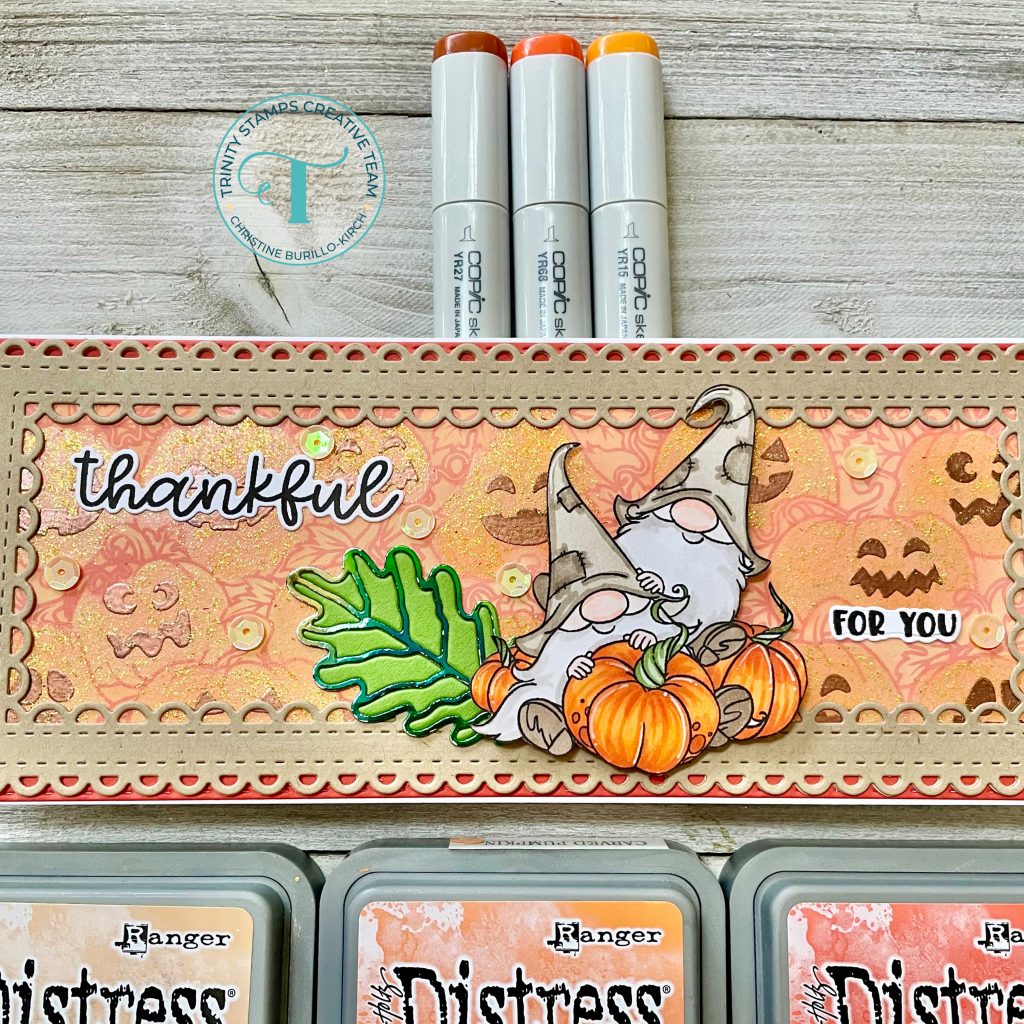
I then adhered the pieces together, added some sequins, added a foiled leaf from the Cut and Foil Oak Leaf die set, added the sentiment from the Thankful for You stamp set that had been die cut with the Thankful for You die set.
One more photo to see all the shimmer! Thank you so much for stopping by today!