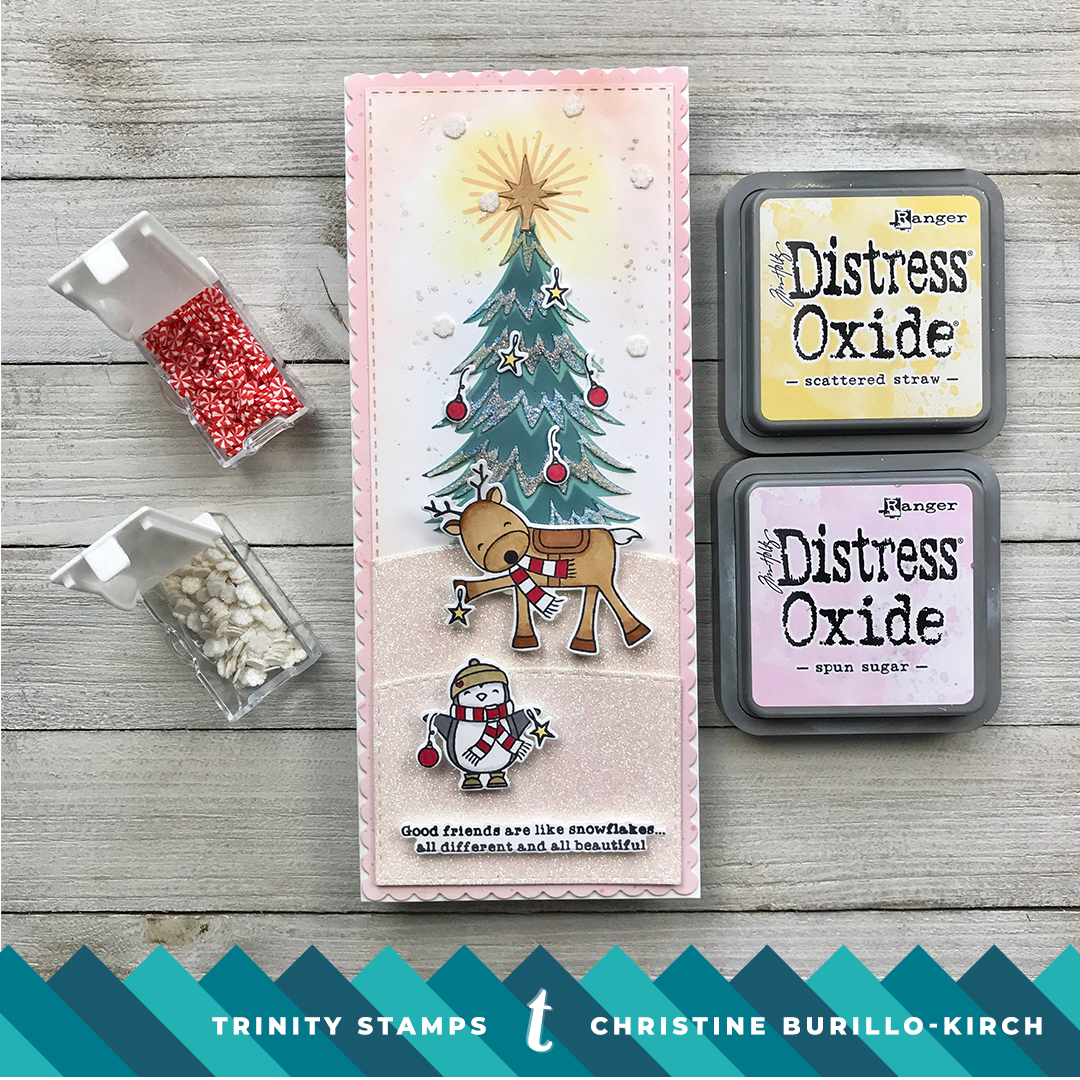
Layered Pines Slim Line Card


Hi there! Today I’m up on the Trinity Stamp YouTube channel with a small tutorial on how to use the layered pine stencil set that was released yesterday! You can find the video here. Briefly, I used die-cut the scalloped slim line card die from Lawn Fawn pink speckled cardstock and the stitched slim line card die from Neenah solar white cardstock. I taped the layered pines stencil on the stitched card panel and ink blended evergreen bough distress ink on the first layer. Using the second layer, I ink blended pine green dye ink from Papertrey Ink. For the third & final layer I spread a glitter paste from Couture Creations- I ended up spreading three layers of the glitter paste to get a “white” snow on top of the branches. You can heat emboss with white embossing powder, but I found that it is such a stark contrast to the green that it looks less realistic than the glitter paste. Make sure that you either dry each ink blended layer with a heat gun or make sure you leave it out to completely dry before adding the next layer on (I leave my cardstock out to dry). Finally I used scattered straw distress ink for the star & rays of light and did a final layer of gold embossing paste on top. I die cut images and sentiments from the Winter Friends stamp and die set and copic colored them. Cutting a partial panel of glitter cardstock using the slim line dies, I adhered it to the bottom of the panel. I ink blended spun sugar and scattered straw distress inks around the tree and prior to adhering all the components. Thank you for stopping by!

Freaking adorable!