
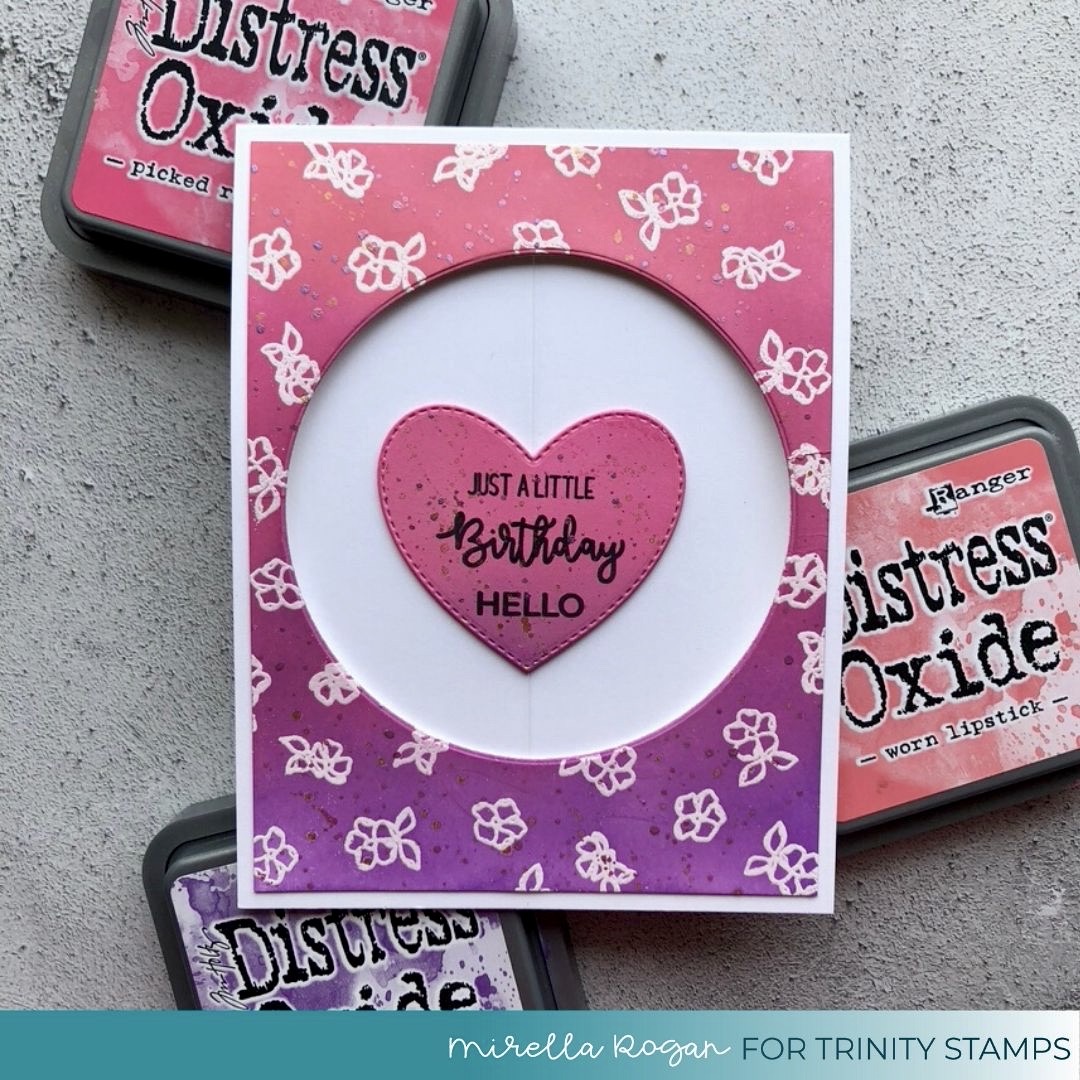
Just a little birthday hello – spinner card
Hi Everyone,
Hope you’re all doing well! Mirella here today with you, to share a fun (and easy!) spinner card.
I started with white heat embossing the little flowers on my card panel – they’re from the Bouquet of Hope stamp set (currently on sale, hint hint ;-)). You could use any images for the background, really – I just felt like some flowers. I then used a few of my favourite Distress Oxide Inks to ink-blend over them. The heat embossing resists the ink, of course, hence the images remained white. Note: You could first ink blend and then heat emboss, if you prefer, just make sure that your ink blended background is completely dry before you attempt the heat embossing! By doing it the other way round, I saved myself some waiting :o)
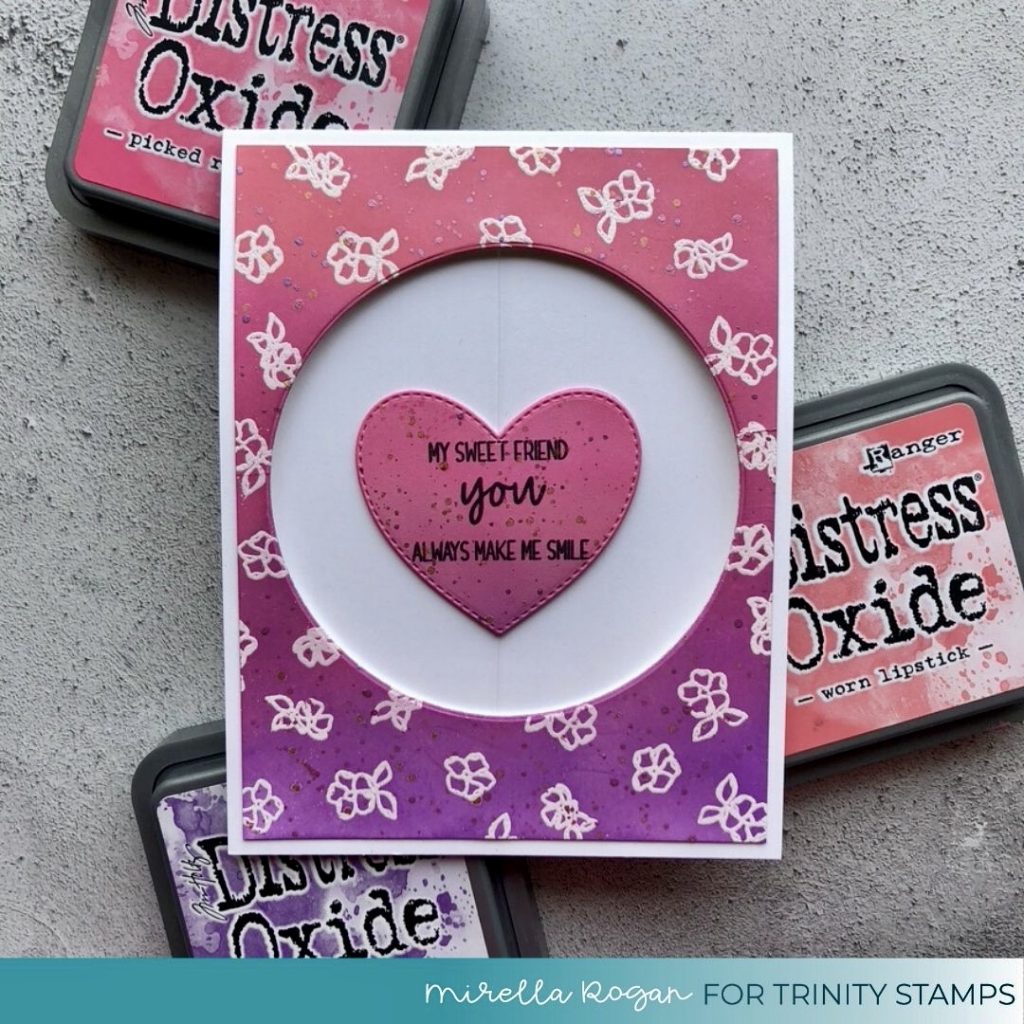
Next, I cut out two hearts, using one of the dies from the Frame and Fold die set, and ink blended them in the same colours. I stamped two sentiments (Just a little birthday hello and My sweet friend, you always make me smile), combining sentiments from various Trinity stamp sets: Hello Sweet Friend & A Crafter’s Heart .
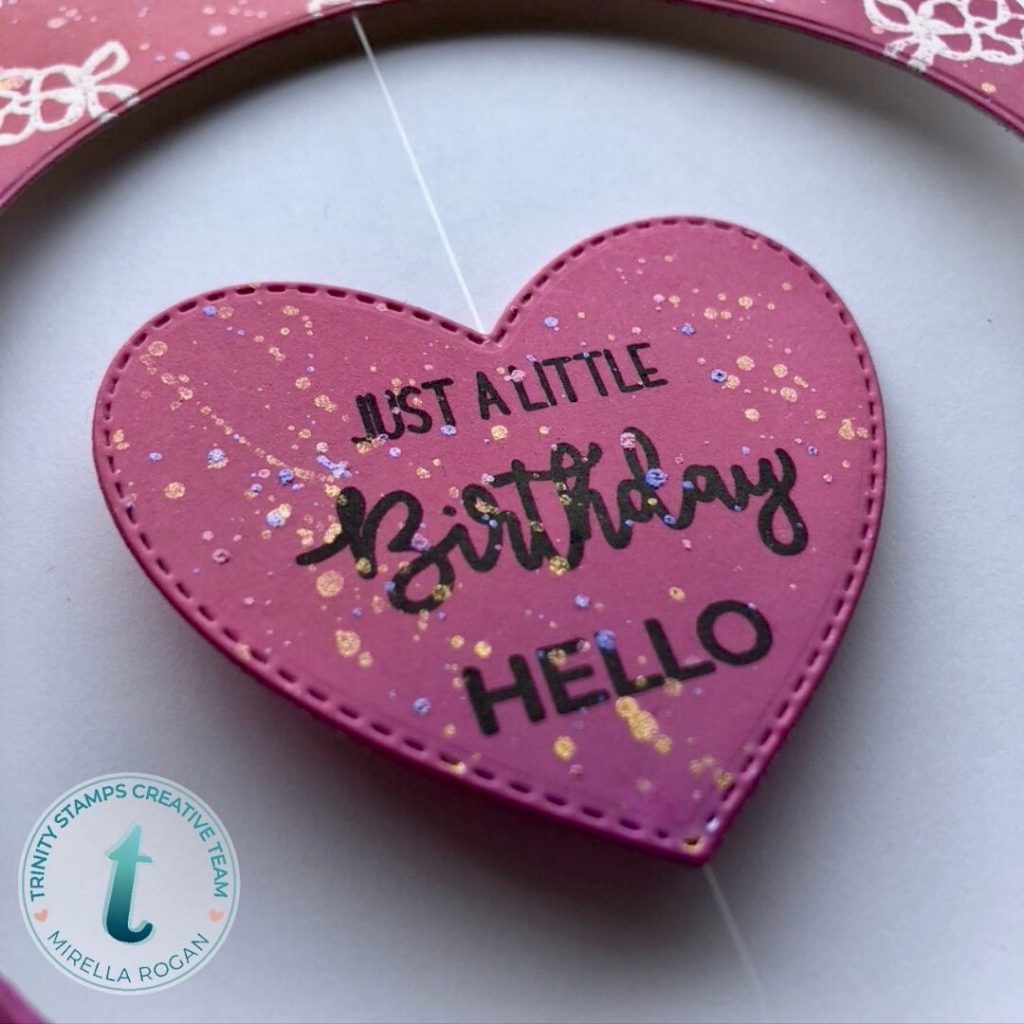
For some additional interest, I splattered some pink, purple and gold metallic paint over both the panel, and the hearts. The card was already quite busy with all the little images, so I thought that the splatters were a nice alternative to embellishments.
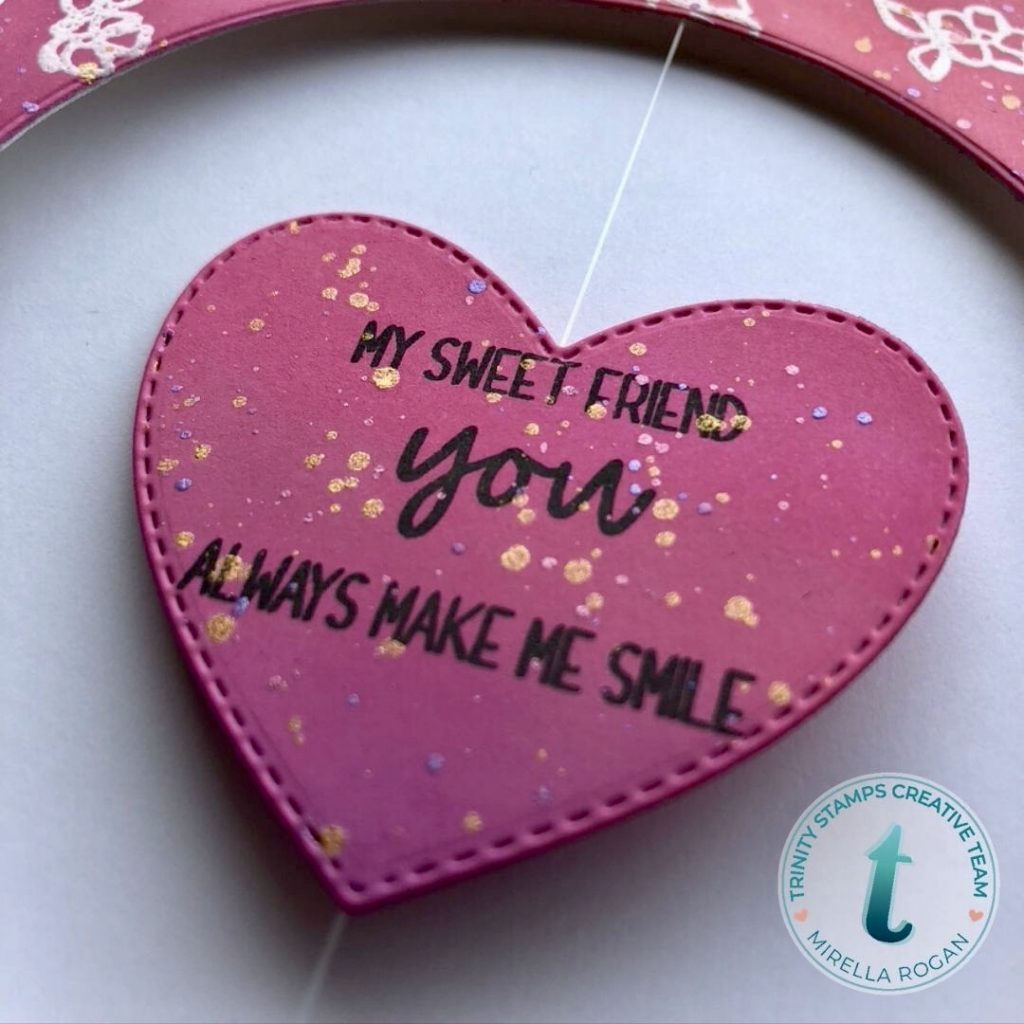
To assemble the card, I started with adhering the hearts back to back, with strong adhesive. I made sure to put a thin nylon thread between them, before sandwiching them together. If you don’t have one of these at home, other threads would also do! I often use gold and silver threads, but this time I wanted the string to be slightly less visible.
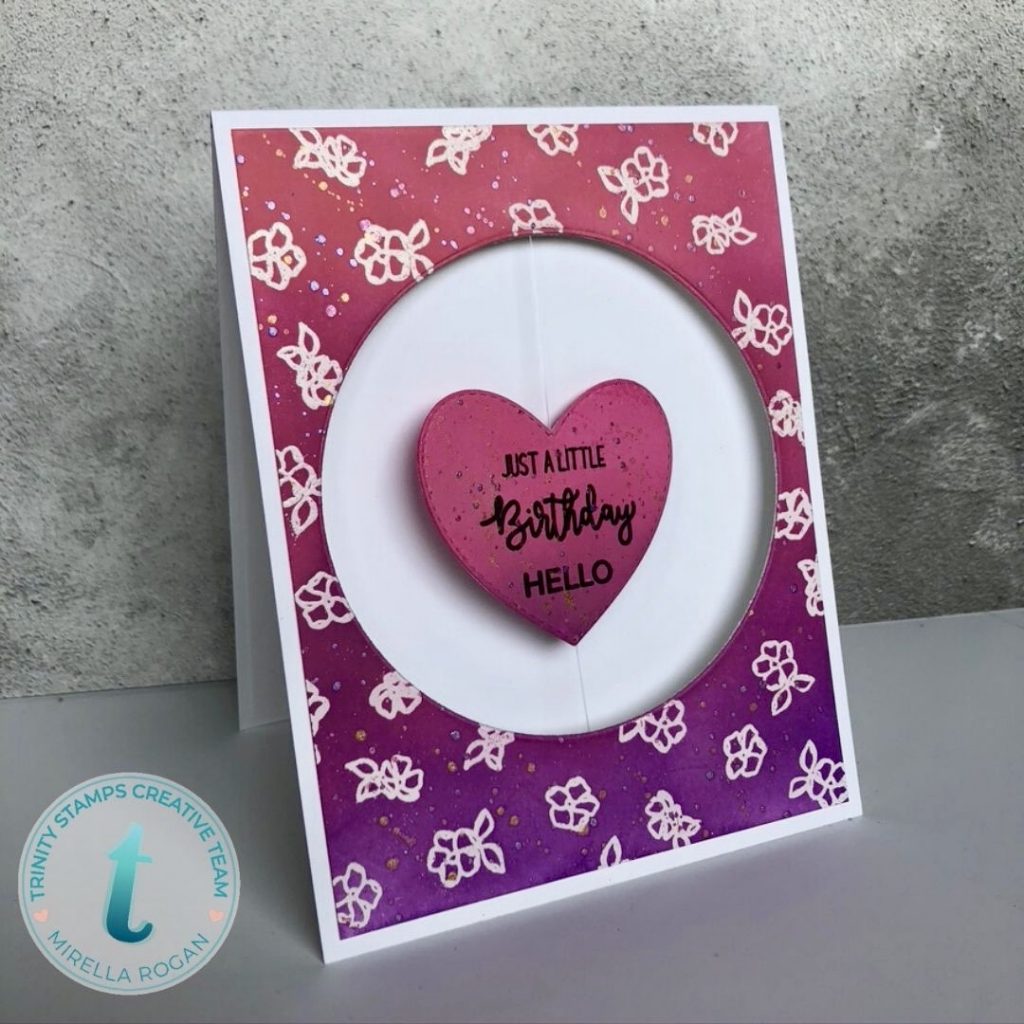
I then cut out a circle opening in both my inked/stamped panel, and in the same position in my card base. All that was left to do then, was to adhere the panel to the card base, aligning the circle openings carefully, and making sure I had strong adhesive around the nylon thread.
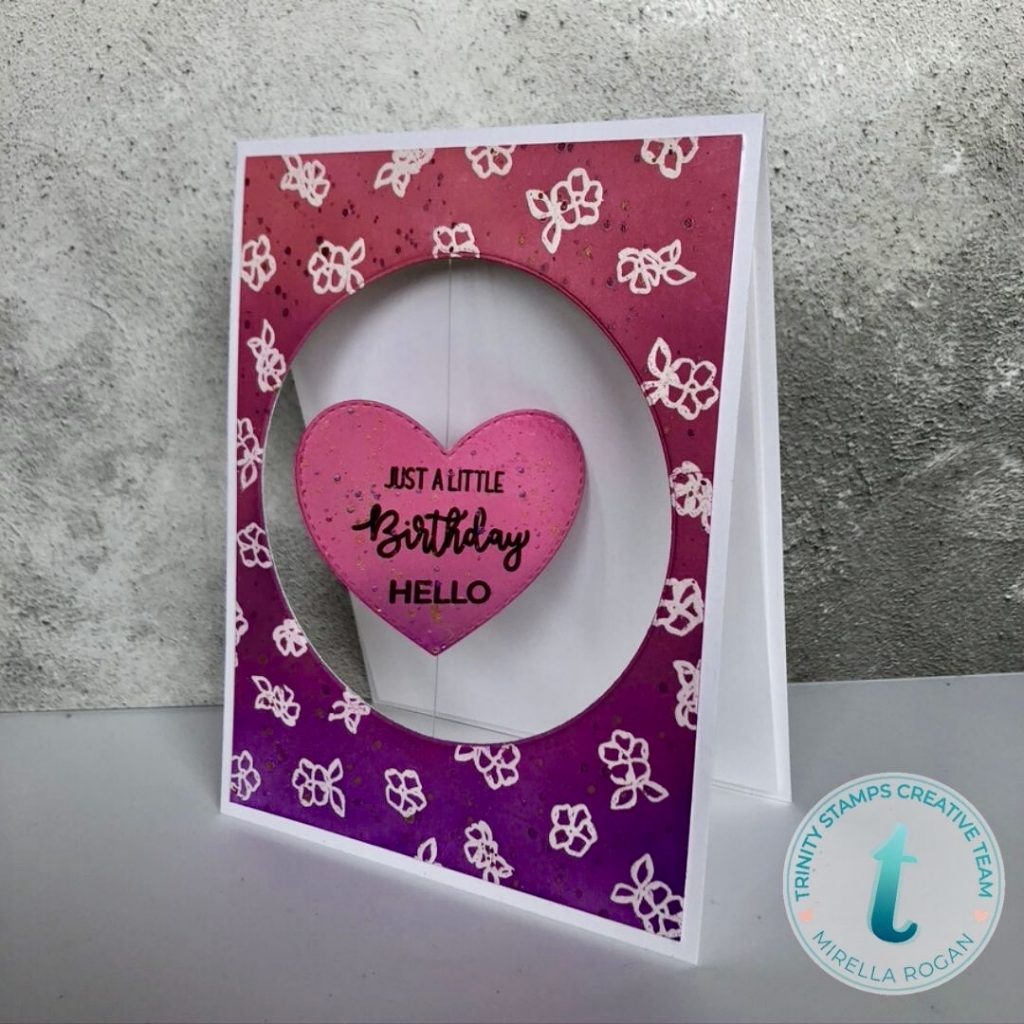
I also added a slightly smaller top folding “card base” inside the card, so that whatever message I write inside won’t be visible, when the card is closed.
And that’s the spinner card ready. It wasn’t so tough, right?
One word of advice – if you want the spinner to work 100% correctly, you should make the card side-folding, not top-folding, as when the recipient opens the top folding card, the sentiment spins kind of upside down, if you know what I mean…
I, however, find that the top folding card presents itself much better when standing, so I hope my recipient won’t mind, and will still like the spinning surprise ;o)
Until next time!
Mirella
P.S. This card also fits the current Floral Challenge we’re currently running on the Trinity Blog – have you entered your creation yet?


Pretty card!
Very fun, love the distress colors!