
Greatest Friend on Earth New Release – Slimline Shadow Box Card
Hello, Trinity friends!! The brand NEW Greatest Friend on Earth Release is available NOW and we are celebrating with a fun and inspirational Instagram hop!! Be sure to hop over to IG after you’re finished reading…I’ll add a link at the end of this post. You can hop along with us for your chance to win a $25 gift card to Trinity Stamps Shop. Bonus…you can also hop over on the Trinity YouTube Channel for another chance at a prize.
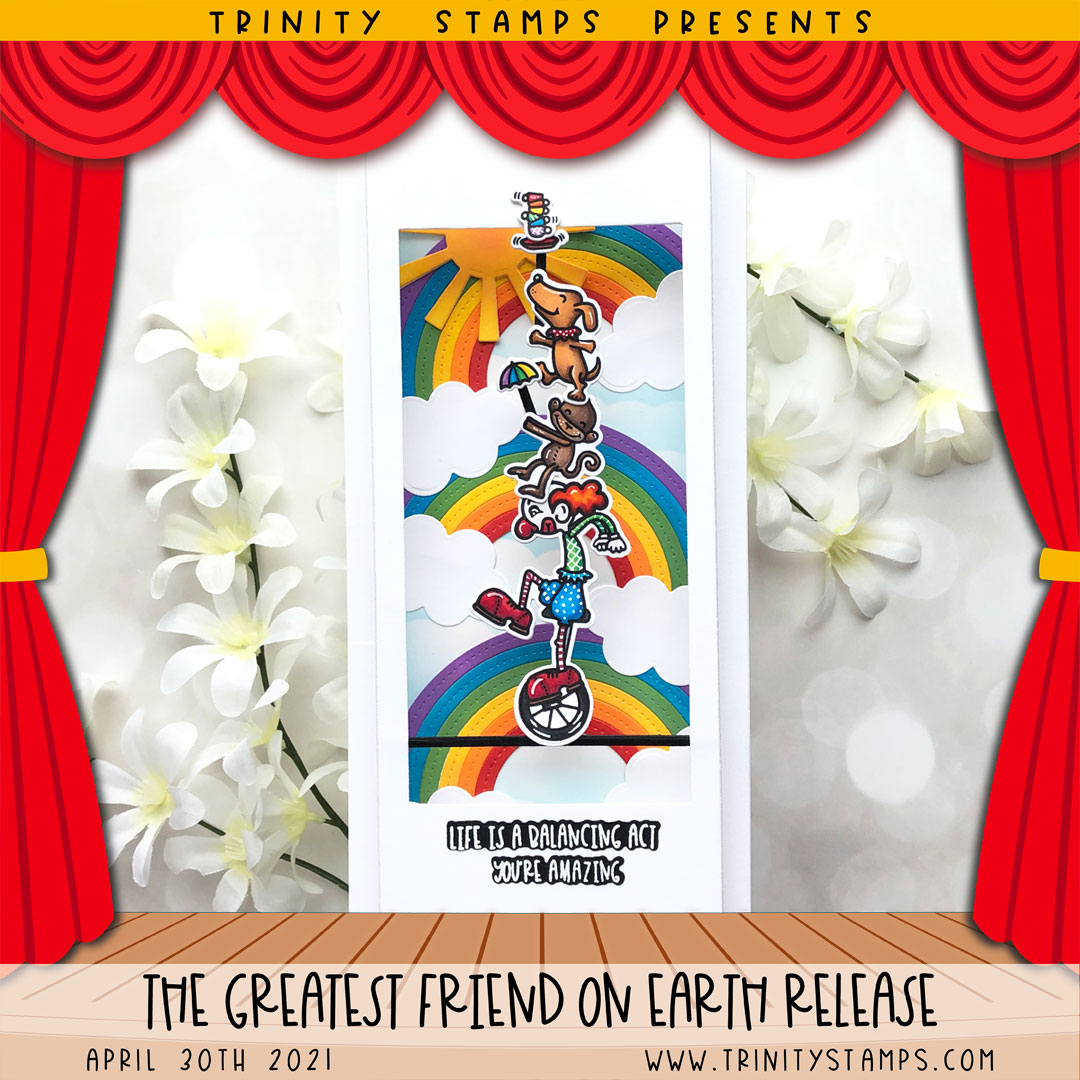
I have a fun slimline shadow box card to share with you today featuring a few goodies from the new release!! Let’s get started!!
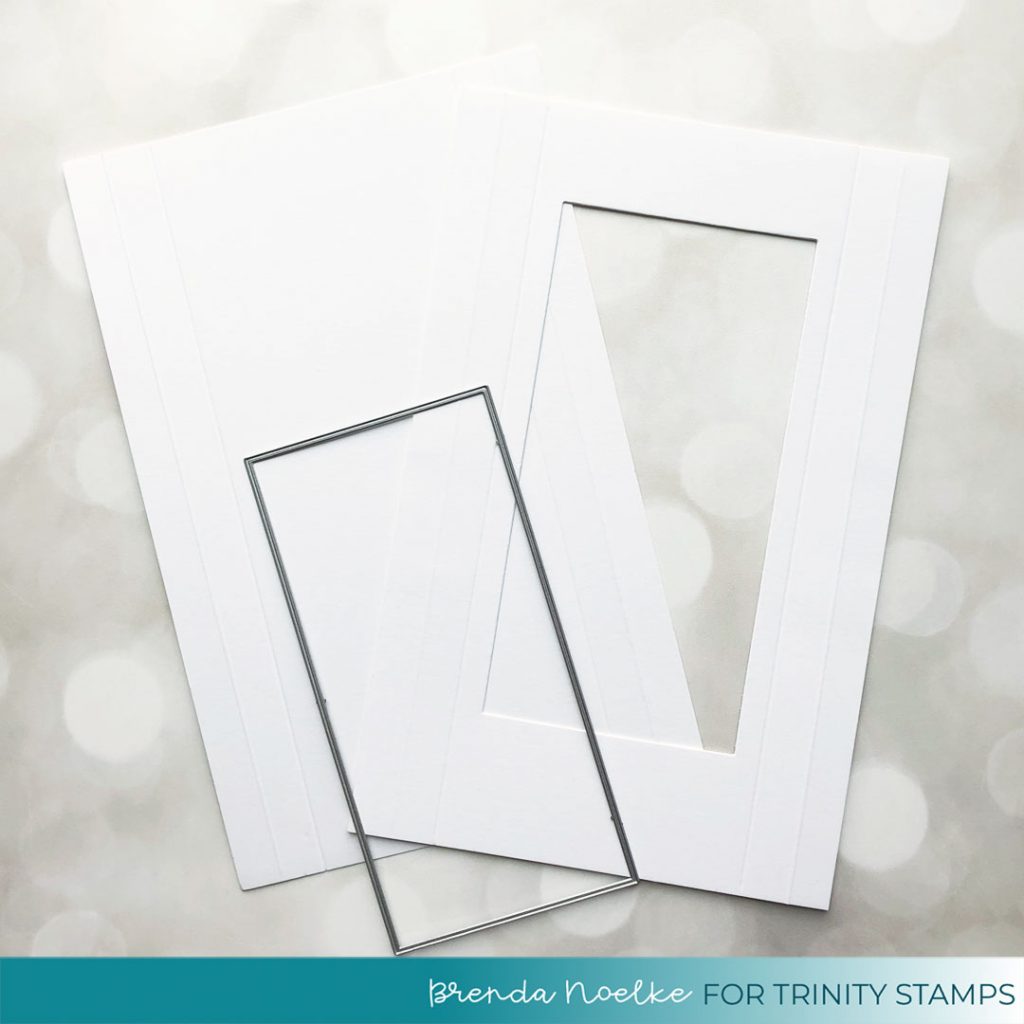
I began by creating the base for my shadow box card. I trimmed two panels of heavyweight white cardstock to 6.25″ wide X 8.5″ tall. I scored each side of both panels at 1/2″ and 1″. I die-cut the center from the front panel using the largest rectangle die in the Modern Embossed Circles & Panels Mini Slimline Die Set. I folded each of the panels along the score lines and reinforced them with a bone folder.
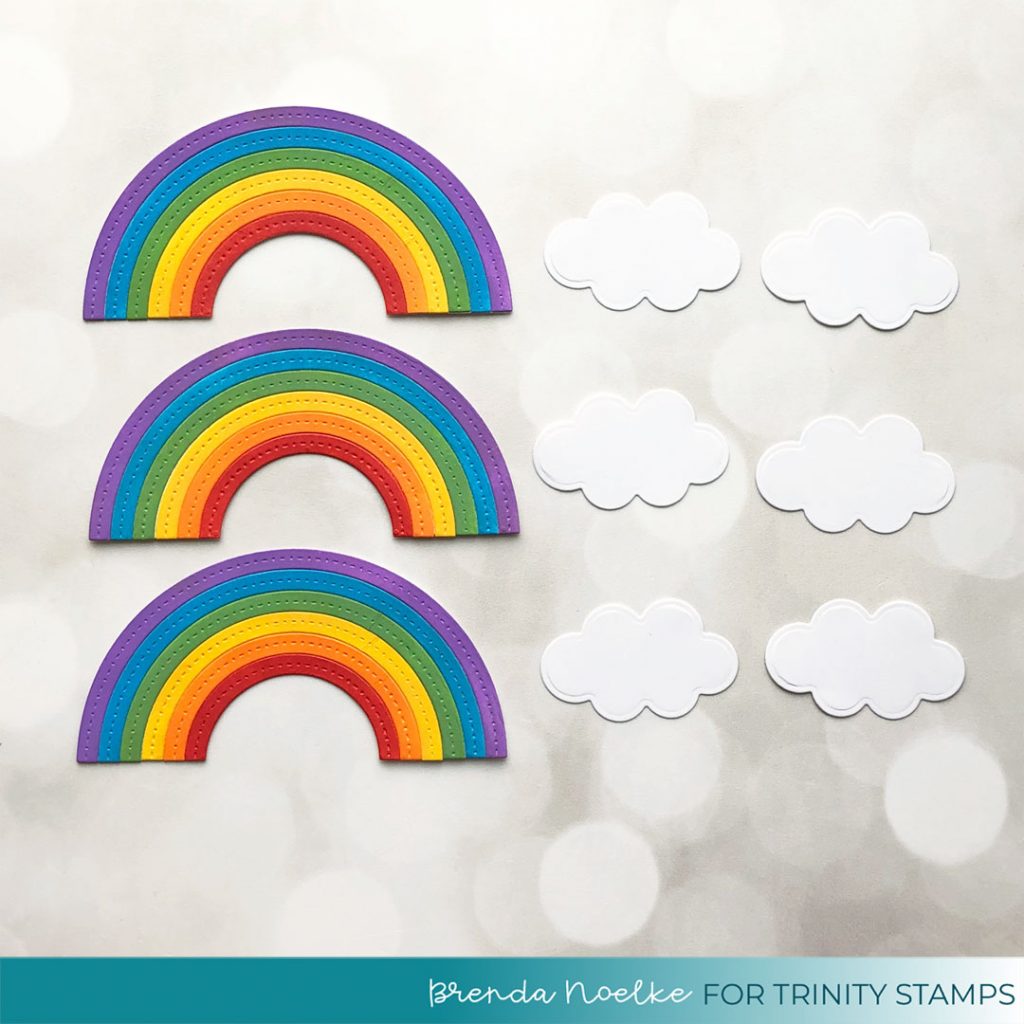
Next, I die-cut the Rainbow Funshine elements from white cardstock several times. This was previously a gift with purchase and is now available to purchase…I LOVE this set!! Using Blending Buddy Brushes, I added Marilyn Red, Marigold Orange, Bee Sting Yellow, Goddess Green, Peacock Blue and My Jam Purple inks to the die-cuts and then adhered them together.
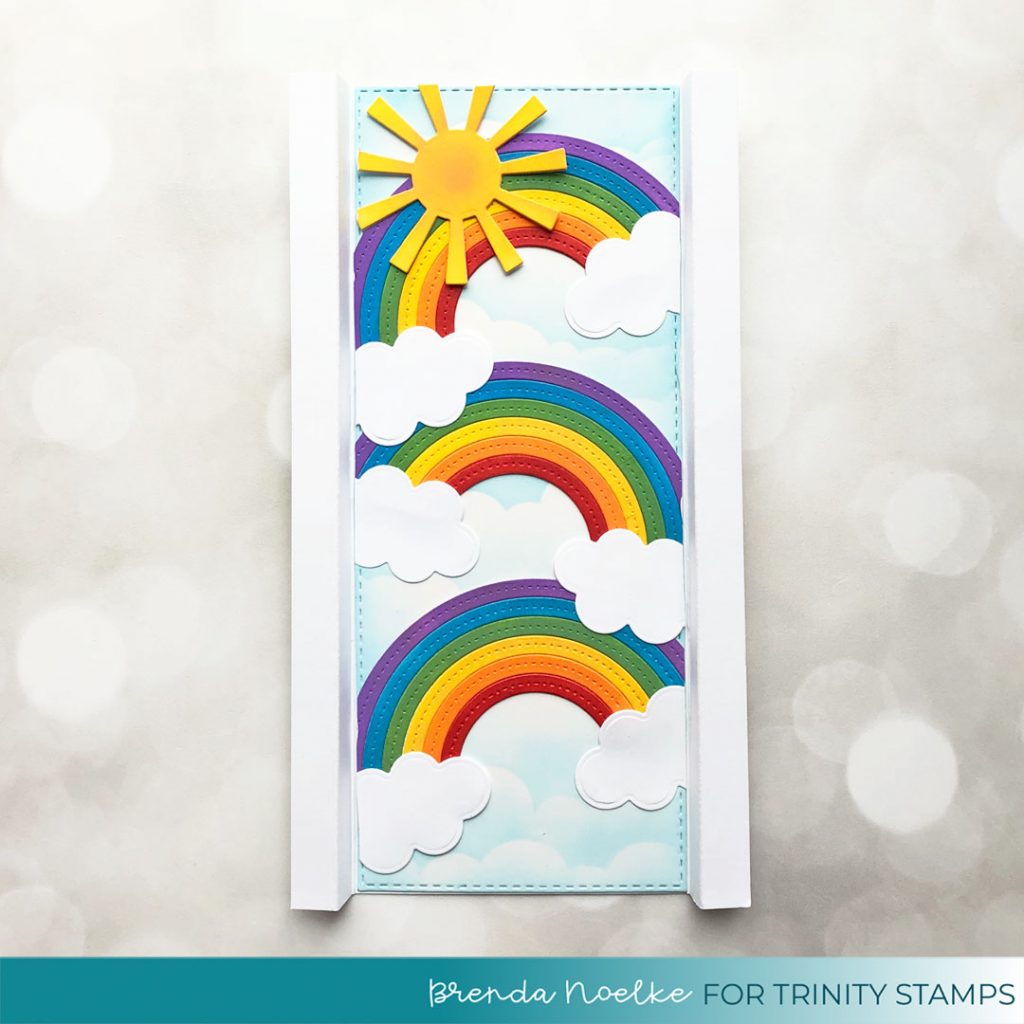
I die-cut the largest rectangle in the Slimline Stitched Card Panels and Window Die Set from bristol smooth cardstock. I inked the clouds onto the panel with the Puffy Clouds Stencil, Tumbled Glass Distress Oxide Ink and a Blending Buddy Brush. The rainbow, clouds and sunshine were adhered to the panel. The excess was trimmed away, then it was adhered inside the back panel of the shadow box base.
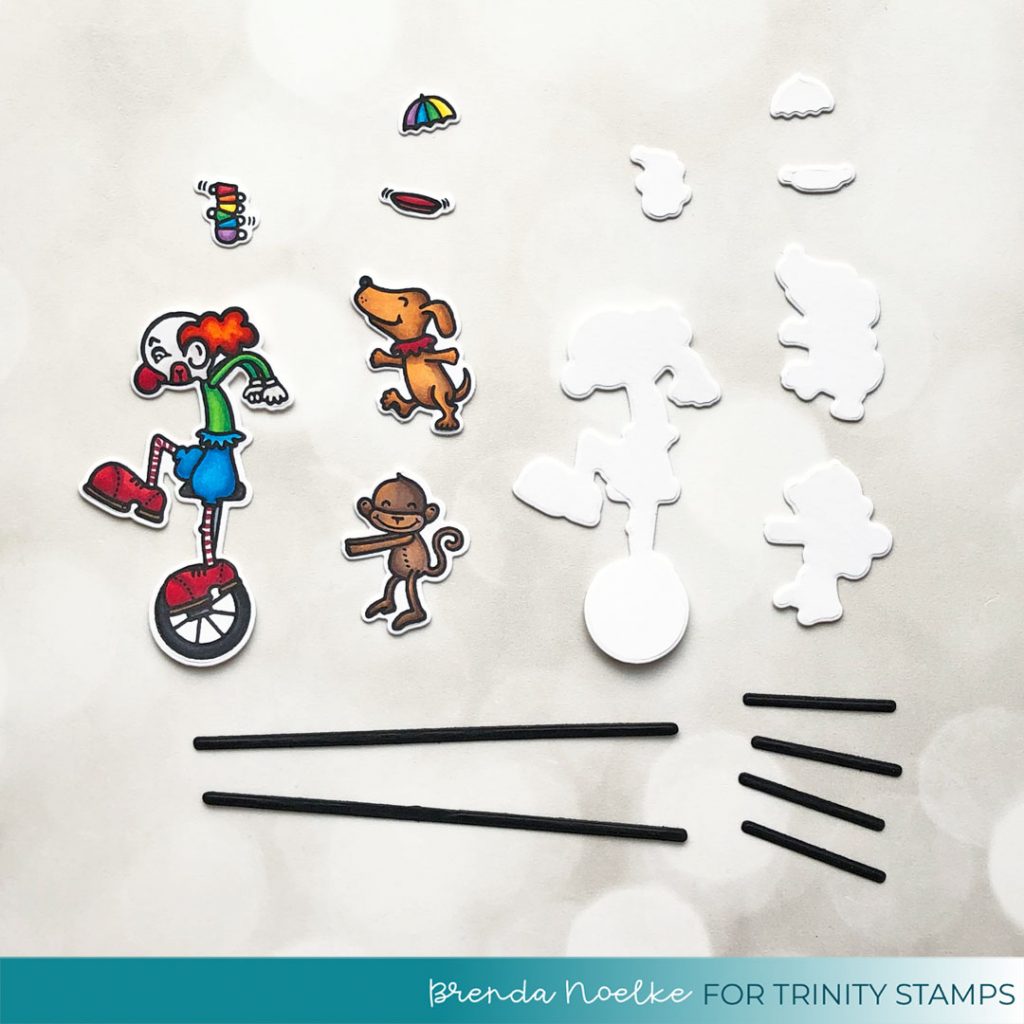
The adorable images from the Balancing Acts Stamp Set were stamped onto white cardstock with InkOn3 Blackout Ink, colored with Copic markers and cut out with the Coordinating Dies. I die-cut an extra blank die-cut from heavyweight white cardstock to adhere behind the colored ones for added stability. Instead of stamping the thin lines for the tight wire, umbrella and balancing stick, I die-cut them from black cardstock.
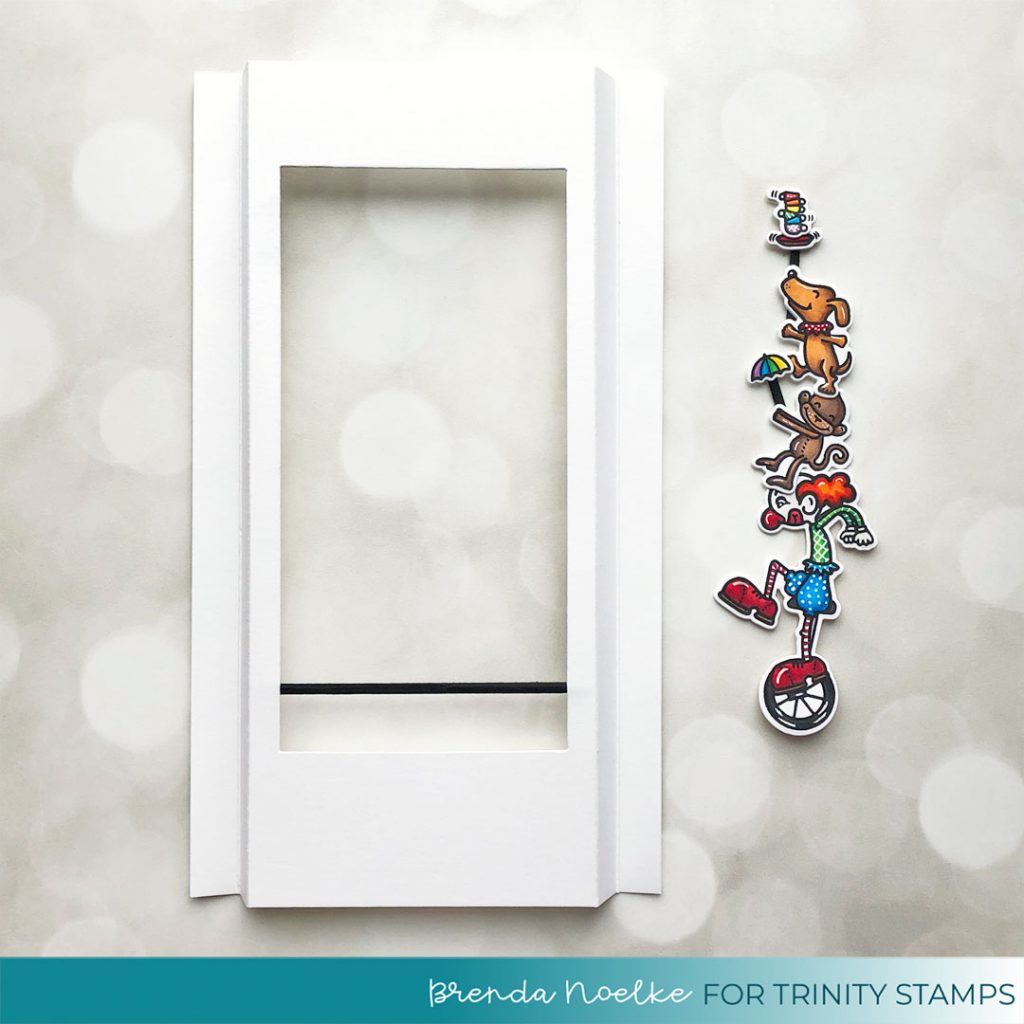
The white die-cuts were adhered behind the colored ones, then they were stacked and adhered together as shown. The tight wire was adhered to the inside of the front panel of the shadow box. A white gel pen was used to add some detail to the die-cuts.
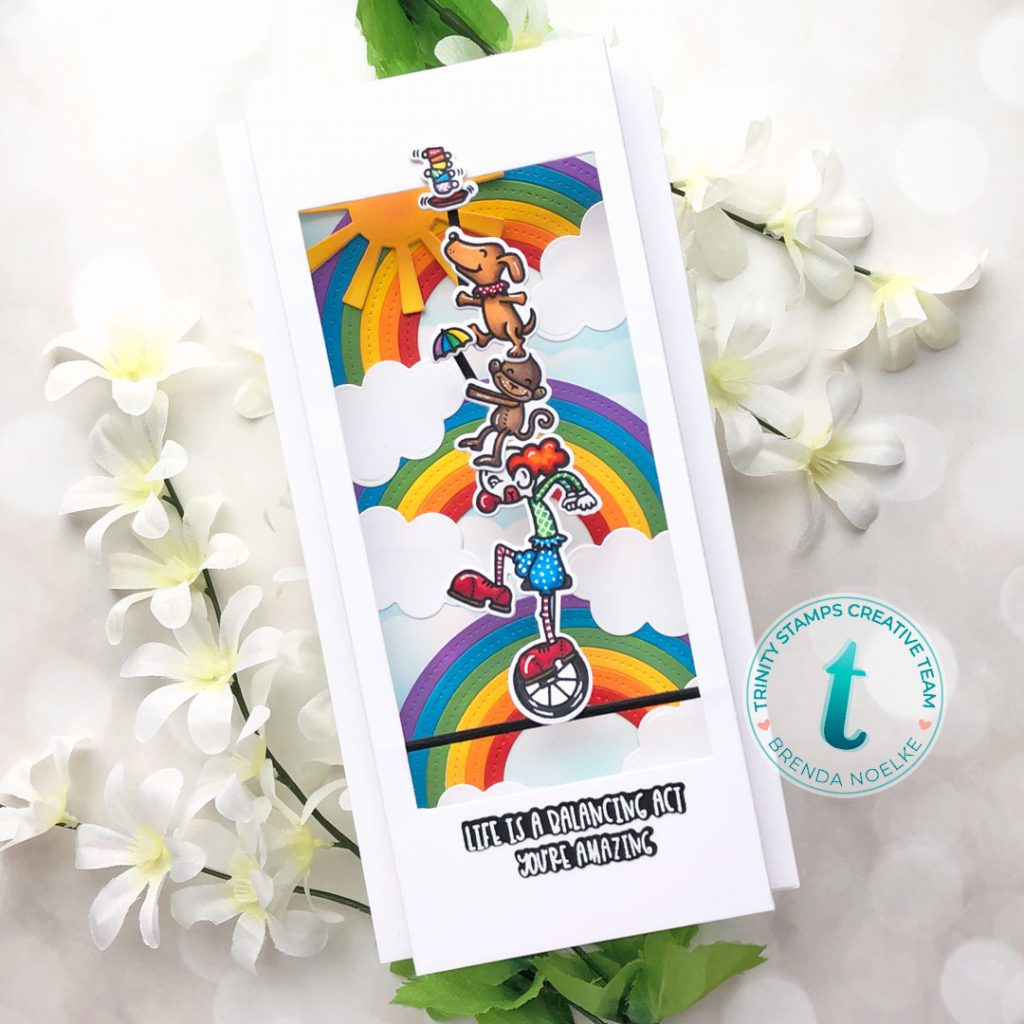
The sentiment, also from Balancing Acts, was white heat embossed onto black cardstock, cut out with the Coordinating Dies and adhered to the front of the shadow box. The die-cuts were adhered to the tight wire and the front of the cardbase. Then all I had to do was add adhesive to the flaps on each side and adhere them together.


I really LOVE how this turned out!!!
Be sure to hop on over to Instagram to join in the fun over there!! You can get started on the hop @trinitystampsllc!!!! Also, check out all of the new release goodies in the Trinity Stamps Shop!!!
Thanks for stopping by today!! Have a great weekend!!


