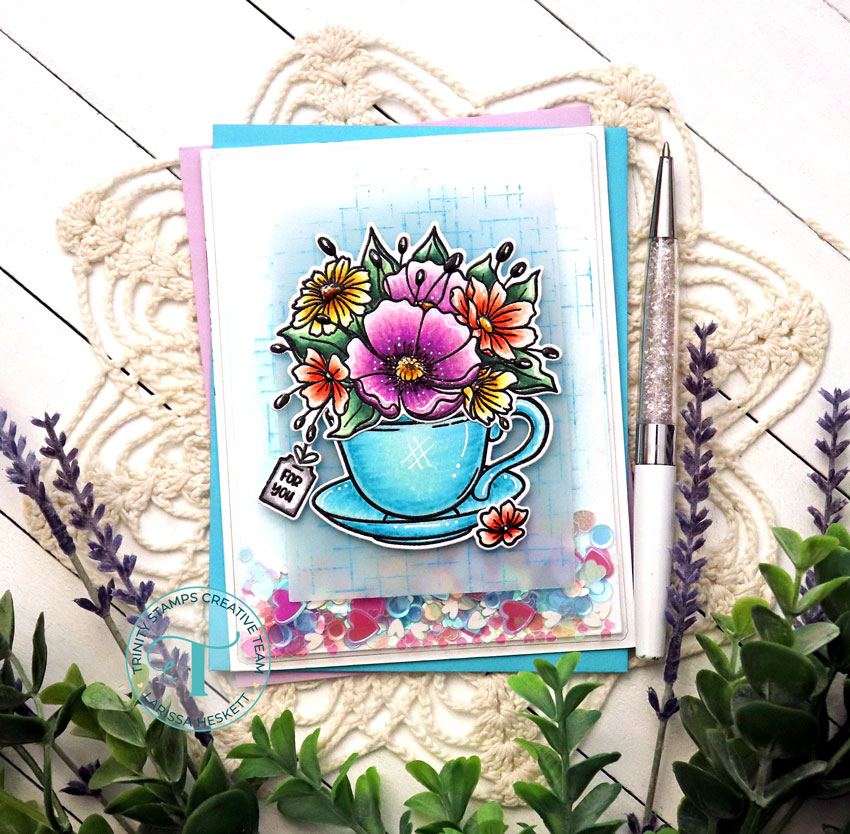
For You, Happy Birthday!!

Hello Crafty Friends!!
Larissa here today to share a BEAUTIFUL Birthday Shaker Card using several Products from the NEW June Release!! I ADORE the NEW Teacup Blooms Stamp Set!! There are so many ways to use this Set!! 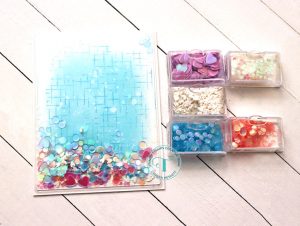
I Started by Creating the Shaker Card Panel!! I Die Cut an A2 Card Panel from some White Cardstock using the A2 Clean Cut Layers Rectangle Set A Die Set!! Then Inked the Card Panel using some Salvaged Patina Distress Oxide Ink using a Blending Buddy Ink Blending Brush!! Then I added some Water Splatters for some Texture!! Next I Stamped the Panel with the NEW Abstract Scratch Background Stamp using some Peacock Feathers Distress Oxide Ink!! Then I added the NEW Full A2 Flat Acetate Shaker Pouch to the Card Panel using some of the NEW Trinity Rip & Stick 1/4″ Tape!! I Adhered 3 of the Sides, using the Top Side open n order to add the Shaker Embellishments!! I added the Bokeh Heart Flat Confetti, Creamy Vanilla Heart Sprinkles, Brave Heart Crimped Edge Confetti, Peony Pink Iridescent Pearl Confetti and the Poolside Iridescent Pearl Confetti!! Then I adhered the Top Side of the Shaker Pouch and the Shaker Panel was complete!! 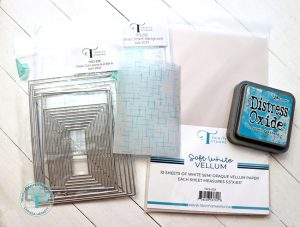
Next I Die Cut another Rectangle Panel using the A2 Clean Cut Layers Rectangle Set A Die Set this time from some of the Trinity Stamps Soft White Vellum and Stamped it with the NEW Abstract Scratch Background Stamp using some Peacock Feathers Distress Oxide Ink!! I then adhered it the Shaker Panel using some Foam Strips for Dimension!! 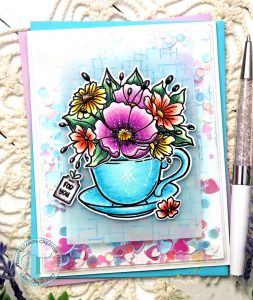
I Stamped and Embossed the NEW Teacup Blooms Stamp Set Images using Versa Fine Black Onyx Ink and WoW Clear Gloss Embossing Powder!! Then I used Copic Makers to Color the Images!!
Purple: V00, V04 & V09 Coral: R00, R11 & R14 Yellow: Y00, Y13 & YR23
Green: G40, YG45 & G29 Turquoise: BG10, BG45 & BG49 White: N0 & N3
Then Die Cut the Images out using the coordinating NEW Teacup Blooms Die Set!! I added some White Gel Pen Highlights and some Glossy Accents to the Center of the Flowers and to the Baby Blub Sprigs!! I LOVE the Texture and Shine it adds to the overall Design of the Images!! 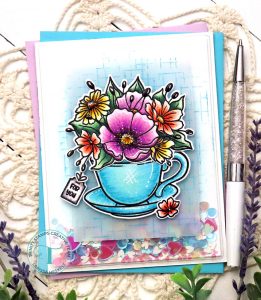
Then I adhered the Image onto the Vellum Panel again using Foam Strips for some Dimension!! SWOON!! I LOVE how this Card turned out!! The Shaker Design REALLY adds a SWEETNESS to this overall Designs and makes my Heart HAPPY!! 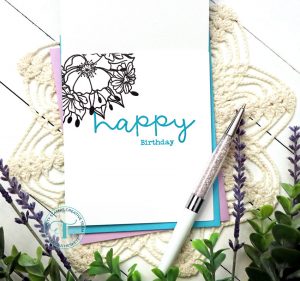
I Stamped and Embossed the Image on the Inside of the Card!! Then I Stamped the “Happy Birthday” Sentiment from the Simply Sentimental Happy Stamp Set using some Peacock Feathers Distress Oxide Ink!! This finishes off the Card Design PERFECTLY!! 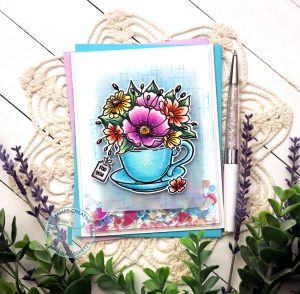
So there you have it, a BEAUTIFUL Birthday Shaker Card
using several NEW Products from the June Release!! I LOVE the versatility of the NEW Teacup Blooms Stamp Set and how EASY the NEW Full A-2 Card Flat Acetate Shaker Pouches make it to create Shaker Cards!! Plus, how FUN it is to use ALL of those AMAZNG Shaker Elements together to create the PERFECT Mix for ANY Shaker Card!! I Hope this INSPIRES you to create your own Shaker Card!!
THANKS SO MUCH for stopping by today!! If you create something please share with us on Social Media using the #hastag #trinitystamps #trinitystampsllc as we LOVE to see what you’ve created!!
You can join us in our FB Community HERE!! We have SEVERAL Games and Challenges gong on here too!!
I hope you have a FABULOUS WEEK!! Make sure you continue to visit us as we continue to share Projects to INSPIRE you using the NEW June Release Products!! If you haven’t hoped along for you chance to WIN there’s still time!!
LARISSA HESKETT

