
A Crafter’s Heart collection
Hi Everyone, Mirella here again. Happy Wednesday – the weekend is getting closer… YAY!
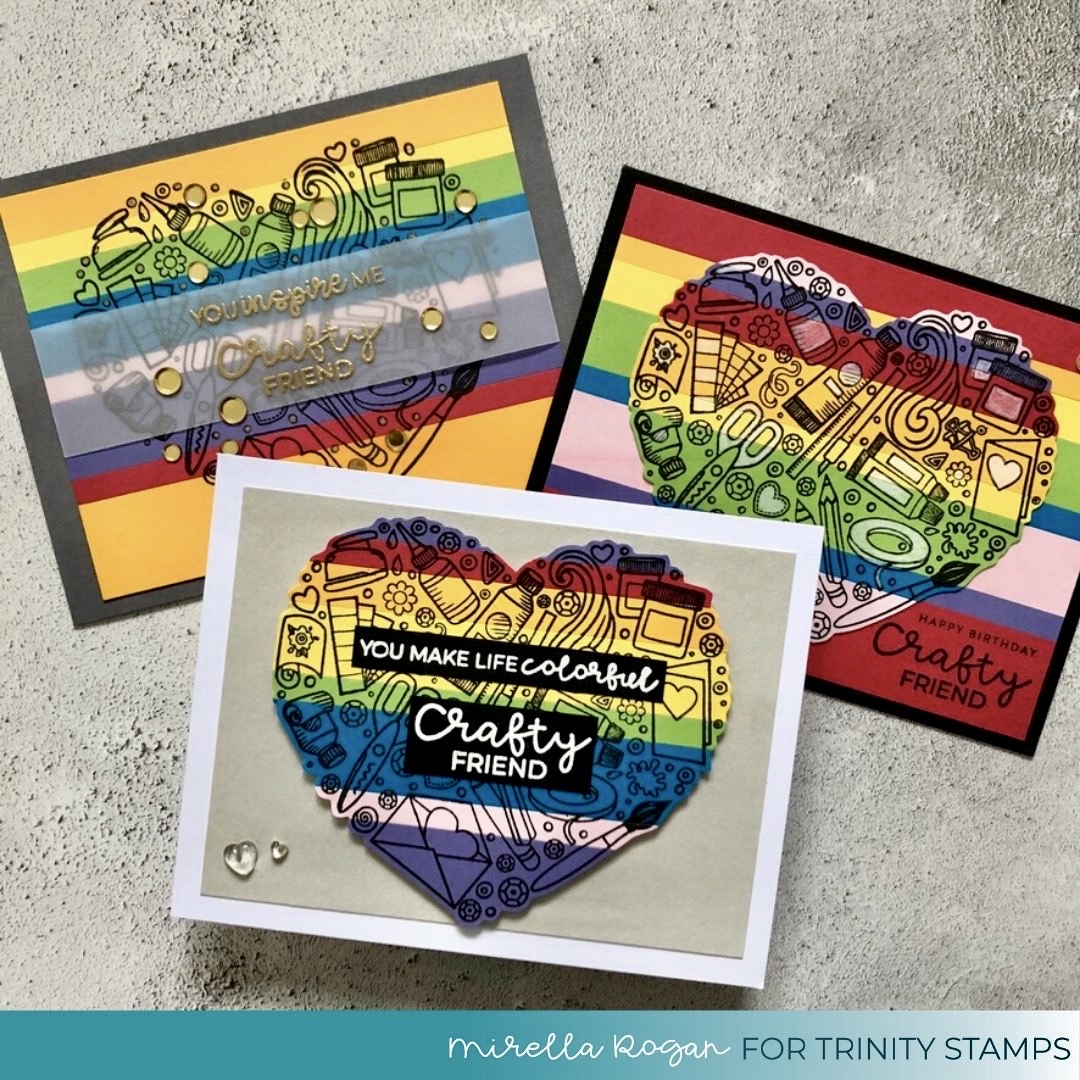
For today’s card, I wanted to play with the fantastic A Crafter’s Heart stamp set. It is such an amazing set to have on hand when you want to make cards for your crafty friends – and you can go as simple, or as crazy with it as you want – there are truly loads of design options.
Recently, I have really enjoyed creating my own backgrounds for stamped images with strips of colourful paper, and I opted for this technique this time also, except… Yes, that’s right, I had to incorporate rainbow colours 😉 This allowed me to create 7 (yes, seven!) backgrounds at the same time – and today I will show you what I made with 4 of them.
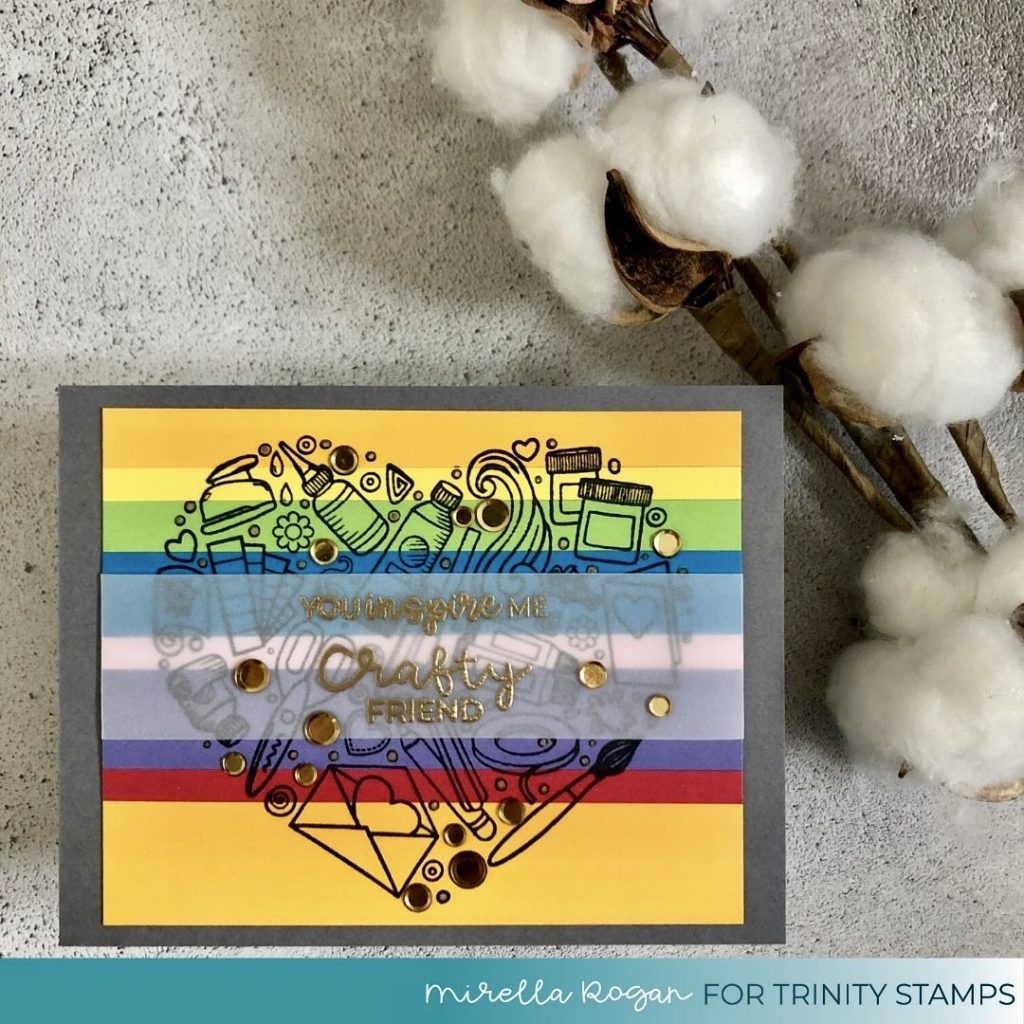
This is the simplest of the three cards I am sharing with you today, but before I focus on it, I’d like to give you a bit more of an idea on how I made my panels.
I started out with cutting seven identical panels out of 7 sheets of coloured cardstock (I used my scraps). I then stamped the heart image on each of the panels, using my stamping tool – this ensured that all of the images were in the exact same spot. Next, I started cutting – making sure that I cut matching widths of strips from each colour, in the same order. Finally, I adhered them all in rainbow order onto seven panels of copy paper.
And then, the fun started – it was time to come up with various ways of using these!
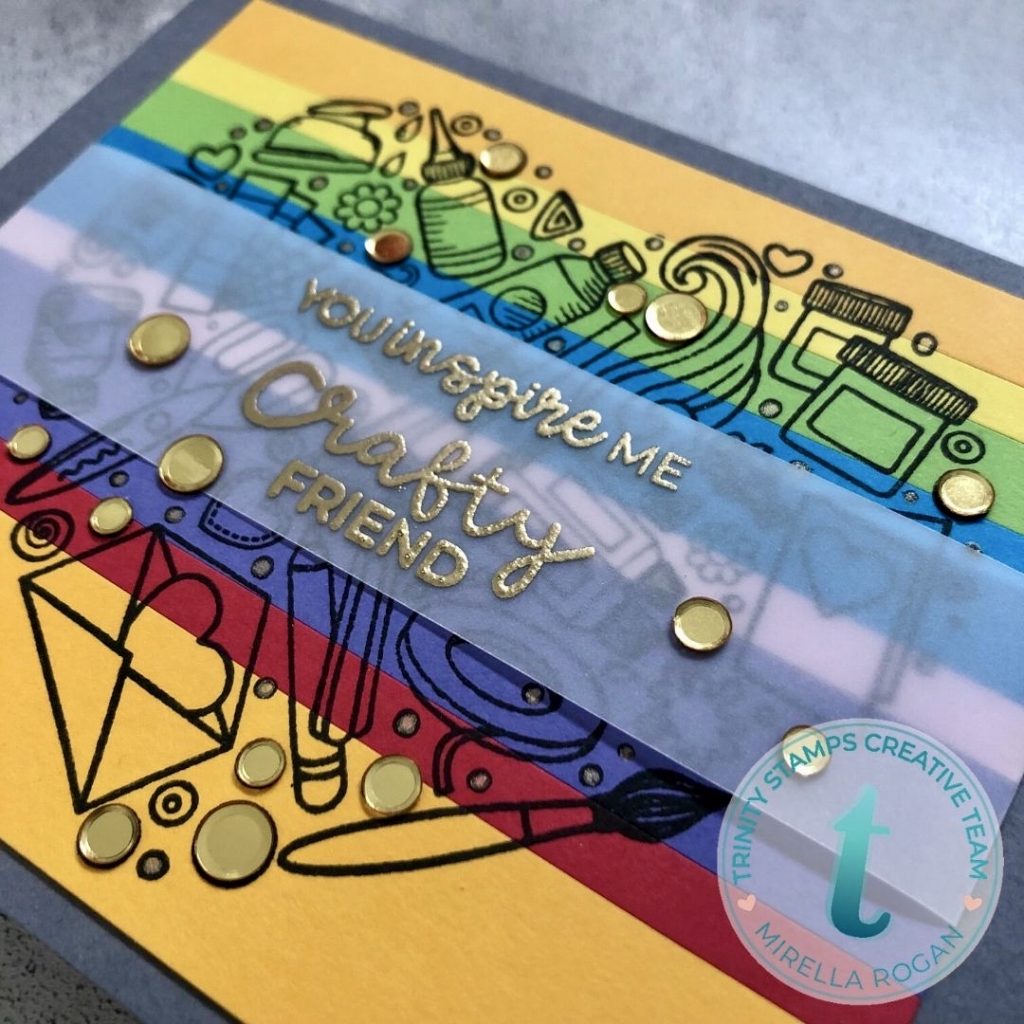
For the simplest of my designs, I opted for trimming down the panel a bit, and adding a heat embossed sentiment on a strip of vellum. To add a bit of pizzaz, I adhered golden confetti on each of the stamped “sequins”, and coloured in the little dots in the image with a golden gel pen. Finally, I opted for a dark grey card base, which I think contrasts nicely with the otherwise colourful and blingy panel. And voila, card no. 1 was ready!

For the second card, I decided to fussy cut the heart image (a little tip – if you’re planning to replicate this idea, make sure that you have adhesive pretty much everywhere when creating your basic panels – this way, whatever way you decide to trim or cut your panels, all the strips will stay put!). It would also look really nice die-cut with the heart dies that Trinity offer (and it’s the way to go if you’re not a fan of fussy cutting!), but I really love the way this image looks when you trim it keeping a little border around the outer lines – it adds a lot of interest, in my opinion!
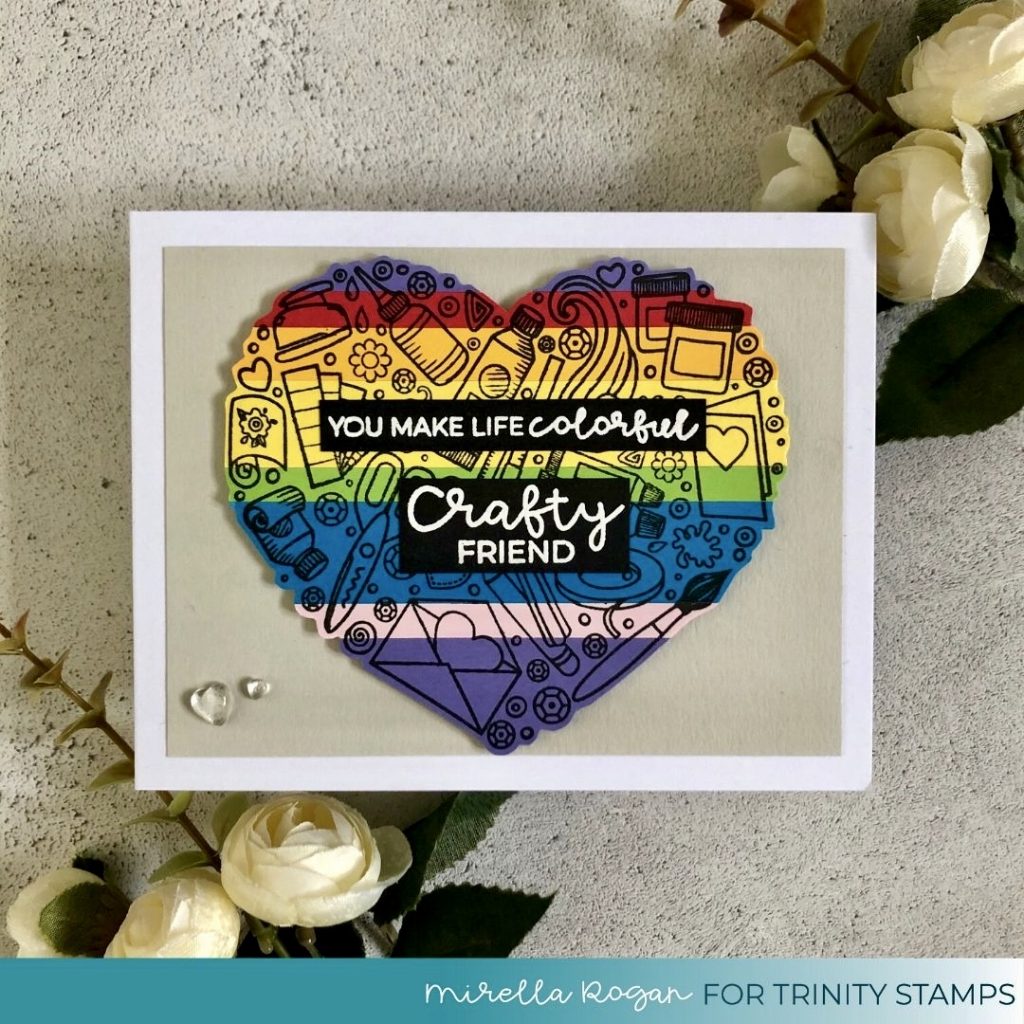
I heat embossed two sentiments from the set on black cardstock, and added them to the center. The black definitely makes these sentiments pop, doesn’t it?

It might be a little hard to see it in the pictures, but I raised the heart a little bit by using foam tape behind it.
Yet again, I went for a grey background for my colourful heart, but this time I opted for a lighter shade, as with the black image outlines, and the black background for the sentiments, I thought it needed something a little bit less intense.
I added the whole lot to a white card base, and I think this white trim really frames the design nicely.
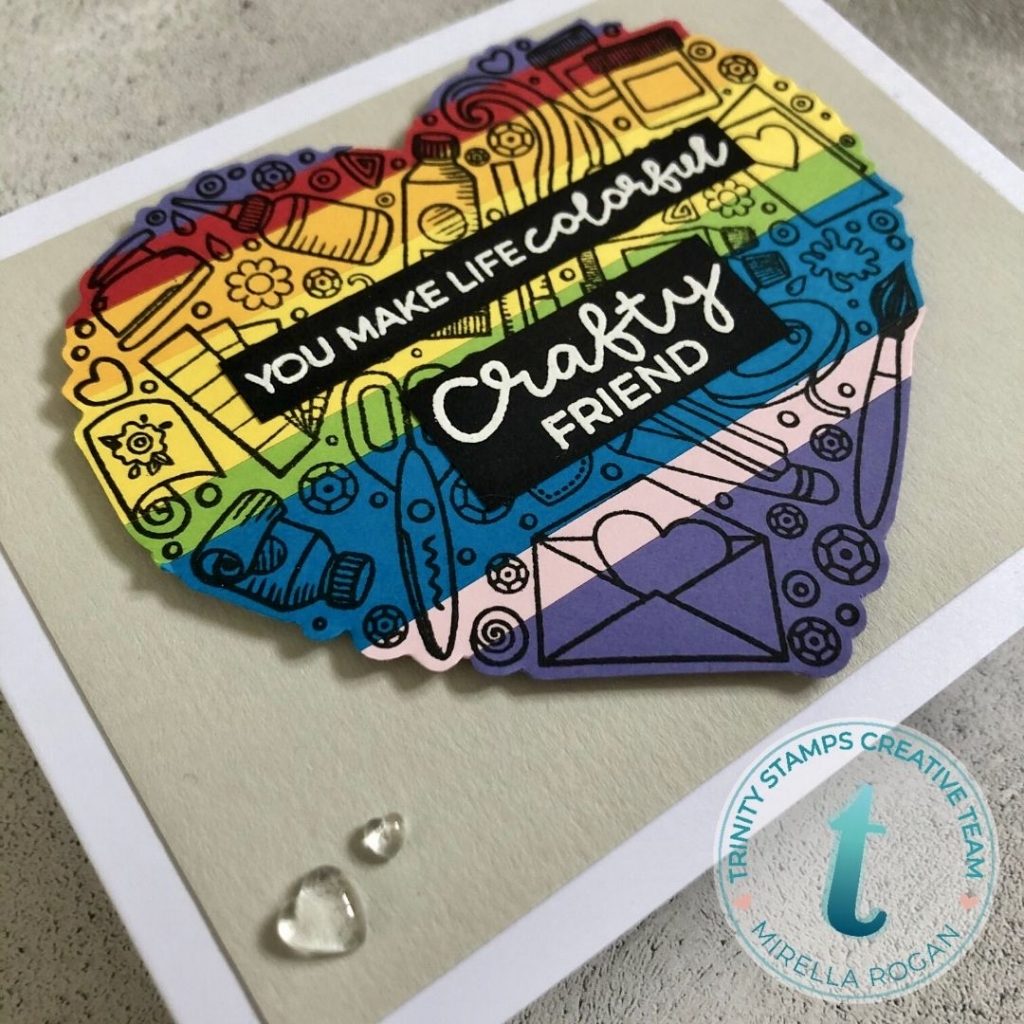
For some additional interest, I adhered two little see-through hearts in the corner of the card – they don’t distract from the main image, but they do add a bit of a playful accent.
And finally, for the third card for today – this one actually uses two of my 7 panels, which is why at the beginning of the post I did say that I used 4 panels, but made 3 cards – that was not a typo! 🙂
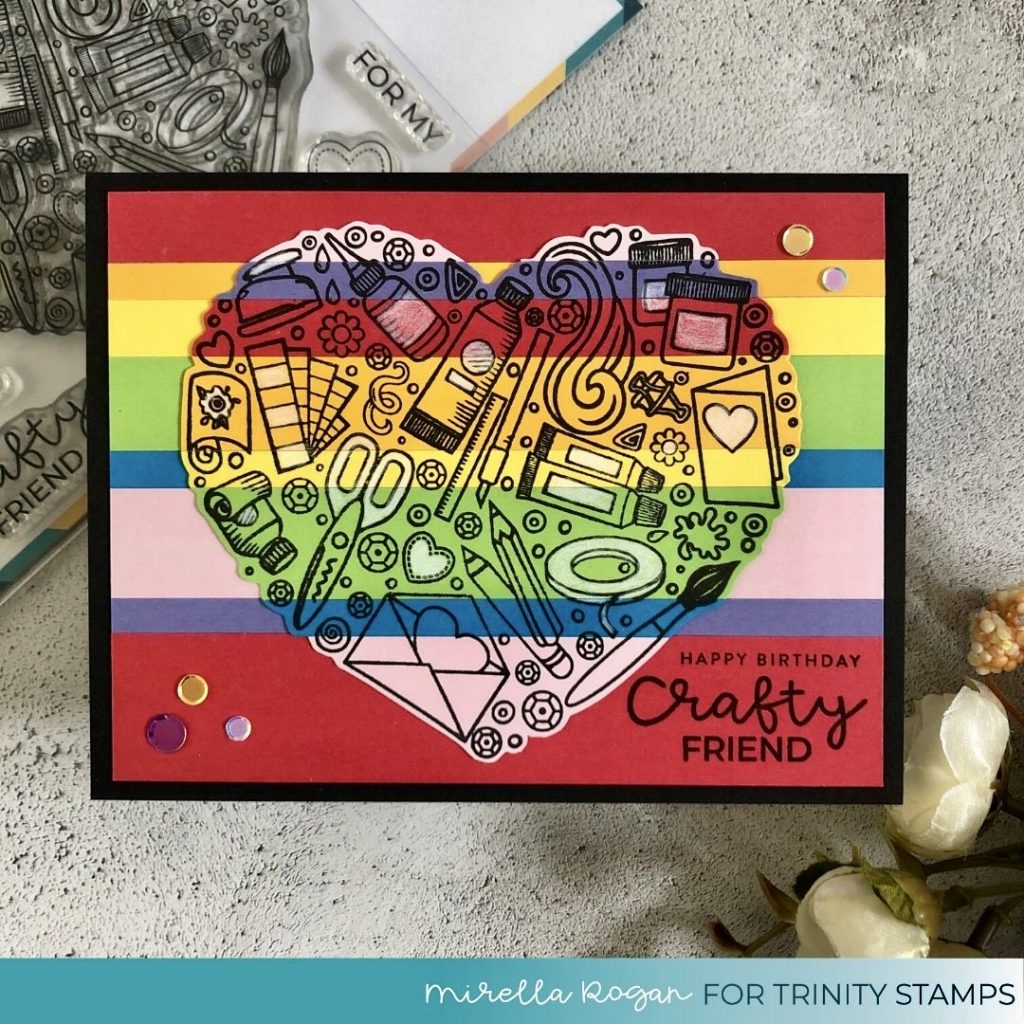
I fussy cut the heart one more time, but this time I adhered it flat to another fully sized stripy panel – and I made sure that the alignment of the stripes was as close to perfection as possible – this gives a fantastic illusion of the colours “magically” changing within the heart shape, don’t you think?
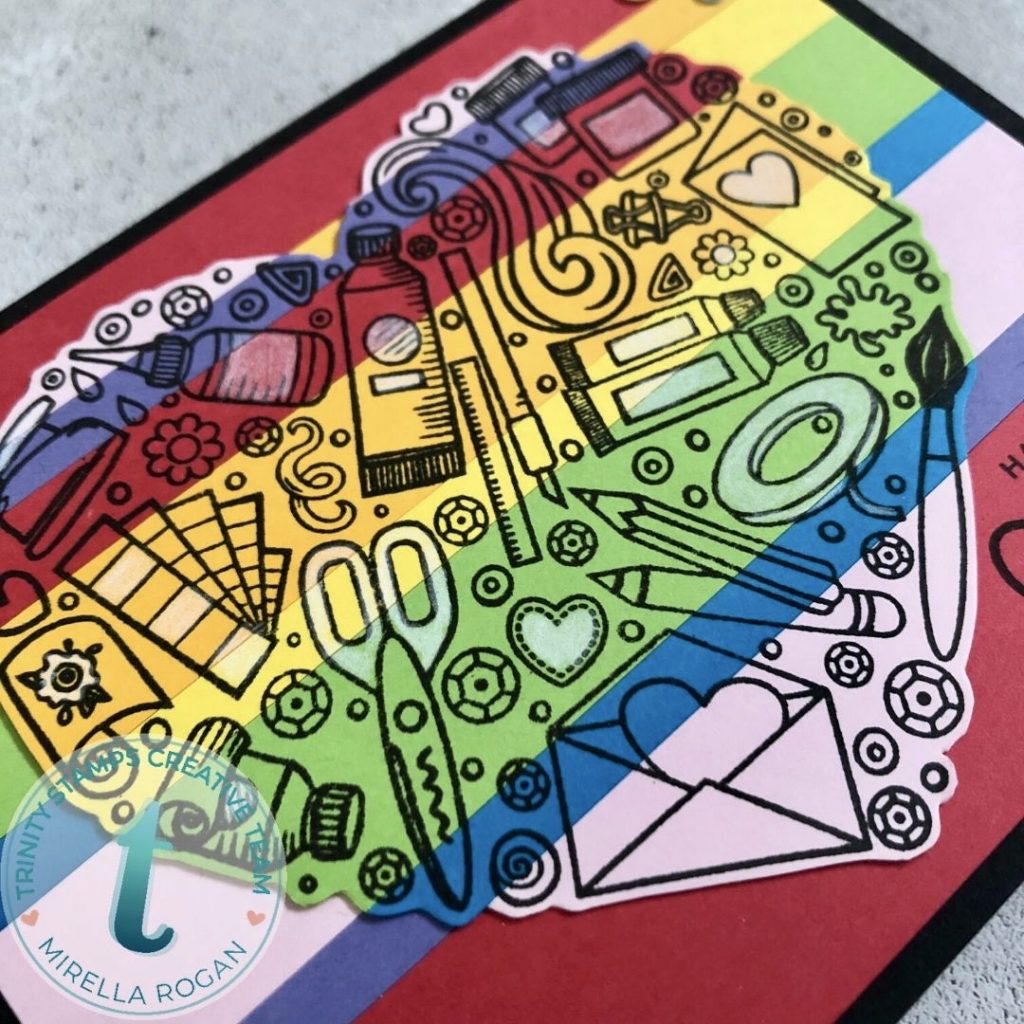
This is an extremely busy and colourful card, and I am sure that it won’t be everybody’s cup of tea, but I really love how it turned out! To tone down this craziness just a little bit, I decided to colour in a few elements on the images with a white coloured pencil – it looks particularly cool on the darker shades of cardstock.
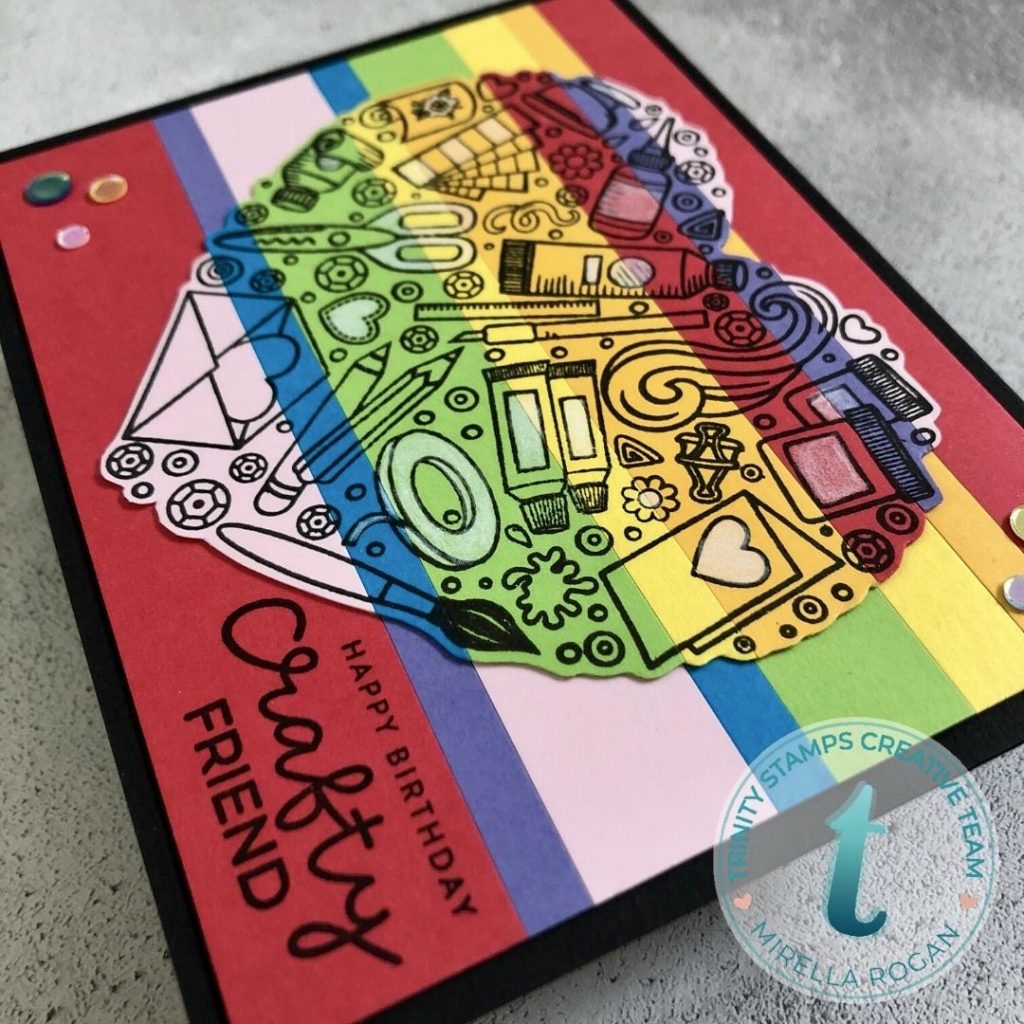
I stamped the sentiment straight onto the panel, and opted for a black card base this time, just for some variation (I really don’t like repeating card designs, and even less so in one sitting!). My mind was full of mad colours at this stage, so I decided to add some more, with a few lovely confetti-like sequins.
And that’s all the colour-craziness for today!
I still have 3 panels left, but I might leave them unfinished for now, and keep them to cheer me up on some gloomy day. I already have a few ideas on what I want to do with them, but you’ll need to stalk me on my social media to see these in action! 😉
Which of these is your favourite? What would you have done with these panels? I’d love to hear from you in the comments!
As always, you can find the full list of supplies on my blog.
See you again in 2 weeks,
Happy crafting!
Mirella


Neat cards!
Thank you!
These are super fun!
Thanks so much, Katie!