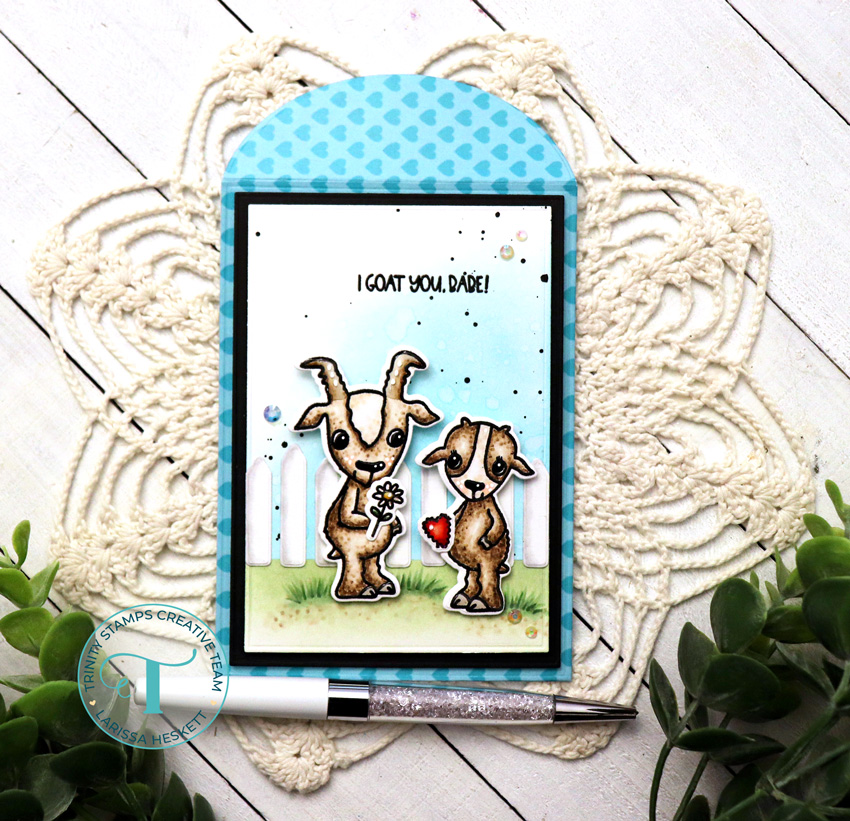
I Goat You Babe!!

HELLO CRAFTY FRIENDS!!
Larissa here today to share a CUTE LOVE Card with LOTS of texture!! I like creating Scene Cards and using different techniques to add the feel of LOTS of Texture, with out having to add a lot of dimension!! I LOVE the NEW I Goat You Babe Stamp Set and coordinating I Goat You Die Set!! So MANY possibilities when using this Set as there are several different Images for building Scenes or Backgrounds and the Sentiments are just FUN!!
Let’s get Started!! 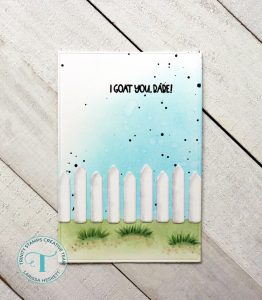
I Started by Die Cutting the Card Panel using the NEW 4-Bar Card & Envelope Builder Die Set from some White Distress Watercolor Cardstock!! I Masked off the Ground with some Purple Tape and then Inked the Sky with Salvaged Patina Distress Oxide Ink!! Then I added some Water Splatters to help add some Texture, and let it air Dry!! Next I added some Black Soot Distress Oxide Paint Splatters and let it Dry!! I LOVE the masculine feel that the Paint Splatters adds without too much dimension being added!! I removed the Purple Tape and then adhered it over the Sky to mask off the Ground and then inked with Bundled Sage Distress Oxide Ink!! Then I added some Grass Mounds using my Copic Markers!! I used YG61, YG63, YG67 & E43 Copic Markers are another Perfect way to add Texture without adding any Dimension and I also LOVE how it helps to set the Scene for the Images and Grounds them on your Card Panel!! I Die Cut the Picket Fence Panels using the coordinating I Goat You Die Set and used Copic Markers again to add some Texture!! I used N2 & N0 Adding the Shading/Texture isn’t necessary, but in the final Design I really think it adds so much to the finished Scene and helps to make the Fence POP against the background!! The choice is yours though!! Then I finished off the Card Panel by Stamping and Embossing the Sentient with Versa Fine Black Onyx Ink and WoW Clear Gloss Embossing Powder!! Embossing the Sentiment also adds Dimension and really helps the Sentiment POP, but again it isn’t a necessary step if Embossing isn’t your Jam!! 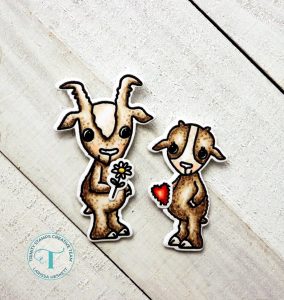
I Stamped and Embossed the Goat Images again with Versa Fine Black Onyx Ink and WoW Clear Gloss Embossing Powder!! Then I colored with Copic Markers!!
Main Body: E40, E43, E44 White Patches: W2, W0 Cheeks: R00 Daisy: N2, Y11 & YR23 Heart: R00, R14 & R37
Then I Die Cut the Images out using the coordinating Dies!! I added Black Glaze Pen Details to the Eyes and Noses and let it dry!! Then I added White Gel Pen Details and some Glitter Pen to the Heart and Center of the Daisy for some Sparkle!! 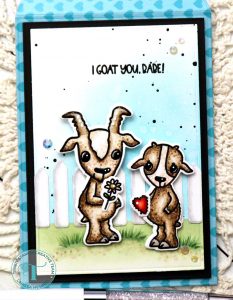
I adhered the Goat Images with some Foam Squares for some Dimension and then added some Fairy Rocks Rhinestones for some Sparkle!! I adhered the Card Panel to a 4 Bar Cardbase!! 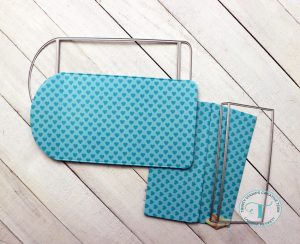
I wanted a coordinating 4 Bar Envelope so I used the NEW 4-Bar Card & Envelope Builder Die Set and Die Cut some of the Trinity Stamps Slimline All Heart Patterned Paper!! SWOON!! I LOVE that you can create your own Envelopes with this NEW Set!! 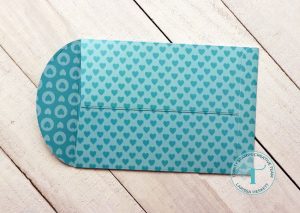
One thing to remember when Die Cutting your Pieces is to make sure that the Pattern is going the right direction so when you create your Envelope the Pattern runs in the same direction!! I also LOVE that beings its a double sided Patterned Paper the inside of the Envelope is Pretty too!! 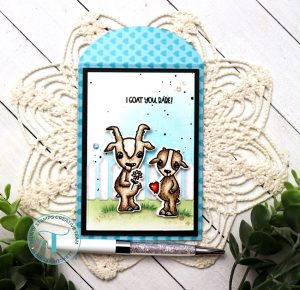
So there you have a CUTE Love Card FULL of Texture without adding LOTS of Dimension!! I hope I’ve INSPIRED you one ways to add Texture that maybe you hadn’t thought of when creating a Scene Card without lots of Dimension, which can make it hard to mail!! THANKS SO MUCH for stopping by today!! If you create something please share with us on Social Media using the #hastag #trinitystamps #trinitystampsllc
as we LOVE to see what you’ve created!!
You can join us in our FB Community HERE!!
Have a FABULOUS WEEK and make sure to come back and visit as there’s LOTS of AMAZING Inspiration being shared this Week via the Blog, IG and YouTube!!
Larissa Heskett
