
Sleepy Hollow Framed Scene
 Today, I’m sharing some tricks and tips to using the 4 piece stencil pack “Layered Birch” stencils. I’m making a scenic wall hanging that with light-up elements that showcase the “Sleepy Hollow” stamp set & die set. Please find my video tutorial on the Trinity YouTube channel here: link.
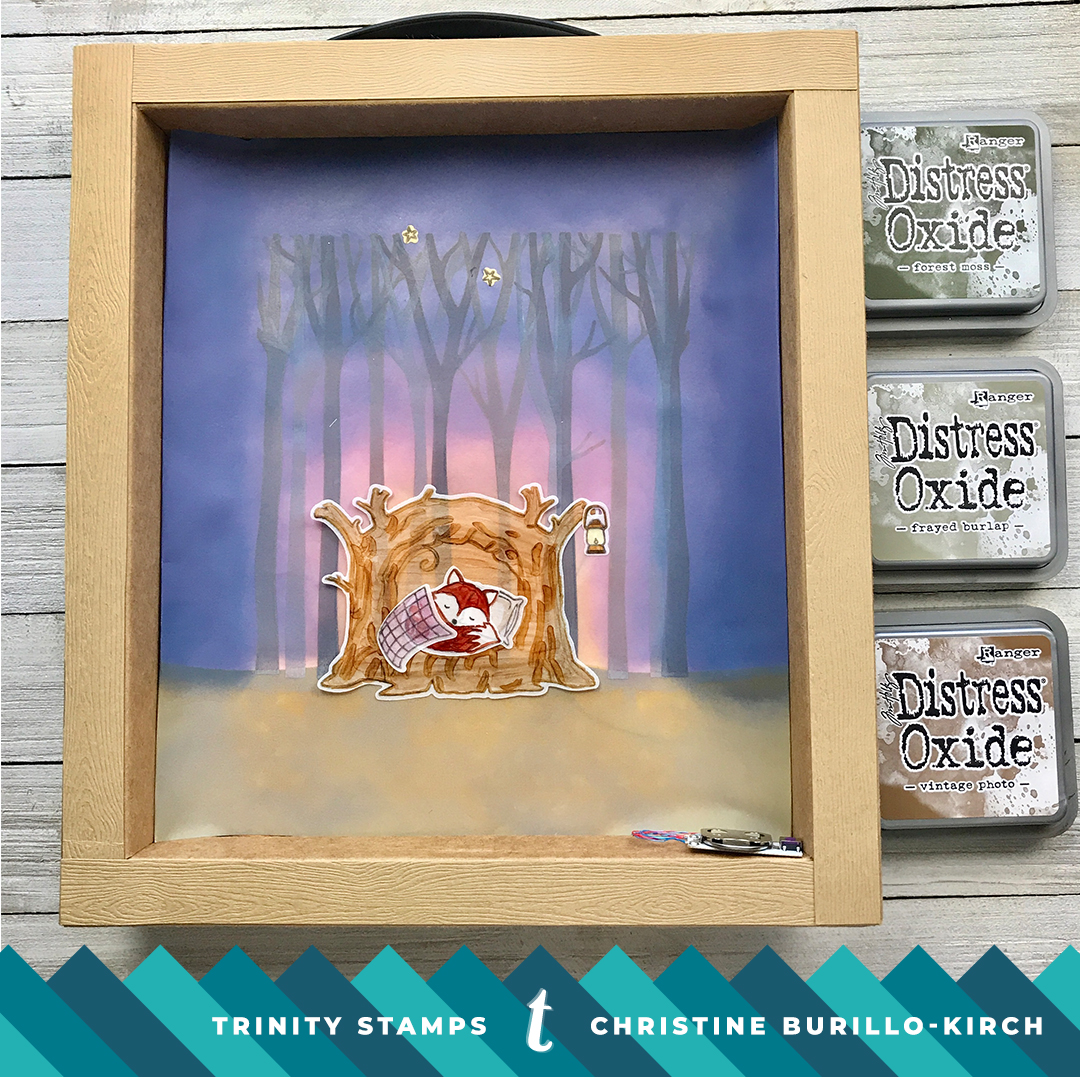
Briefly, I used heavy weight vellum to create the entire scene with the exception of the woodgrain cardstock that outlined the frame and of course the box frame itself. As shown in the video:
- I blended distress oxide forest moss for some grass on the bottom. Then as shown in the video I created the layered birch tree look by using a light color (frayed burlap) for the trees further away, a medium color ( vintage photo) for the trees in the midground and a dark color (ground espresso) for the trees in the foreground. I made sure to dry the vellum thoroughly between each stencil and I found that no smearing occurred- once it is dry, you can layer color over it without making a mess! Finally I made a sky using several colors.
- I stamped all the images on vellum, die cut them and copic colored them. Although the distress ink shows up quite well on the vellum, copic coloring is very light. After figuring out how the scene would look, I made sure to exactly know where I wanted the background lit up. Using the EZ-light power pack from Pear Blossom Press made it truly easy to get this effect and allowed me to forgo making a circuit with copper wire.
 Thank you for stopping by!


How sweet!