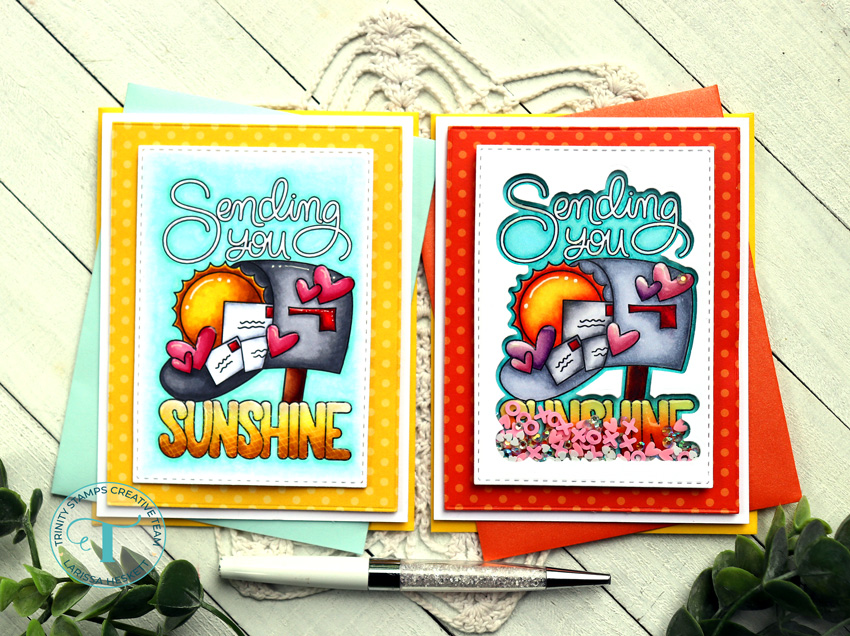
Sending You Sunshine!!

Hello Crafty Friends!!
Larissa here today to share a Set of “Sending You Sunshine” Cards using the NEW Sending Sunshine Stamp Set and coordinating Sending Sunshine Die Set!! There are so MANY possibilities with this SWEET Set!! You can create Simple Cards PERFECT for Mass Producing or more complicated Cards for a one of a kind Design!! I hope I INSPIRE you to look outside of the Box as well as to just ENJOY using this Set for those FAST Cards you may need to create to send some Sunshine!! 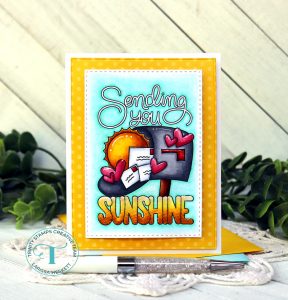
I Started by Stamping and Embossing the image using Versa Fine Black Onyx Ink and WoW Clear Gloss Embossing Powder!! Then I heat set the Images!! I’m making duplicates, so I Stamped and Embossed Several all at the same time!! Then I can save them for when I need them, or I can create them ALL at the same time!! I Die Cut the Card Panel using the 4 Bar Card Die Set!!
Next I used Copic Markers to Color the Images in!! 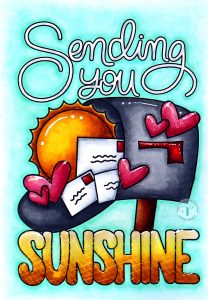
For my first Card I used
Background: BG000 & BG10 Sun and Sunshine Word: Y11, Y15 & YR23
Mailbox: N0, N2, N4, N6 & N8 Hearts: R81, R83 & R85 White: C0 & C2
Red: R14, R37 & R39 Brown: E33, E37 & E39 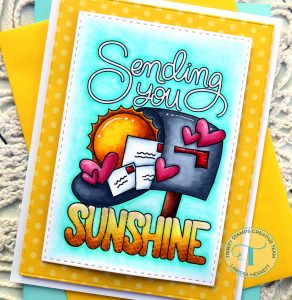
I added some White Gel Pen Details and the I wanted to add some Sparkle and Shine to make the Image POP!! So I colored with Clear Shimmer Pen and then added some Glossy Accents!! I LOVE how just those Simple Details really make the Image come to LIFE!! 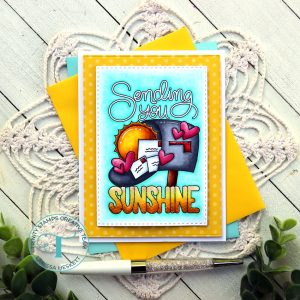
I adhered the Panel to a Die Cut Rainbow Brights Paper Pad Patterned Paper using the 2nd to Largest Die from the Modern Embossed Rectangle Die Set!! Then I adhered the Panel with Foam Tape to add some dimension!! To finish it off I adhered the Panels to an A2 White Cardstock Cardbase!! 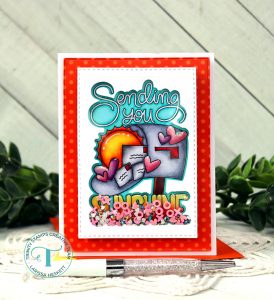
For my Second Card I waned to show how you can create a FUN Shaker Card using the Coordinating Dies to create a Window!! I Started by Stamping and Embossing the image using Versa Fine Black Onyx Ink and WoW Clear Gloss Embossing Powder!! Then I heat set the Images!! I Die Cut the Card Panel using the 4 Bar Card Die Set!!
Next I used Copic Markers to Color the Images in!! 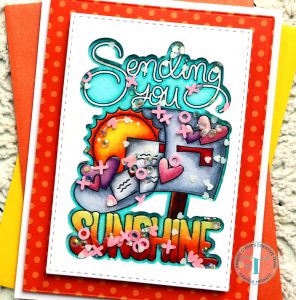
For my Second Card I used
Background: BG000 & BG10
Sun and Sunshine Word: Y00, Y11 YR00, YR18 & YR68
Mailbox: N0, N2 & N5 Hearts: R81, R83 & R85 V000. V01 & V15
White: C0 & C3 Red: R14, R37 & R39 Brown: E33, E37 & E39
I added some White Gel Pen Details and the I wanted to add some Sparkle and Shine to make the Image POP!! So I colored with Clear Shimmer Pen and then added some Glossy Accents!! I LOVE how just those Simple Details really make the Image come to LIFE!!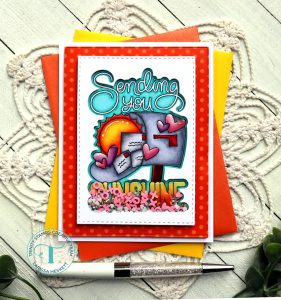
I Die Cut another Panel from white Cardstock using the 4 Bar Card Die Set and then die cut the Center of the Panel using the coordinating Sending Sunshine Die Set!! I adhered an Acetate Window to the back side of the Die Cut 4 Bar Card Panel and then adhered 3D Faom Tape to the back side of the Panel!! I filled the Panel with some FUN Embellishments!! Using Fariy Rocks Rhinestones, XOXO Clay Embellishments, and Sweet Strawberry Heart Sprinkle Embellishments!! SWOON I LOVE the FUN Design!! I adhered the Panel to a Die Cut Rainbow Brights Paper Pad Patterned Paper using the 2nd to Largest Die from the Modern Embossed Rectangle Die Set!! Then I adhered the Panel with Foam Tape to add some dimension!! To finish it off I adhered the Panels to an A2 White Cardstock Cardbase!! There you have it a FUN Shaker Card using the SAME Products!!
I hope I’ve INSPIRED you today, and that you give some of these Designs a Try using the NEW Sending Sunshine Stamp & Die Set!!
Also, I hope you have a FABULOUS and BLESSED 4th of July Weekend!! To help Celebrate Trinity Stamps is offering a Sparkle and Shine SALE!! 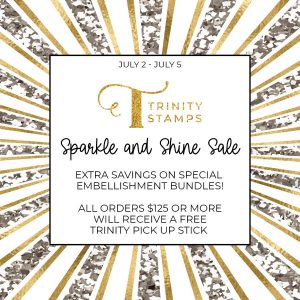
THANKS so much for stopping by today and I hope you have a FABULOUS WEEK!! I’ll be back on Saturday with my First Sneak Peek!!
I CAN’T WAIT to share with you!!
Larissa Heskett

YOur cards are so cheerful, sure to brighten the recipient’s day!