
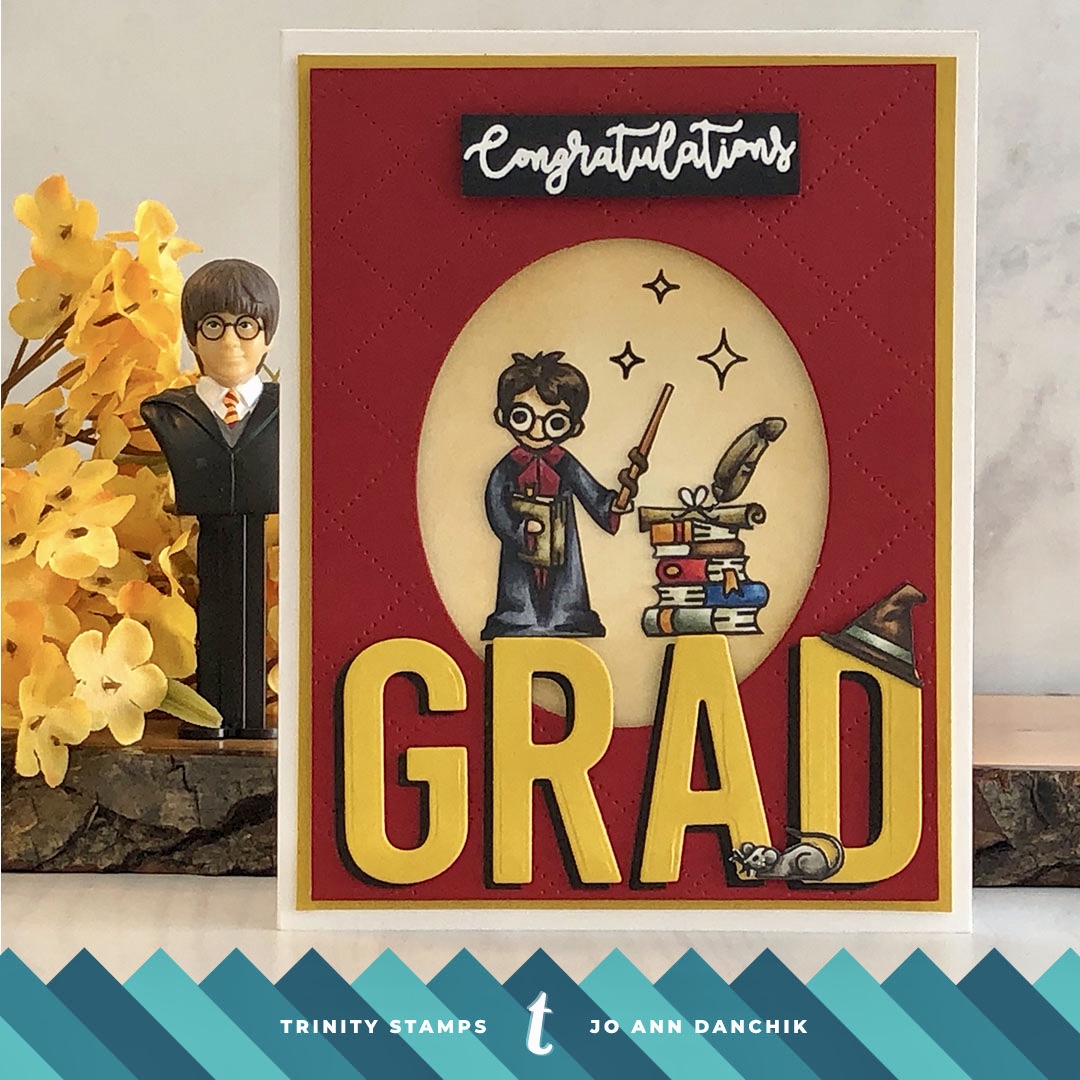
Midweek Creations With Jo Ann: Congratulations Grad
My husband and I love Harry Potter. Yes, we have been to Universal Studios…two times! I have stood on platform 9 3/4 and ridden the train between Diagon Alley and Hogsmeade Station, and back again. We rode all the rides, drank Butter Beer, and I may or may not have bought a Hermione wand! So much fun!!
____________________
(Products highlighted in teal are active links to the shop.)
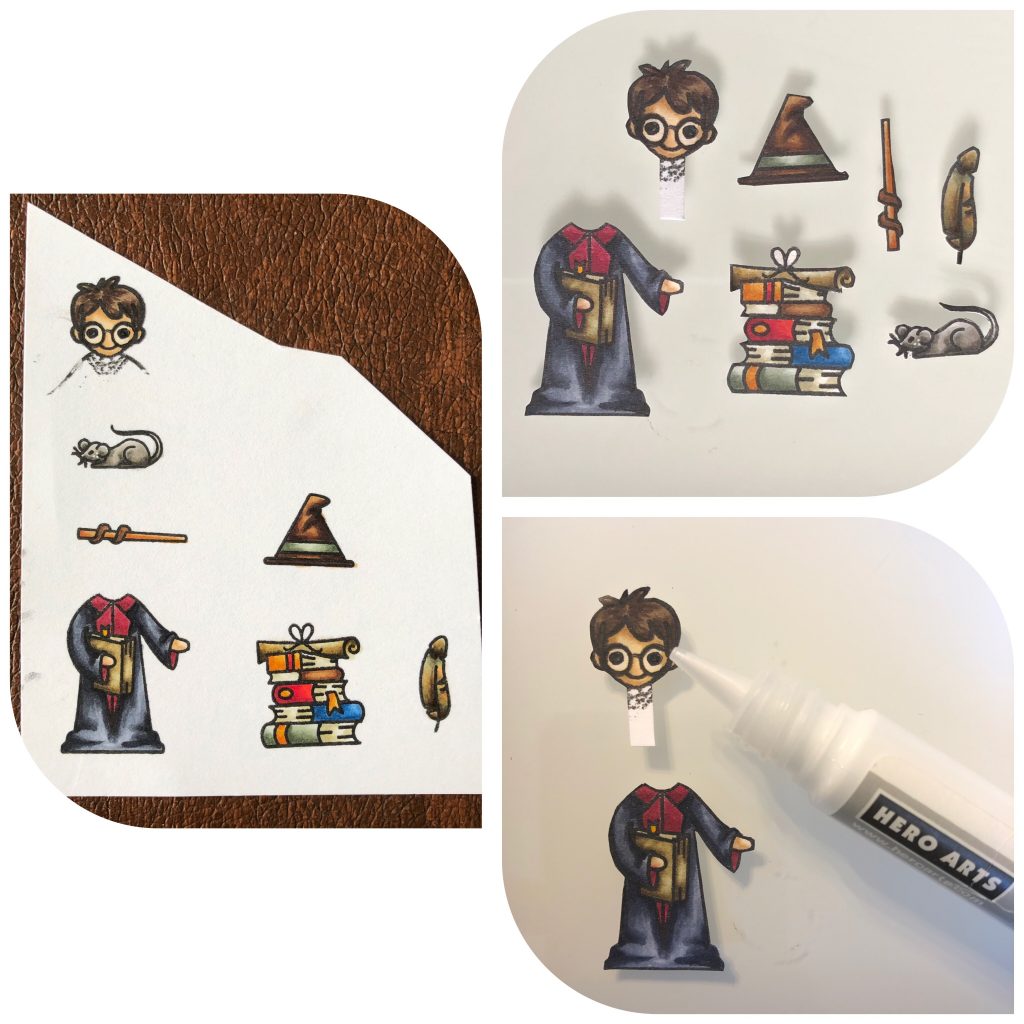
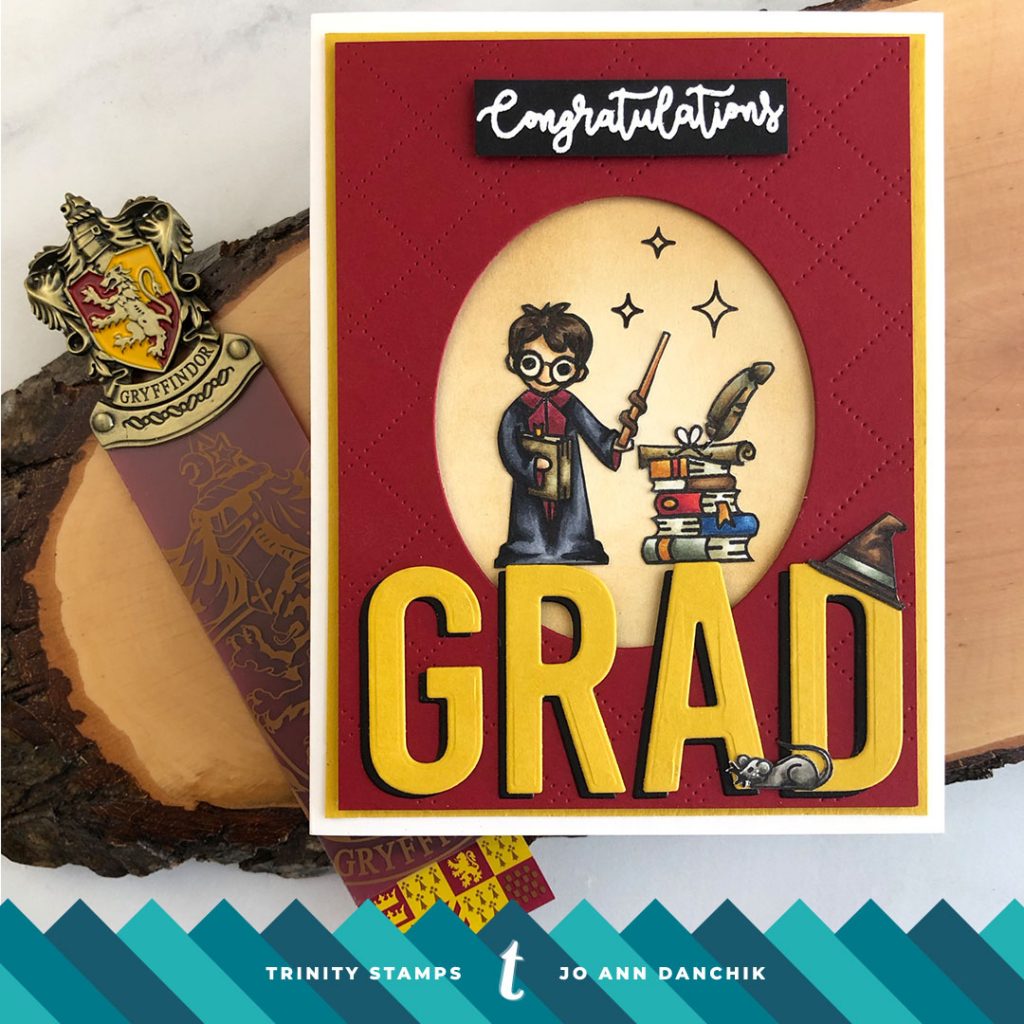
Today’s card starts with the Magical Wizards Stamp Set andWizard Friends Stamp Set. The figures were stamped with Copic friendly Gina K Amalgam Ink on #80 Neenah Solar Crest cardstock. I did simple coloring with Copic markers. I am partial to the House of Griffyndor so I chose red and gold (fire) colors for my robe. There is a coordinating Magical Wizards Die Set, and a coordinating Wizards Friend Die Set, but I don’t have them so I had to fussy cut the images.
Rather than mask the head and the robe I simply stamped the head. I cut the head out, leaving a small tab. It was easy enough to glue it to the body with a Hero Arts Glue Pen and no one is the wiser!
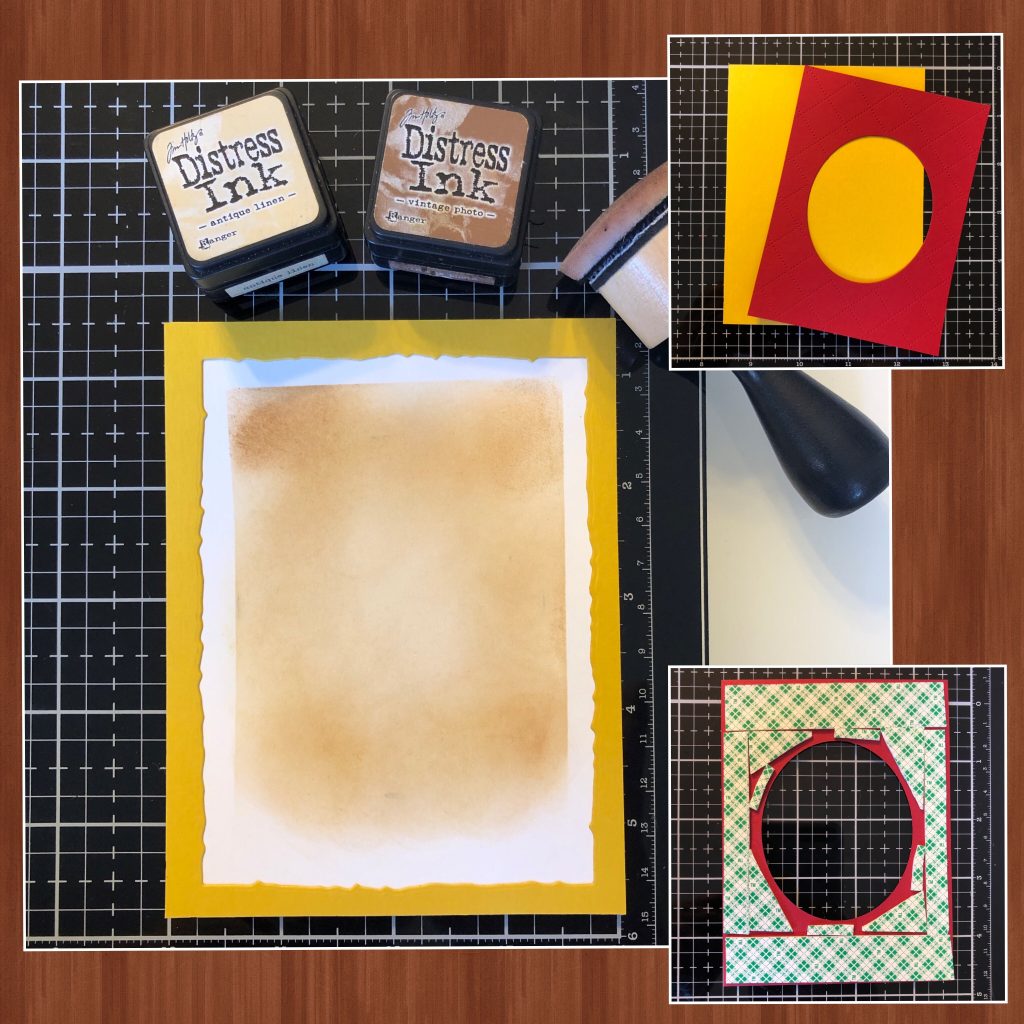
I used a piece of Mustard and Cranberry Hero Arts Hues Cardstock. I used the sampler pack but you can purchase the colors separately. The Cranberry cardstock was cut with an Avery Elle Quilted Frame Die.
I actually cut the center out of the Mustard piece. It will be covered and I used the inside piece to cut my letters. I glued a scrap piece of white cardstock to the center and used a Mini Blending Tool to add Antique Linen and Vintage Photo Distress Ink. All the pieces were assembled and glued to a #110 Neenah Solar Crest folded cardstock card base.
I added Scotch Foam tape to the back of the Cranberry panel to give the card dimension.
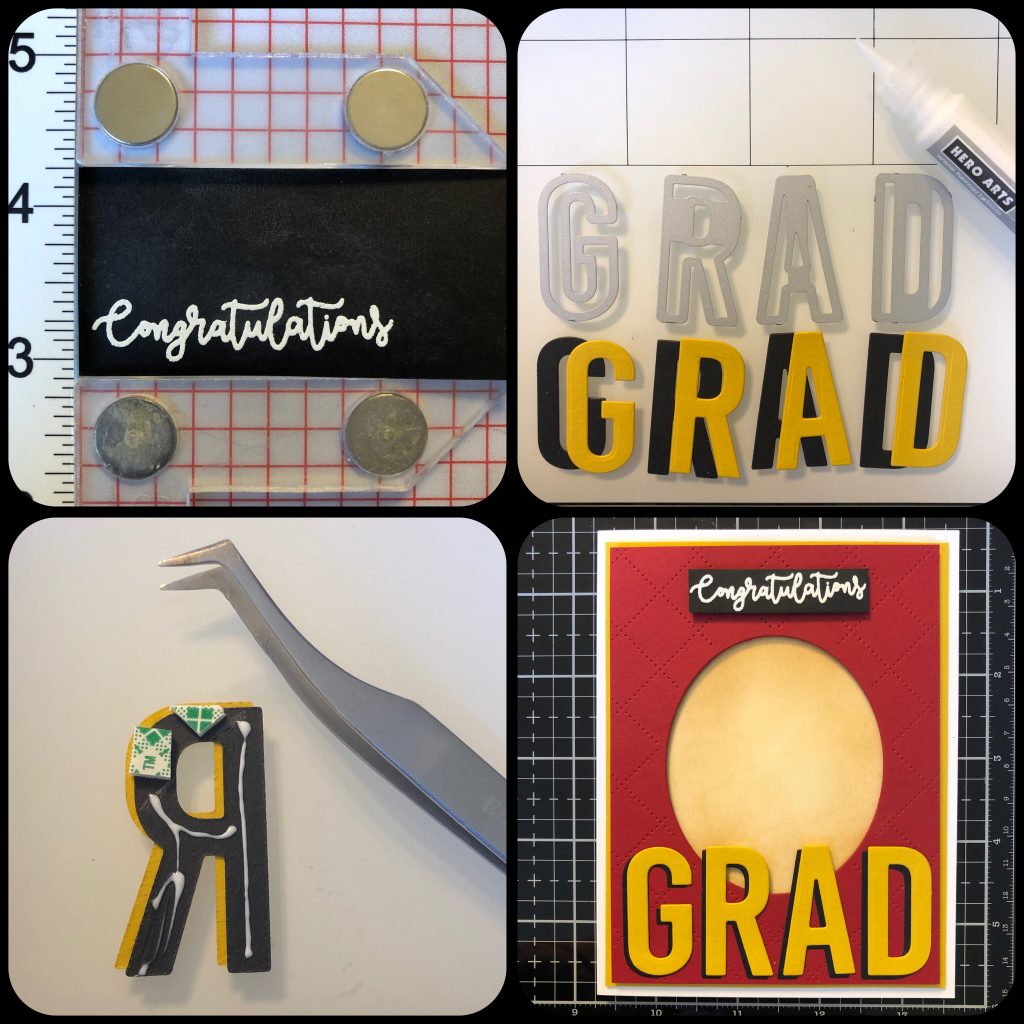
I wanted to make this into a graduation card so I stamped the Congratulations sentiment, from the Decorate-A-Cake Stamp Set, onto a scrap of black cardstock using Versamark Ink and Hero Arts White Detail Embossing Powder. As usual, use an anti static pouch before stamping on dark cardstock. Scotch Foam Tape was added to the back.
I cut the word GRAD from Black and Mustard cardstock using the HoneyBee Bee Bold Alphabet Die Set. They were offset and glued together to give a shadow effect then glued to the card front with a Hero Arts Glue Pen. Where the R and A letters overlapped, over the opening, I added bits of Scotch Foam Tape.
The figures were glued to the card front. It needed something more so I stamped the three star symbols. I used my MISTI to stamp them. The card was assembled and I was not going to risk making a mistake!
This card just makes me smile! You could easily change the head out and use Hermione to make this a feminine card. With graduation season just around the corner, it’s not too early to make cards for your favorite Harry Potter fans!
As always, thanks for joining me today! I look forward to creating with you again here at Trinity. You can also find me on Instagram at jadanchik or on my blog at jadanchik.com for more product detail.
Joyfully,
Jo Ann


I love this whimsical card. I want to read or watch the Potter series again. Thanks for sharing your talent with us today.
wow wow so amazing!!! love the shading and vintage look!! and the little details (mouse and hat on the text) beautifully done xx
Fabulous job!!!