
Happy birthday, my sweet monster!
Hello Everyone, Mirella here again. Greetings from Spain! Well… as I am writing this, I am still in Ireland, but – providing all goes well – I should be on the sunny and warm Spanish coast the day this post goes live!
Today, I have a fun birthday card to share with you. Surprisingly, there are no pinks or purples on it (and no rainbow, I must be unwell!), as I was hoping that it could be a card for a boy, but – honestly – it would work for everyone, don’t you think? It’s much harder to gift a pinky card to a boy than it is a blue one to a girl, LOL!
Isn’t is fun and sweet? Honestly speaking, I didn’t have an exact plan as I started making this card, but I am really happy with how it turned out.
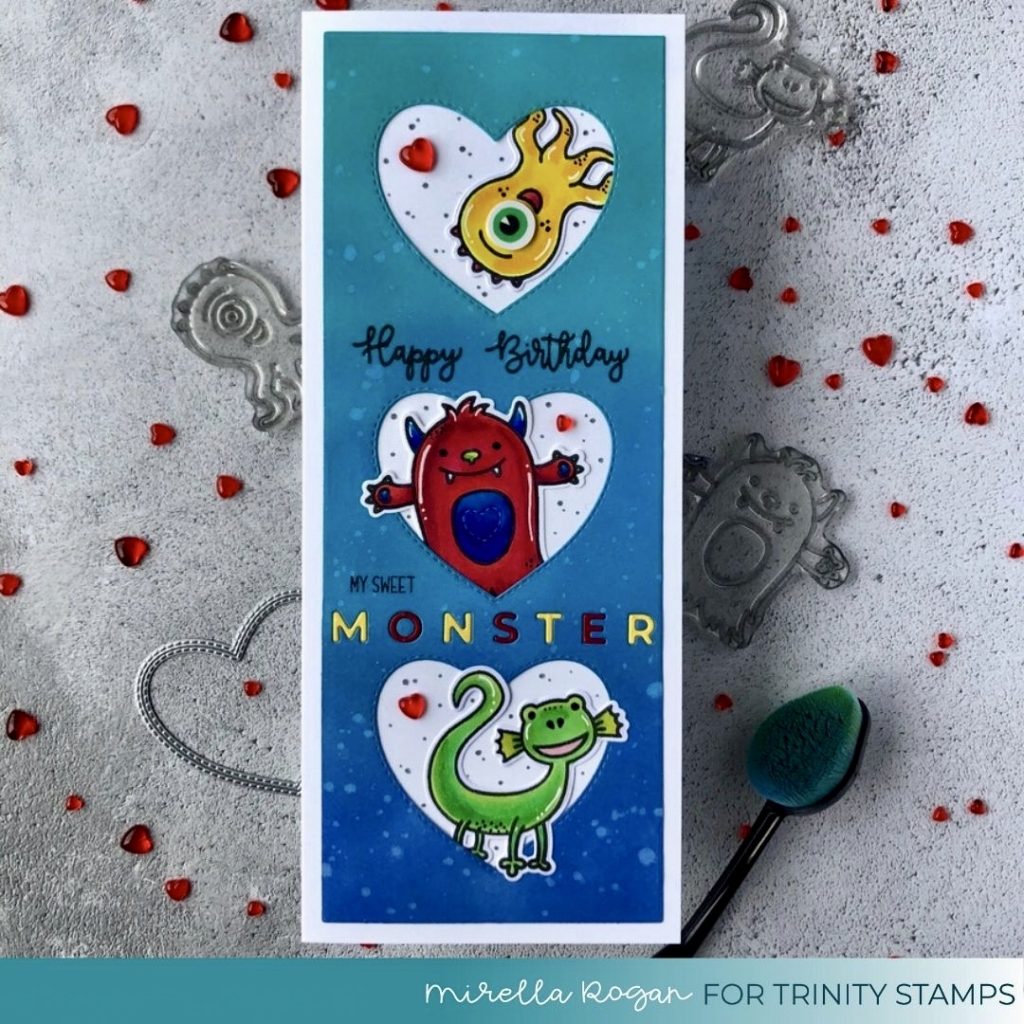
I started by die-cutting a panel of cardstock with the Frame and Fold die set, and I used the heart die in the same set to cut out the three “windows”. I then ink blended the panel with Distress Oxide Inks, using my Blending Buddy and sprinkled some water on the panel, for additional interest.
Then, it was time to colour and die cut the monsters. So much fun!
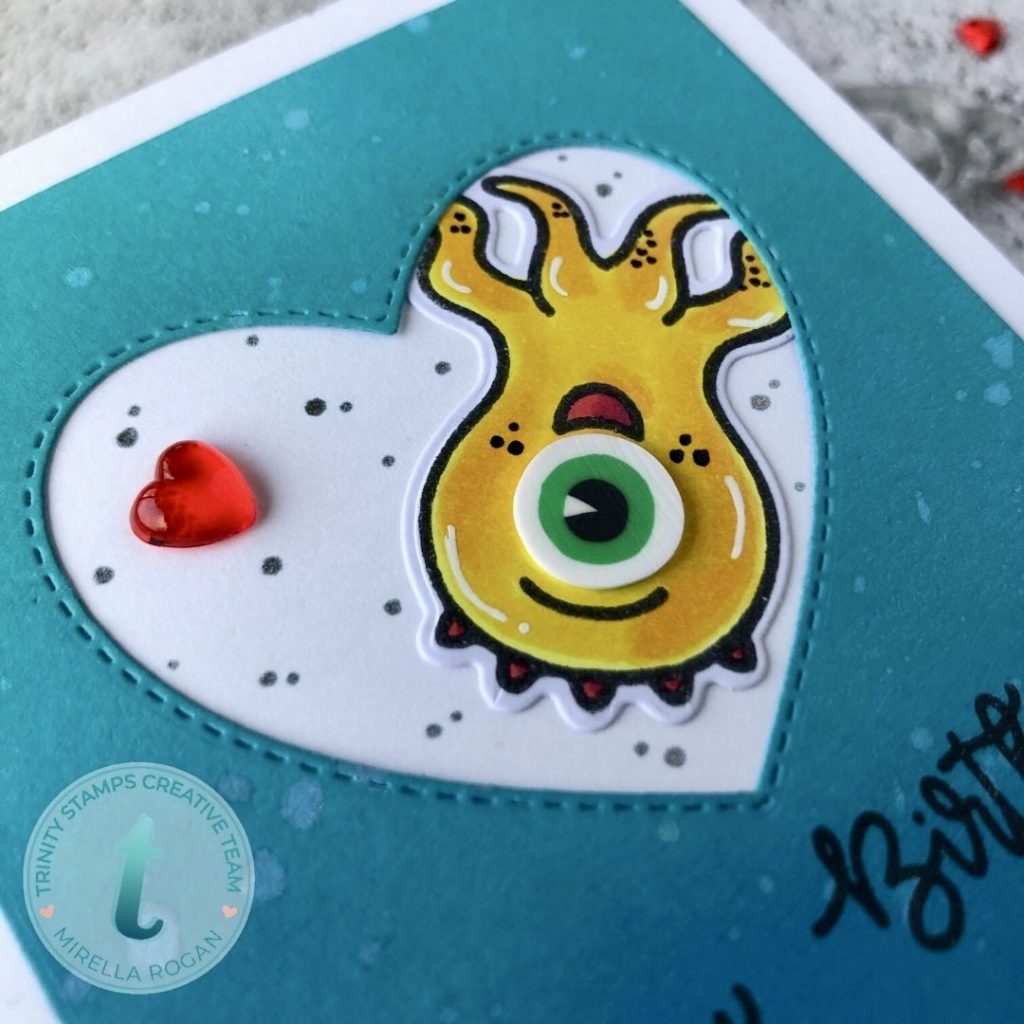
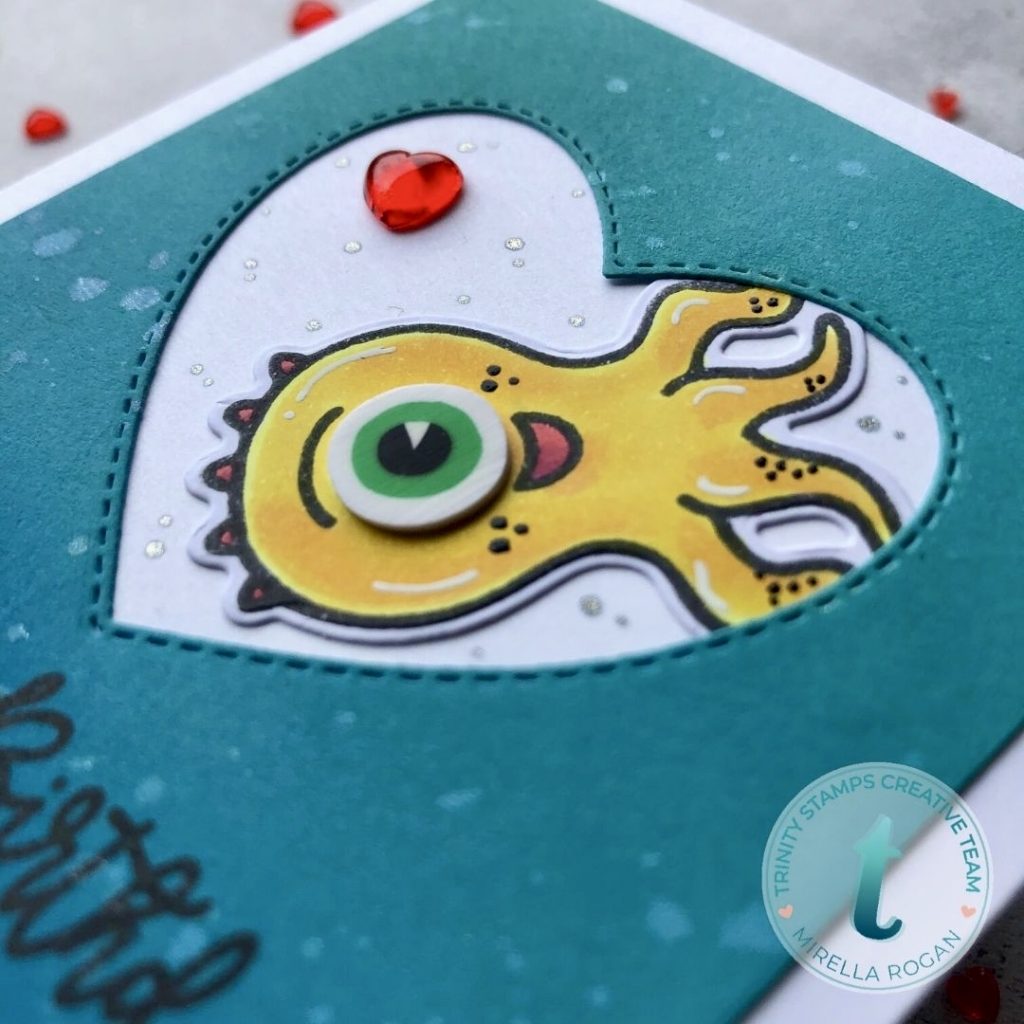
The yellow guy got a green eye – he looks so cool with it! I also added some details with my black Glaze Pen and white Gel Pen.
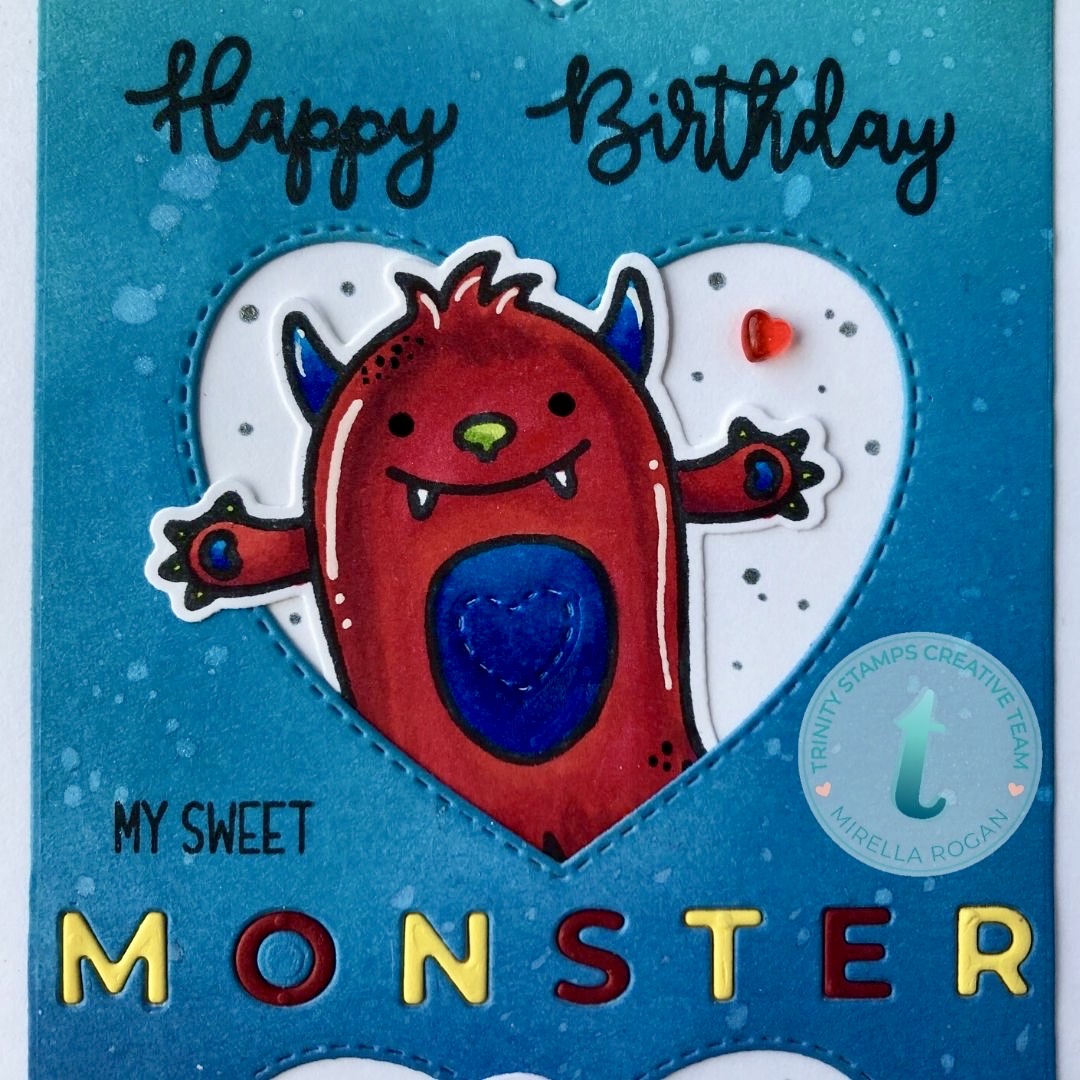
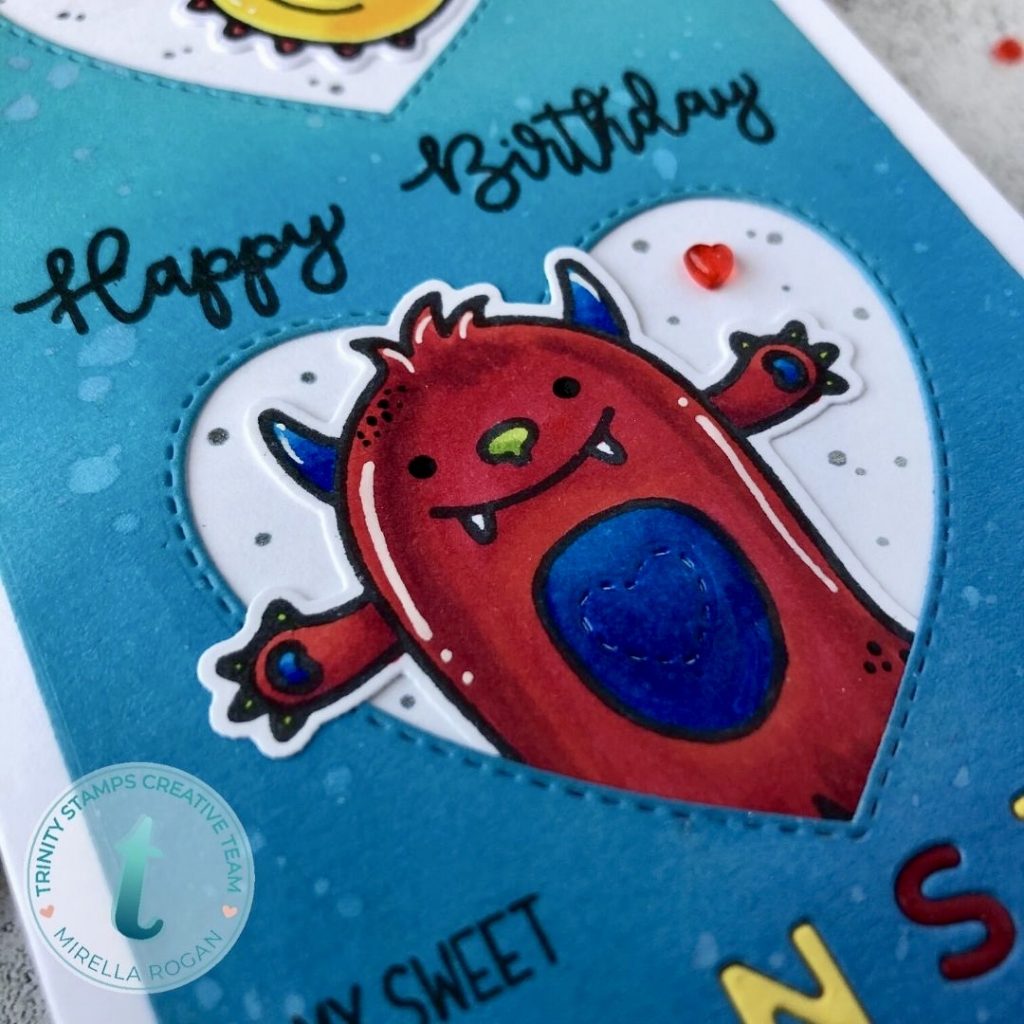
I really love how the red monster turned out – the colours are so vivid. I added some details to this little guy also, and he additionally has a stitched heart on his belly – that’s done with a die from the same Frame and Fold set.
Finally, my little green monster. His colouring turned out so cute that I didn’t think he needed much more, but – for consistency – he got some black and white detailing, too.
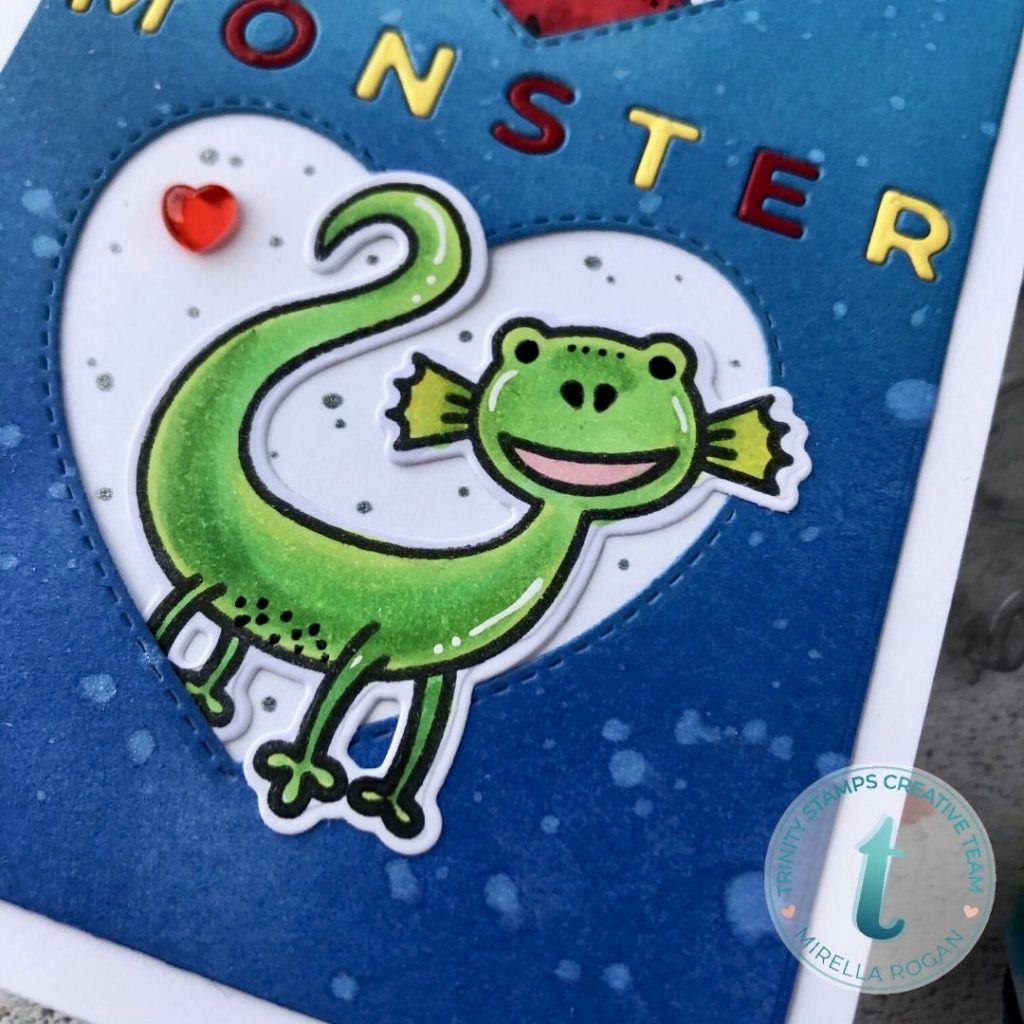
For the sentiment, I used “Happy Birthday” from a sadly discontinued set (Decorate a cake), the “My sweet” bit comes from Hello Sweet Friend (on sale right now), and the “Monster” is from my recently favourite Sending Hugs die set.
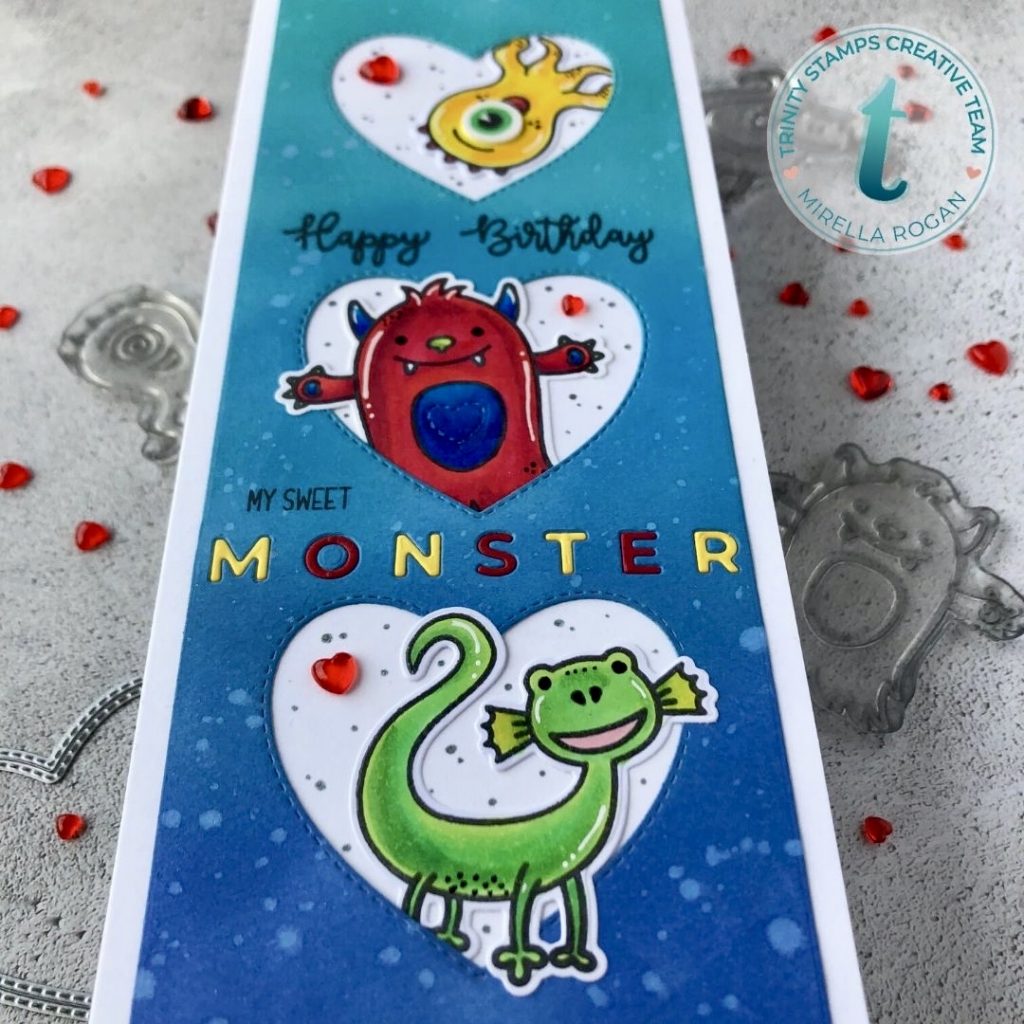
And here you have it – I tucked the monsters behind the heart openings, adhered the whole panel to a white card base, and – as a final touch – added a few red heart embellishments here and there, and some dots with a sparkly gel pen.
I hope you enjoyed today’s project and post.
As usual, you can find the full product list on my blog.
Hasta la próxima (until next time),
Mirella


Adorable!!
Thank you!
This is so very cute!
Thanks so much, Katie!
love it, these guys are too cute!!!