

Coffee Love with Erica aka the Coffee-a-holic
Hiiiiii! (Excessive enthusiasm due to caffeine?)
It would seem that pretty much every other card I make with my Trinity Stamps goodies is coffee themed. Eh, at least this kind of coffee doesn’t make you all jittery, lol!
My husband said he didn’t like it when I showed it to him. Rude, right? In fairness, he has mentioned several times that he’s not a fan of black card bases. To him, it’s too severe and dull. Bless him, he’s pretty perfect for me in many ways, but agree on colours, we do not always do. Ha, a bit of a tongue twister that one.
Oh well. I won’t give him this card with a sweet little note in then, hahah! (Can you tell I have had three espressos at the time of writing?)
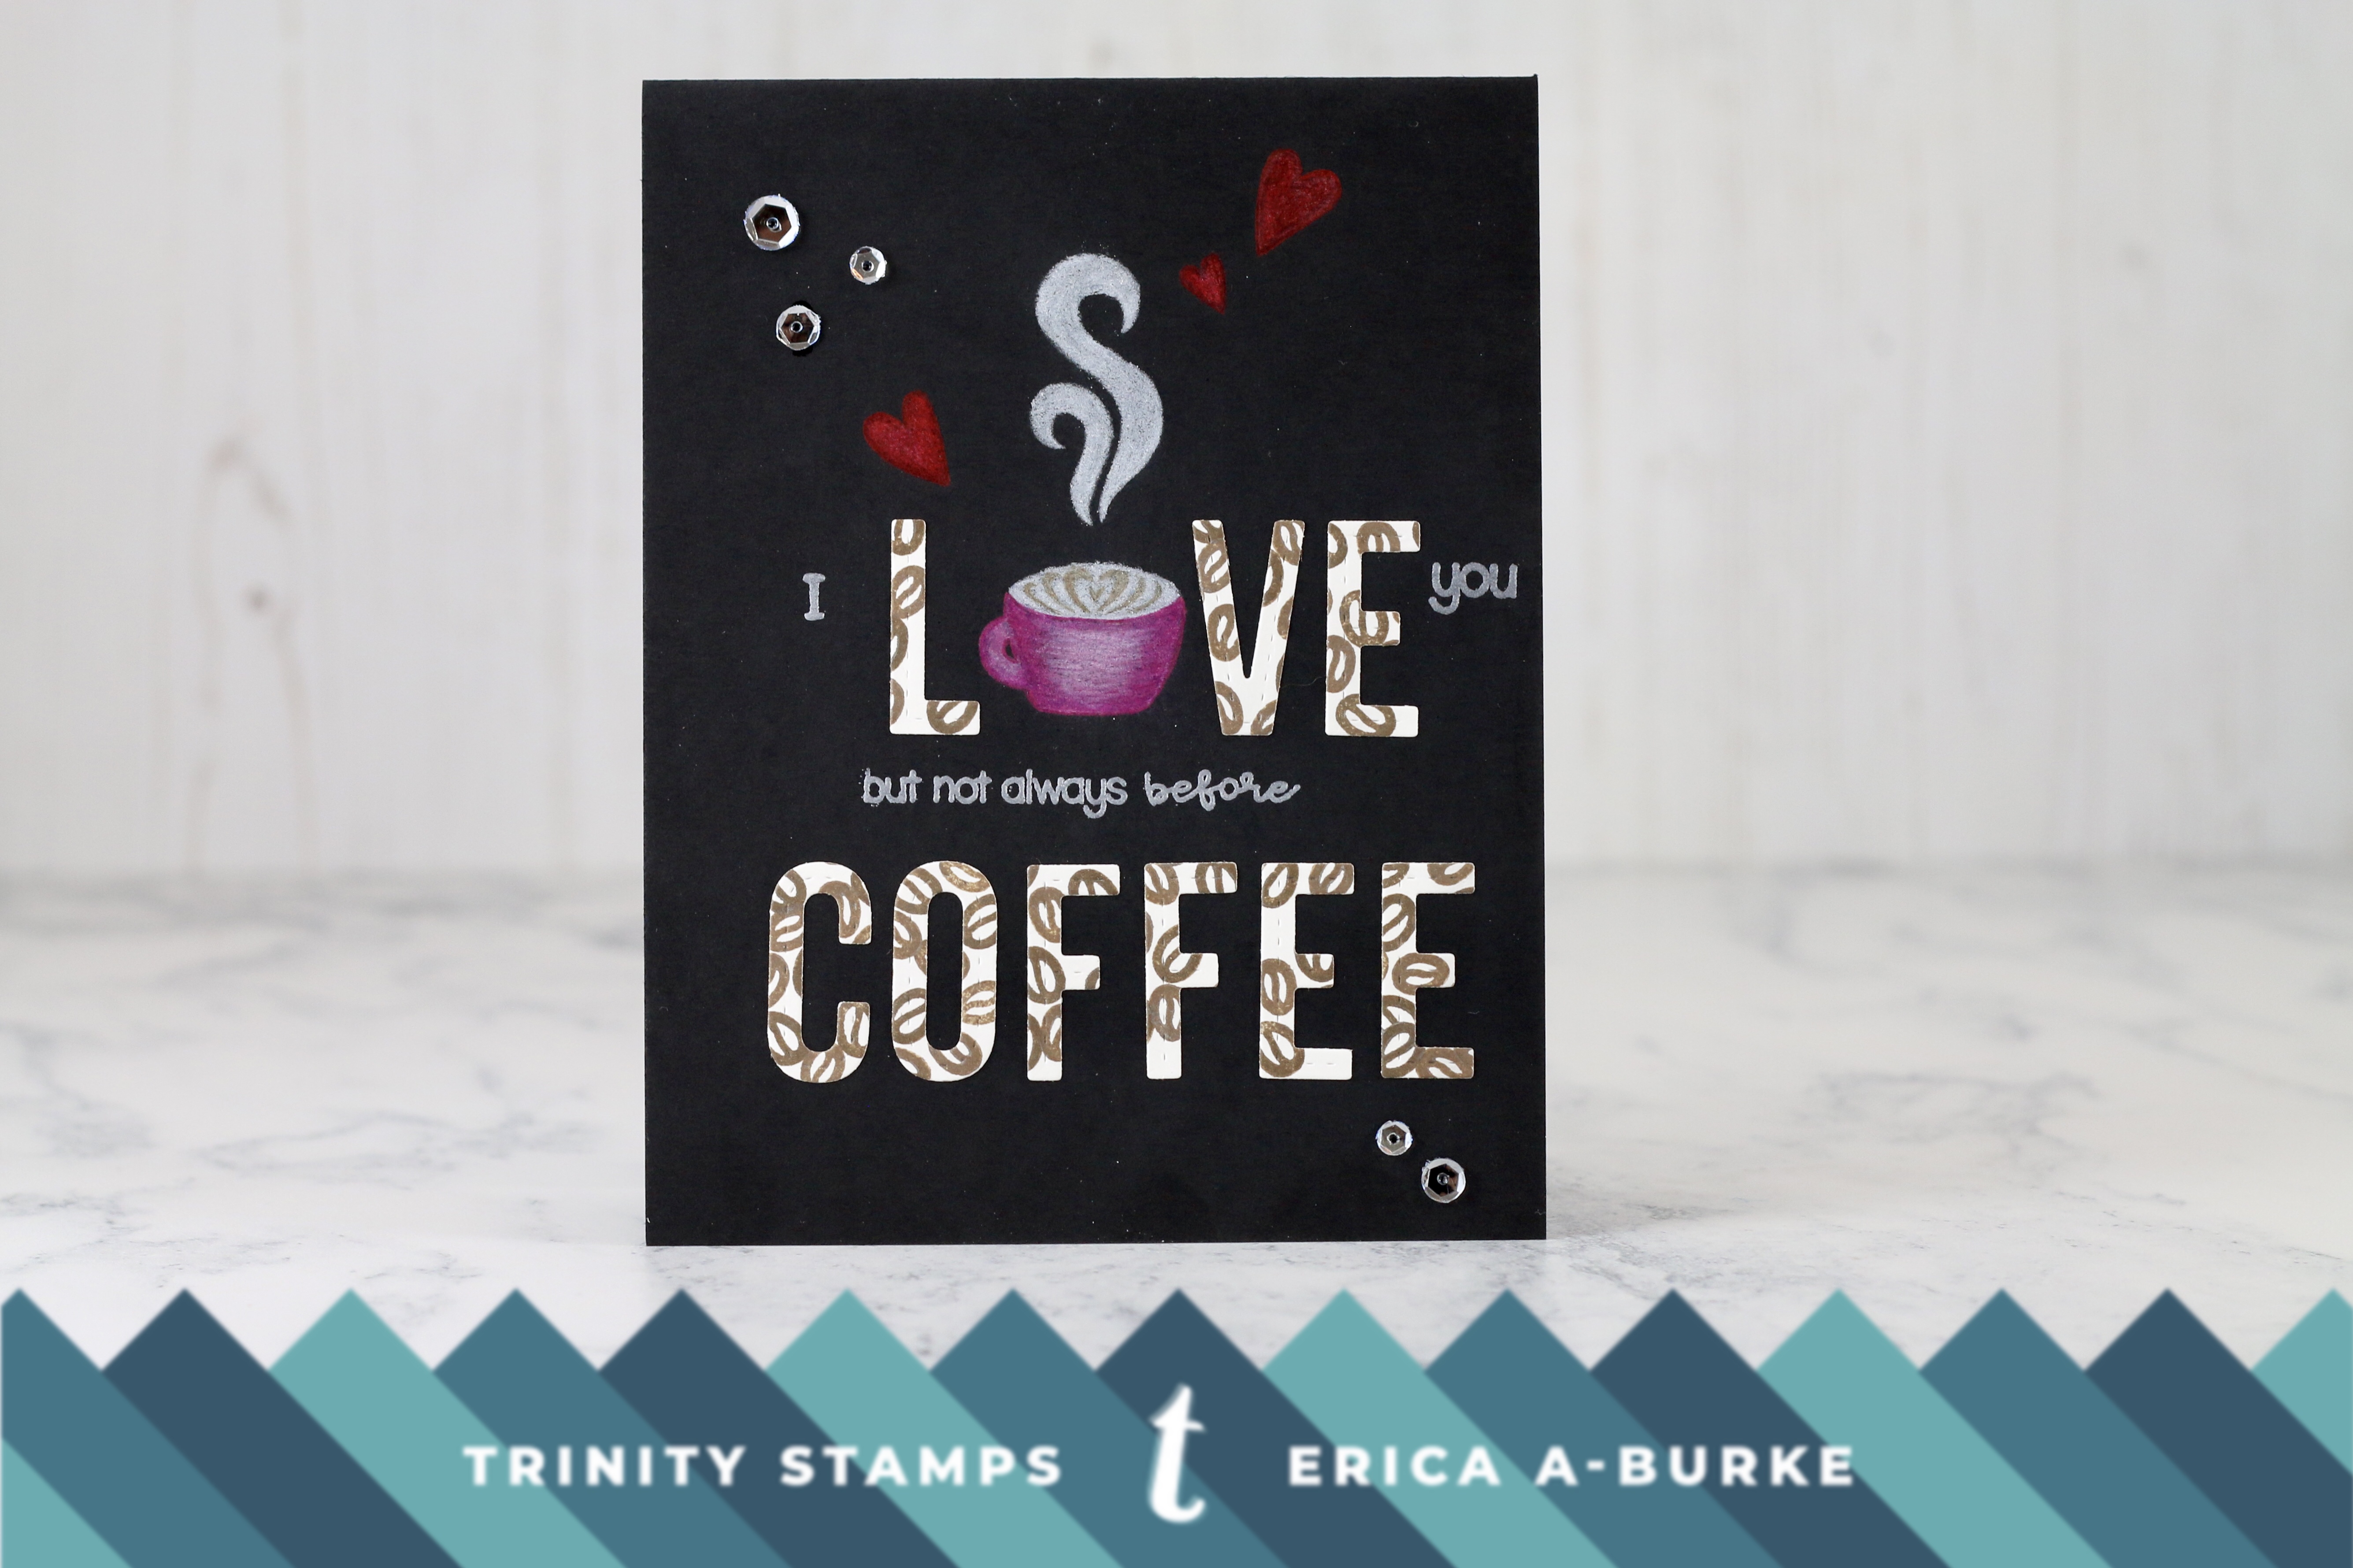
I have used the Coffee with Character stamp set, paired with Ink On 3 fadeout ink and FaberCastell Polychromos pencils. Some Distress Oxide inks in coffee bean colours, and some letter diecuts to cut out the letters too.
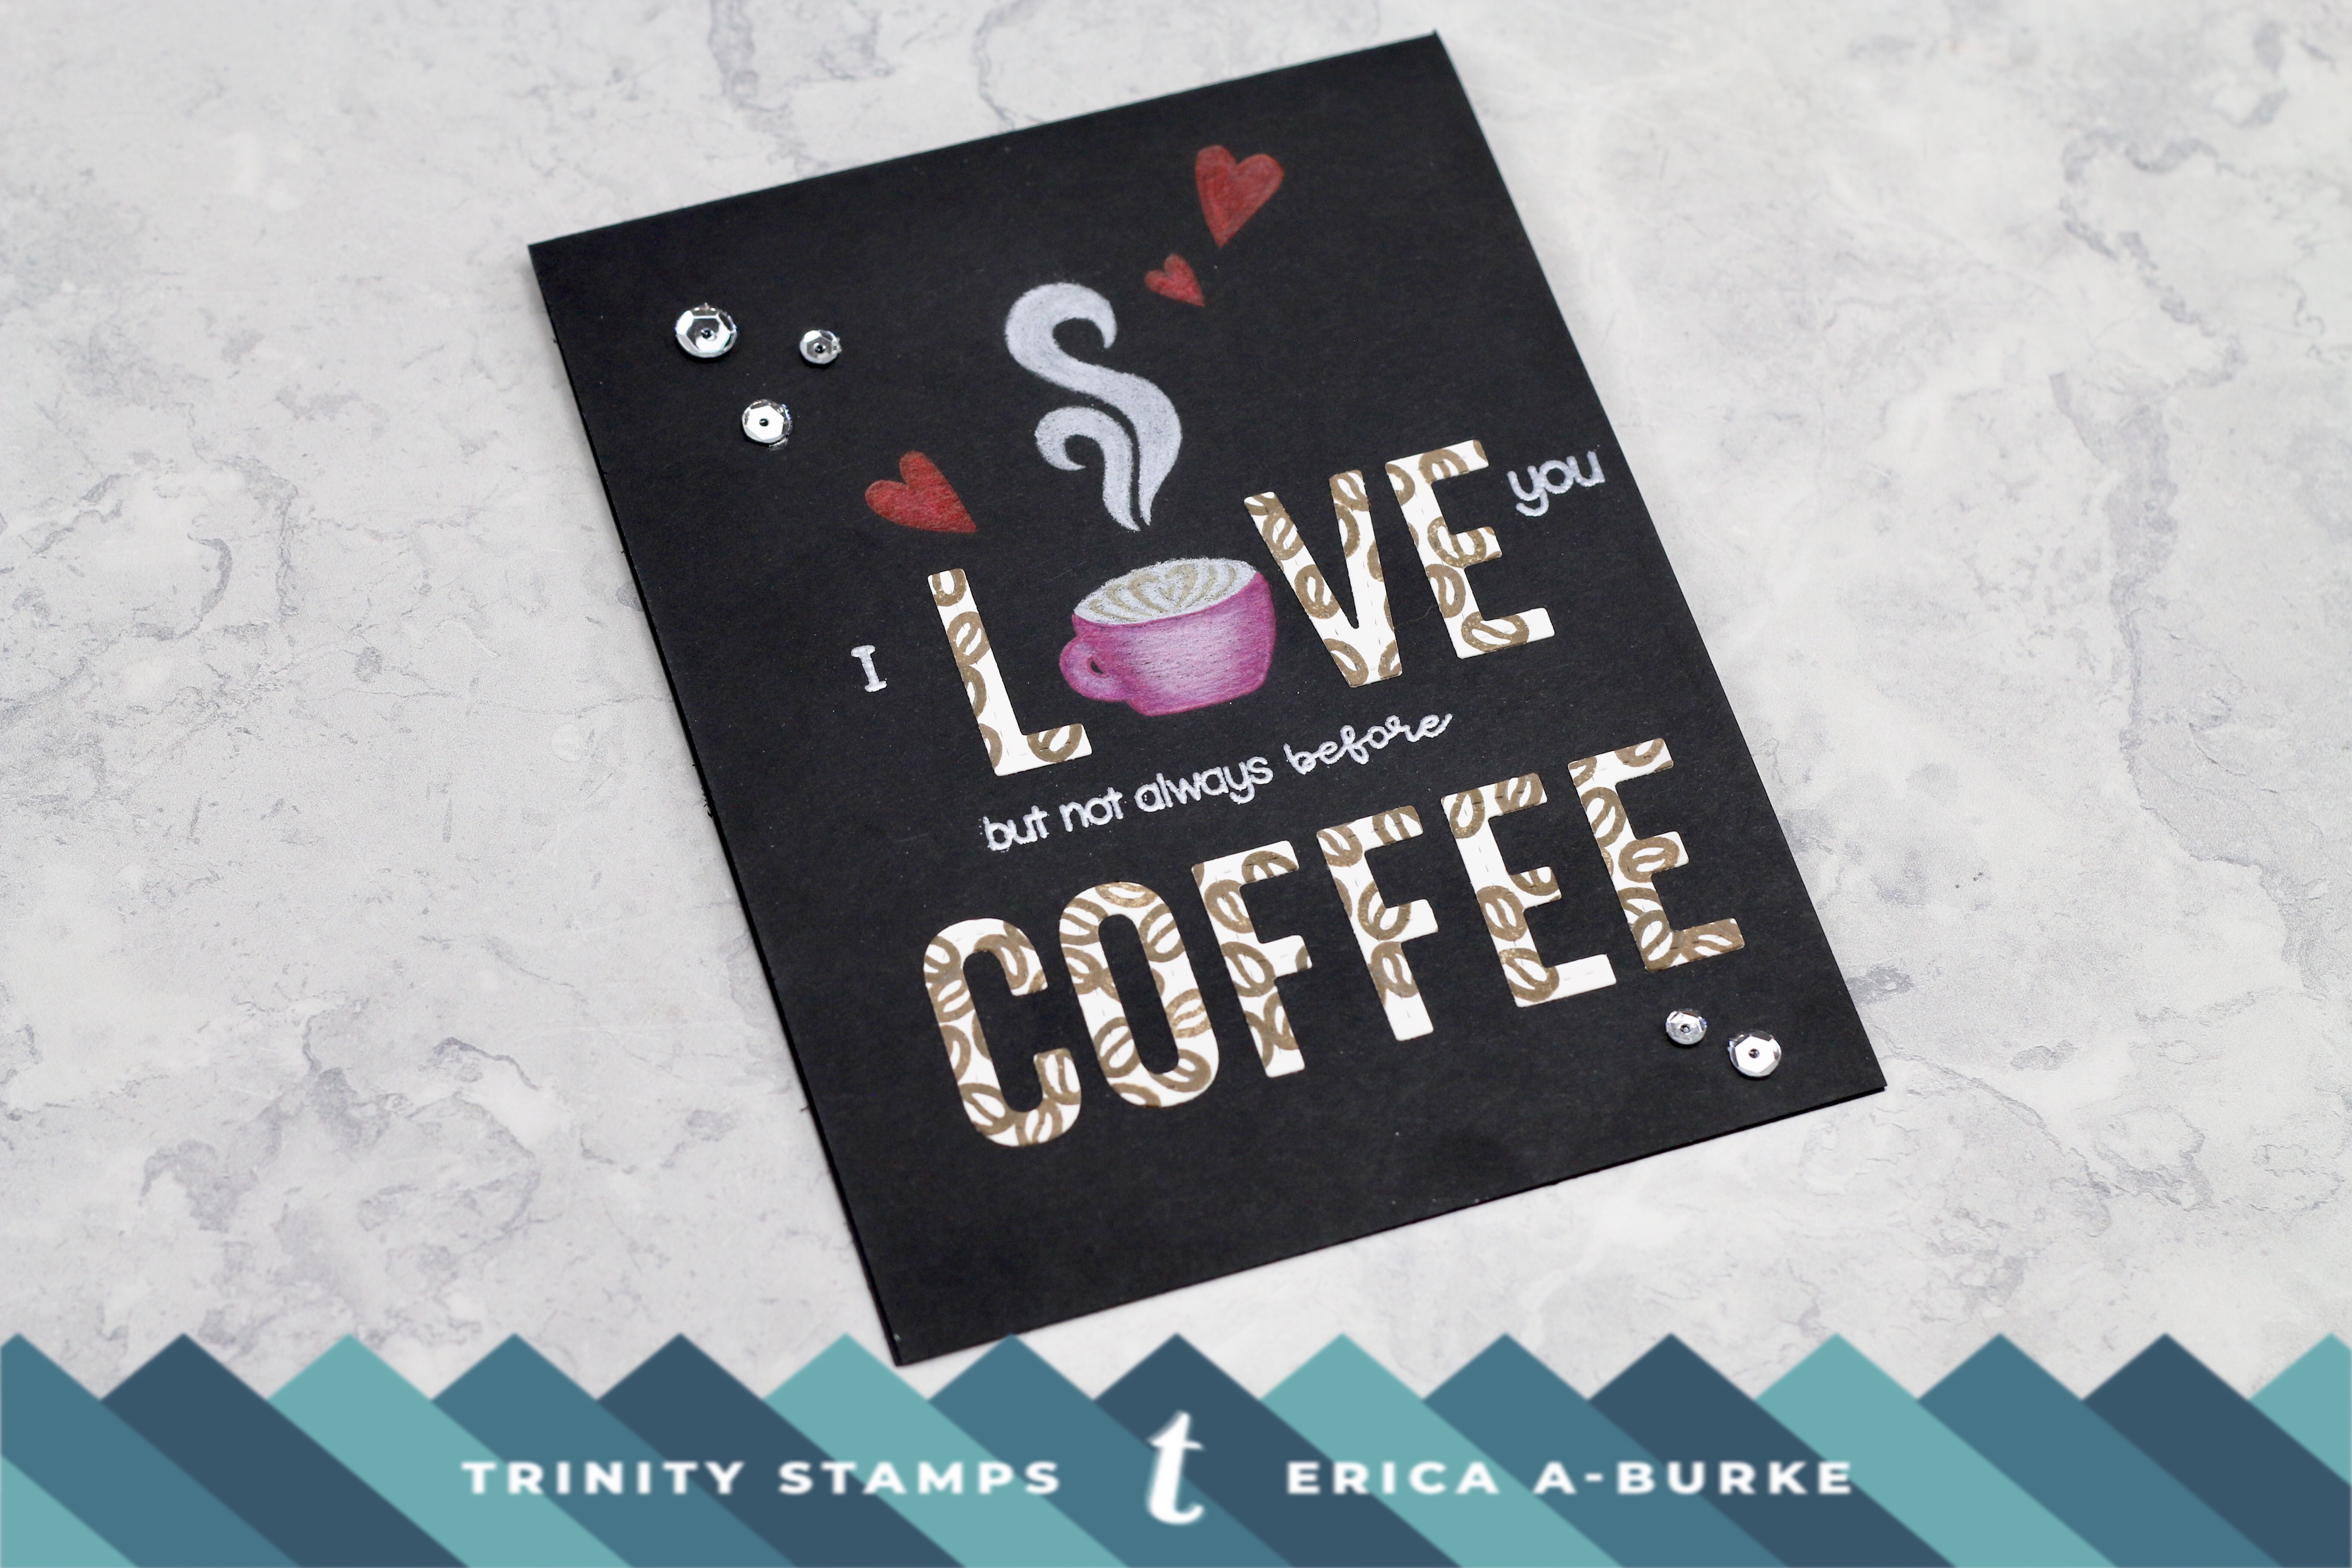
To start with, I stamped the coffee mug, the steam and the hearts with the fadeout ink, directly on my card base. It’s important to have good light when using fadeout ink on black card stock. It can be hard to see, but that’s also part of the magic. It’s superb for no-line colouring!
First of all, when colouring on darker card stock, fill in the images with white pencil. Otherwise the colour will not show up very well at all. Here, I started with a dark pink to outline the cup and deep red for the hearts. As I got towards the middle, I’d swap them out for lighter ones to create highlights.

On white card stock I stamped the biggest coffee bean with Ground Espresso Distress Oxide ink. Next, I used the smallest one with Walnut Stain and filled in the gaps. All the beans are stamped close together to create a pattered paper.

Out of this pattered paper I cut out the word ‘Coffee love’ using an alphabet diecut. Placement on the card was important as I needed to fit a few other words in too. The ‘O’ in ‘love’ has been removed and the rest of the letters placed to make the coffee cup the ‘O’. Cute, huh?
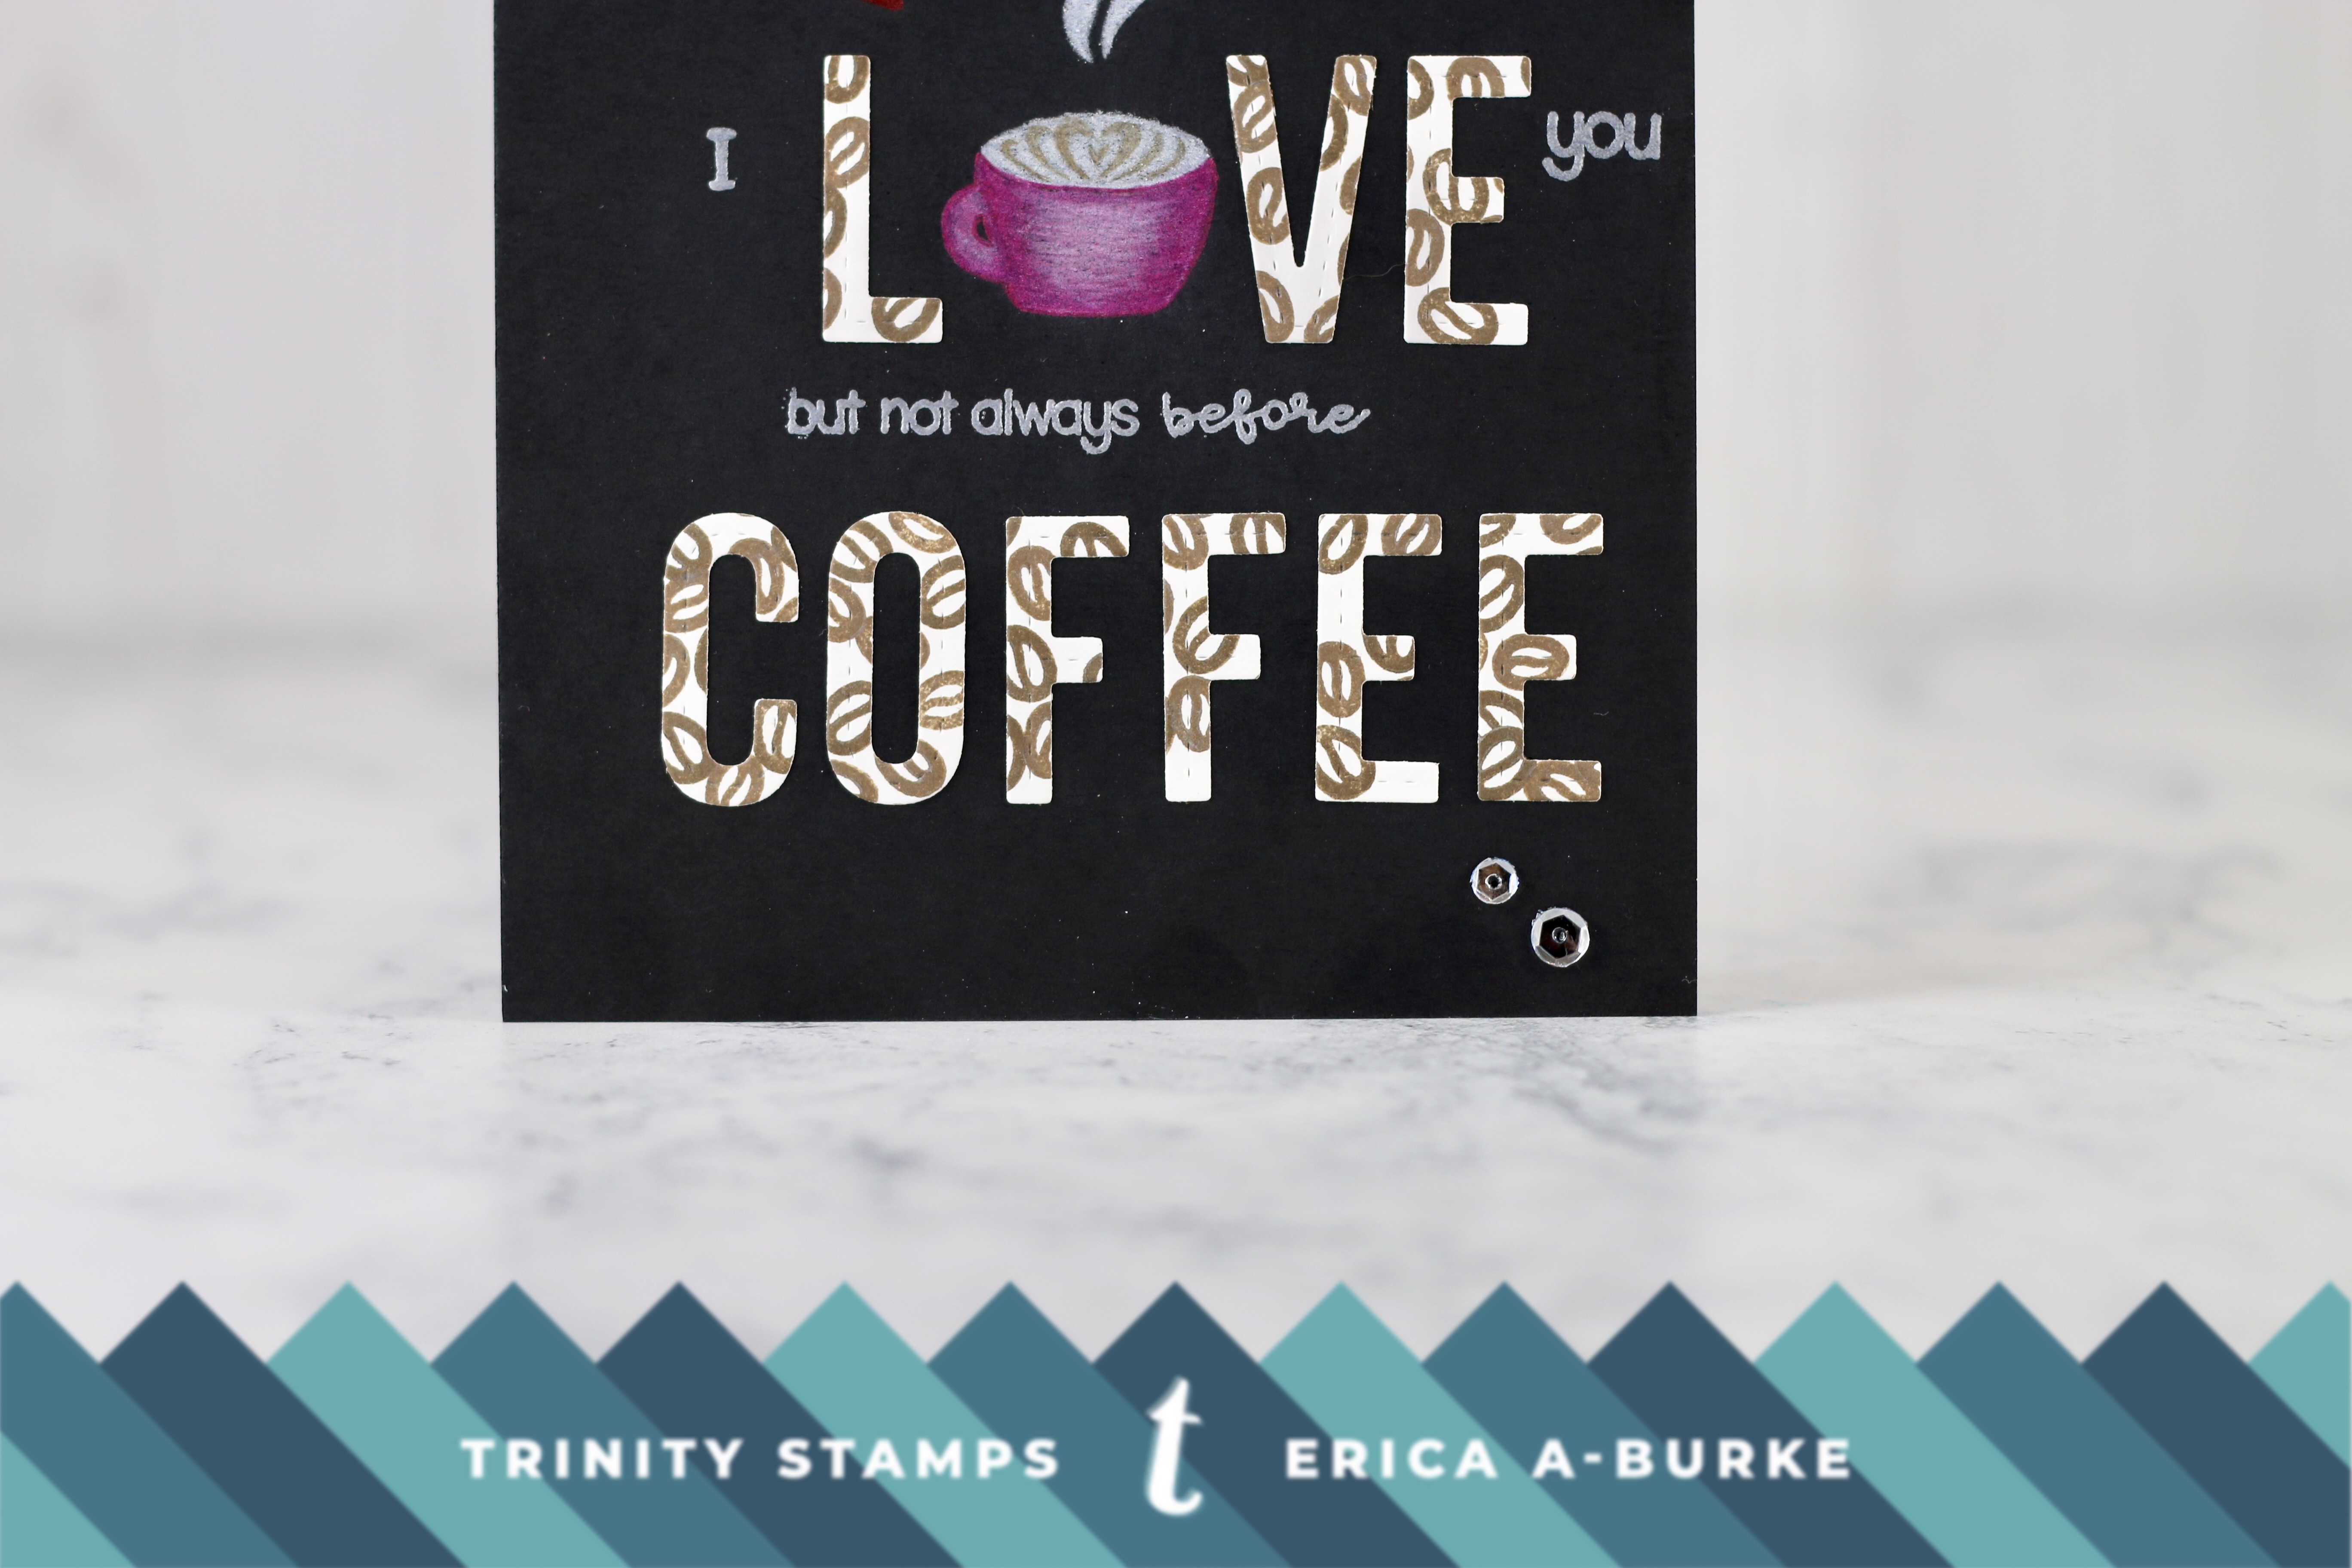
To make sure I got the placement right and to get the stamped words in the correct place, I used my MISTI. With the card placed in it, I arranged the letters as well as the stamps (from Caffeinated Sentiments) where I wanted them all. Once happy, I closed the lid and picked up the stamps. Before stamping anything on this, I used my anti-static tool all over the card. I also masked off the sentiment ‘(but not always before coffee) so the parentheses as well as the ‘coffee’ did not stamp.
Together the diecut letters and the stamping the full sentiment reads ‘I love you but not always before coffee’. The words are heat embossed with Silver Pearl WOW embossing powder and the letters are adhered with a glue pen. A magnetic work-mat and ruler helps a lot when it comes to making sure things get glued on straight. Doing this free-hand is not one of my strong suits.
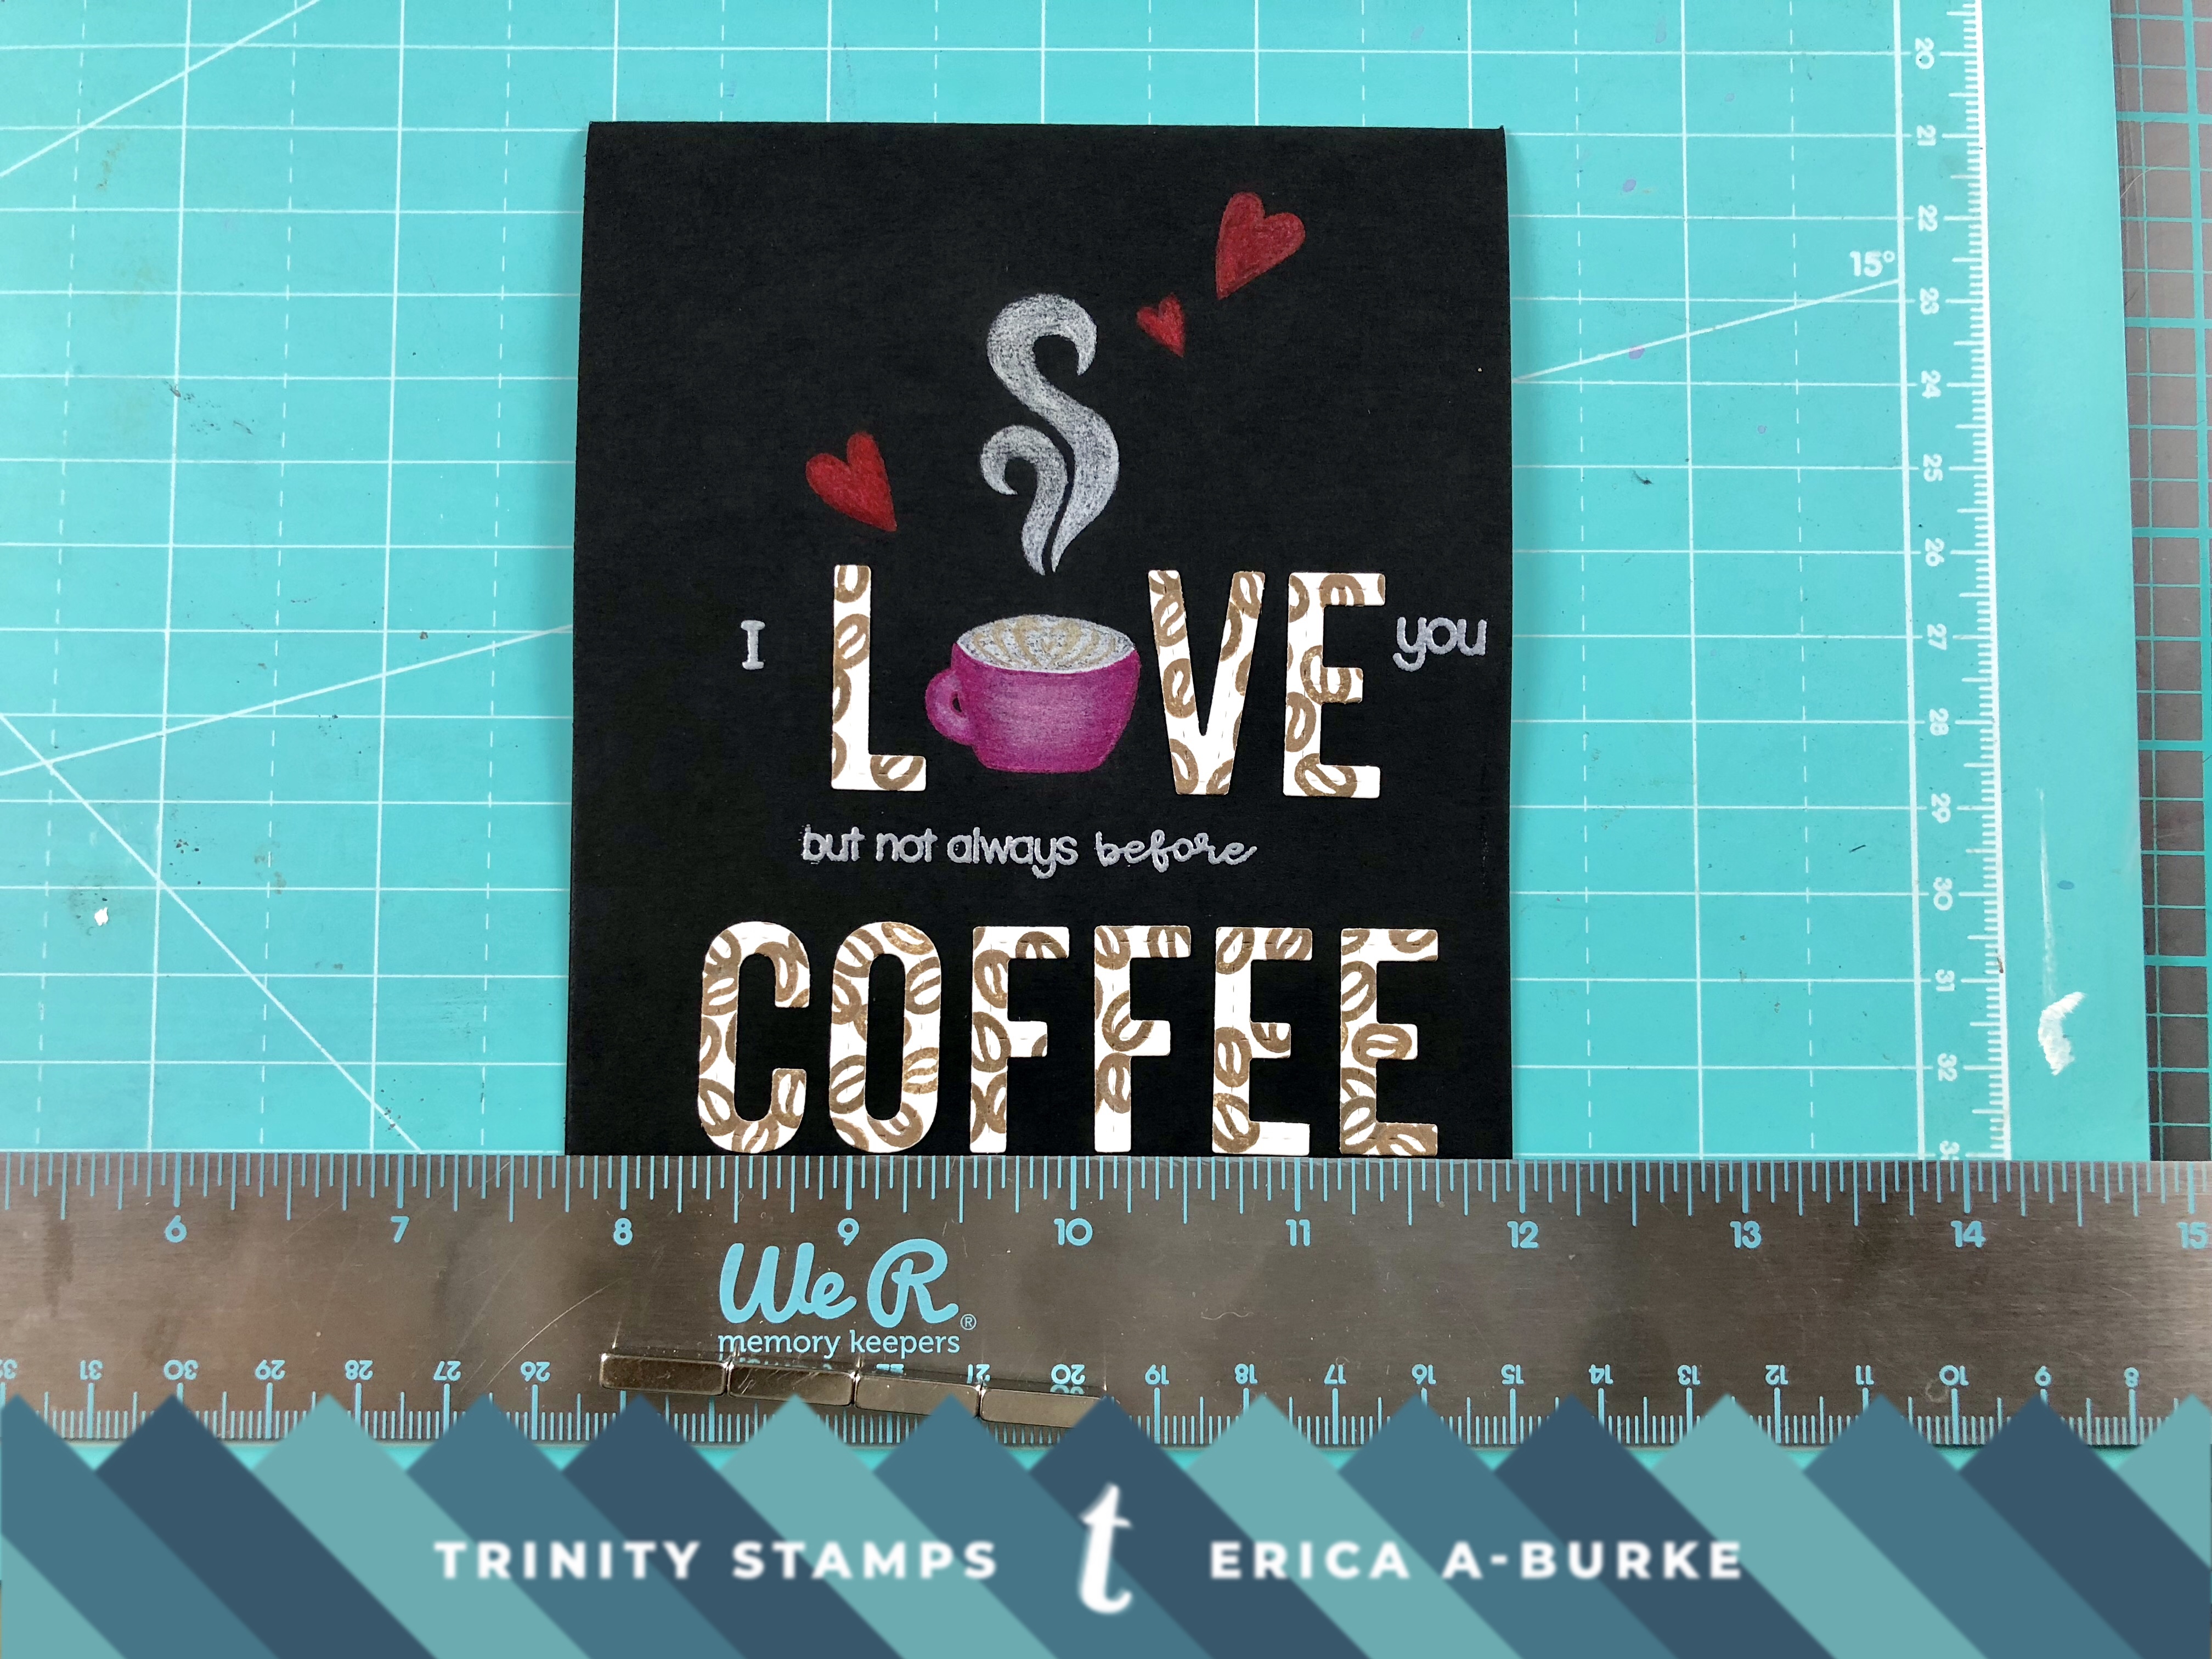
A few clear sequins were the last little touch. Lo and behold, I managed to stick to what normal, non-sequin obsessed people call ‘a few’! That feels like a huge win to be honest, lol!
Oh boy, might be time to cut down on the caffeine now. And stop talking too. I might as well, seeing as I’m all done here!
Farewell, my fellow coffee lovers, see you all soon!
Lots of love and coffee from Erica


Rude husband! 😏 I love this and all of your coffee cards!
This is so much fun!
I’ll be sharing it in the Coffee Loving Papercrafters FB group!