
Adding Stitching To Stamped Images
I’m always looking for ways to add unique details and texture to my cards, especially to balance out my love of white space! My favorite new way to add a little *extra* is with a simple stitching!
I’m incredibly inspired by the beautifully stitched card by makers like Leigh Houston, but I need to start small. LOL! So I’m keeping it simple with small images and outlines.
Here are a few tips I can share…
- Use heavier paper. 100lb cardstock holds up to the repeated handling of stitching better than 80lb.
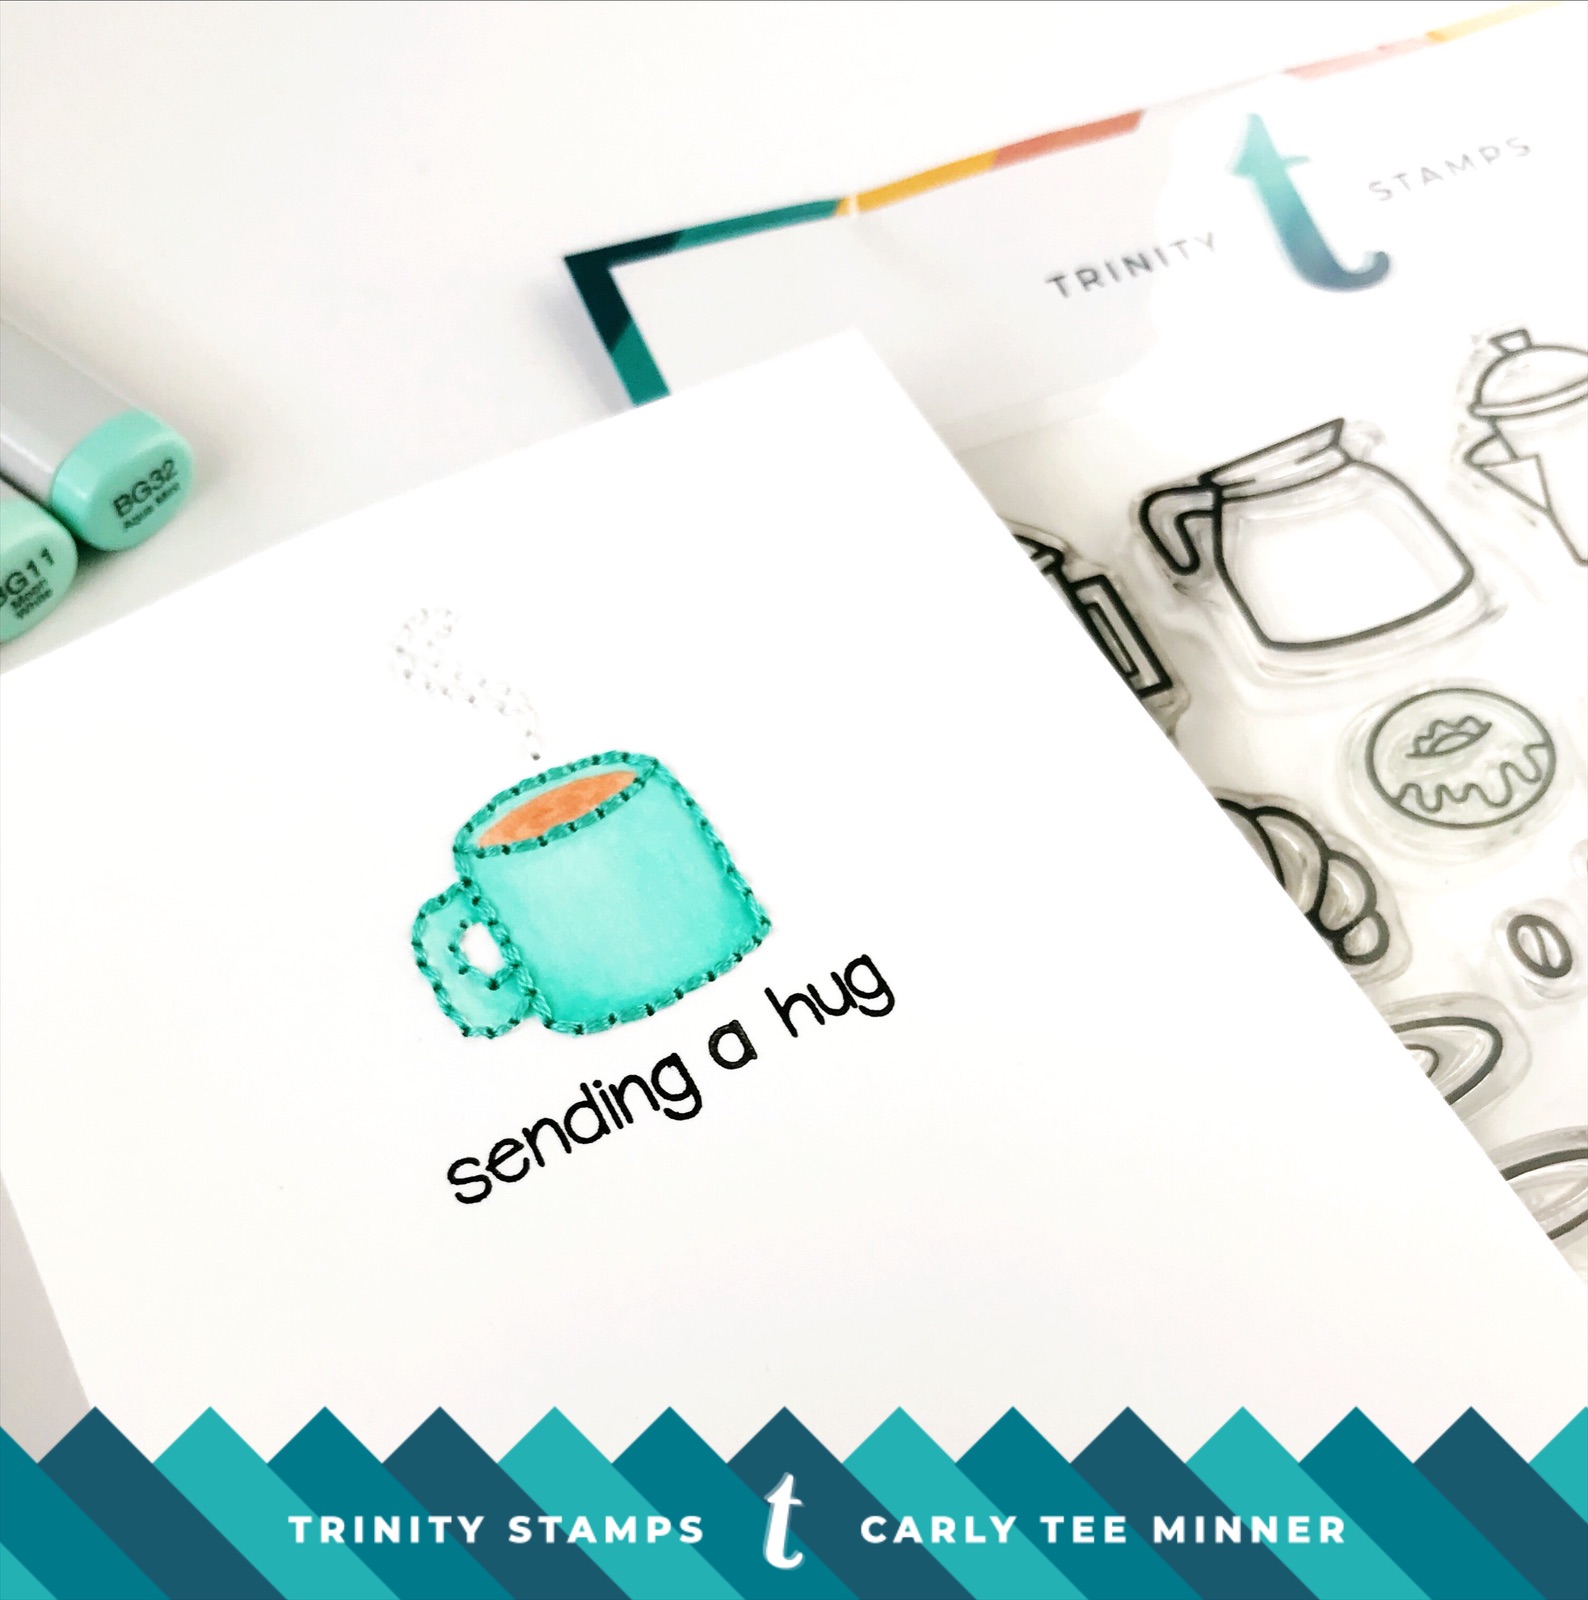
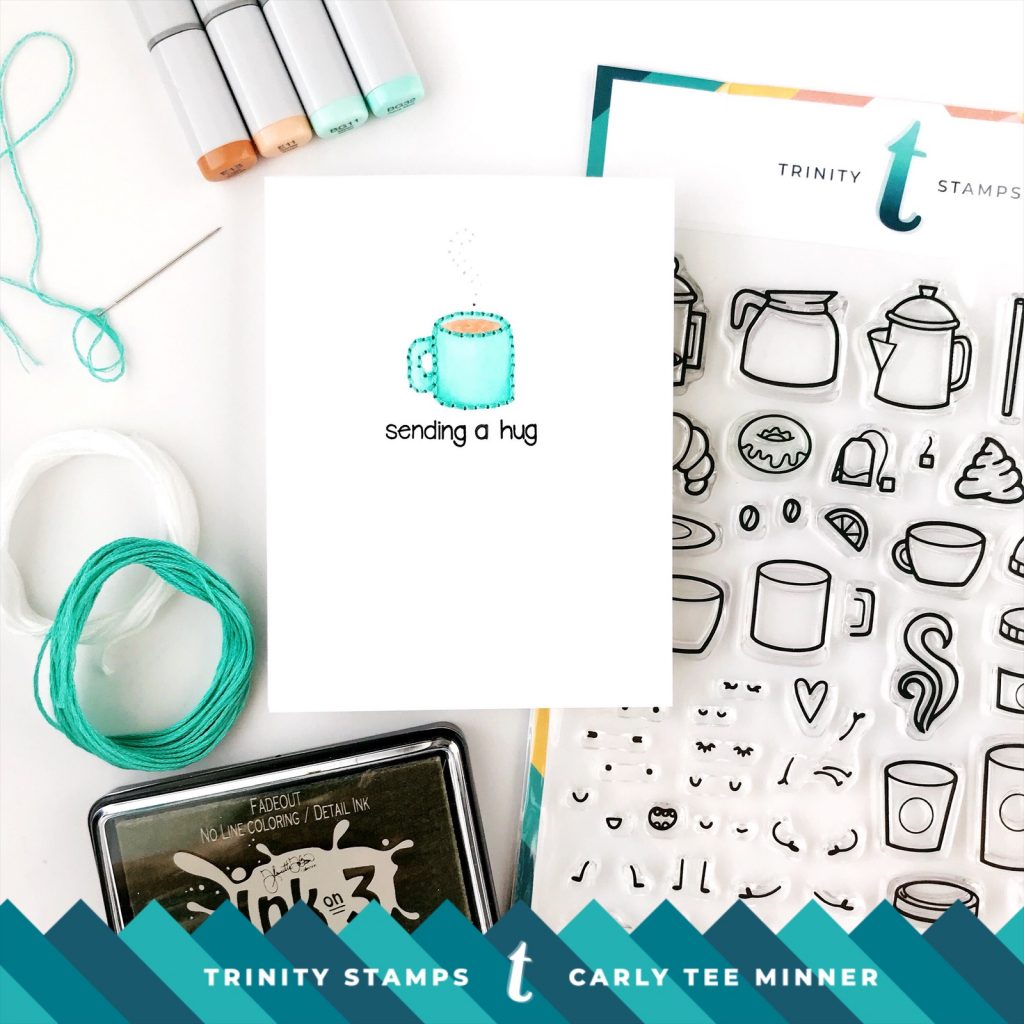
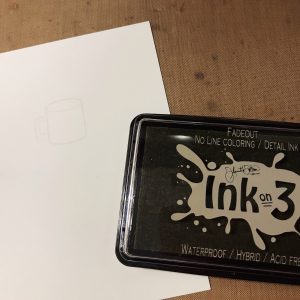
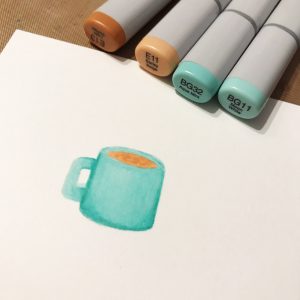
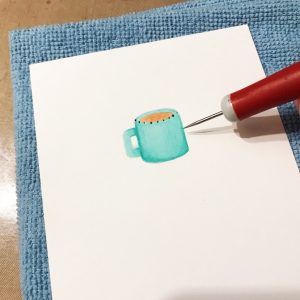
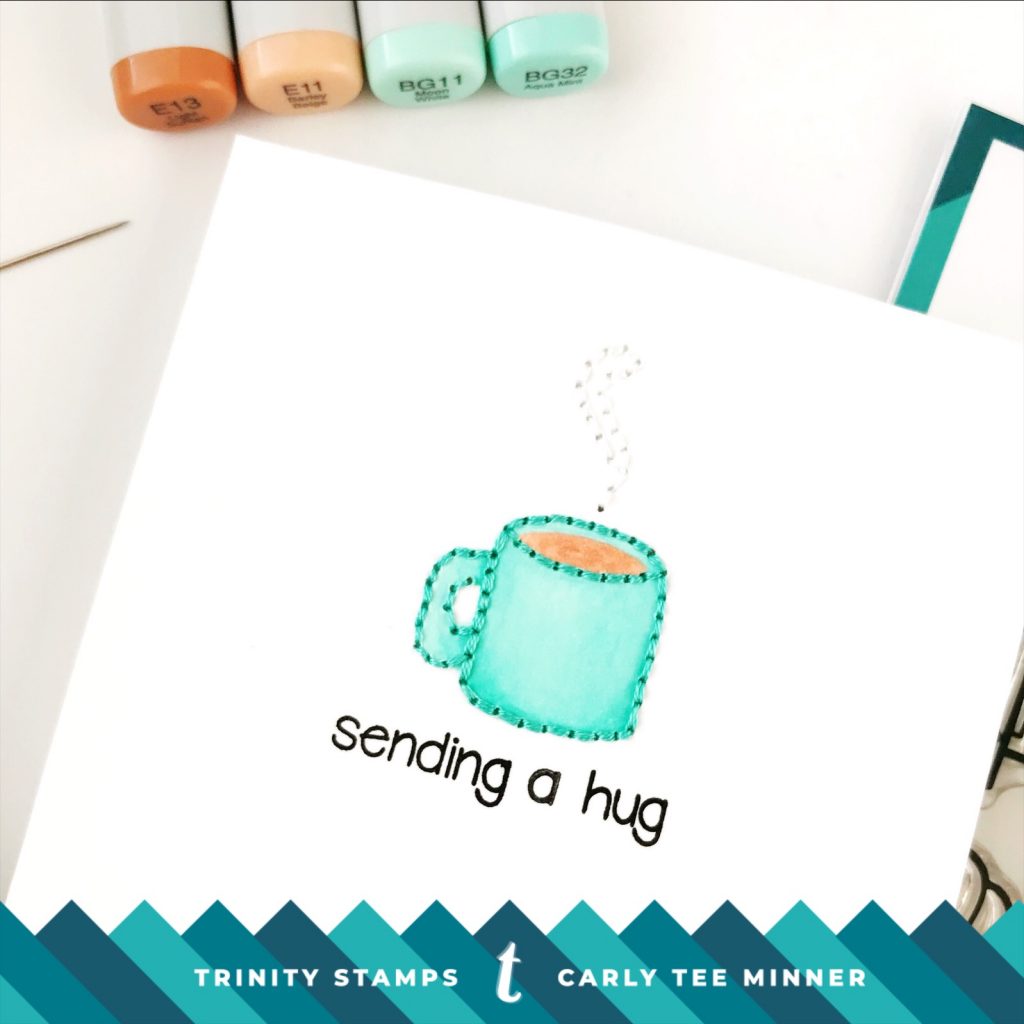
- Try no-line coloring so your stitching doesn’t have to compete with the stamped outline. I stamped this little mug with my fav no-line ink and colored with Copic markers.
- Pre-poke the holes. I placed my panel on a soft surface (a folded micro fiber cloth) and used a craft pick to punch the holes.
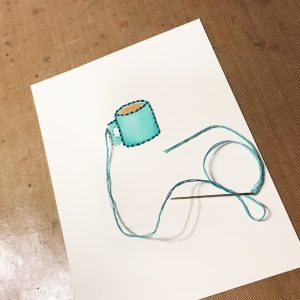
- For small images, try using less strands of embroidery floss. For this card, I separated my 6-strand embroidery floss in half, using just 3 strands for stitching.
Thanks so much for stopping by and have a great day!
Carly
Supplies:
- Coffee With Character
- Caffeinated Sentiments
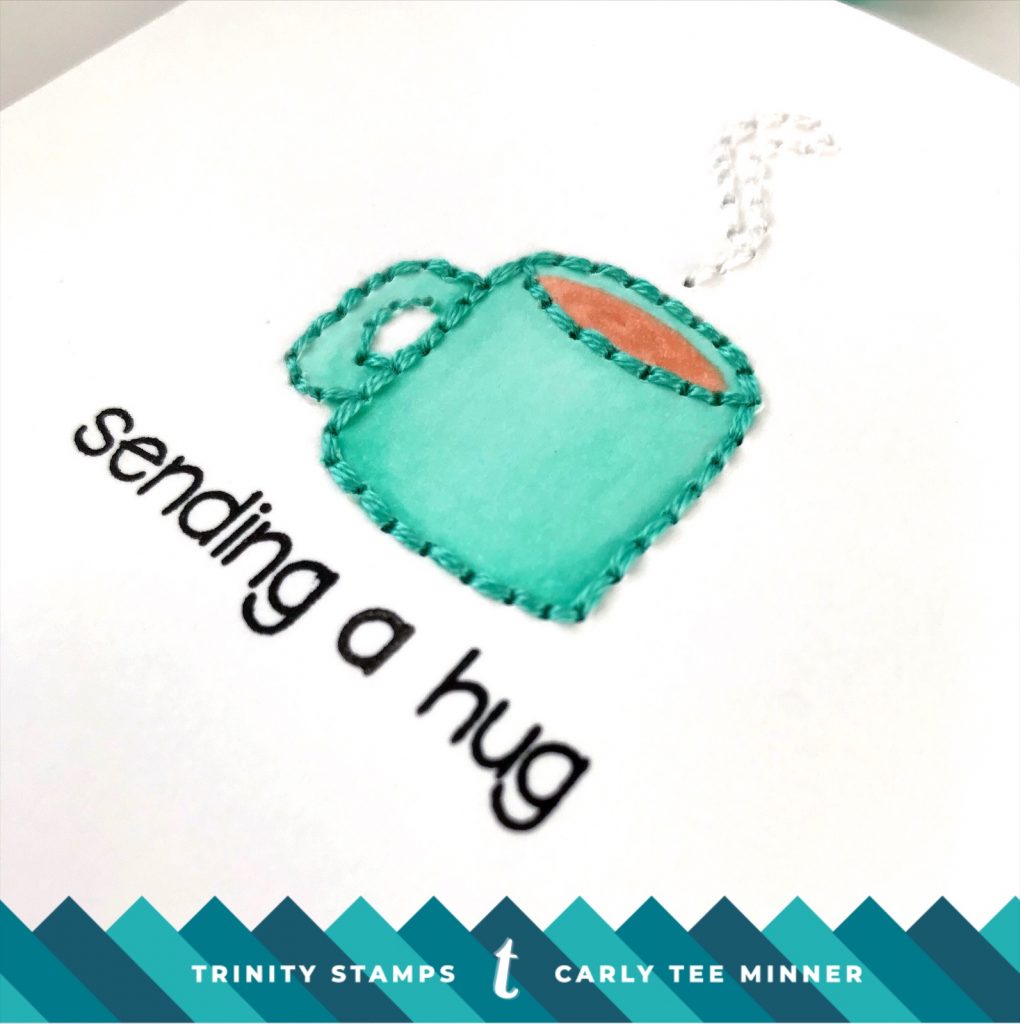
- Magical Wizards (for the steam)


Love this idea! Sweet card!
Such a fun idea!!!
oh so fun Carly!
I’m going to share this in the Coffee Loving Papercrafters FB group!
Carly that is amazing!
I love Leigh’s stitching on her cards too. I’m planning to give this a go too. 😍