
Acorn Cluster Cut & Foil Grateful Card Set!!
Hello Crafty Friends!!
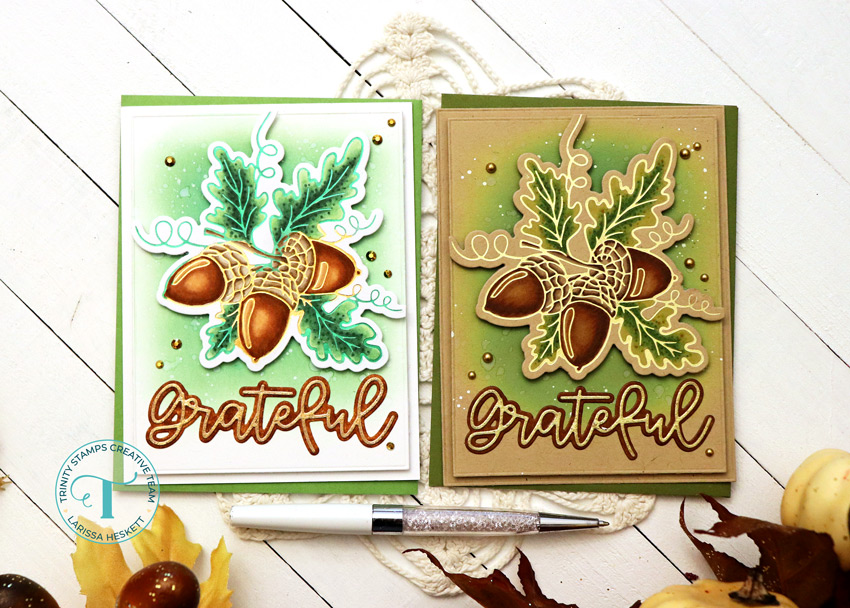
Larissa here today to share a Set of Cards using the NEW Acorn Cluster Cut & Foil Die Set!! SWOON!! This Set it just STUNNING and there are SO MANY ways you can use it to Design with, I’m just scratching the surface!! I am going to share a NEW Hot Foil Technique I came up with called the Two-Toned Hot Foil Technique and I HOPE it gets you EXCITED for some NEW ways to use your Foil Plates and Hot Foils!! 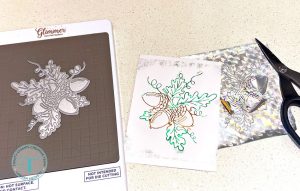
I Started by Hot Foiling the NEW Acorn Cluster Images!! For the First One I’m actually using 2 different Glimmer Hot Foils, Emerald Facets Hot Foil and Polished Brass Hot Foil!! I Started by Placing the Acorn Cluster Plate onto my Glimmer Hot Foil Systems Hot Surface and let it get Hot!! Once it was hot then I place a piece of the Emerald Hot Foil over the Image Color Side Down and then I placed the Polished Brass Pieces that I cut Down to the size of the Acorns over the top again Color Side Down!! This will NEVER result in a PERFECT Foil as its hard to see exactly where the Acorn Images are, but I personally am okay with that as in nature NOTHING is Perfect!! Then I removed the Hot Surface and ran it through my Platinum 6 Die Cutting Machine and SQUEAL, The results are just AMAZING!! A Two-Toned Hot Foiled Image!! 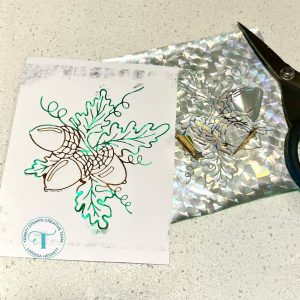
Hopefully you can see the Negative Polished Brass Cut Hot Foil pieces Curled up on the Emerald Green Hot Foil Piece to see what I mean!!?? SUPER FUN right!!??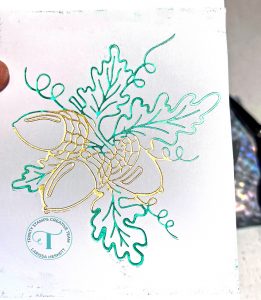
Here’s another Close up look, I want to use this Technique with different Hot Foil Combinations as I think it would be PERFECT for a Set of Cards to give as a Gift for Thanksgiving!! Think Teachers, Family Members with Birthdays or even Friends with Birthdays too!! 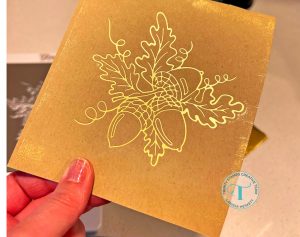 I Repeated the Same Steps for the Second Image, only this time I just Foiled with the Matte Gold Hot Foil!! I LOVE the Results on Kraft Cardstock!! So make sure to try different Colors of Cardstock for different looks too!!
Do you prefer one Technique over the other!!?? Have I INSPIRED you to give Hot Foiling a Try yet!!??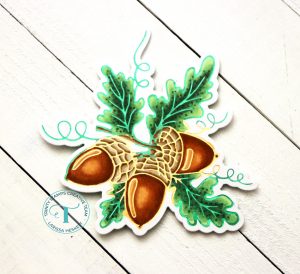
Next I Colored the Image in with Copic Markers!!
Dark Brown: E30, E33, E36 & E39 Light Brown: E40, E43 & E47 Green: YG61, YG63, YG67 & G19
Then I Die Cut the Image out using the coordinating Die and I placed Foam Tape on the Back of the Image!!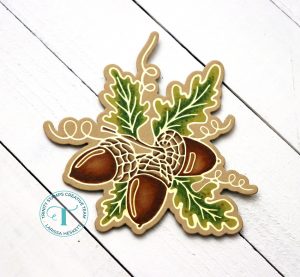
Next I Colored the Image in with Copic Markers!!
Dark Brown: E30, E33, E36 & E39 Light Brown: E40, E43 & E47 Green: YG00, YG13, YG25 & YG45
Then I Die Cut the Image out using the coordinating Die and I placed Foam Tape on the Back of the Image!!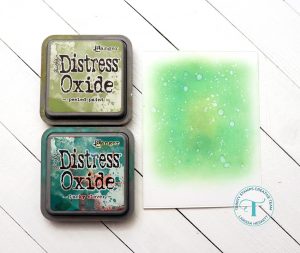 |
|
Next I Die Cut some Distress Watercolor Cardstock using the Modern Embossed Rectangle Stack Die Set and Inked it with some Peeled Paint and Lucky Clover Distress Oxide Inks using the Blending Buddy Brushes!! I added some Water Splatters and some Picket Fence Paint Splatters for some added Texture!! 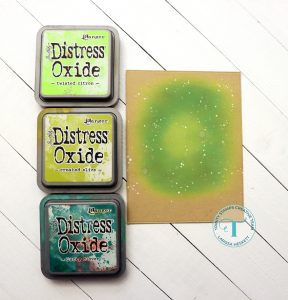
I Die Cut some Kraft Cardstock using the Modern Embossed Rectangle Stack Die Set and Inked it with some Twisted Citron, Crushed Olive and Lucky Clover Distress Oxide Inks using the Blending Buddy Brushes!! I added some Water Splatters and some Picket Fence Paint Splatters for some added Texture!!
I Colored both some Distress Watercolor Cardstock and some Kraft Cardstock with an E36 Copic Marker Then I Die Cut the Outline “Grateful” Sentiment using the Grateful Sentiment Die!! Then I Die Cut the Thin “Grateful” Sentiment from some Hot Foil in both Matte Gold and Polished Brass to coordinate with the Hot Foiled Images and adhered them together using some Crafty GlueFriend Adhesive!!
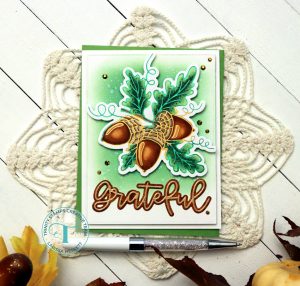
I Adhered the Acorn Cluster Image onto the Card Panel using Foam Tape for some Dimension and then I adhered the “Grateful” Sentiment onto the Card Panel using some Crafty GlueFriend Adhesive!! 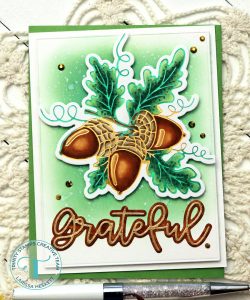
Then I added some Trinity Stamps Gold Eclipse Rhinestones using the Crafty GlueFriend Adhesive!! I LOVE both the Sparkle and the Texture they add to the Card Design!! 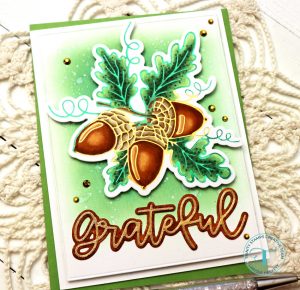
Here’s a Close up look at the Finished Card!! The Two-Toned Hot Foil REALLY adds to the over all Design and I LOVE the affect of the different Hot Foils when its moved in the Light!! 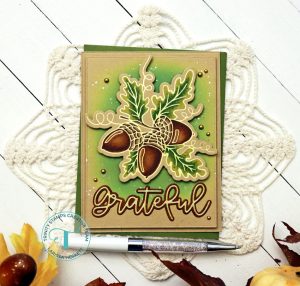
I Adhered the Acorn Cluster Image onto the Card Panel using Foam Tape for some Dimension and then I adhered the “Grateful” Sentiment onto the Card Panel using some Crafty GlueFriend Adhesive!!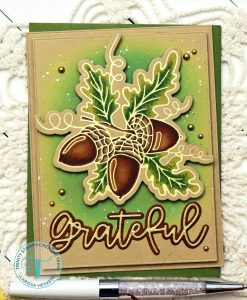
Then I added some Trinity Stamps Gold Satin Baubles using the Crafty GlueFriend Adhesive!! I LOVE both the Sparkle and the Texture they add to the Card Design!!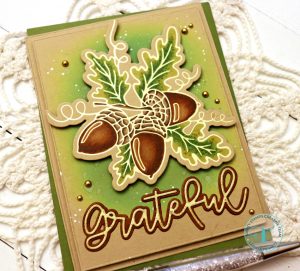
Here’s a Close up look at the Finished Card!! The Hot Foil on Kraft REALLY adds to the over all Design and I LOVE the affect of the Hot Foil when its moved in the Light!!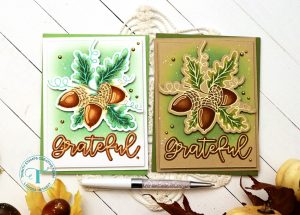
So there you have it, a look at the NEW Acorn Cluster Cut & Foil Die Set in action using a NEW Two-Toned Hot Foil Technique I came up with and Hot Foiling on Kraft Cardstock to change things up!! I hope I’ve INSPIRED you to not only give Hot Foiling a try, but also to try the MANY Different ways to use them!! SQUEAL!! They are SO FUN to create with the possibilities are ENDLESS!!
THANKS SO MUCH for stopping by today!! If you create something please share with us on Social Media using the #hastag #trinitystamps #trinitystampsllc as we LOVE to see what you’ve created!!
You can join us in our FB Community HERE!!
I hope you have a FABULOUS WEEK!! Make sure you continue to visit us as we share Projects to INSPIRE You with the NEW Autumn Gathering Products!!
LARISSA HESKETT


