
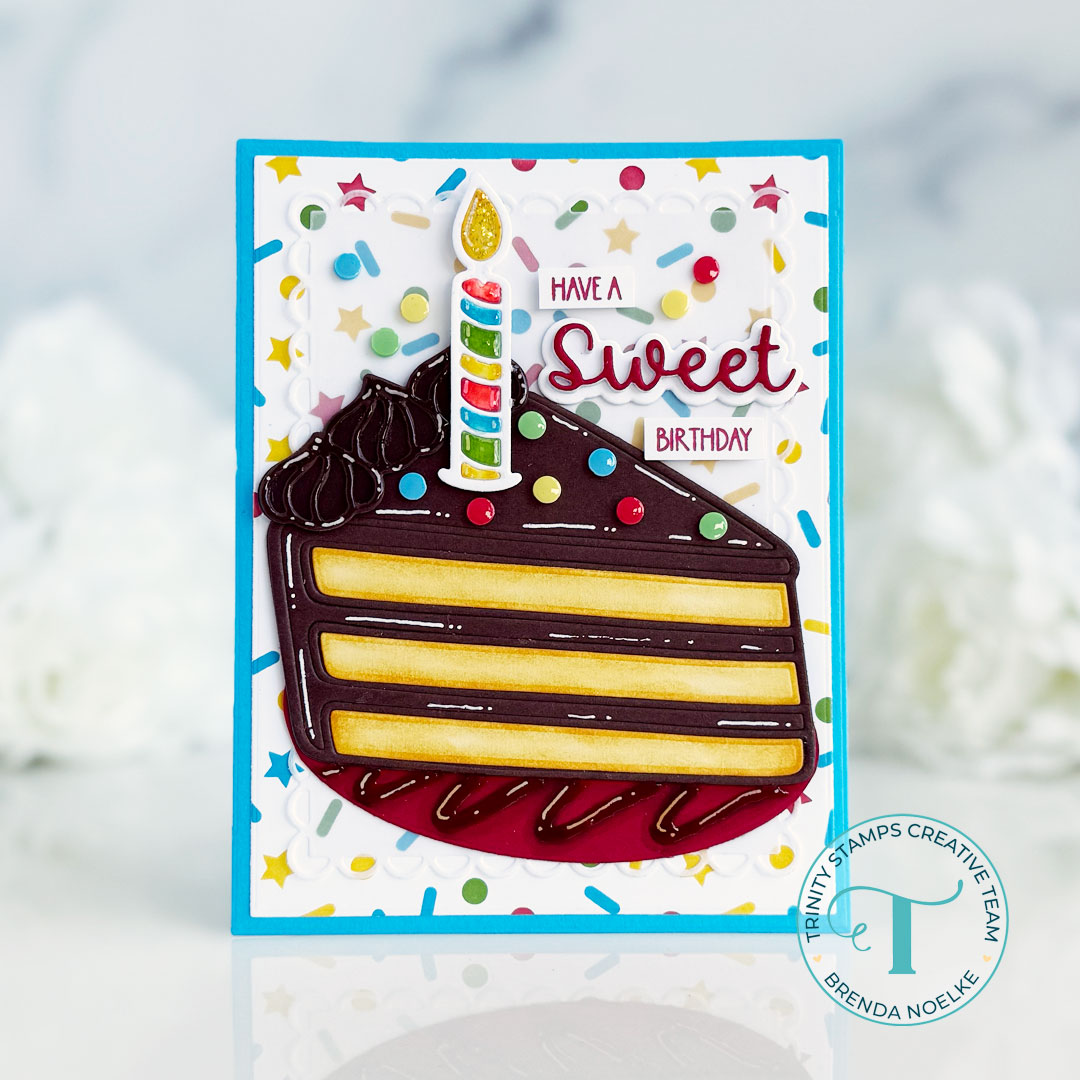
Have A Sweet Birthday
Hello, crafters!! I hope you’re having a great week!! Brenda here with a birthday card featuring the You Take the Cake Die Set and the Simply Sentimental: Sweet Stamps & Coordinating Dies from the latest release, along with a few other goodies!!
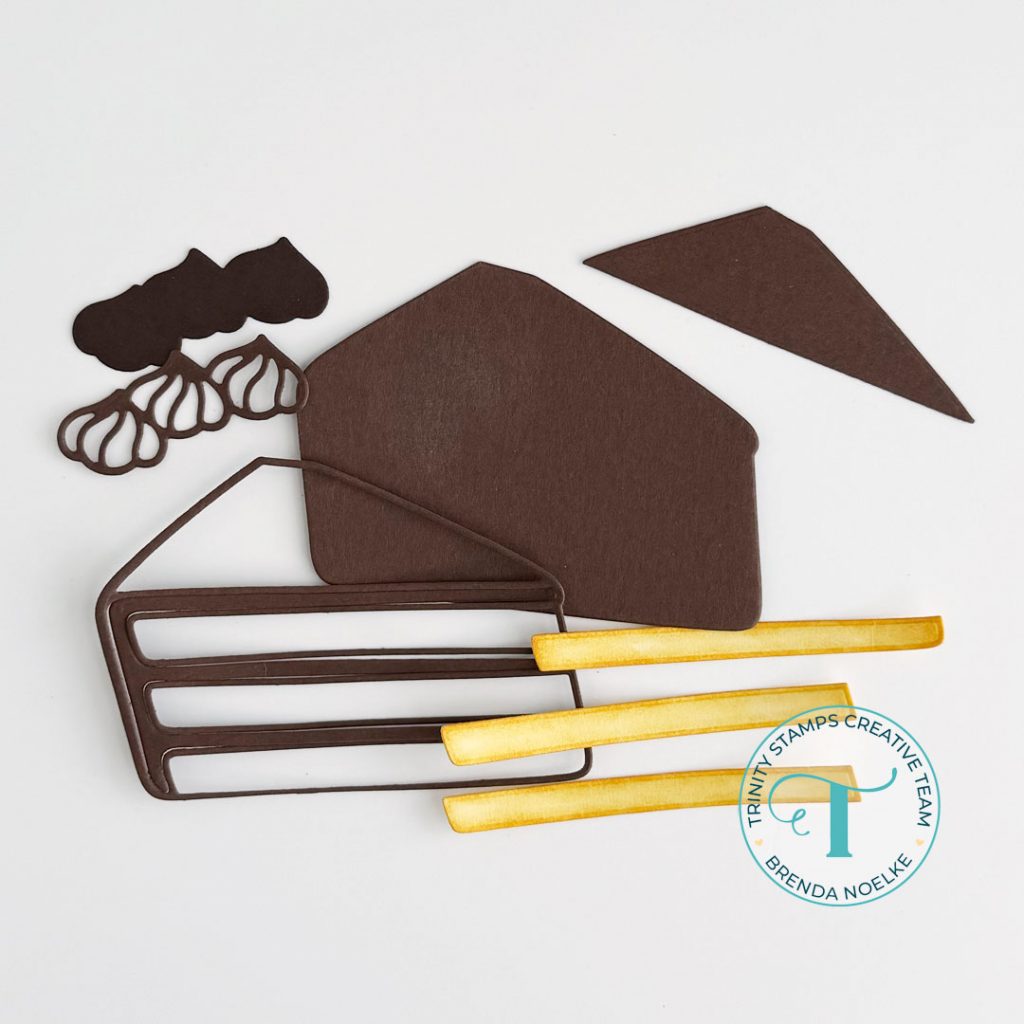
I began by die-cutting the You Take The Cake Dies from light yellow and brown cardstock. I used Shading Sidekick Brushes to add a bit of shading to the cake layers with Mustard Seed Distress Ink and darkened the back layer of the frosting dollops with dark brown dye ink.
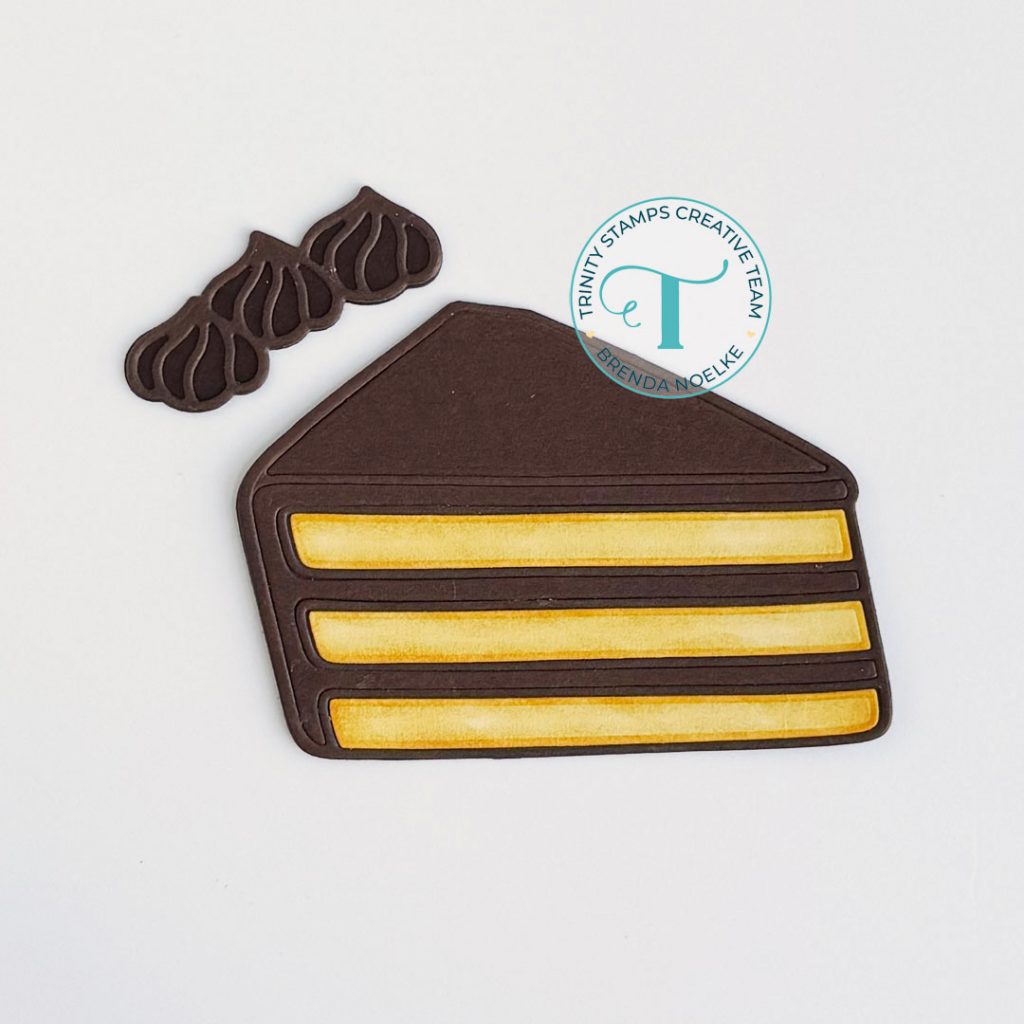
I used liquid glue to adhere the die-cuts together.
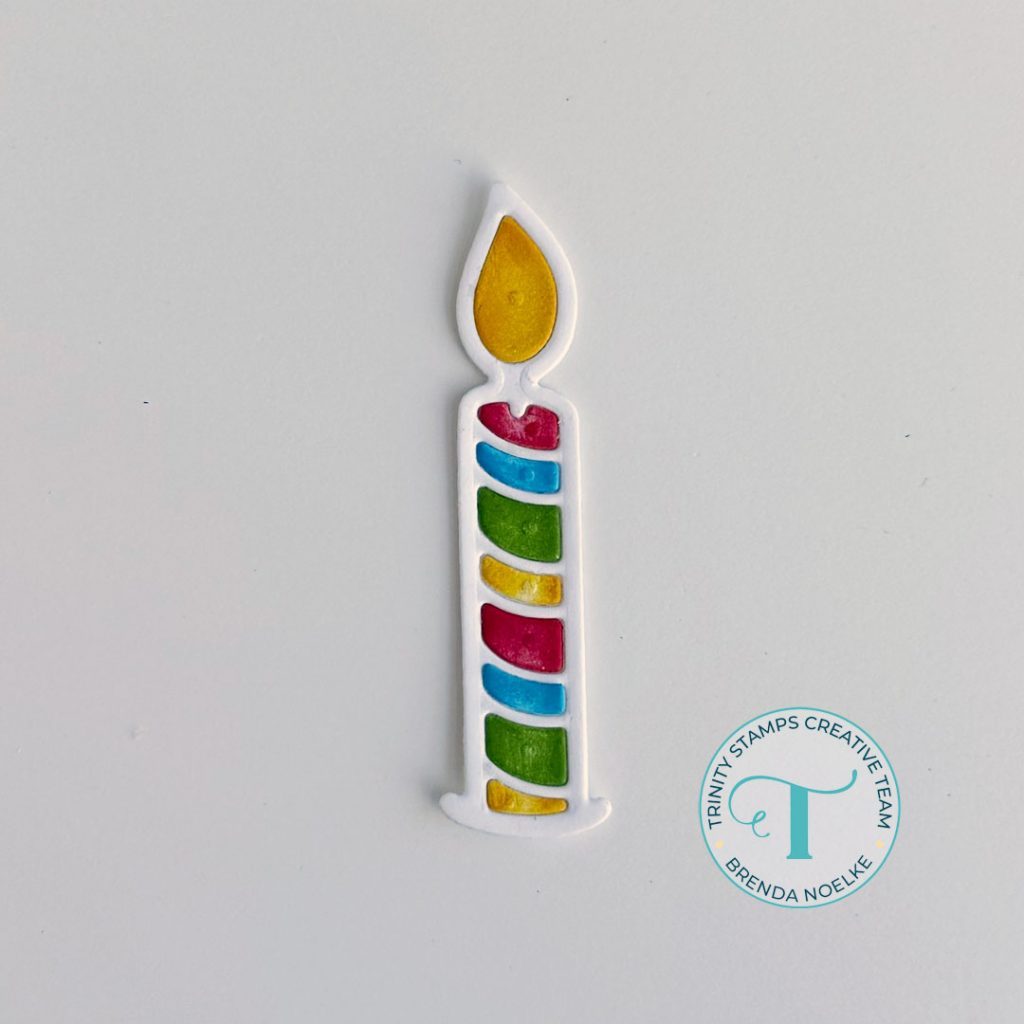
The candle, also from the You Take The Cake Dies, was cut from white cardstock. I added some shading to the inner pieces with Lumberjack Plaid, Salty Ocean, Mowed Lawn and Mustard Seed Distress Inks and Shading Sidekick Brushes, then adhered all the pieces together with liquid glue, inlaying the center die-cuts.
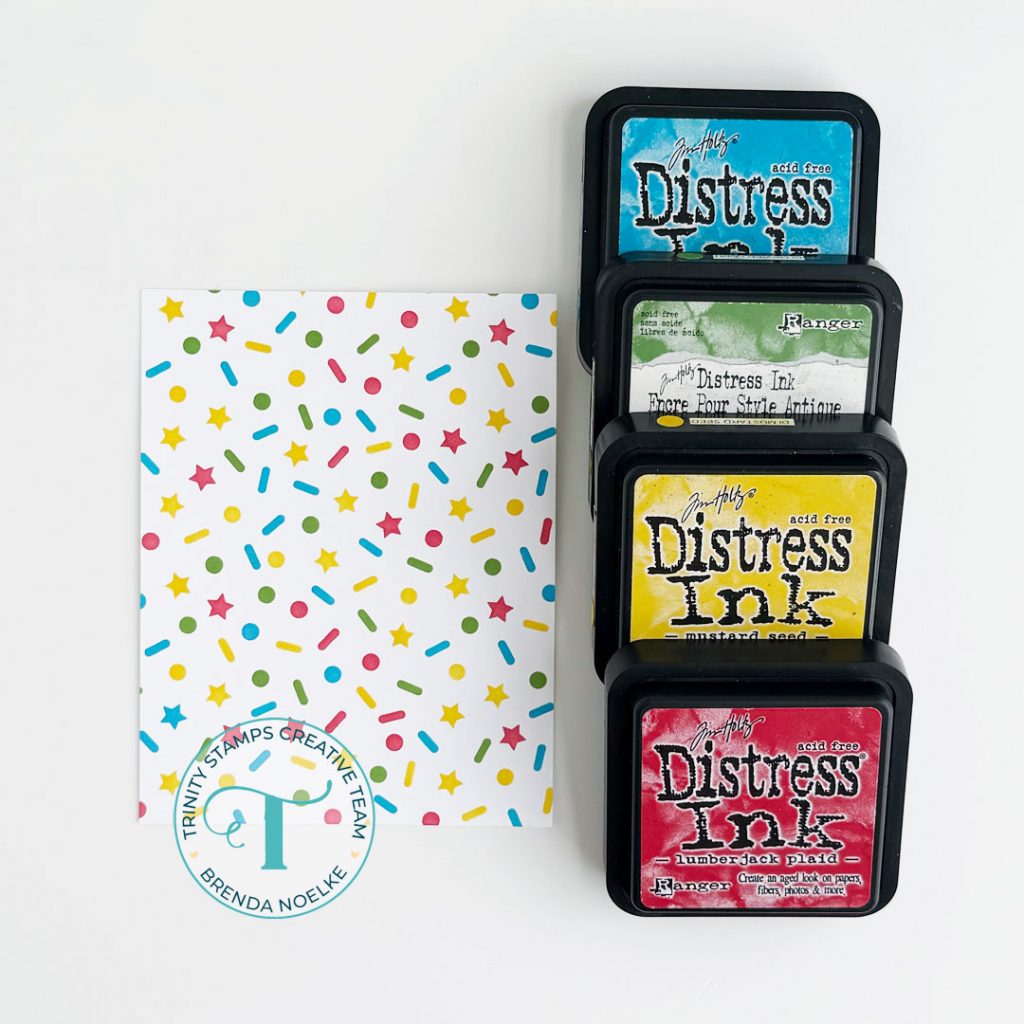
For the background, I blended Lumberjack Plaid, Mustard Seed, Mowed Lawn and Salty Ocean Distress Inks through the Stars & Sprinkles Stencil Set onto a panel of white cardstock with Blending Buddy Brushes.
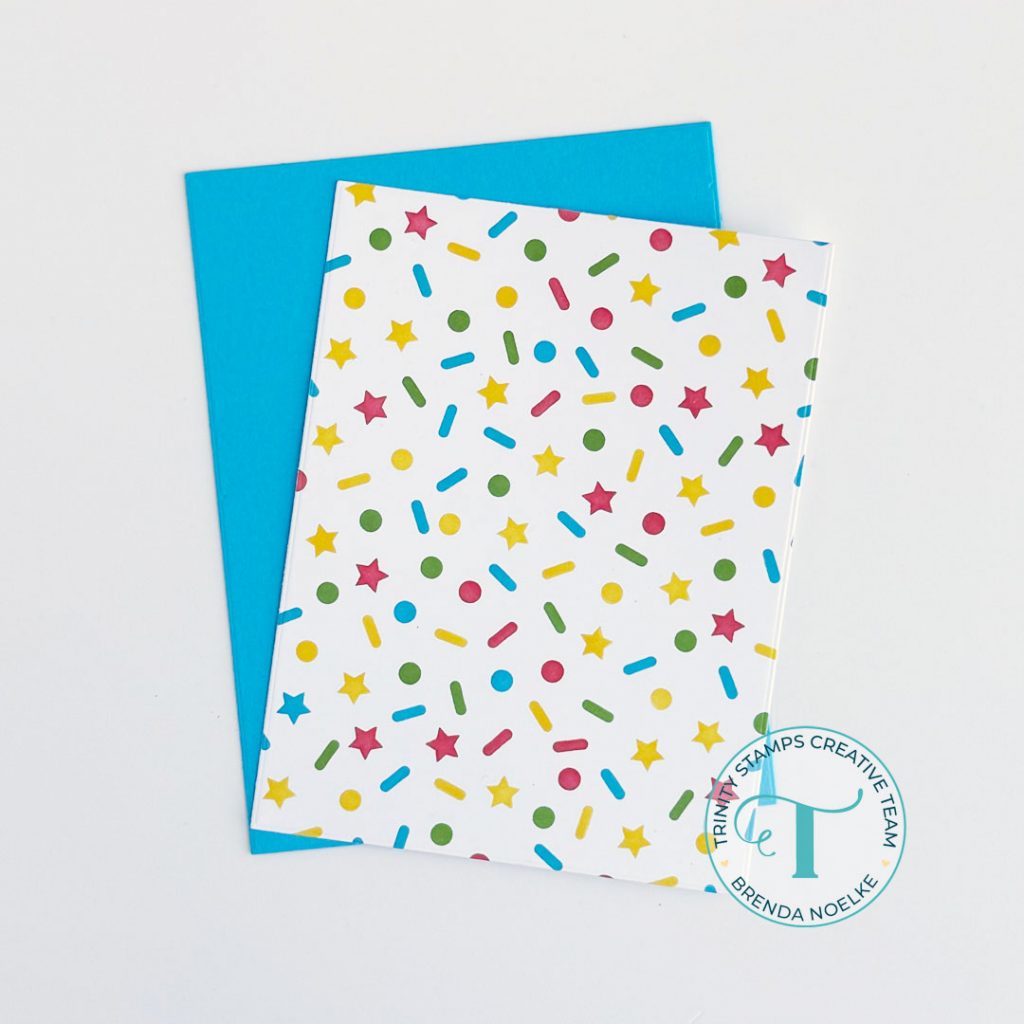
The second largest die in the A2 Clean Cut Layers Rectangle Set A Die Set was used to die-cut the panel. A panel of blue cardstock was cut out with the largest die in the same die set. Liquid glue was used to adhere the layers together.
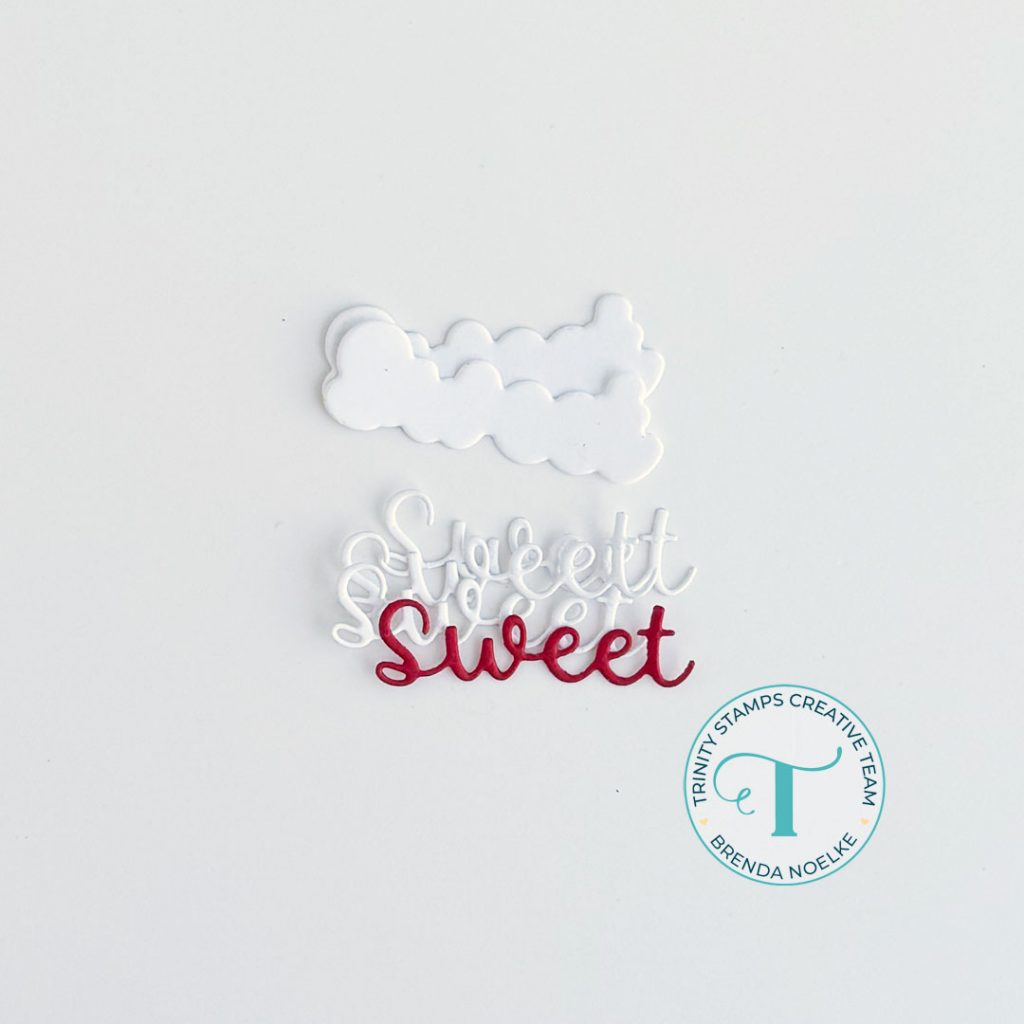
The top layer of “sweet” from the Simply Sentimental: Sweet Die Set was cut once from red cardstock and three times from heavyweight white cardstock. The shadow layer was cut twice from white cardstock, then they were stacked and adhered together with liquid glue.
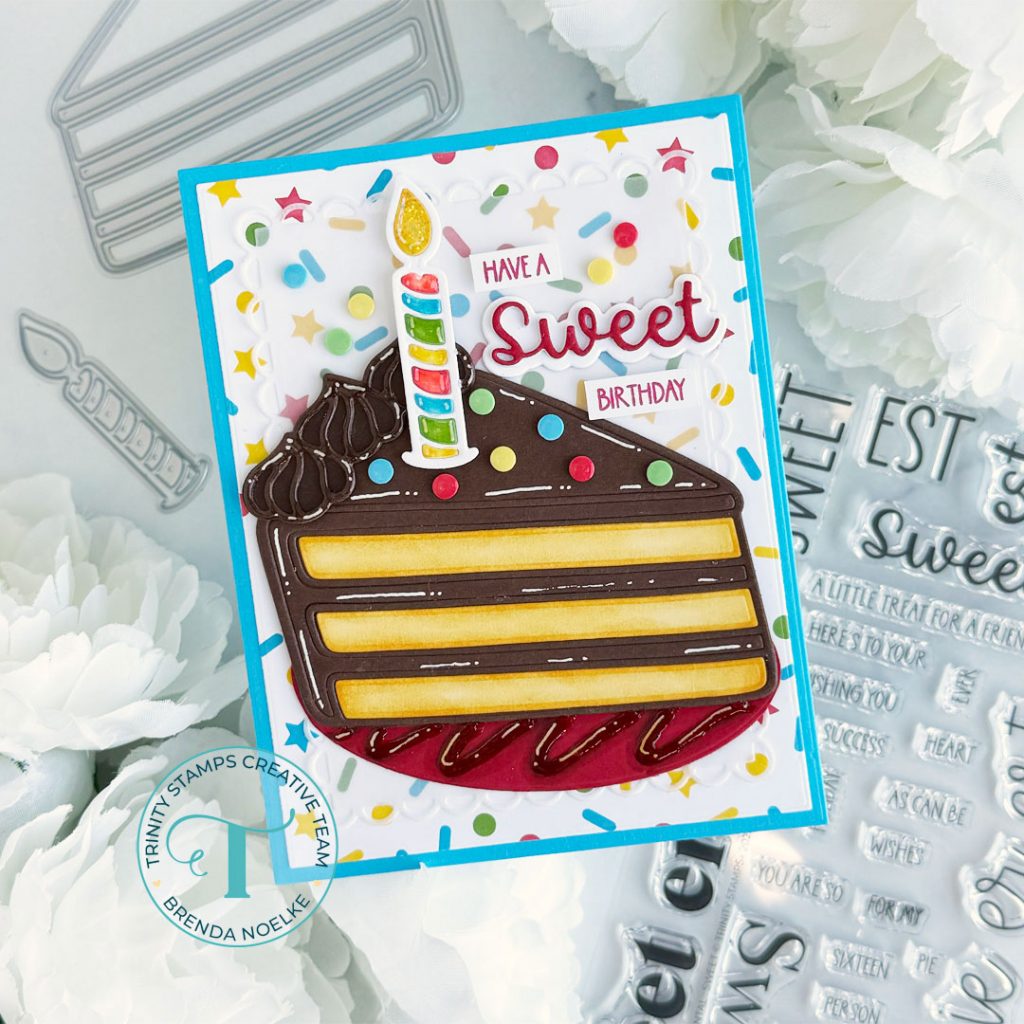
A panel of vellum was die-cut with the second largest die in the Dainty Scallop Rectangles Die Set and adhered to the background, adding liquid glue only behind the area where the die-cuts will be.
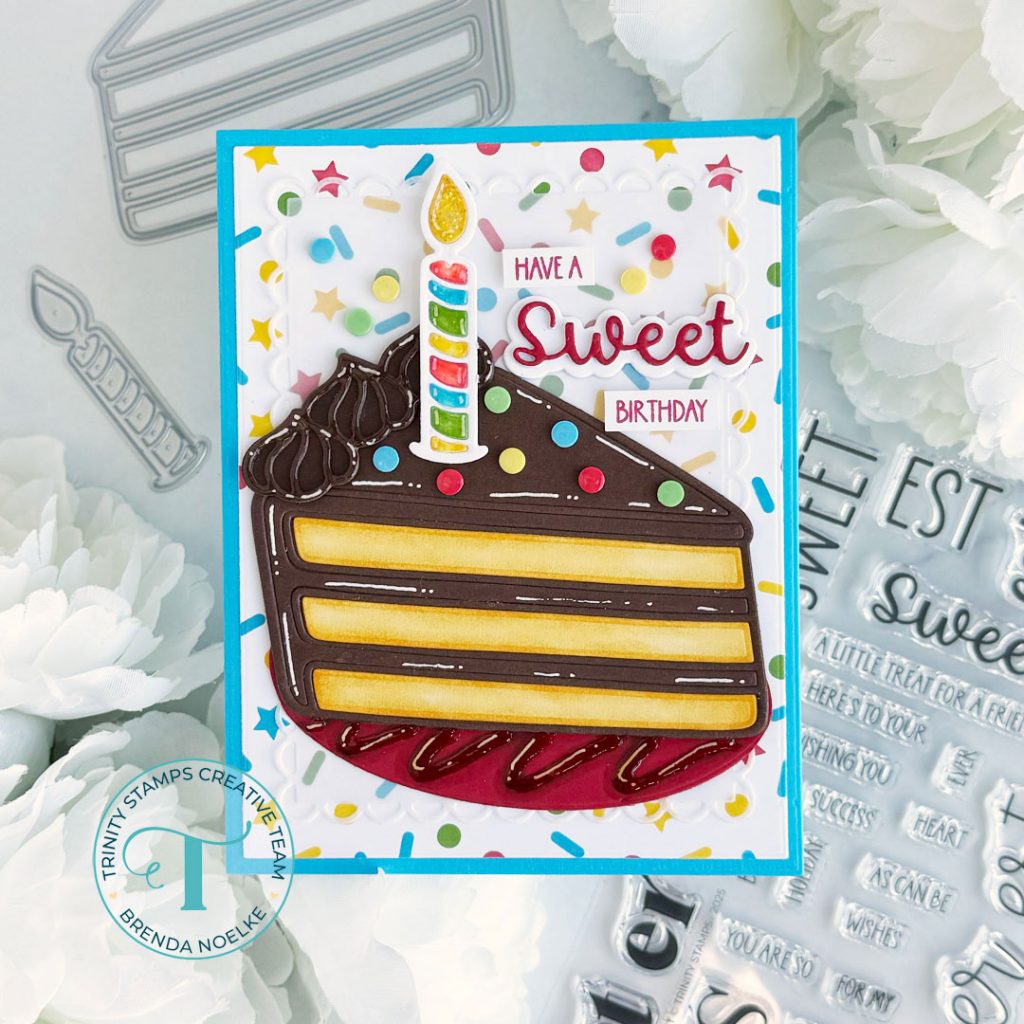
I wanted a plate to place my cake slice onto, so I went searching in my stash and came up with the oval-ish die in the Backyard Pool Die Set. I die-cut it from red cardstock and trimmed it slightly to round it out a bit, then adhered it to the background. The cake was adhered with liquid glue and the candle was adhered with a combination of liquid glue and foam tape.
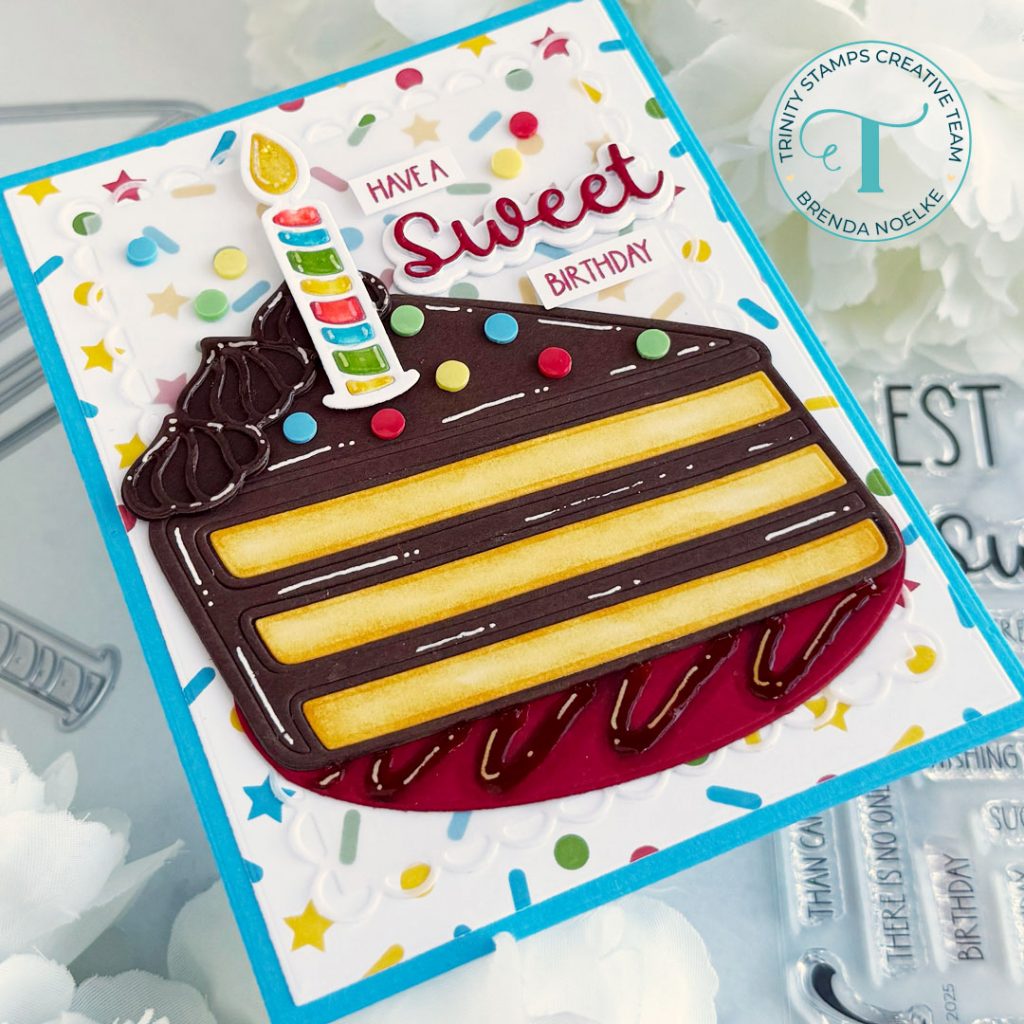
The rest of the sentiment, from the Simply Sentimental: Sweet Stamp Set, was stamped onto white cardstock with red dye ink and trimmed into narrow strips. They were popped up with foam tape and the die-cut “sweet” sentiment was adhered with liquid glue. I added Rainbow Sherbet Candy Confetti to the top of the cake and the open areas on the background. A white gel pen was used to add some highlights and Icicle Stickles was added to the flame. I added Glossy Accents to the confetti, candle and the top layer of the chocolate dollops.
At this point, I felt like something was missing, so I used Copic markers to add some chocolate “squiggles” to the plate. I added highlights with a white gel pen and Glossy Accents to make it shiny. It looks just like chocolate sauce in real life!!

I love how this turned out!! I chose to create it with primary colors so it could work for any gender!!
I HAD to bake a yellow butter cake with chocolate fudge frosting after creating this!! SO GOOD!!
Thank you so much for stopping by today!! I’ll see you next Thursday!!


