
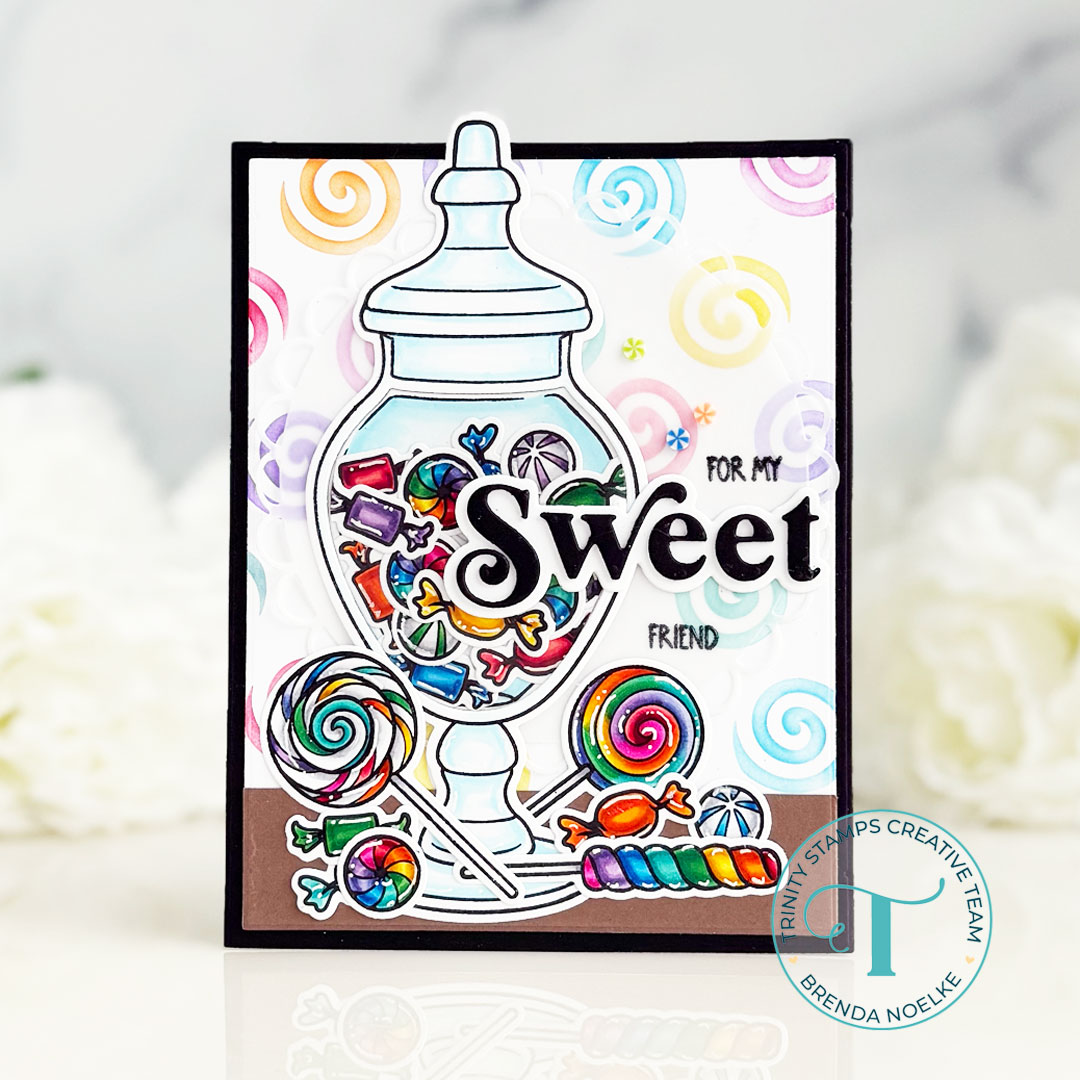
For My Sweet Friend
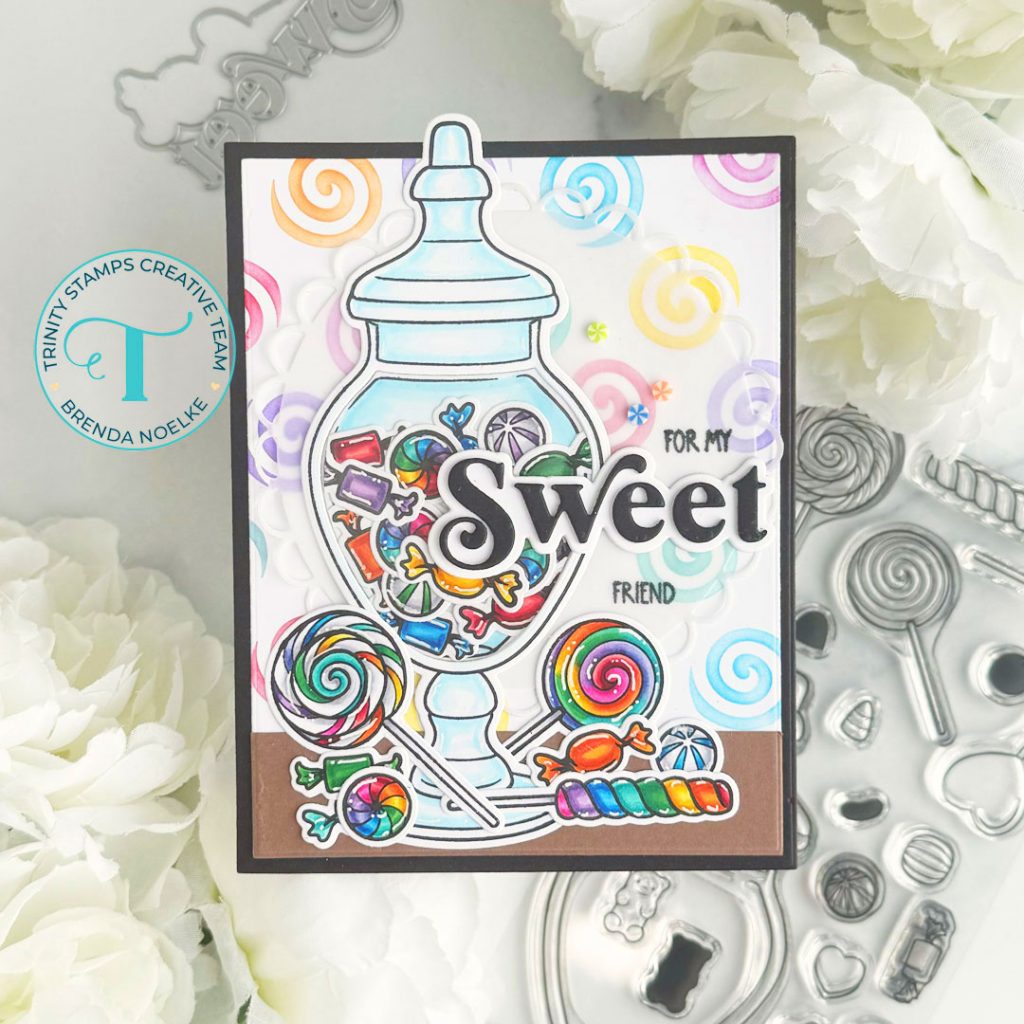
Hello, crafty friends!! Brenda back with you on this Thursday sharing a “SWEET” card featuring the Candy Jar Stamp Set & Coordinating Dies!!
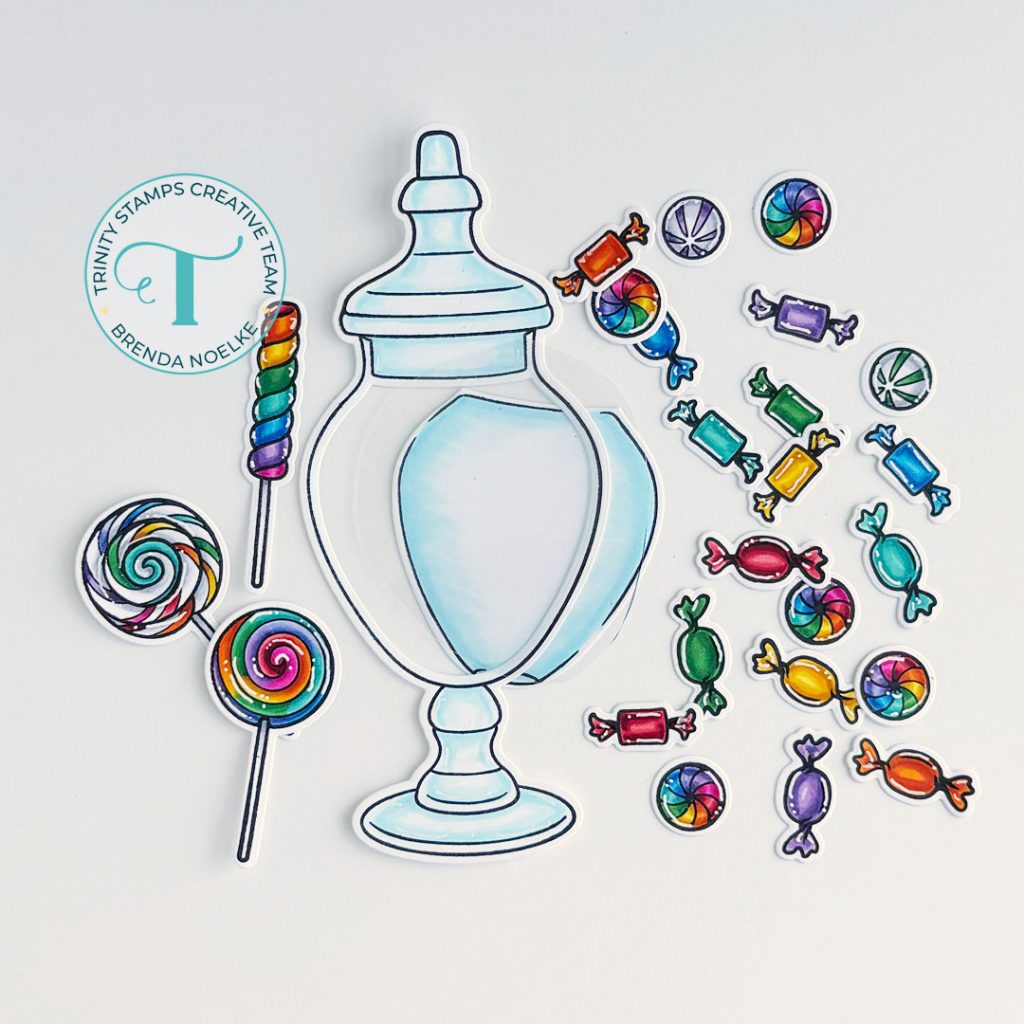
I started by stamping the jar and candy from the Candy Jar Stamp Set onto white cardstock with InkOn3 Blackout Ink. I colored them with Copic markers (if coloring isn’t your thing, there is a Candy Jar Stencil Set available), added highlights with a white gel pen, then used the Coordinating Dies to cut them out. I also traced around the back of the jar onto a piece of acetate and fussy cut it out.
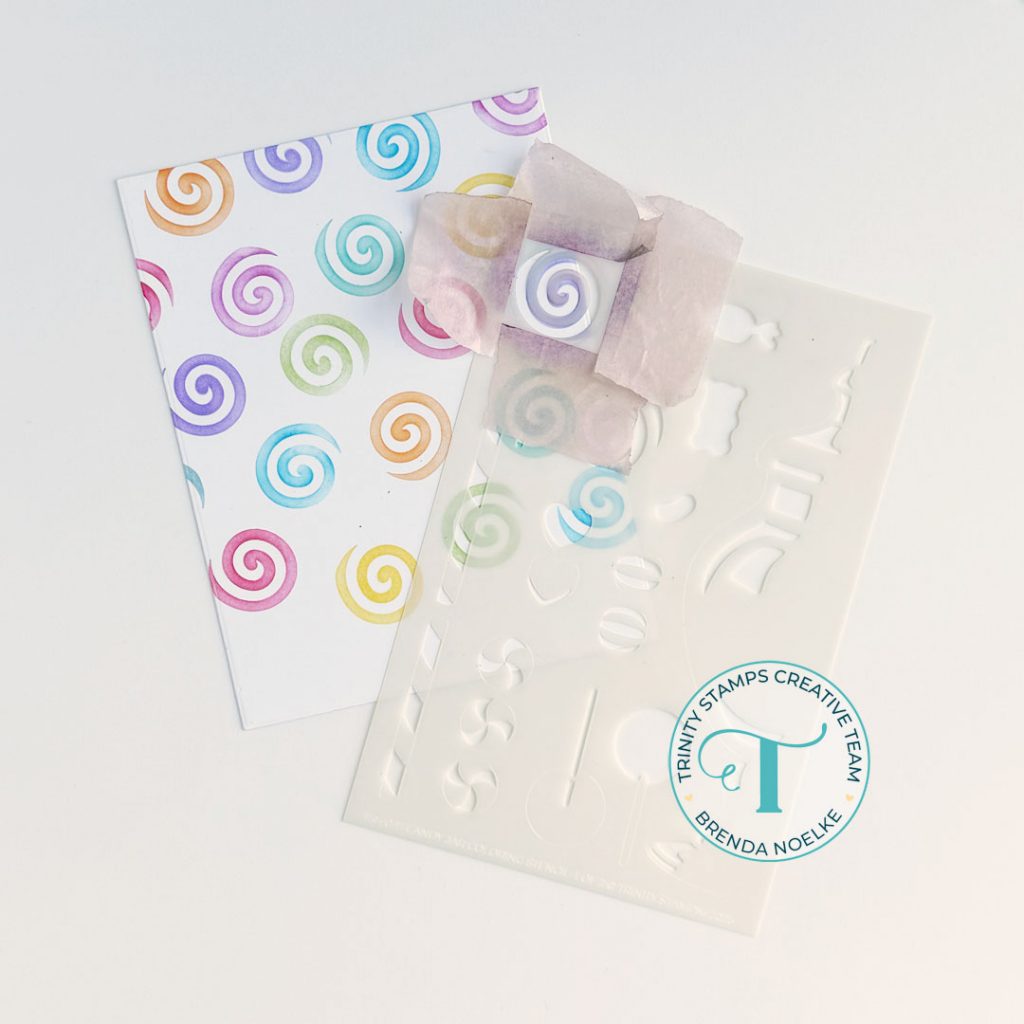
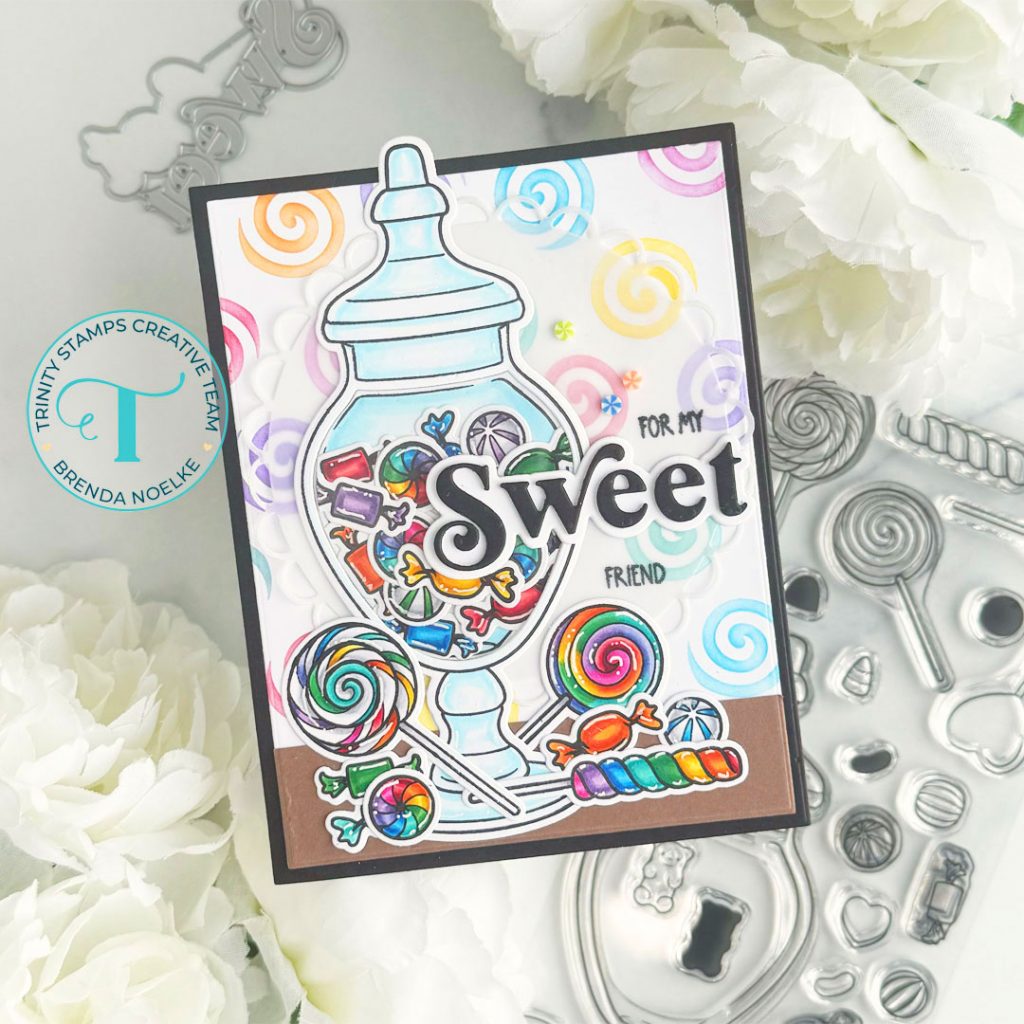
Next, I die-cut a panel of white cardstock with the second largest die in the A2 Clean Cut Layers Rectangle A Die Set. I taped off one of the swirl stencils in the Candy Jar Stencil Set that’s intended to color the lollipops and blended it repeatedly onto the panel with Distress Inks that closely matched the colors in my candy pieces using Shading Sidekick Brushes. I used Lumberjack Plaid, Carved Pumpkin, Mustard Seed, Mowed Lawn, Peacock Feathers, Salty Ocean and Villainous Potion.
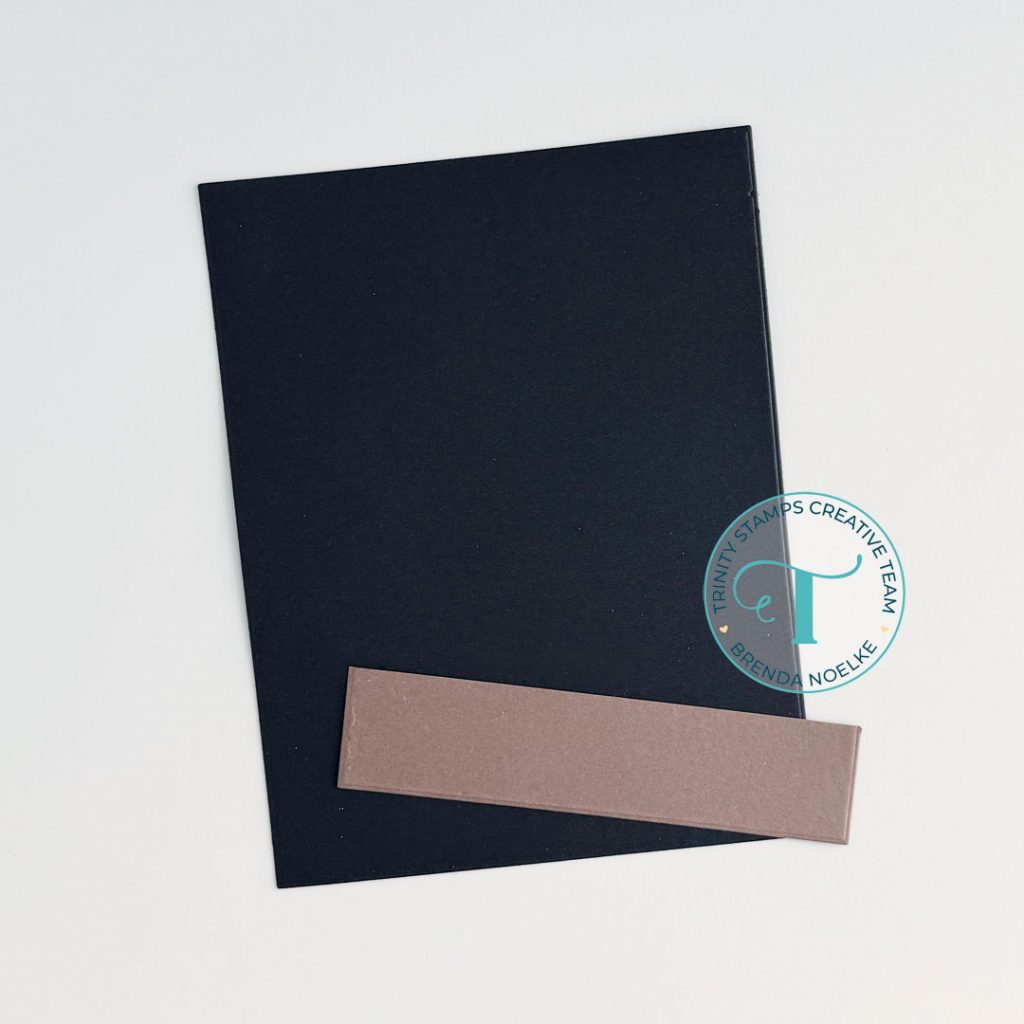
The largest die in the A2 Clean Cut Layers Rectangle A Die Set was used to cut a panel of black cardstock. I also die-cut a piece brown cardstock with the same die and trimmed it to about one inch tall.
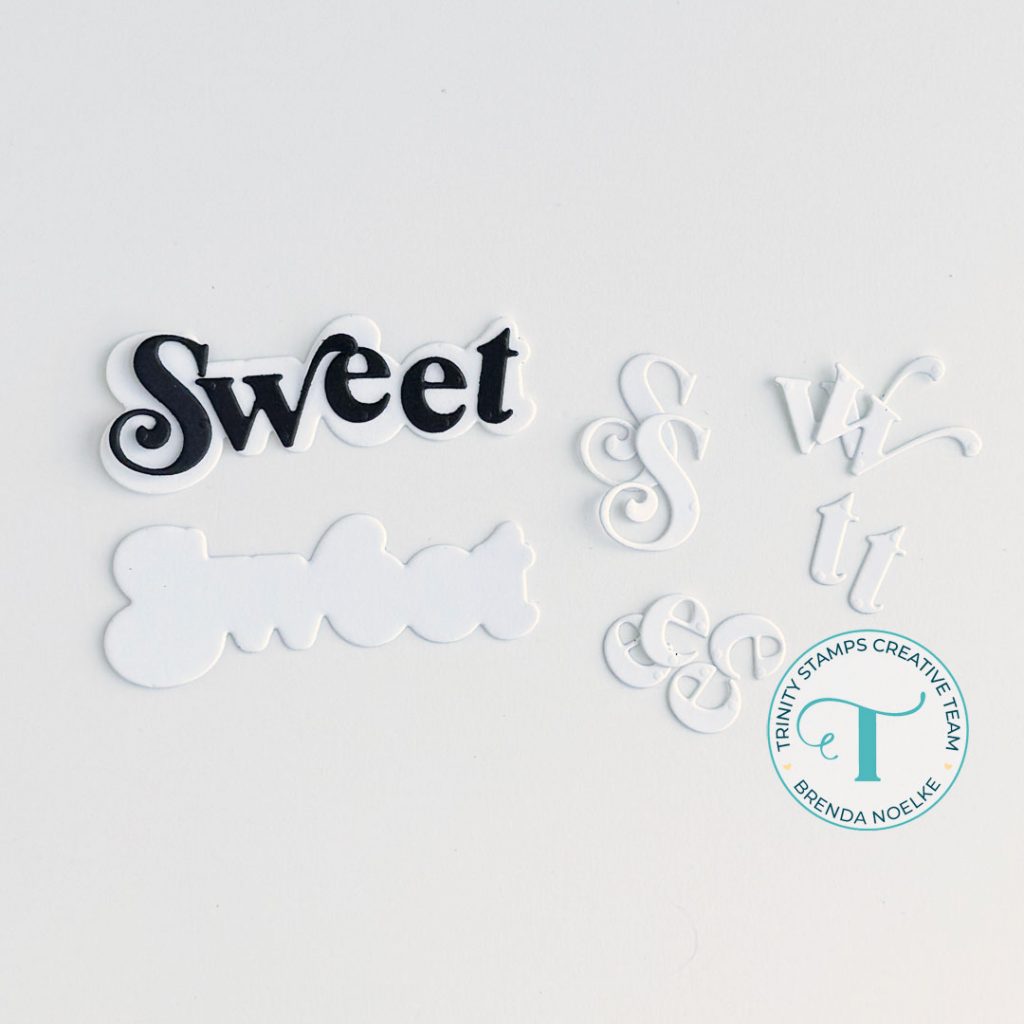
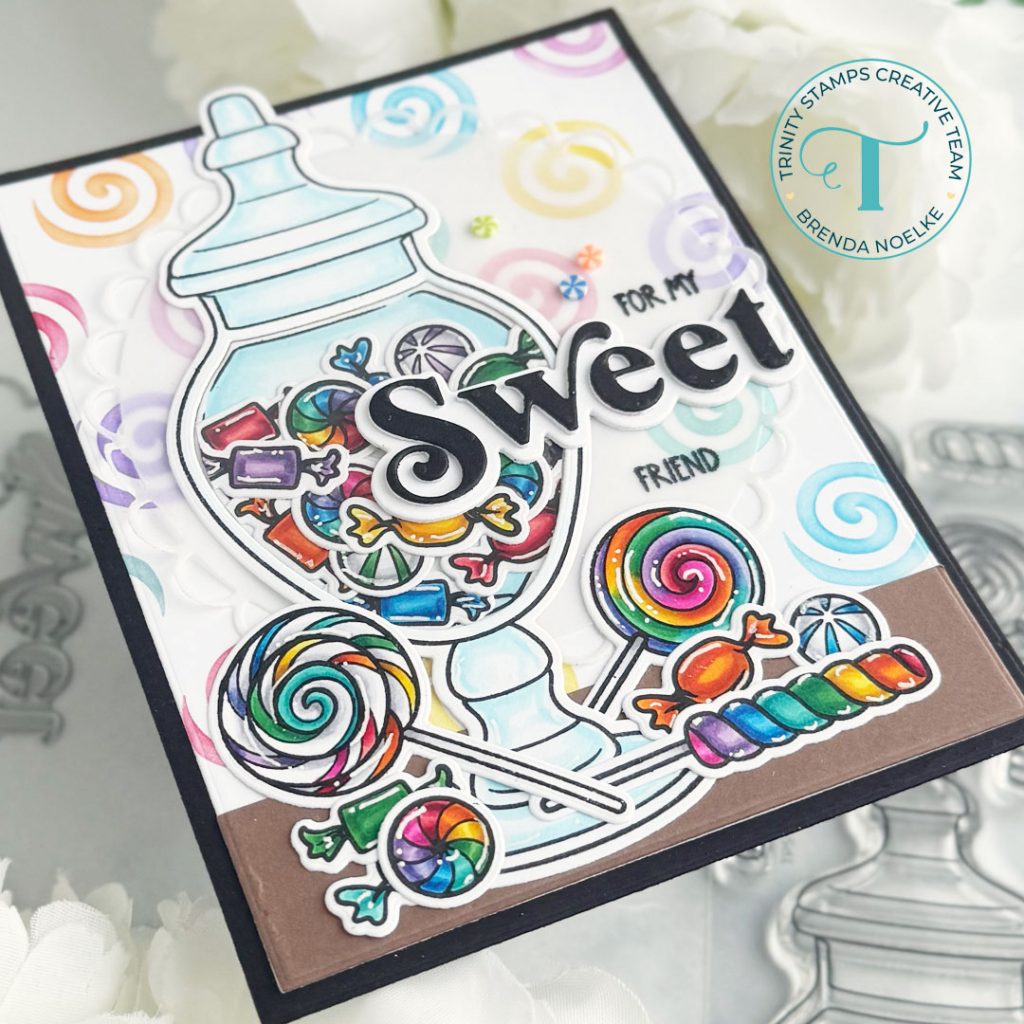
The top layer of “Sweet” was die-cut once from black cardstock and two times from heavyweight white cardstock with dies in the Simply Sentimental: Sweet Die Set. The shadow layer was cut from white cardstock. They were stacked and adhered together with liquid glue.
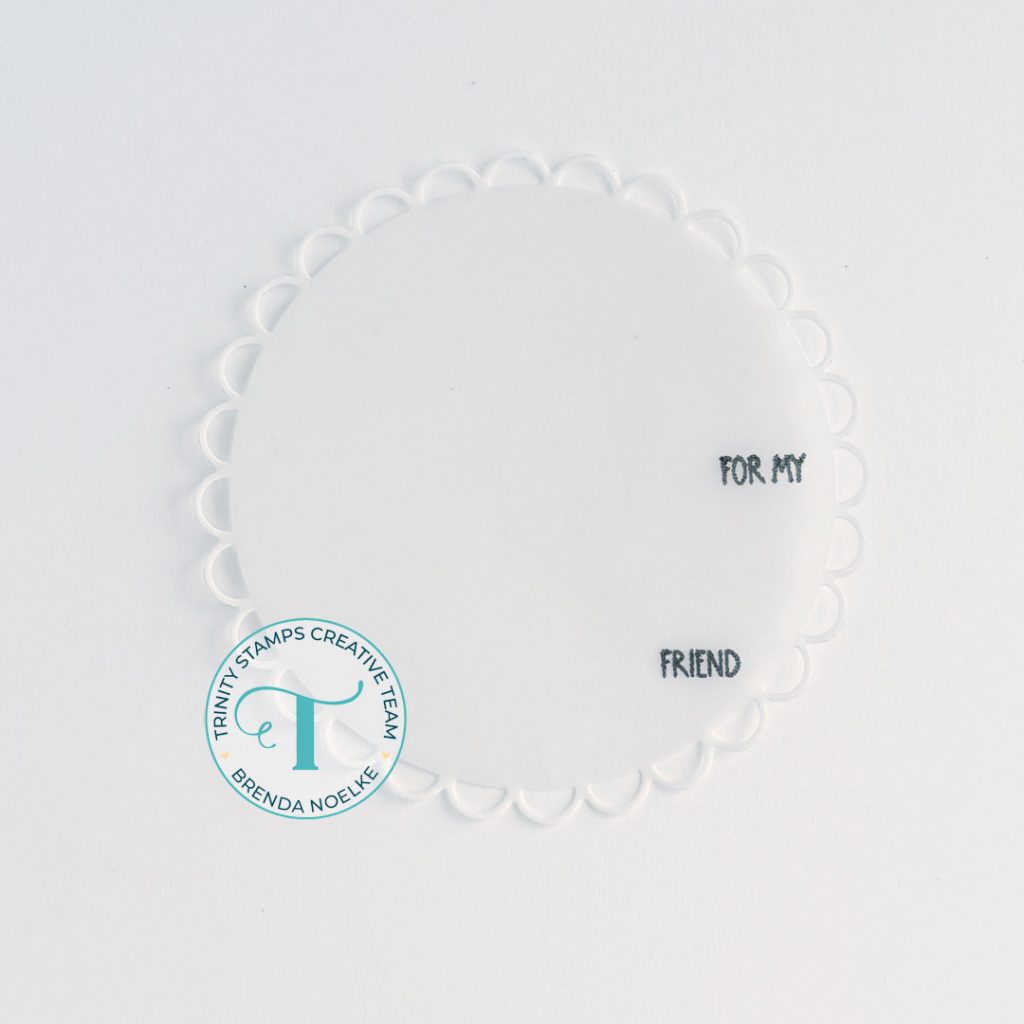
The second largest die in the Dainty Scallop Circle Die Set was cut from vellum. I figured out placement of my die-cuts, then stamped the sentiment from the Simply Sentimental: Sweet Stamp Set onto it with pigment ink, then embossed it with clear embossing powder.
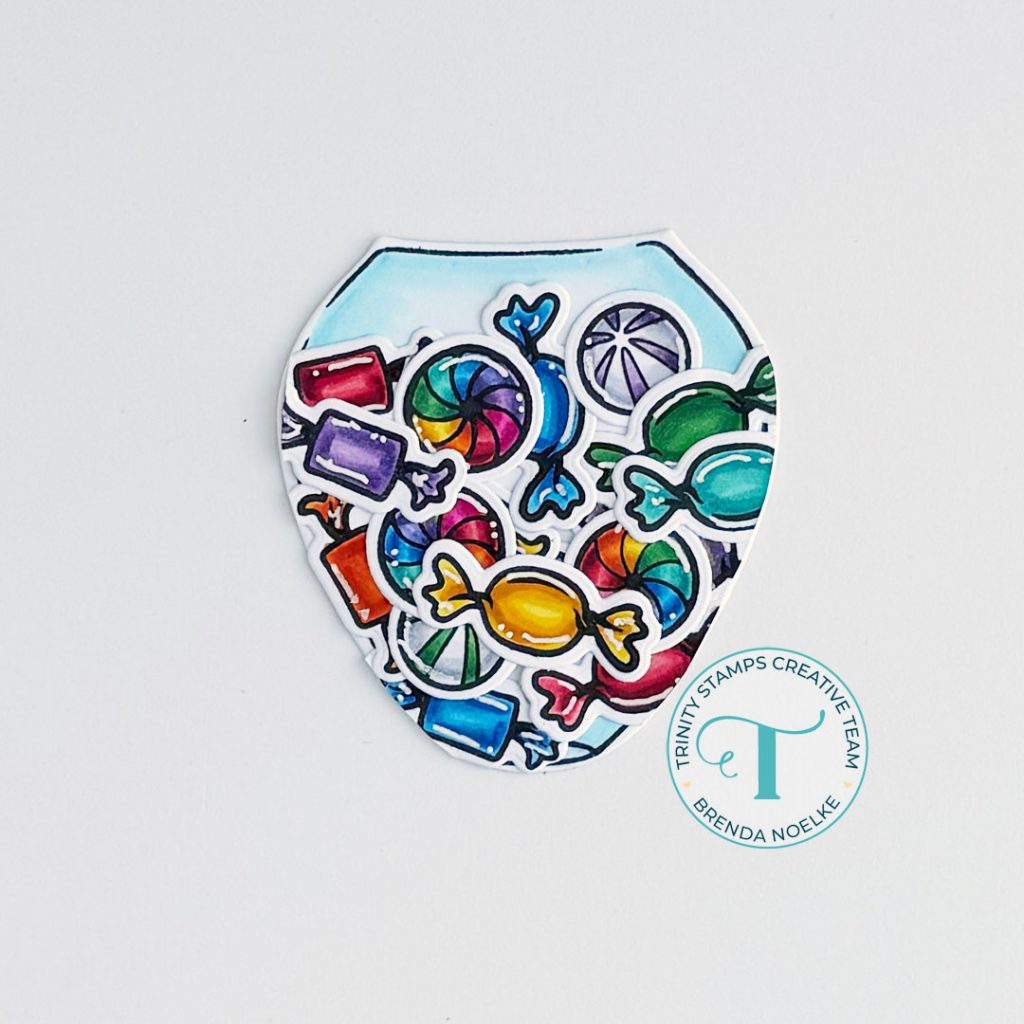
The candy pieces were all adhered to the inner die-cut piece of the jar and the excess was trimmed from the edges. The acetate was adhered to the back of the full jar and this piece was taped onto the back of the jar with tiny pieces of tape to hold it in place before it was adhered to the background..
Then I just started arranging and adhering everything together. The rectangle die-cuts were all adhered first.
The vellum was adhered to the background, adding glue only behind where the jar would go.
After adhering all of the die-cuts, I snuck a little glue behind the vellum where the die-cuts were adhered to secure it a little better. A trio of tiny candy pieces from the Grandma’s Candy Jar Clay Sprinkles Mix was the perfect finishing touch and filled in the area above the sentiment.
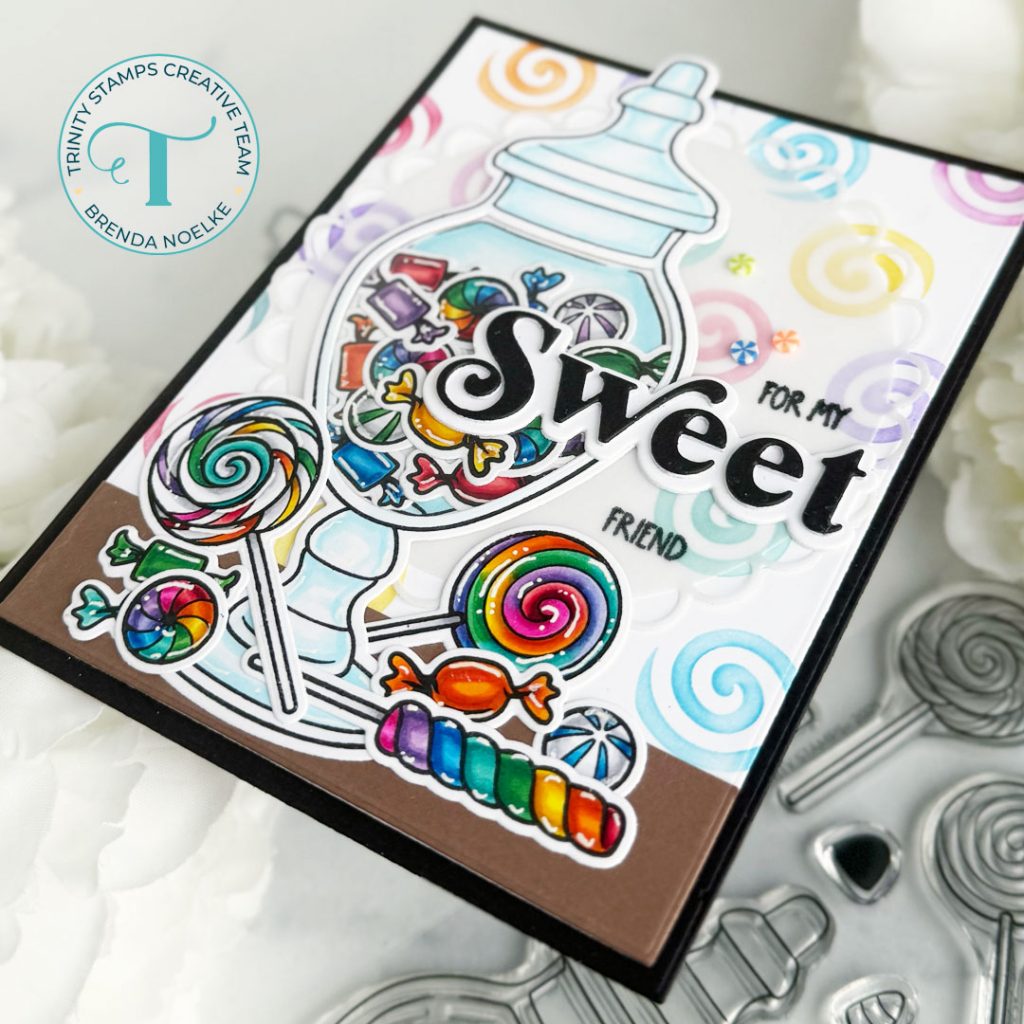
It’s really hard to see in the photos, but it really does look like the candy is behind glass with the added piece of acetate!! (I’m not sure what happened to the photos of the completed card…the colors are much more vivid in real life!! Sorry about that!!)
Thanks so much for stopping by today!! Have a wonderful Thursday and I’ll see you next week!!
Brenda


