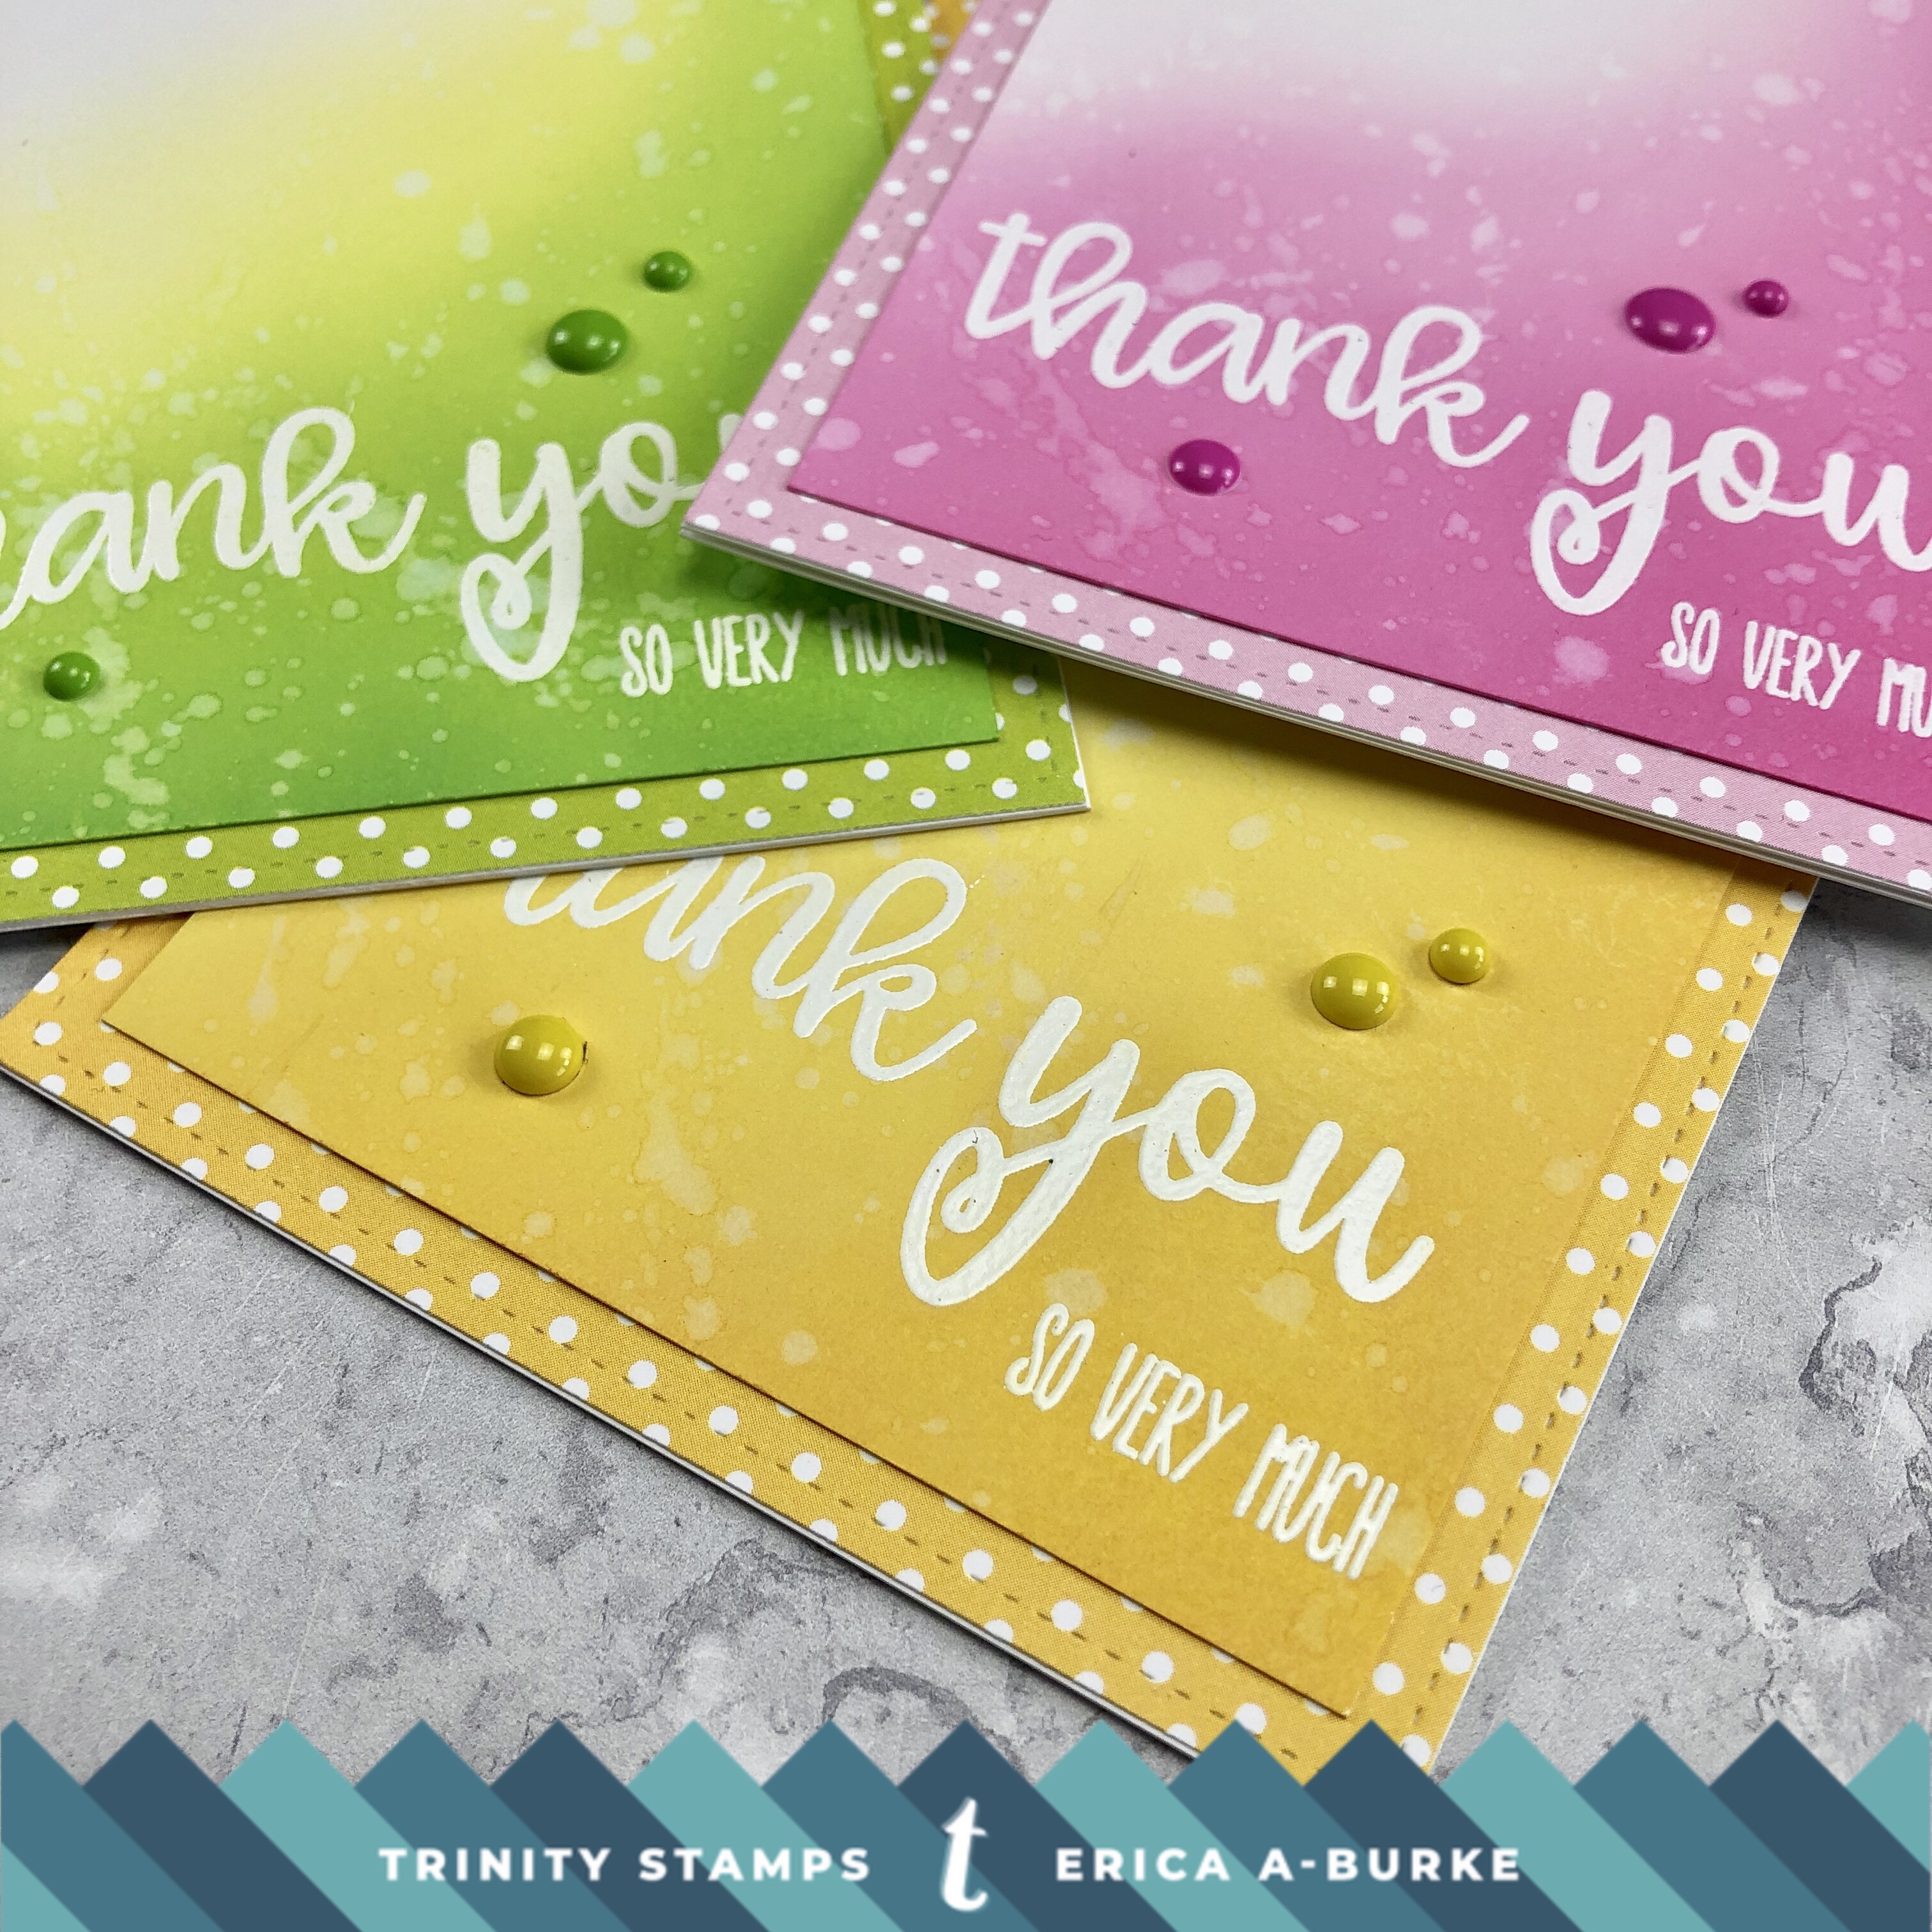
Quick Thank You Cards by Erica with The SentiMini Stamps

Hi everyone!
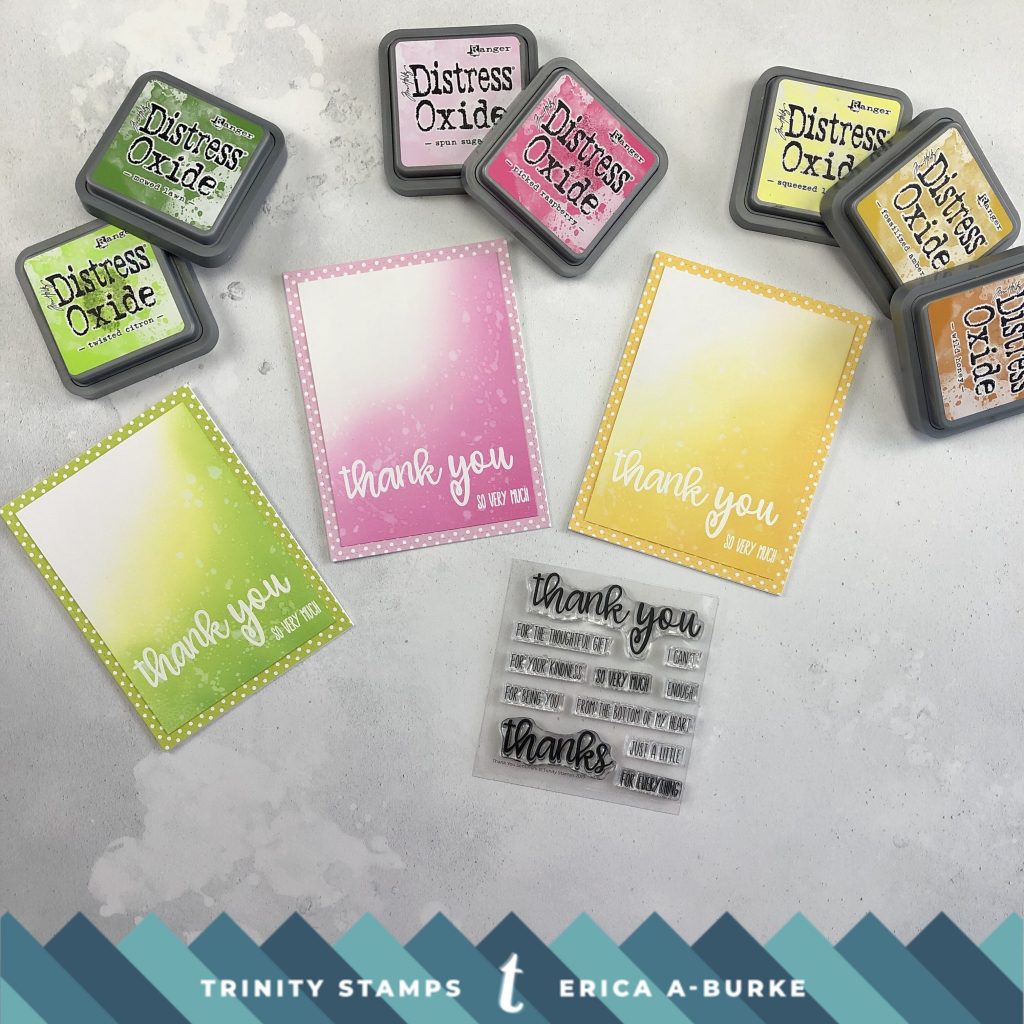
It’s Erica back on the Trinity Stamps blog today. I have what started out as a quartet, and turned into a trio, of Thank You cards using the Thank You Sentimini stamp set.
I don’t have kids myself but I have friends asking for thank you cards for teachers as the school year is drawing to a close. So why not combine some fun card making with making cards that will be used soon? It’s a win-win.
I wanted these to be quick, for those times you need to put together something fast. With that in mind, I wanted to incorporate some patterned paper as that adds pops with very little effort. The polka dot paper I picked for these, I got in several different colours and then matched them up with Distress Oxide inks.
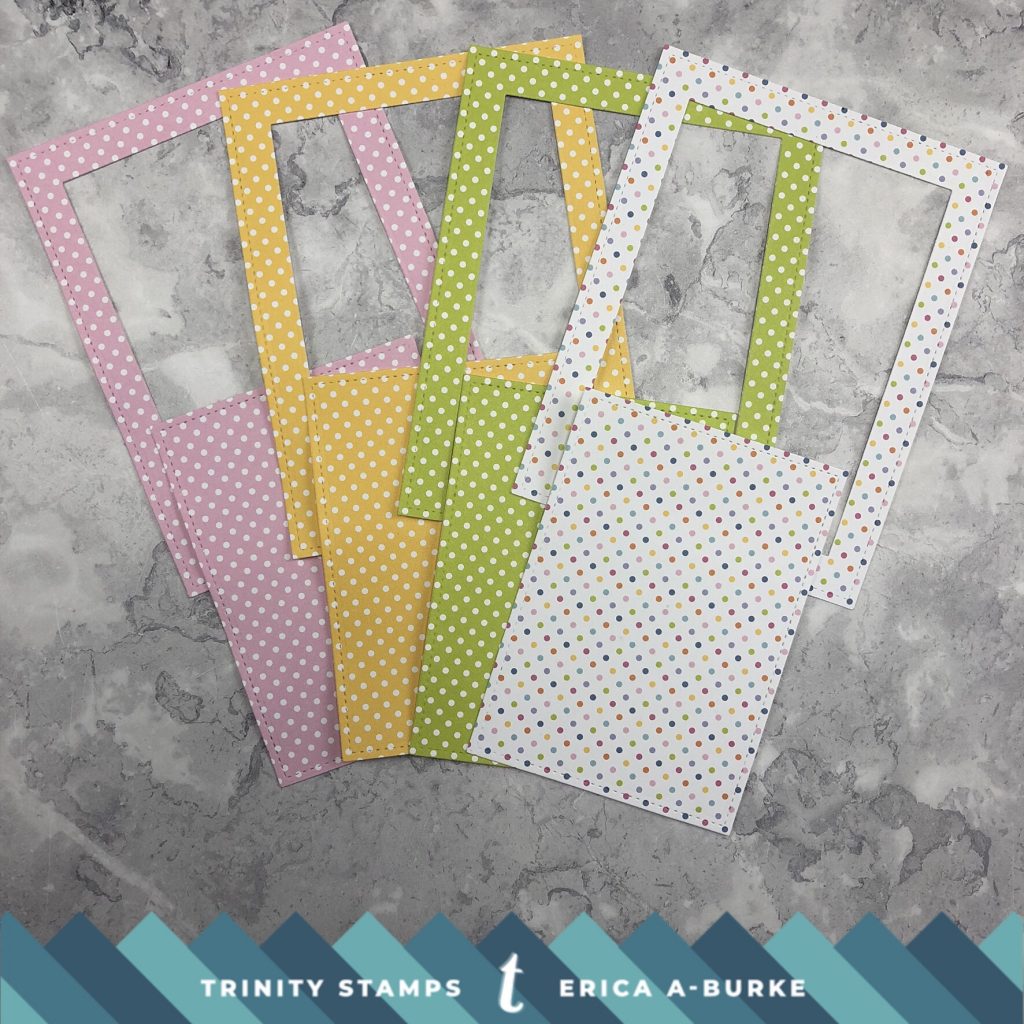
One thing I don’t like is crafty waste. What I did with the panels of patterned paper I had cut out, is I used a smaller diecut on them, where the ink blended panels would cover the holes. Genius, eh?
To make sure the pattered paper showed on the card, I cut out panels of Bristol Vellum card stock in the size of 3.75″x5″. This would leave about .25″ frame around these panels.
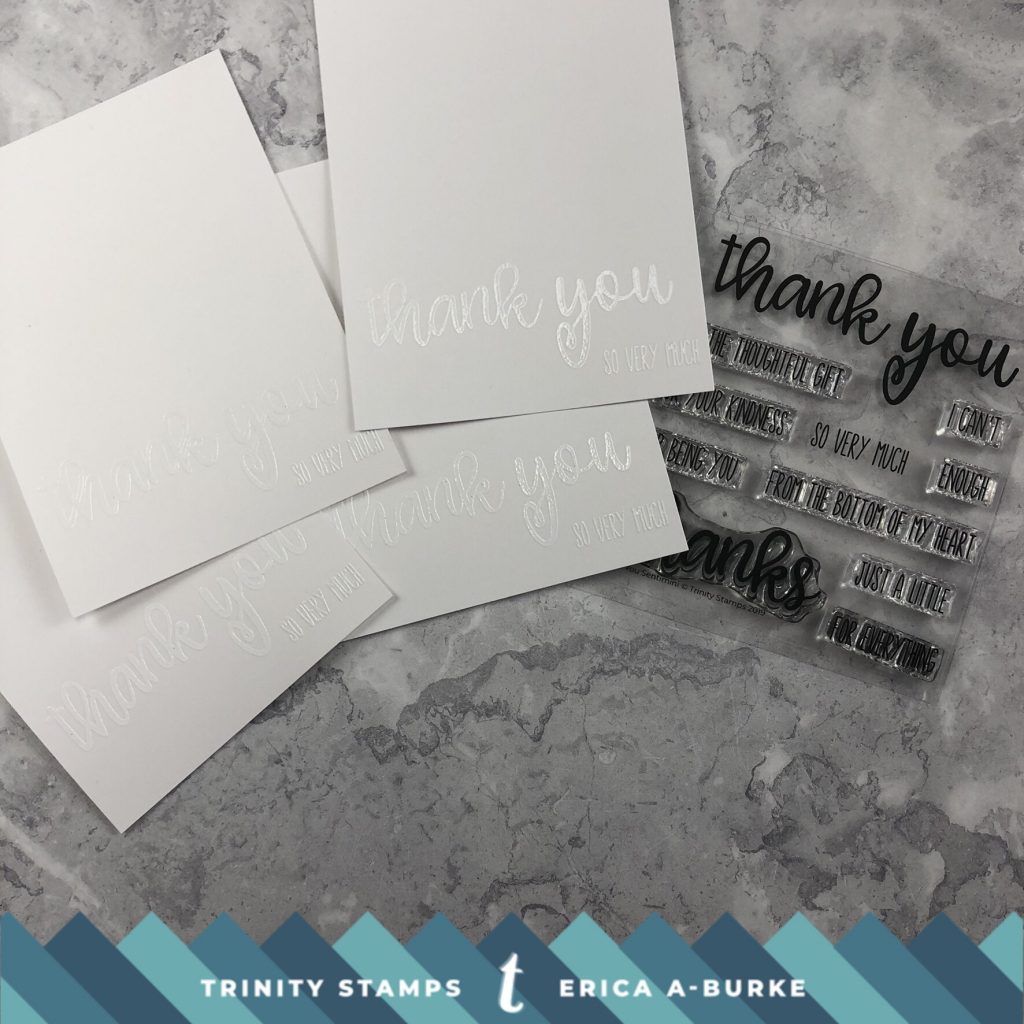
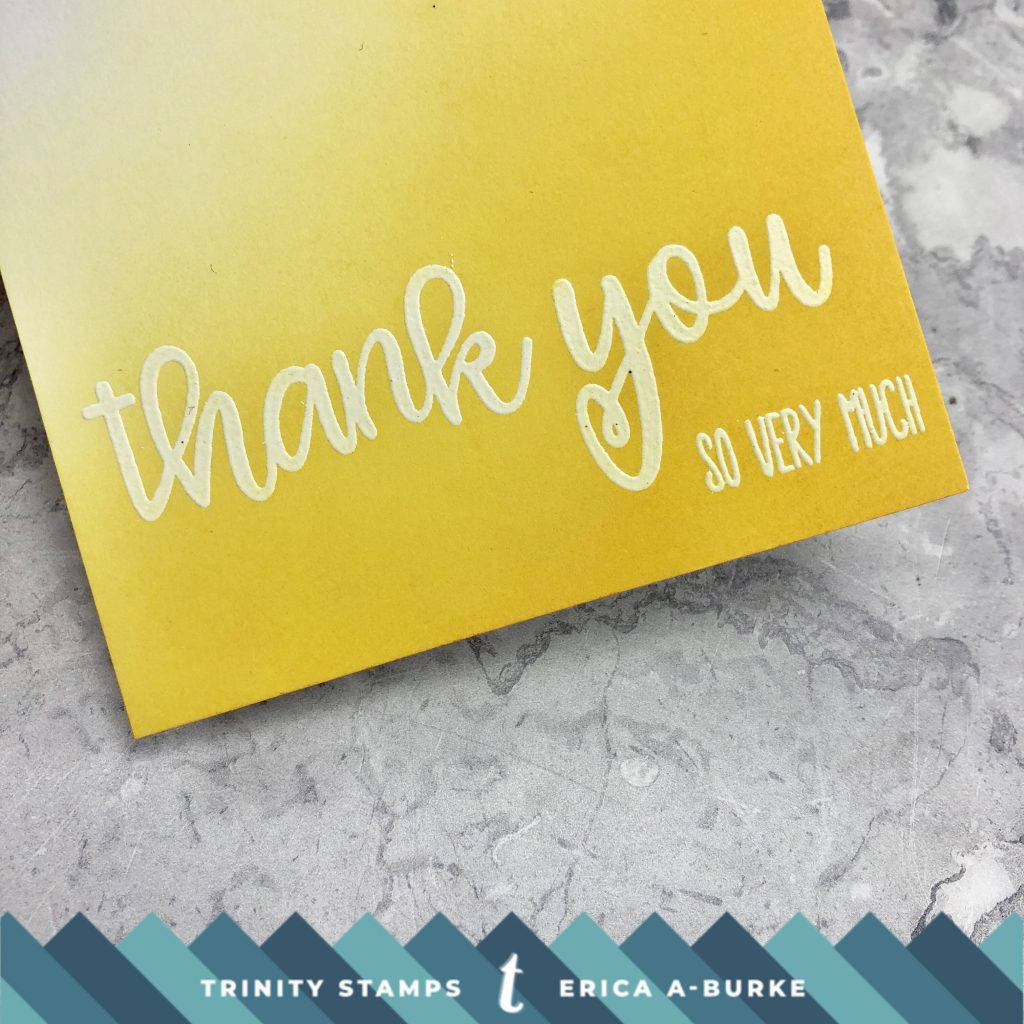
Using the Sentimini stamp set I lined up ‘Thank you so very much’ in the bottom part of the panel. With the help of my MISTI, the sentiment ends up in exactly the same spot on each one. As I wanted to do some emboss resist on these, I heat embossed the sentiment in white embossing powder.
After ink blending all the panels in each colour, blending the colour from the bottom right corner up and to the left. The top left corner is left white. Then I splattered water on them and dried it off. I love that look. It’s such a simple thing to do but adds so much texture and interest.
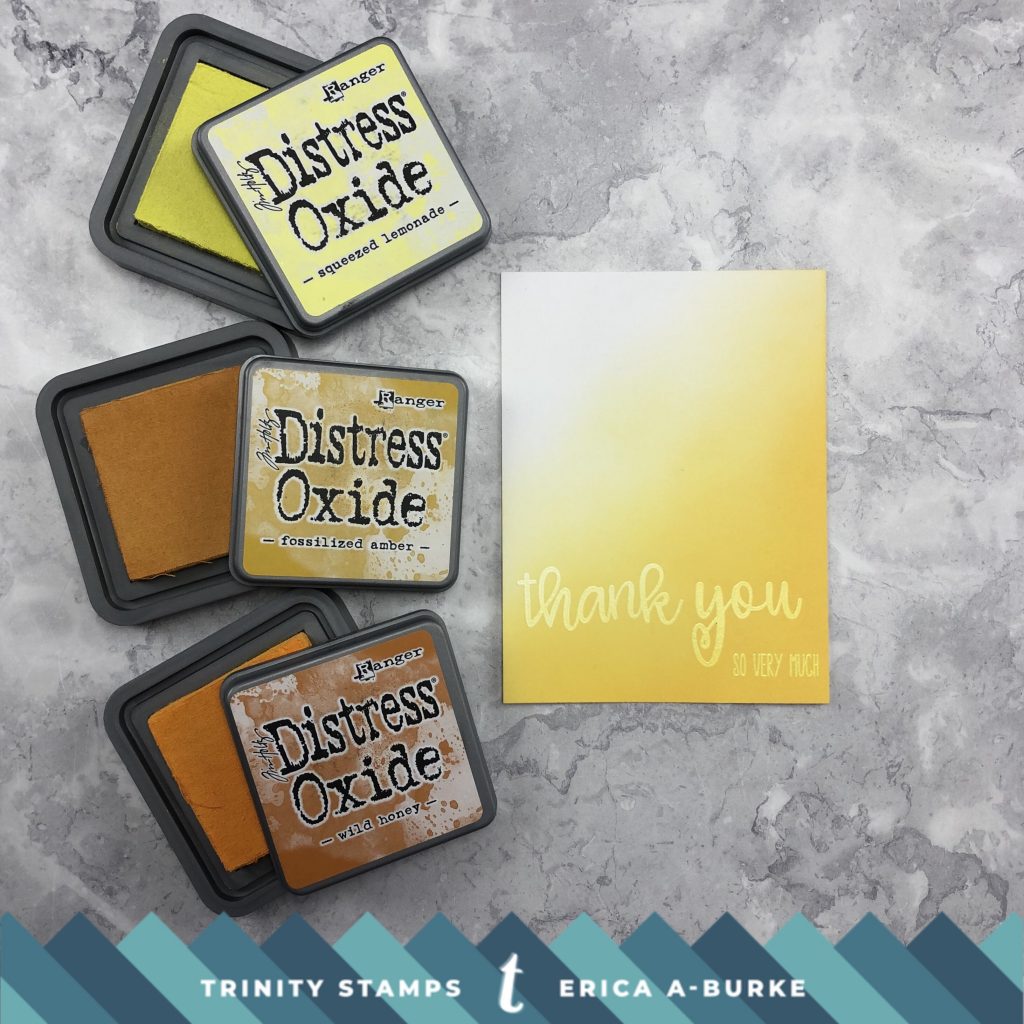
After I do ink blending over heat embossed images, especially white, I always wipe down the embossed bits. It makes such a difference to make that white pop again! To get the lines or images really white again you do need some moisture on your tissue or towel, just make sure to use a very light hand as otherwise that moisture might start the reaction process with the inks.
The patterned paper frames I adhered to the card bases and then with the help of double sided tape, I adhered the ink blended panels.
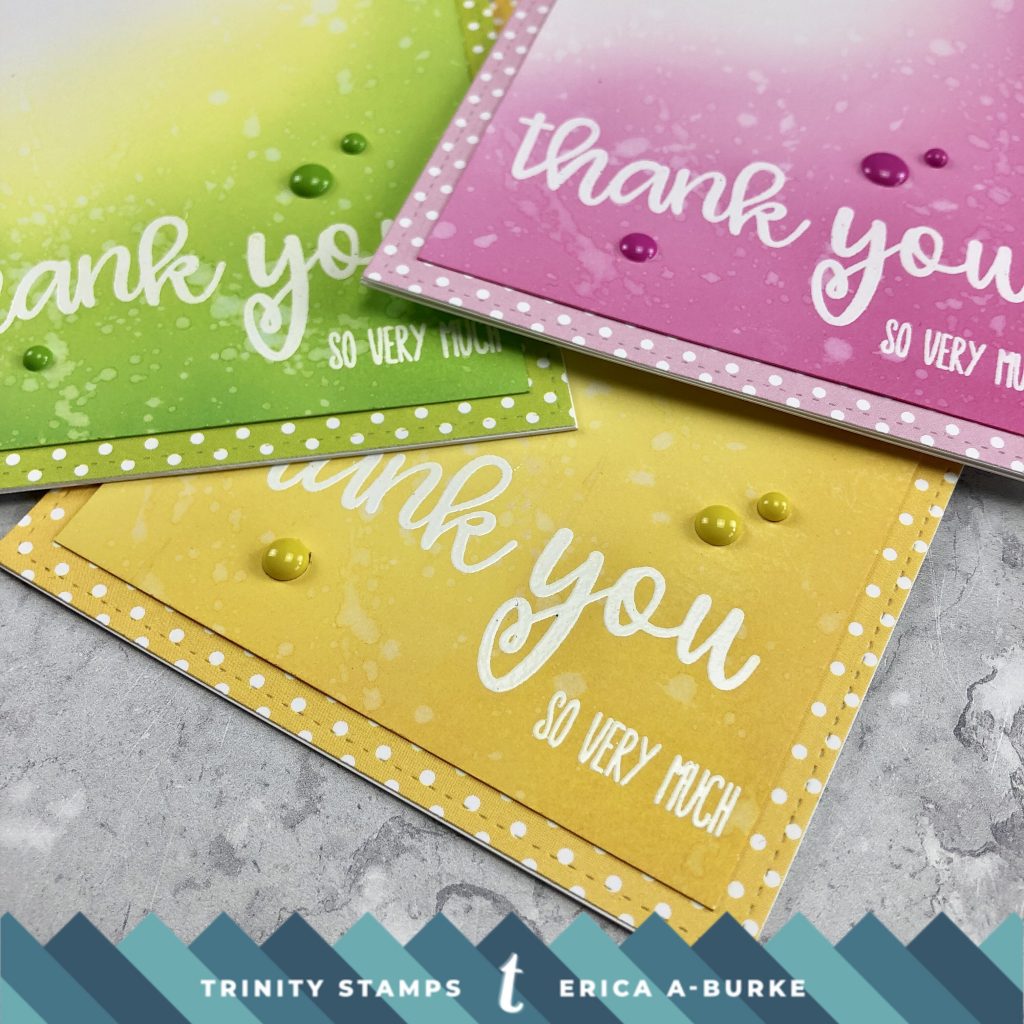
I added some enamel dots to the card too, I would have used the Jelly Drop Hearts embellishments IF I had had the Lemon Drop Dream on hand but I wanted all the embellishments to be the same. I did have Hint Of Mint and Double Bubble, but as I said, I wanted them all to be the same. That’s a legit excuse to shop, right??
This design can easily be modified to fit the other Sentimini stamp sets, the Hello and Happy, to make birthday cards or simple hello cards.
Well, that’s it from me today. I hope you like the cards and that you feel inspired to get in into the craft room yourself.
Thanks for stopping by today. Happy crafting from Erica

love love love the borders with the polka dot paper…… and the distress oxide, wow makes a simple card into an artwork xxx so beautiful xxx