
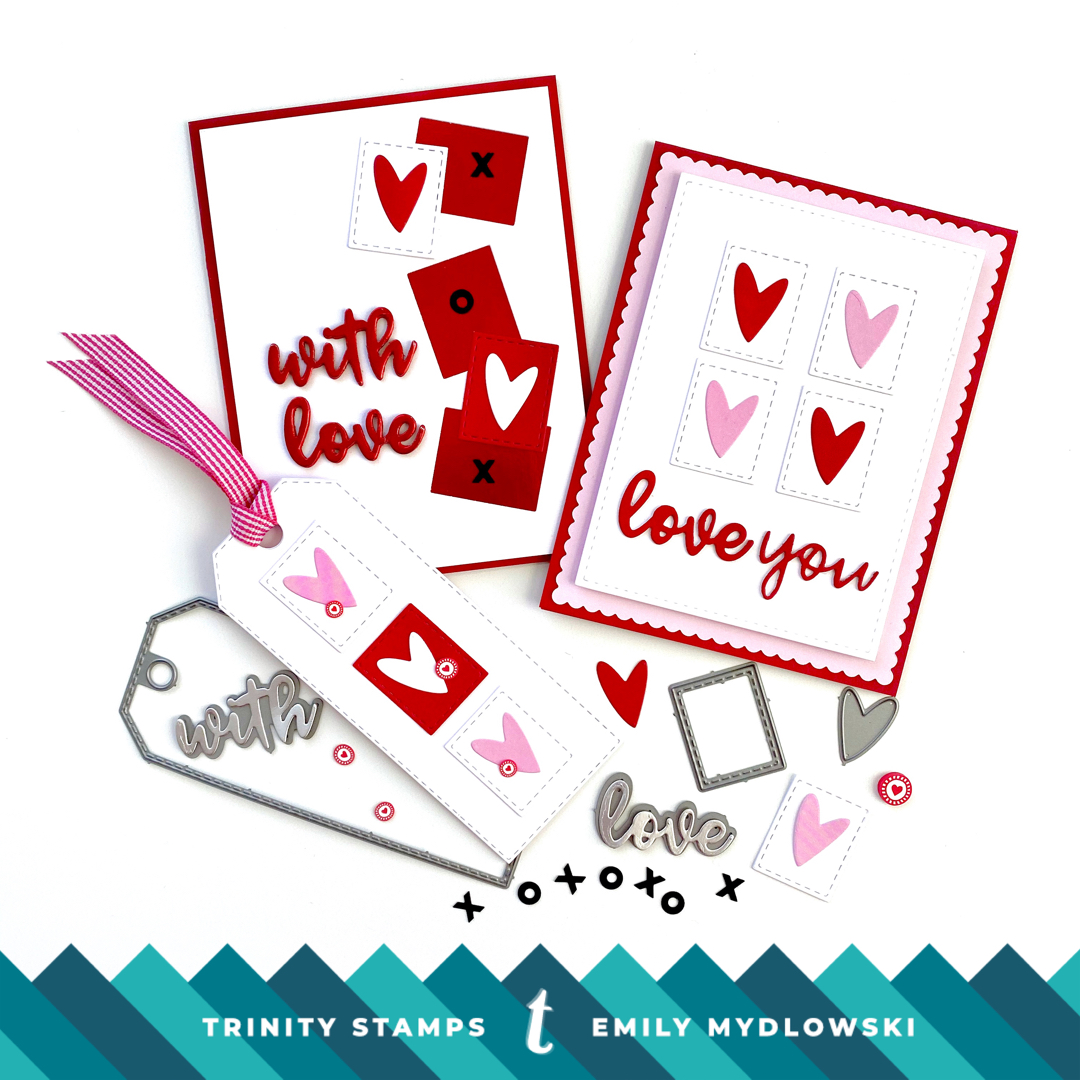
One Die Set, Three Ways with Designer Emily M!
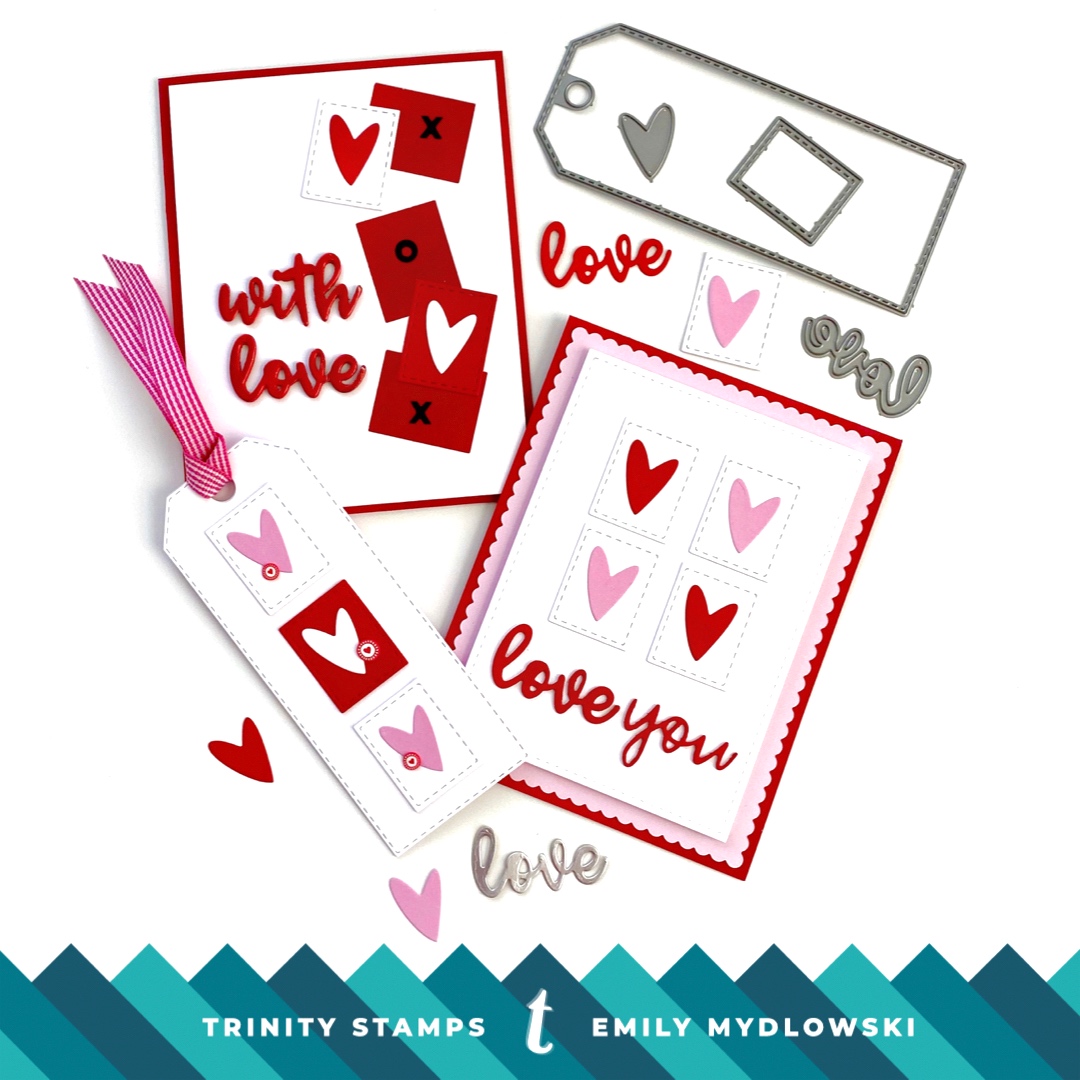
Hi Friends and Happy Monday! Hope you had a wonderful weekend! Today, I decided to swap out one stamp for one die set and use that one die set to create three different Valentine Projects (no stamps—just die cuts). I have many Trinity Stamps Metal Die Favs, but the Narrow Card and Bookmark die WITH Envelope and bonus dies is my ABSOLUTE Favorite!! I use this die ALL the time because there’s a little bit of everything in this set: A slimline scallop card base that fits perfectly on a 6×6 folded card base with a perfectly sized envelope die to match, a bookmark (or tag) die, a gift card holder and then all the little extras: Funky Star and Heart, Stitched Circle, Banner, Stitched Postage and sentiments like “For You”, “With Love”,“Love You”.
For my three Valentine projects, I used the bookmark, heart, postage rectangle, With Love and You dies. All of my projects use the Stitched Postage Die and the Funky Heart die so I die cut several pieces from white, red and pink card stock and mixed and matched different color combinations as I created my projects.
TIP: Use your leftover Red and Silver Papers and Bits from Christmas and combine them with pink and white for an instant Valentine Vibe. I’m using my leftover red and silver foil paper for my cards today and I’m also sneaking in some cute Valentine embellishments: Twitterpated Clay Candy Confetti Embellishments and X’s and O’s Shiny Black Confetti Mix.
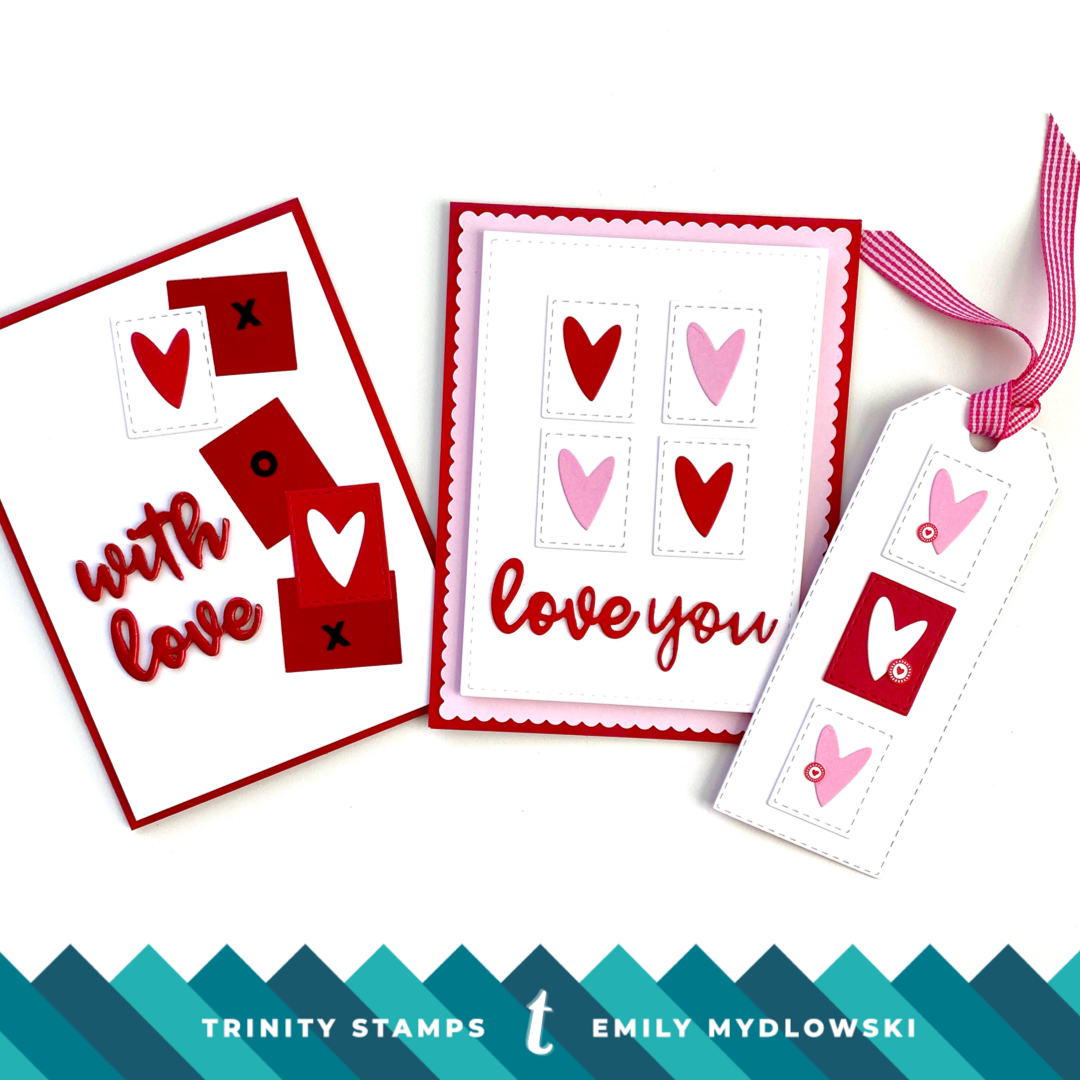
The Valentine Cards:
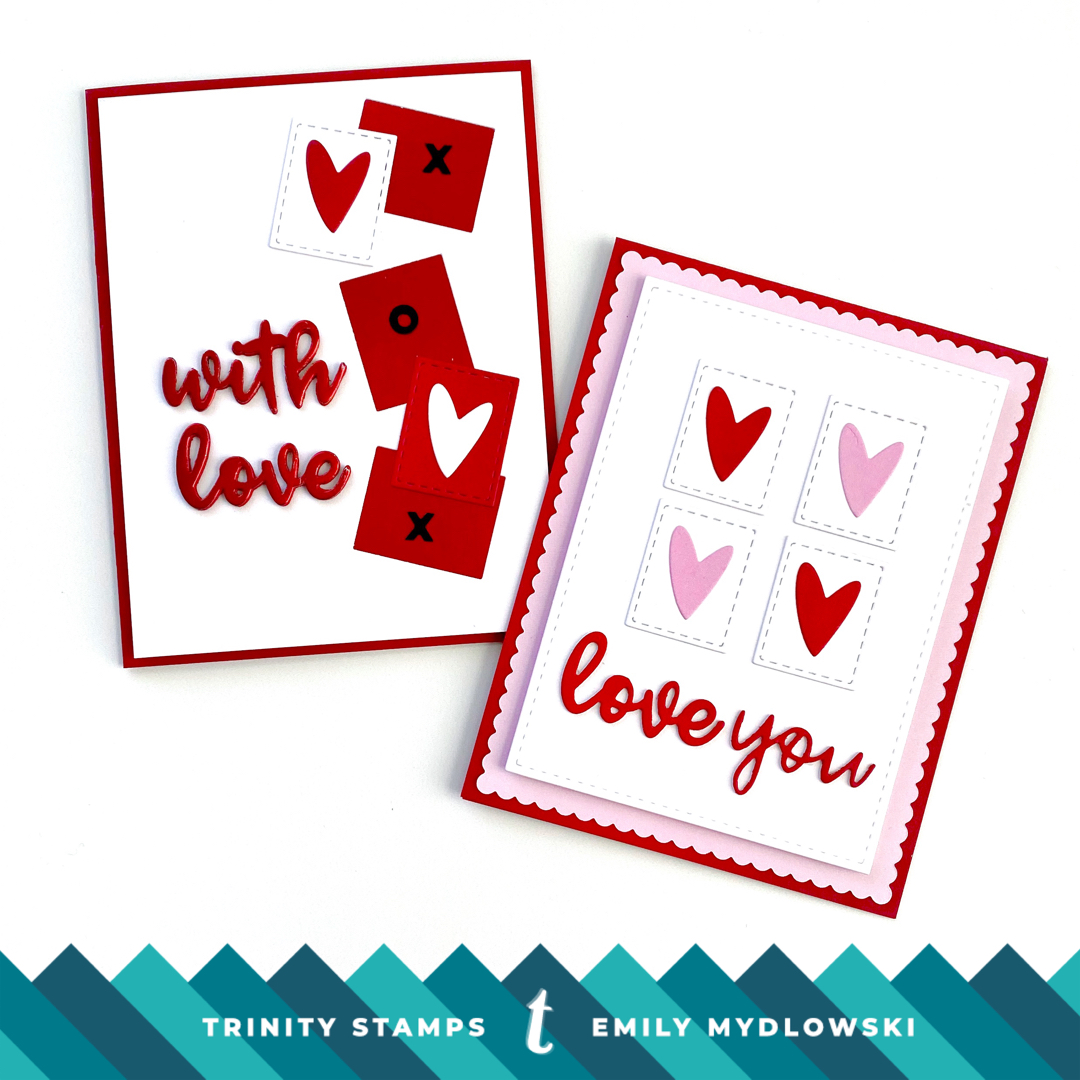
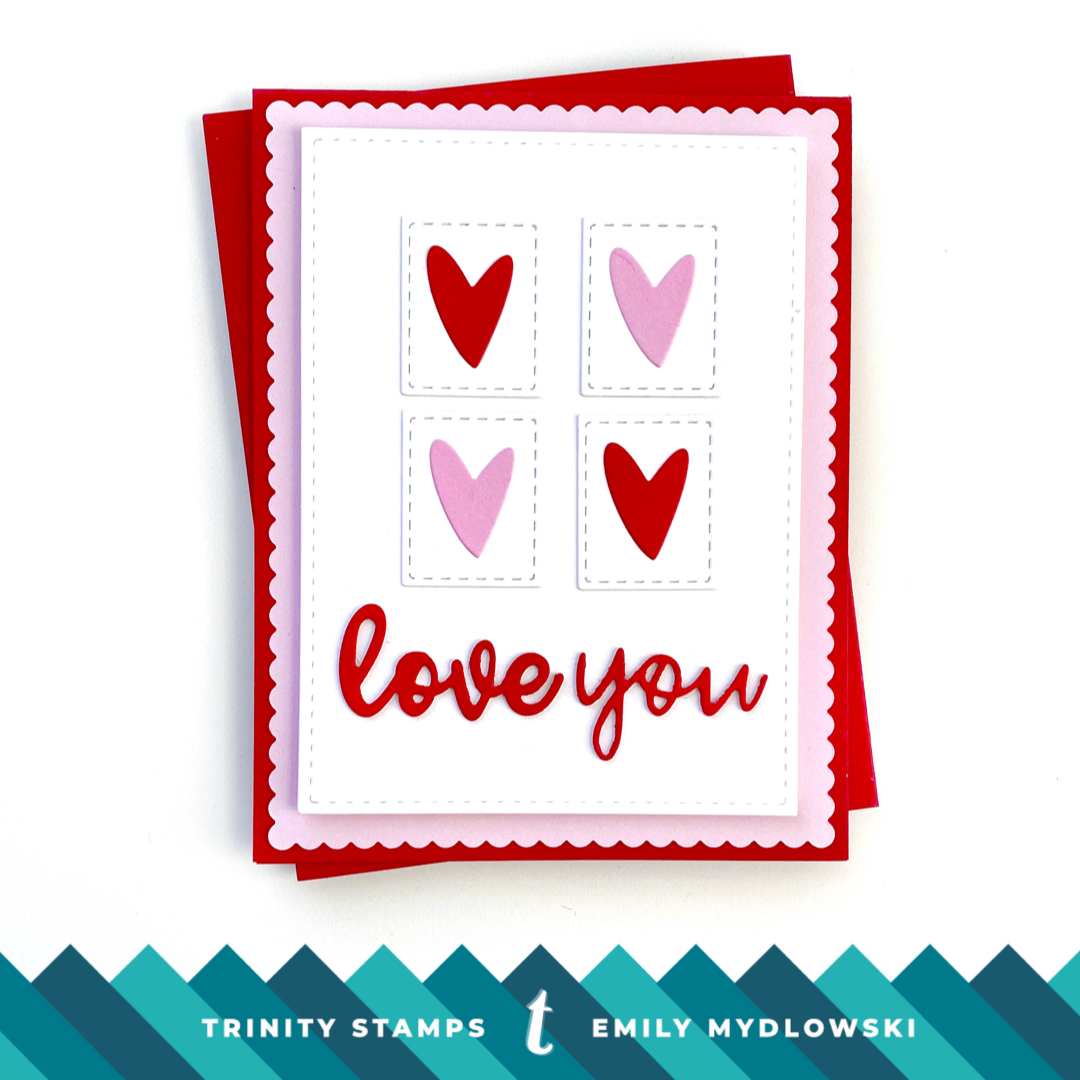
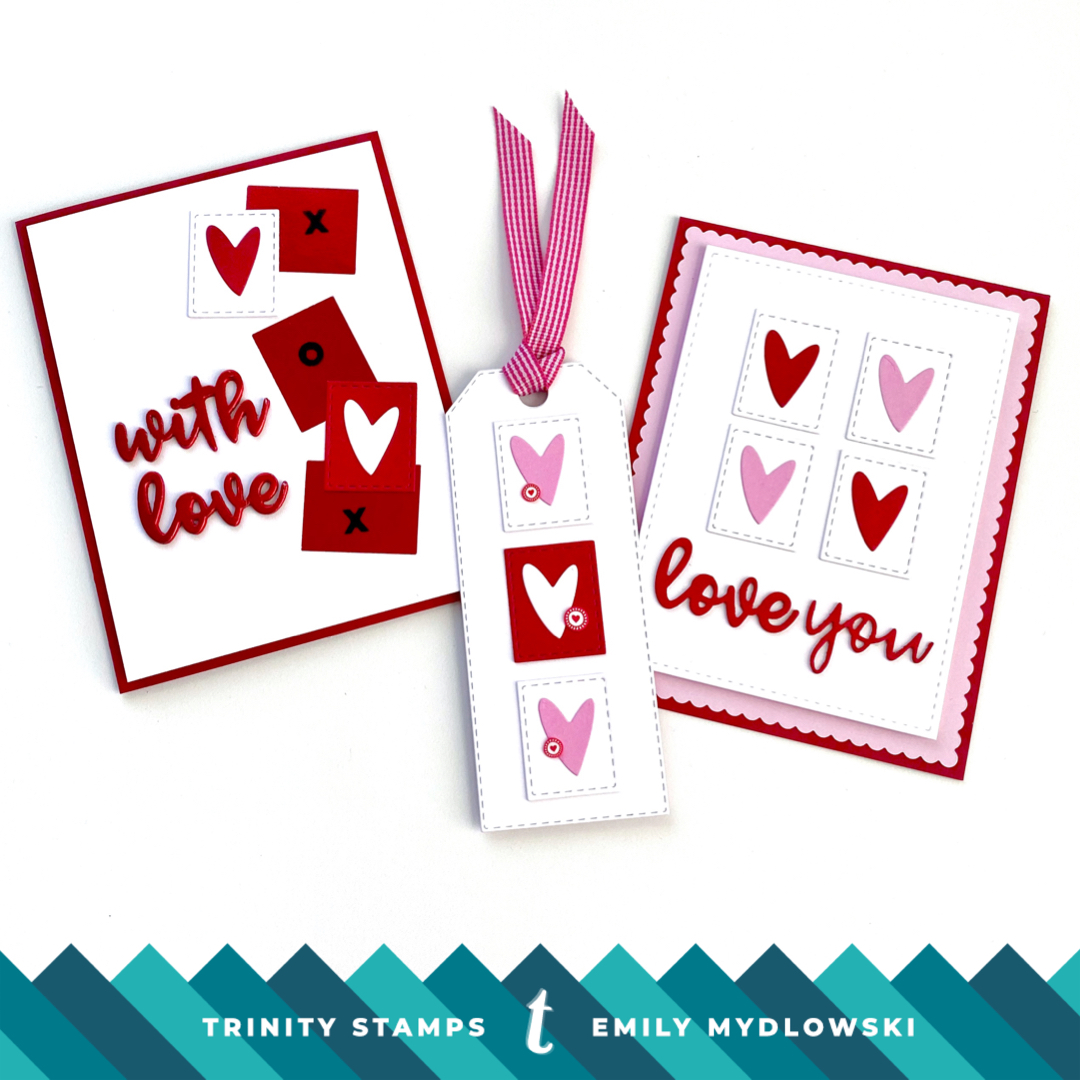
For my first card, I was so excited about the Love You die cut combination that I wanted to make sure it was a focal point on my clean and simple heart card. From red card stock and also several pieces of white card stock, I die cut the Love and You so I could stack them together to add some depth and height to the sentiment. I adhered red and pink hearts to four stitched postage die cuts and adhered them into a “square/rectangle” pattern to a stitched rectangle white base. To help keep things somewhat aligned (I’ve learned long ago that my cards will never be perfectly straight) I used a T-square against the panel and then adhered the stitched postage dies along the straight edge. Then I adhered the Love You sentiment at the bottom of the card and stacked the entire panel on a scallop die rectangle that I had in my stash and a red card base.
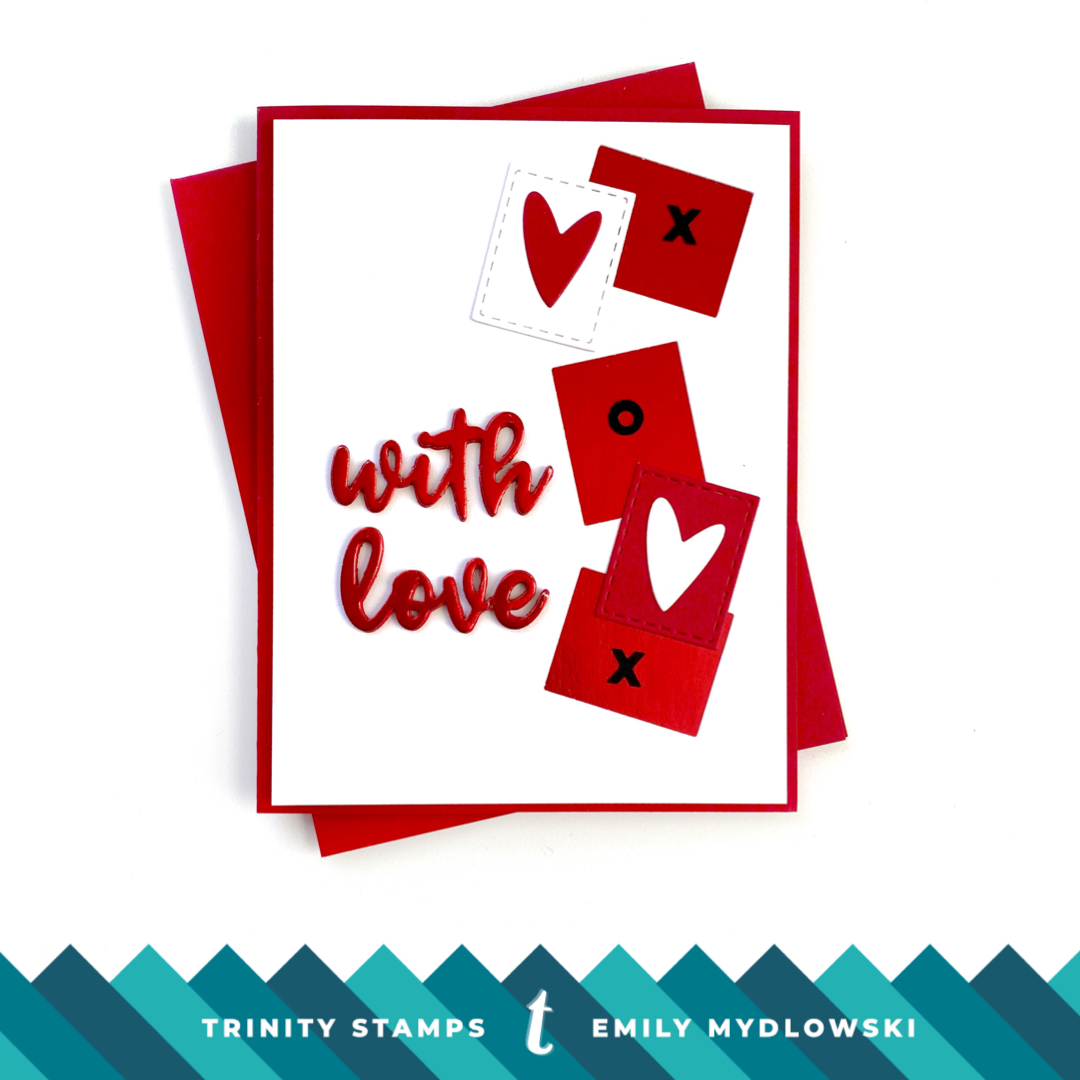
For my second card, I love the look of a side-float design and it’s one of my go-to patterns. I used the postage die to create three inlay rectangles down the side—twisting the rectangles as I went down the card panel. Then I added a piece of shiny red foil cardstock behind the inlays. Then I added a white with red heart and red with white heart postage square to the side pattern. For a little extra, I added some hugs and kisses to the red foil inlay squares using the X’s and O’s Shiny Black Confetti Mix. Then I die cut With and Love from several pieces of red card stock and then topped it off with the red foil cardstock.
The Bookmark:
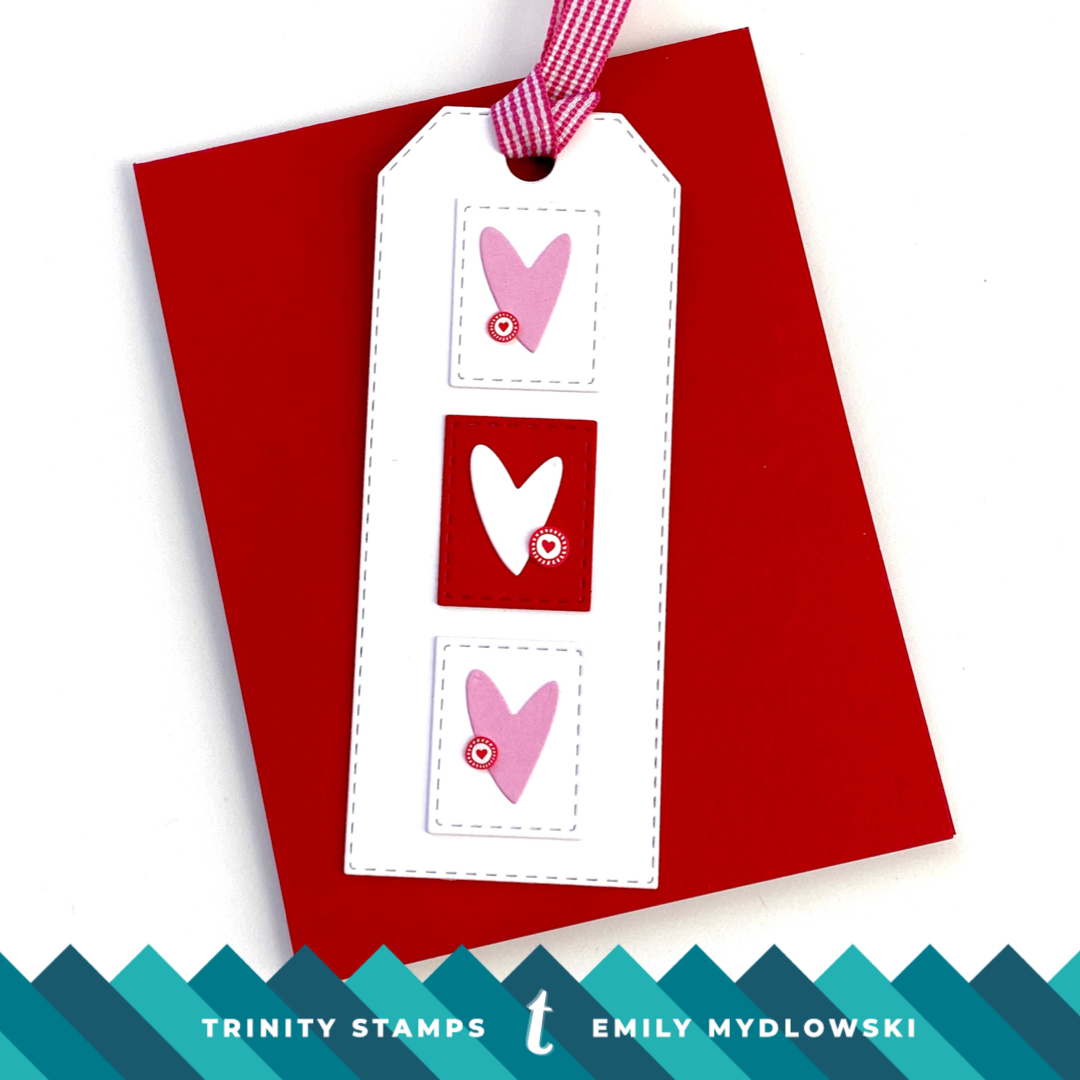
To create the clean and simple lots of love bookmark, I die cut the book mark from white card stock and patterned paper for the backside of the bookmark. Then I adhered three hearts to the white Stitched Postage Die cuts and adhered them to the bookmark. For a little extra pop, I added three Twitterpated Clay Candy Confetti Embellishments to the hearts. To finish the bookmark, I added a gingham pink ribbon to create the bookmark “tassel”.
So there we are three Valentine Projects using one AMAZING die set. I hope my projects inspire you to stretch your dies and use them in fun new ways. Until next time, you can catch me on Instagram and over on my blog. For more Trinity Stamps Inspiration, be sure to stop the blog, IG and YouTube all week long!
Big Paper Hugs!
Emily


One thought on “One Die Set, Three Ways with Designer Emily M!”