
Mix It Up Monday with Emily M.
Happy Monday, Friends! I hope you had a great weekend! It’s Emily M. (@popsofpaper) and I’m glad you’re here for this week’s post—which by the title you might notice a little difference. Most Mondays, I post about using One Trinity Stamp, Three different ways…well, we’re mixing it up. Variety is the spice of life, right!? I’m still keeping with the One Stamp, Three Ways postings but in between weeks, I’ll be mixing and matching more than one Trinity Stamp sets and dies together. So let’s get this Mix It Up Monday post started shall we!
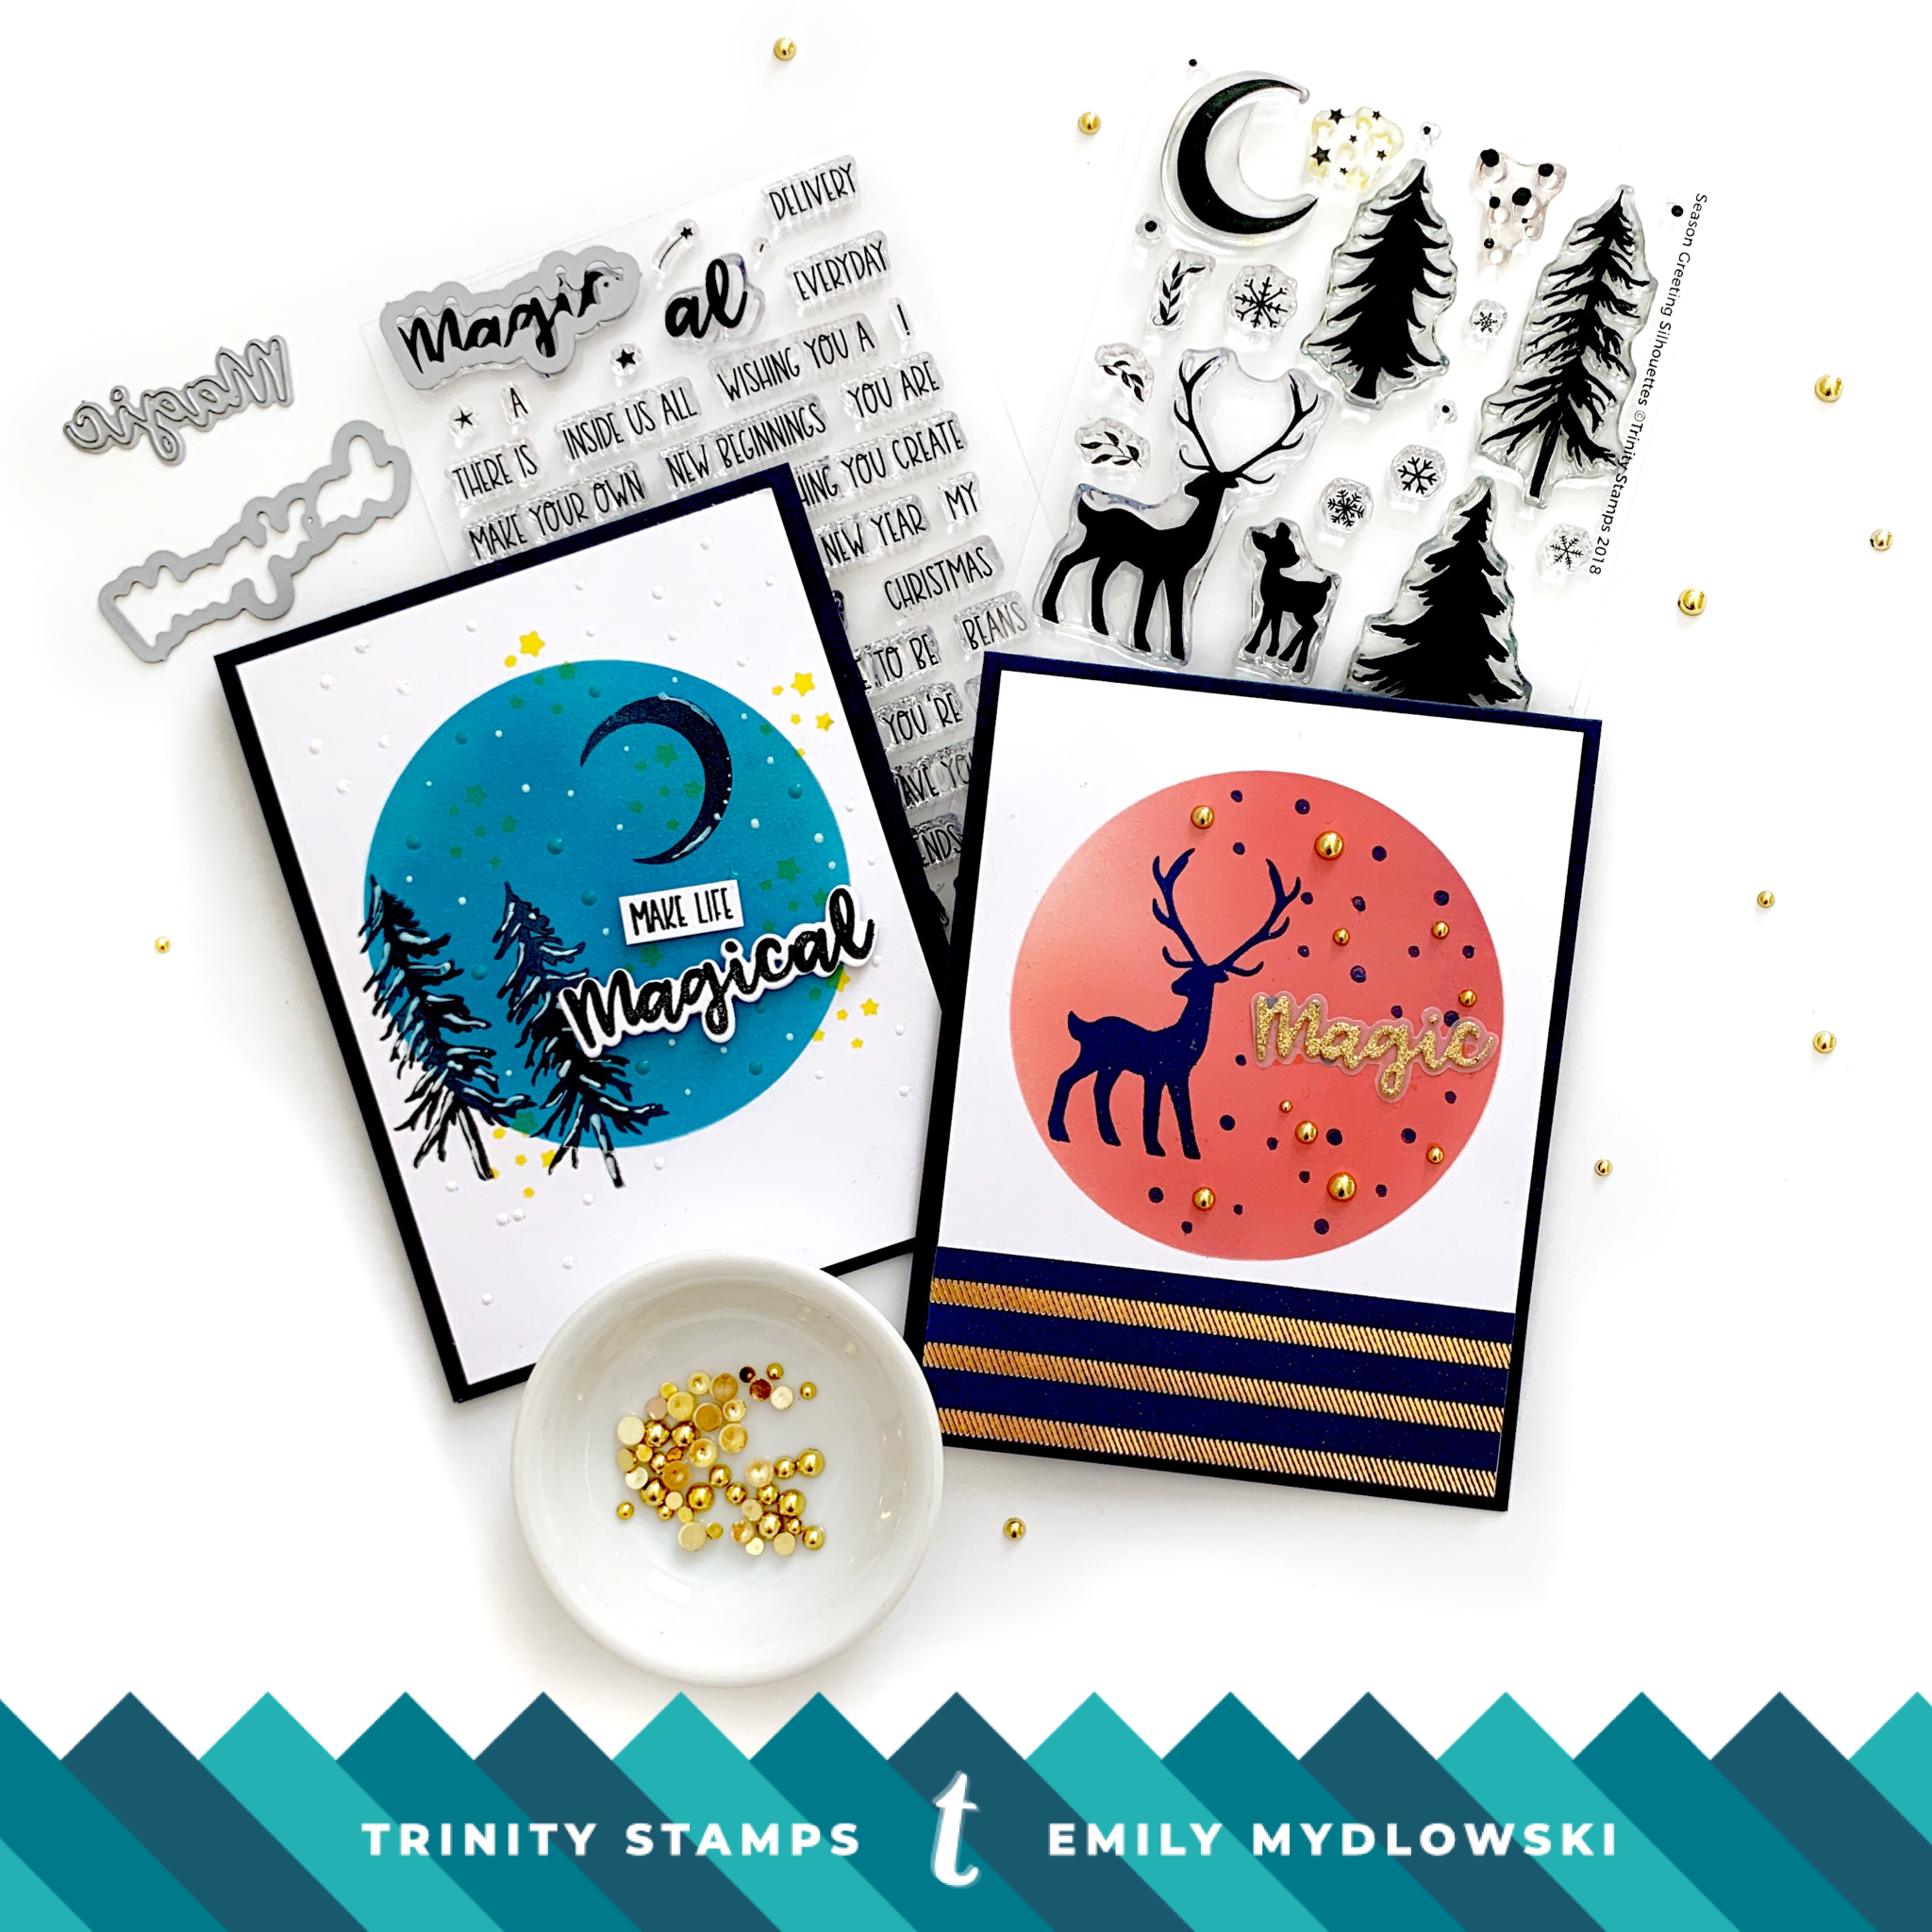
This week I went with a magical theme and used Season Greetings Silhouettes, Magical Sentiments and the Magical Sentiment Coordinating Die Set. I’m also excited to share two cards using the new Trinity Blendability Brushes.
Blending, Blending, Blending
So…I am not an ink blender (well at least before using blending brushes). I am awed by the amazing ink blenders out there and swoon over all the amazing ink blended backgrounds. I’ve tried, oh…have I tried. So when I heard about the Trinity Blendability Brushes I had to give blending another try. Oh, my goodness I’m so happy I did. I was so smitten blending with these brushes, not a single background made its way to the trash bin like before. These brushes are Happy Dance Worthy! The brushes themselves almost look like they are going to dance into your hands as they stand upright on your craft table. So maybe, I might be an ink blender after all. We will see…
Let’s Make Life Magical
The best part of the Magical Sentiments set is that there are so many combinations that you can pull together. I just love the sweetness of this sentiment and how important it is to remember that even the everyday is Magical. Here’s how this card came together:
- Prep: Create a circle stencil to the size of your liking. I used the Brutus Monroe’s Simple Blend Circle Stencil. Adhere the stencil over the card panel with washi tape.
- Blend: Add ink to your Blendability brush, stamp off any excess ink before applying to your paper and moving to your next ink color. I used both circular and swiping movements for the blending. After you are done with all your colors, remove your circle stencil and admire your blending.
- Stamp: With VersaFine Clair Nocturne Ink, stamp the moon and trees from Season Greeting Silhouettes. I thought stamping some of the trees outside of the circle gave an interesting affect. I stamped and die cut the word Magical and the stamped the remaining sentiment pieces. I stamped several of the star clusters in and outside of the circle with VersaFine Clair Cheerful ink.
- Special Effects: For a magical snowy evening, I used Nuvo Crystal White drops to create shading/snow on the moon and trees. Then I added little falling white snow dots to the card. I also added in a few Nuvo Vintage Bohemian Teal dots to the background. I love the matte look of the Nuvo Vintage drops.
- Finish: Attach the card panel to a navy blue card stock base and adhered my sentiment in place.


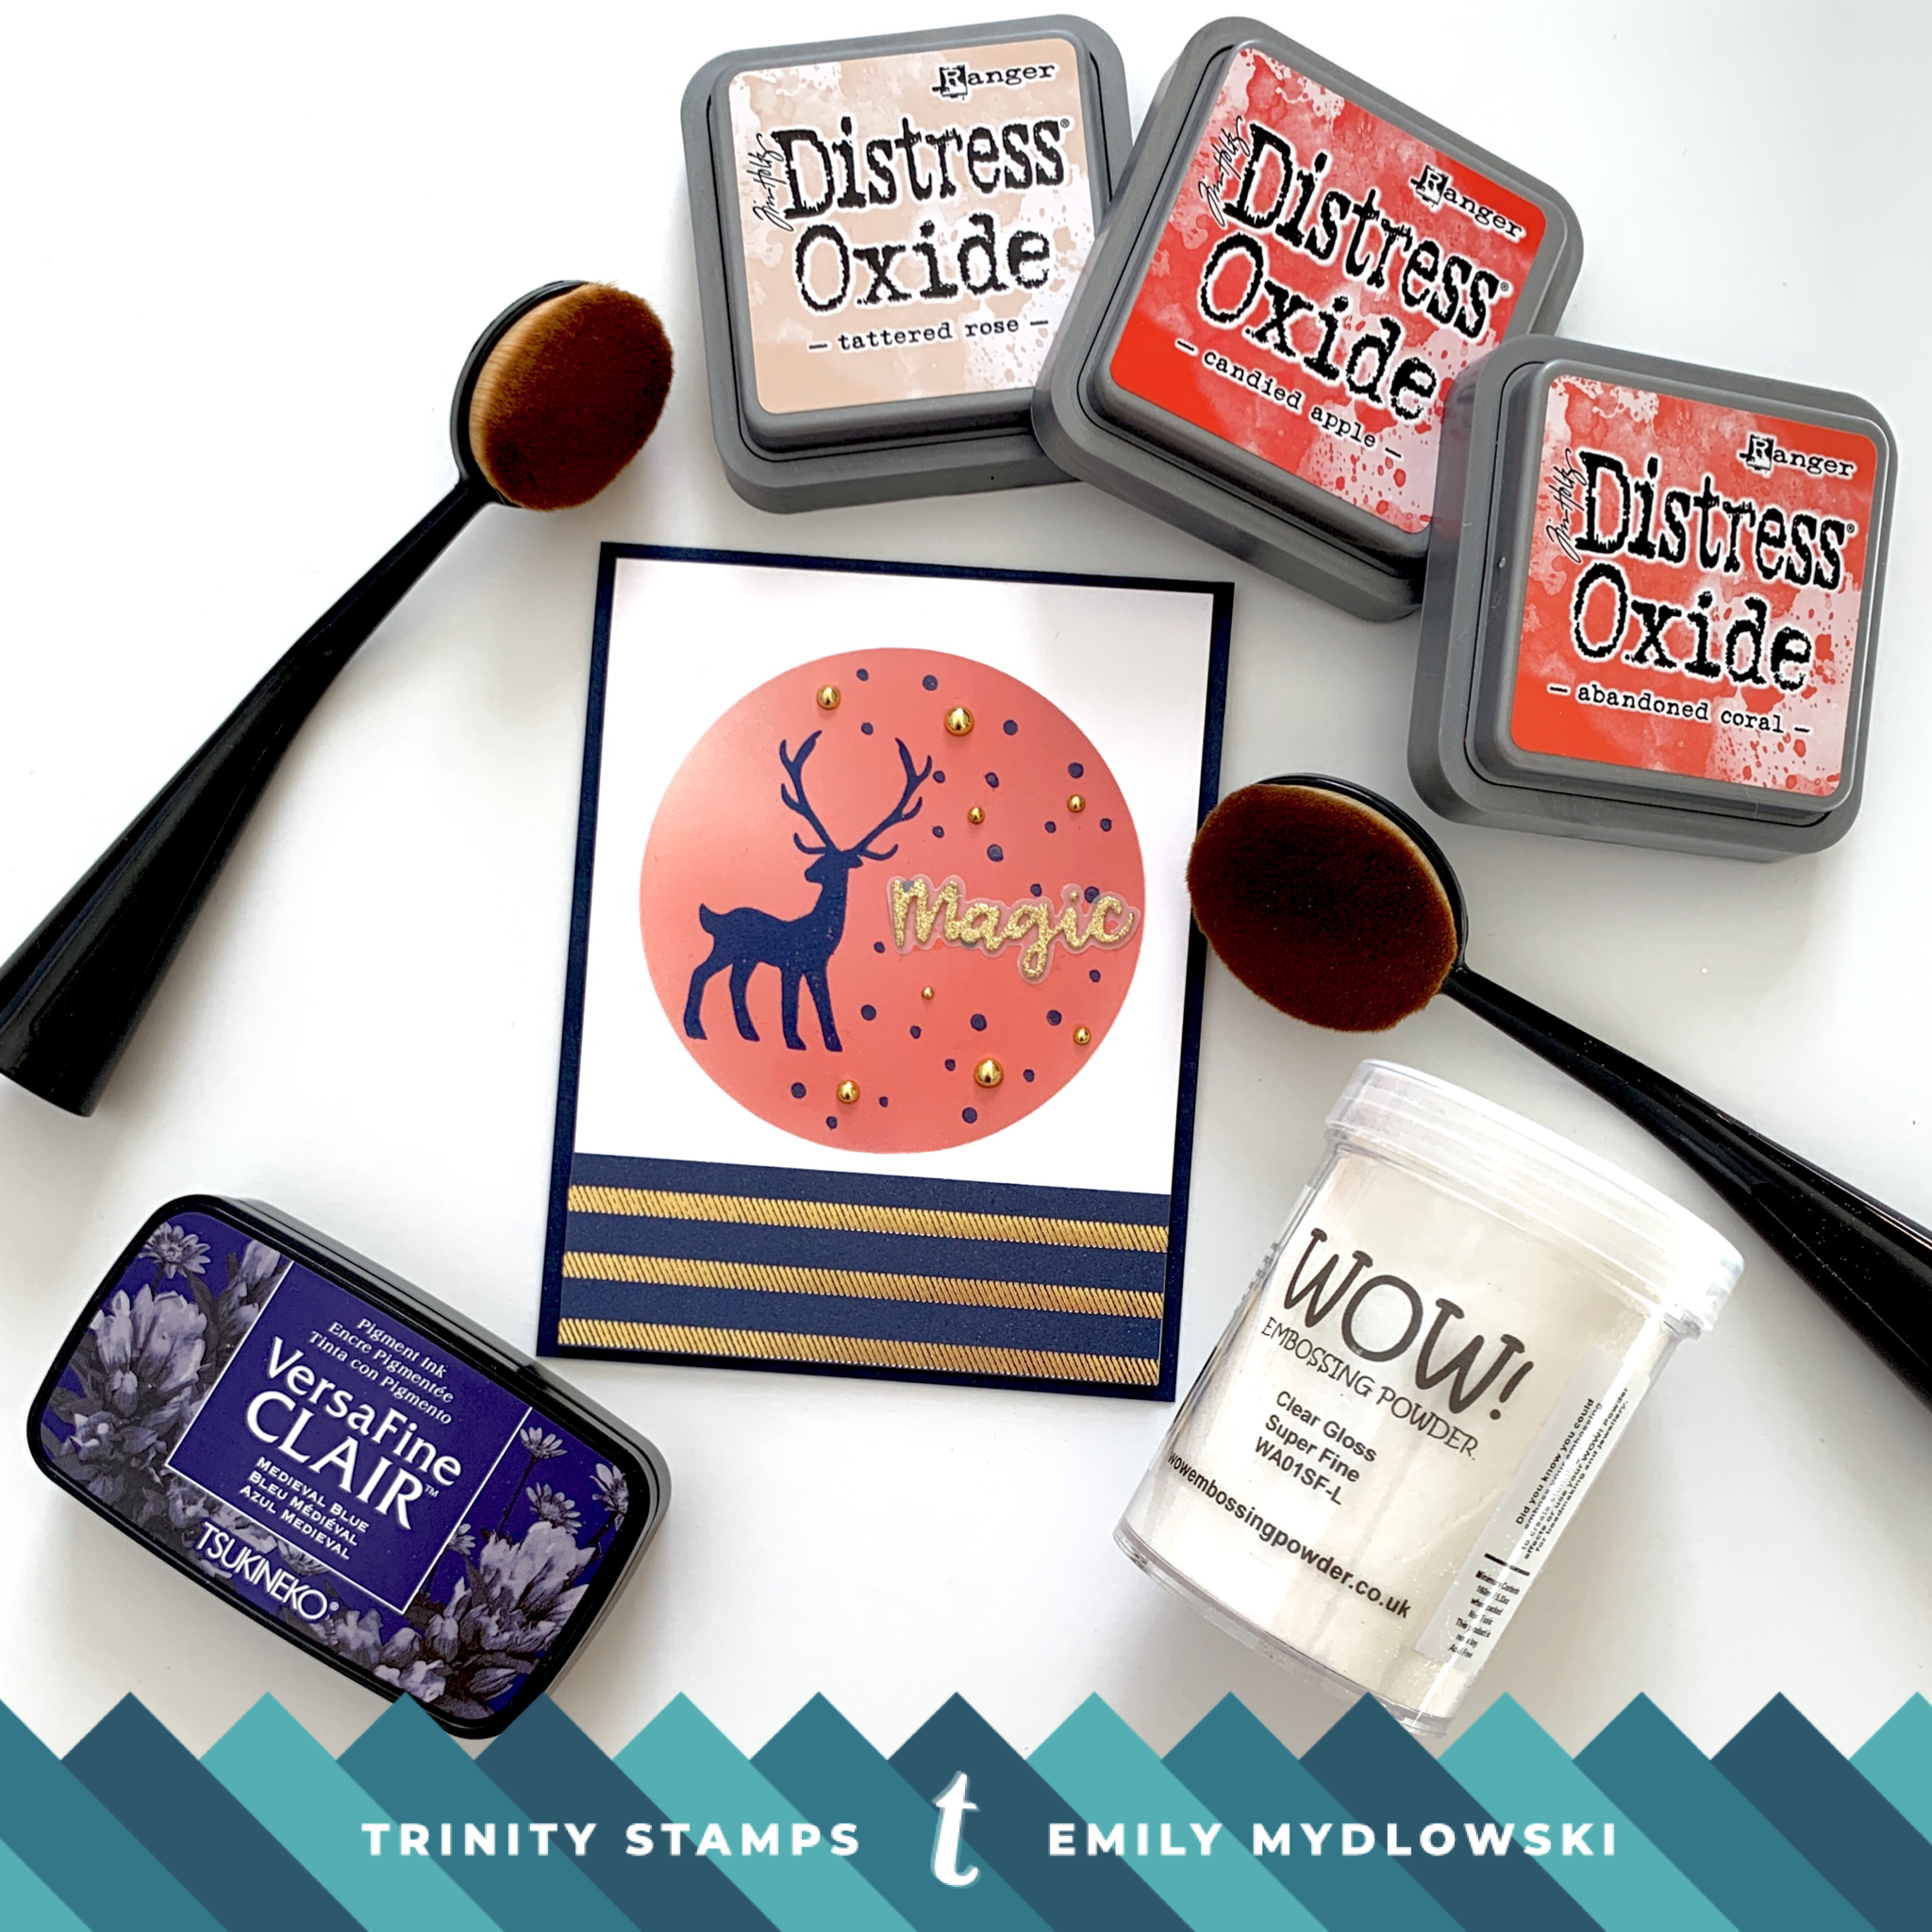
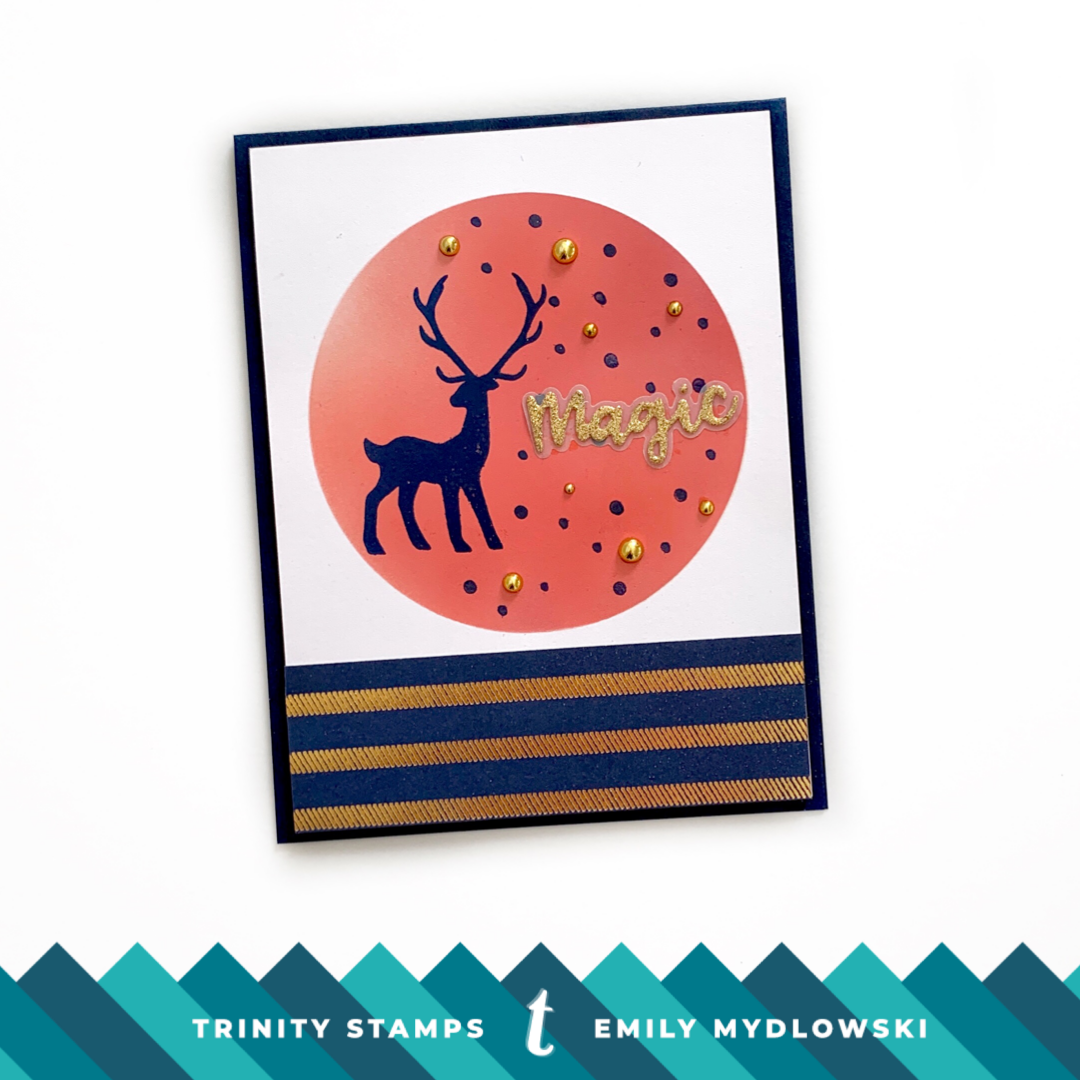
Just Magic
For this card, I did the same blending technique with the circle stencil but changed up the colors. Then I stamped the deer and little circle images with VersaFine Clair Medival Blue Ink and heat embossed the images with WOW, Clear Gloss Superfine Embossing Powder. Then I die cut the word magic in gold glitter paper. What’s really great about the sentiment die set is the shadow piece. I die cut the shadow piece in vellum and then adhered the glitter gold magic die cut with liquid adhesive. For extra pop, I added some Gorgeous Gold Baubles. Then I cut a piece of gold and navy patterned paper and adhered it to the bottom of the card panel. Even though there is a bit of pink in this card, I think it could pass as a masculine card. What do you think?
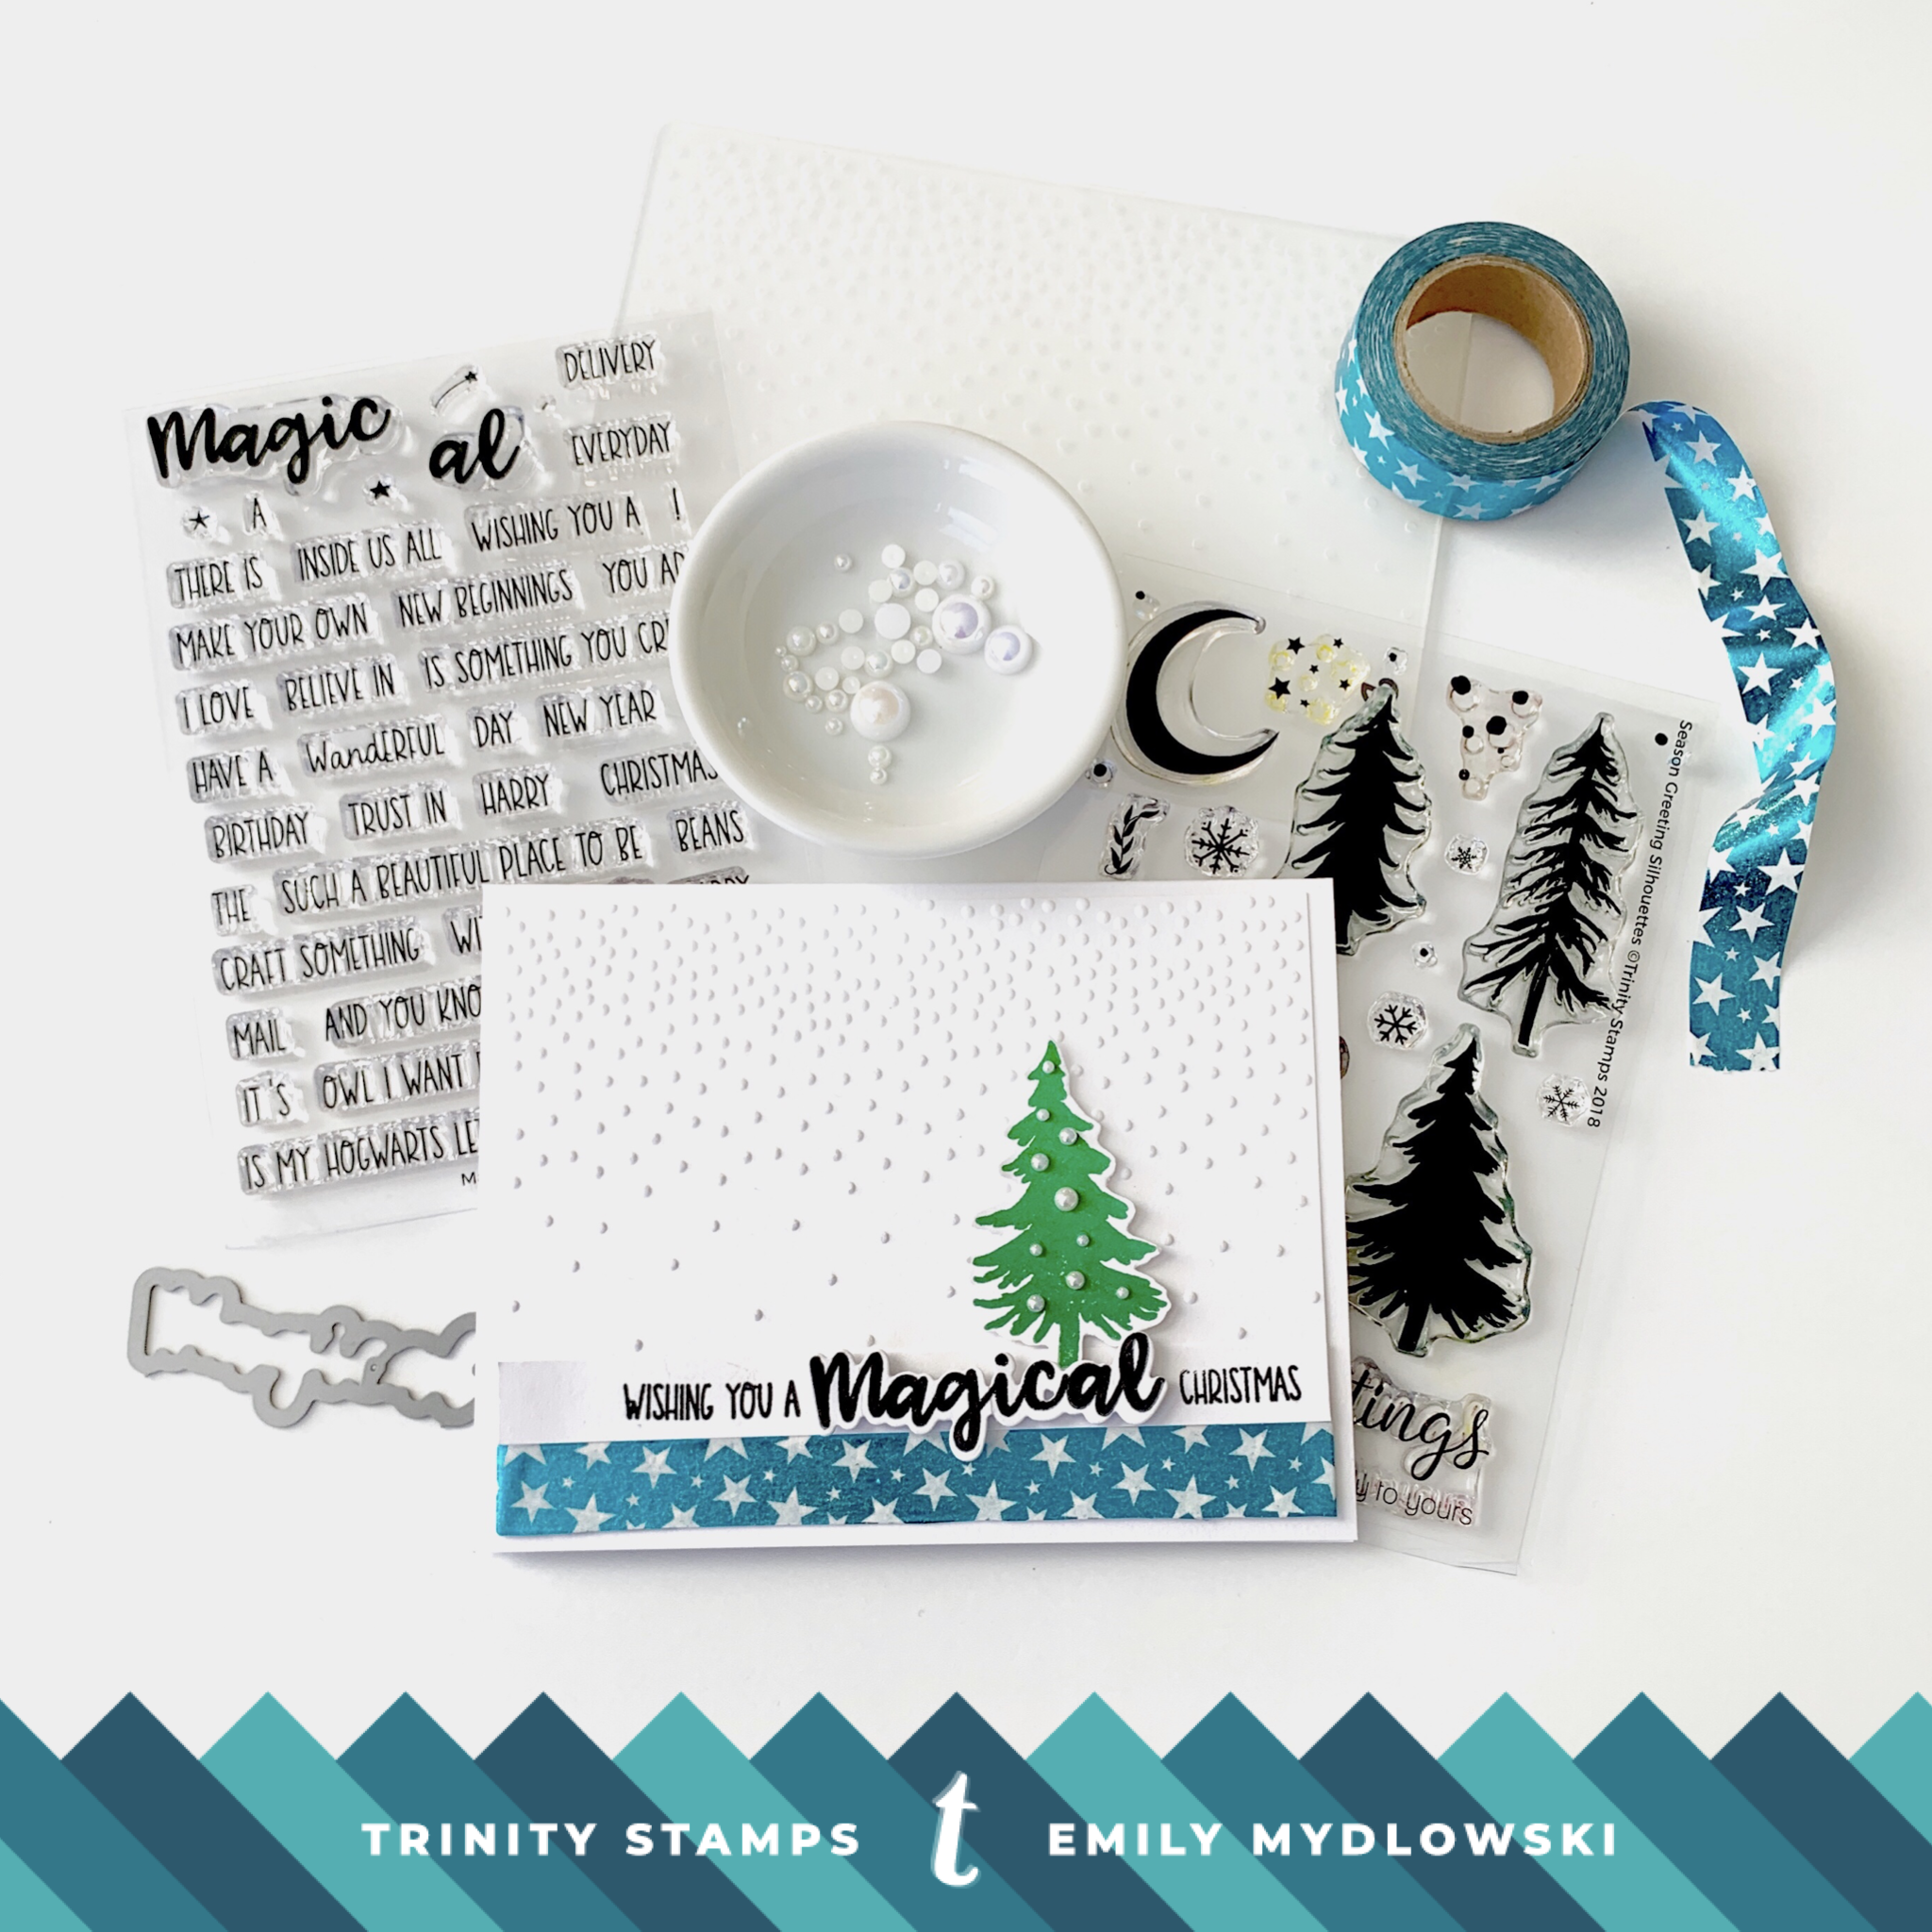
Bonus Card for the Holidays
I’m wired to create three cards for Mondays, so I have one more Mix It Up project with Season Greetings Silhouettes, Magical Sentiments and Coordinating dies. I first embossed a white card stock panel with the Falling Dots Embossing Folder. Then I stamped a pine tree in VersaFine Clair Green Oasis , fussy cut and then added Bright White Smooth Baubles as ornaments to the tree. I stamped and die cut “Magical” and then stamped the entire sentiment to a sentiment strip of white card stock. To finish off the card, I added some fun blue/stars Washi tape.
Well, there you have it friends. My first Mix It Up Monday blog post. I hope you enjoyed these projects and would love to hear what you think about this new blog series. I’ll catch you next Monday when I’m back sharing One Stamp, Three Ways. I wish you all a wonderful week ahead!
Big Paper Hugs!


