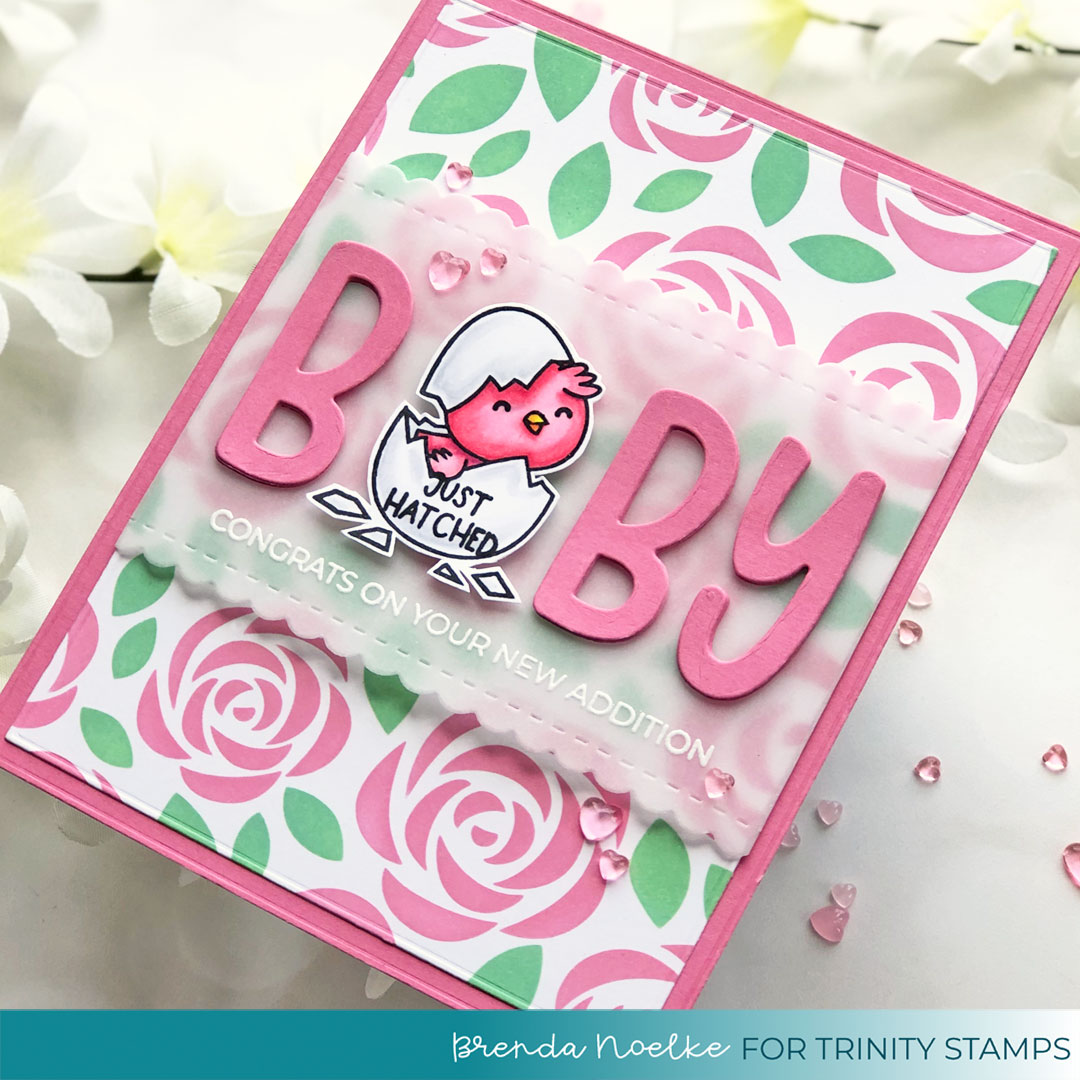
Just Hatched – New Baby Card

Hello, Trinity friends!! I hope you are doing well!! I love finding different ways to combine my stamps, dies and stencils to get the most from my stash!! I have a new baby card to share with you today that does just that!!
Let’s get started!!
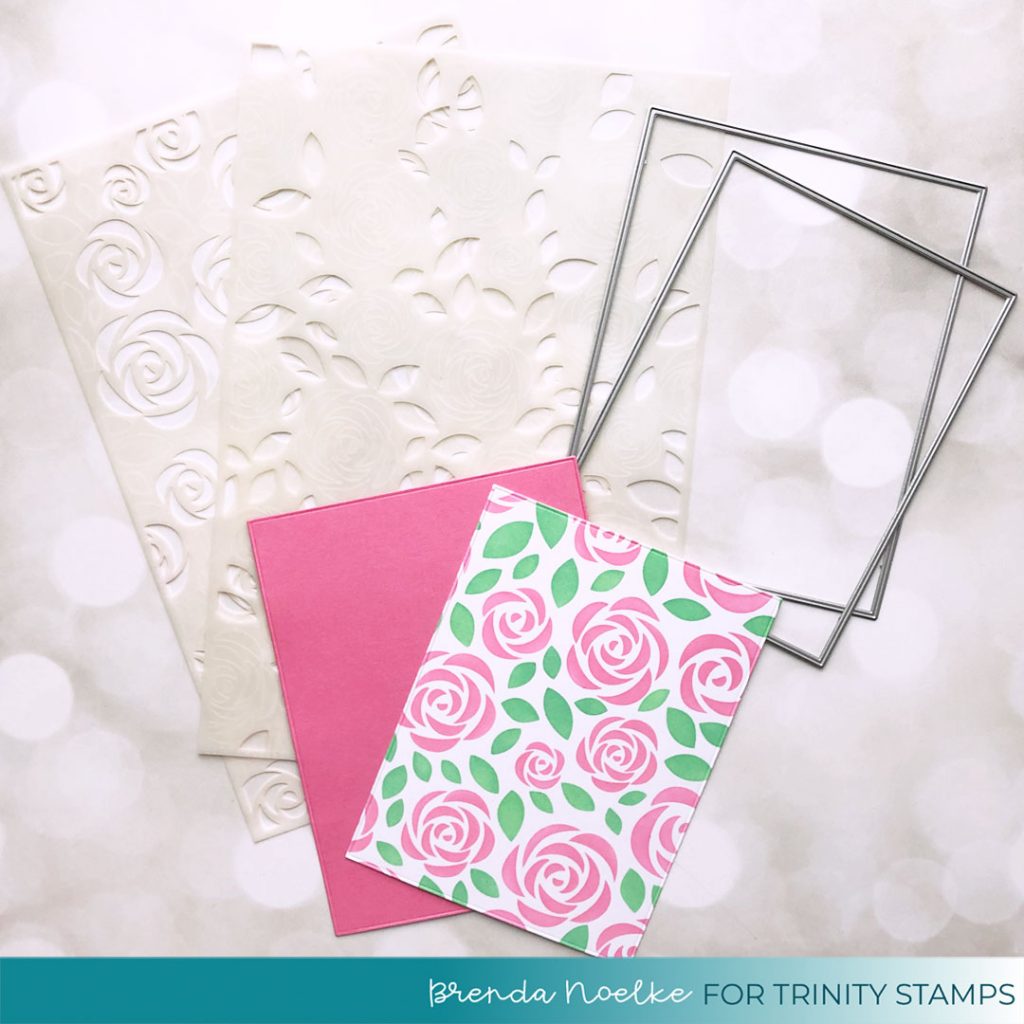
I began by stenciling my background onto white cardstock with Kitsch Flamingo and Cracked Pistachio Distress Oxide Inks using the Bed of Roses Stencil Set and Blending Buddy Brushes. Once the ink was dry, I die-cut the panel using the second largest die in the Embossed Edge Rectangle Stack Die Set. I also die-cut a panel of pink cardstock with the largest die in the same set. I love how this die set leaves the embossed line around the panels…it adds such a nice touch!
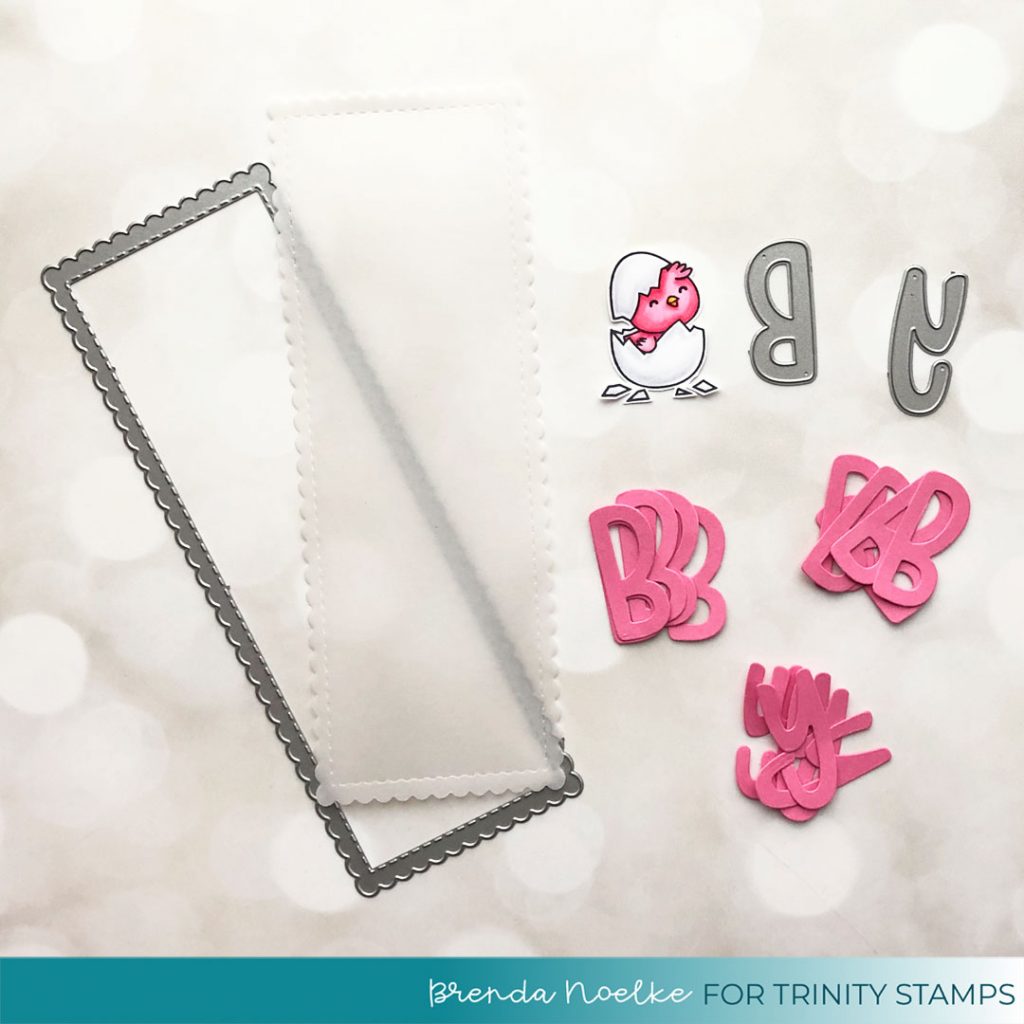
Next, I stamped the chick image from the Slimline Chicks Stamp Set onto white cardstock with InkOn3 Blackout Ink. After coloring it with Copic markers, I fussy cut it out. Using the Marshmallow Alphabet Dies, I die cut “B” eight times and “Y” four times from pink cardstock. I also die-cut a scalloped rectangle from vellum using a die from the Scalloped Card Panels and Banners Slimline Die Set.
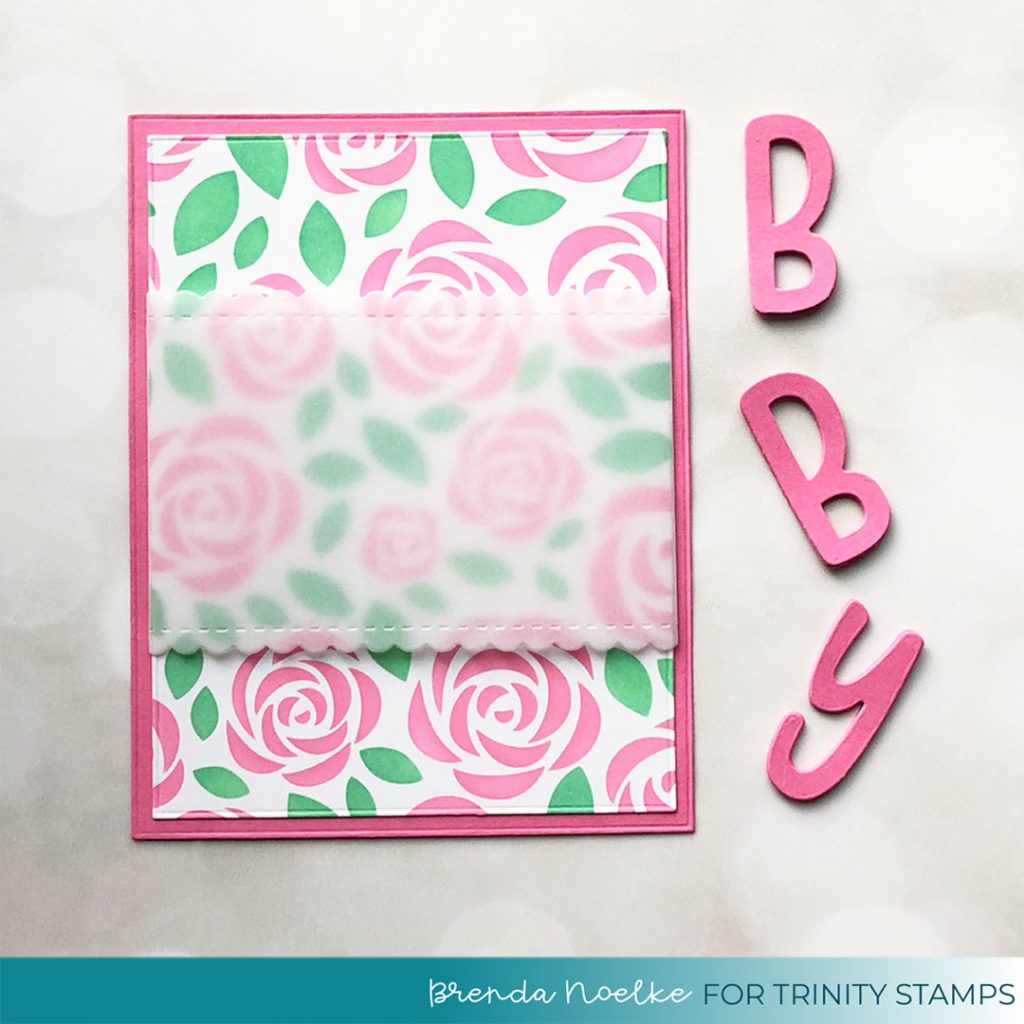
The scalloped vellum rectangle was wrapped around the rose panel and adhered on the back side, before adhering it to the pink cardstock panel. The letters were stacked and adhered together for dimension.
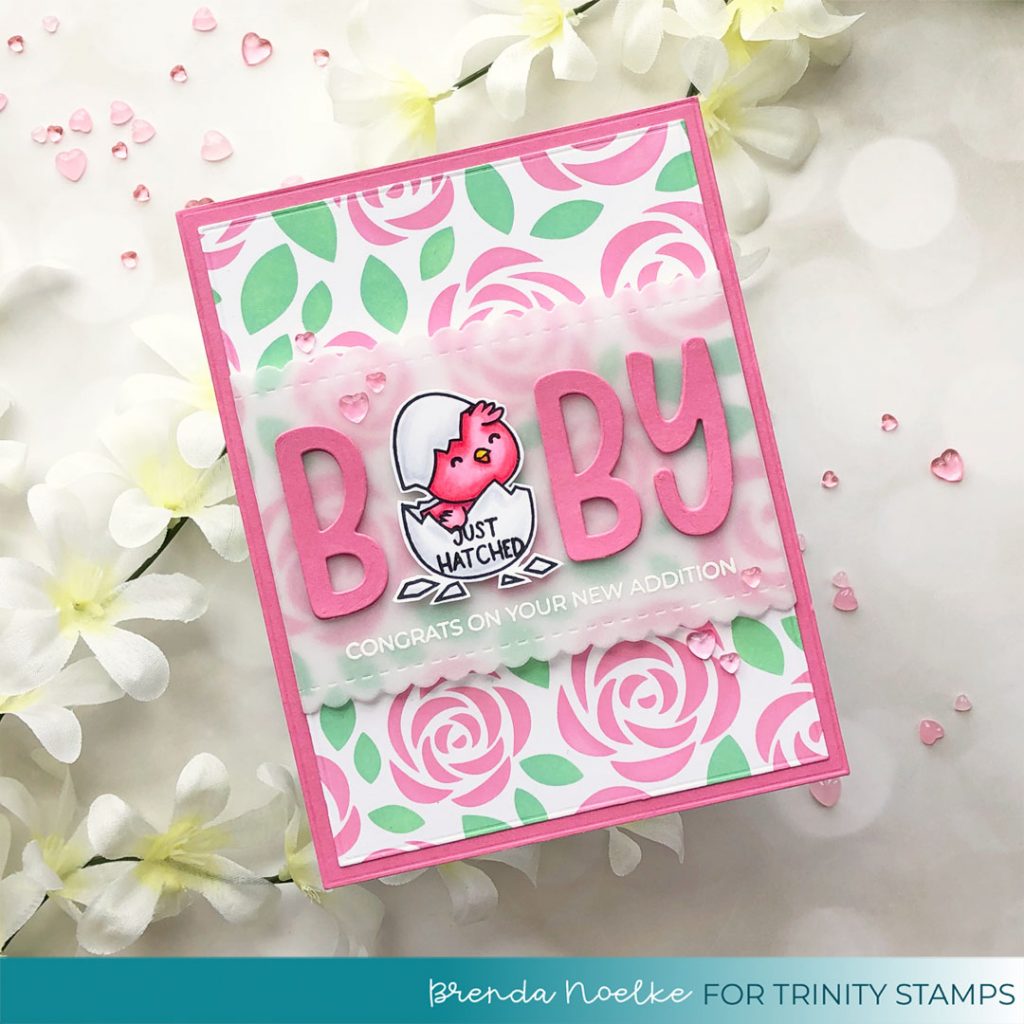
I white heat embossed “Congrats on your new addition,” from the A Sentiment For (Almost) Everything Stamp Set onto the bottom of the vellum panel. “Just Hatched ” is from the Slimline Chicks Stamp Set. It was stamped onto the egg with black ink.
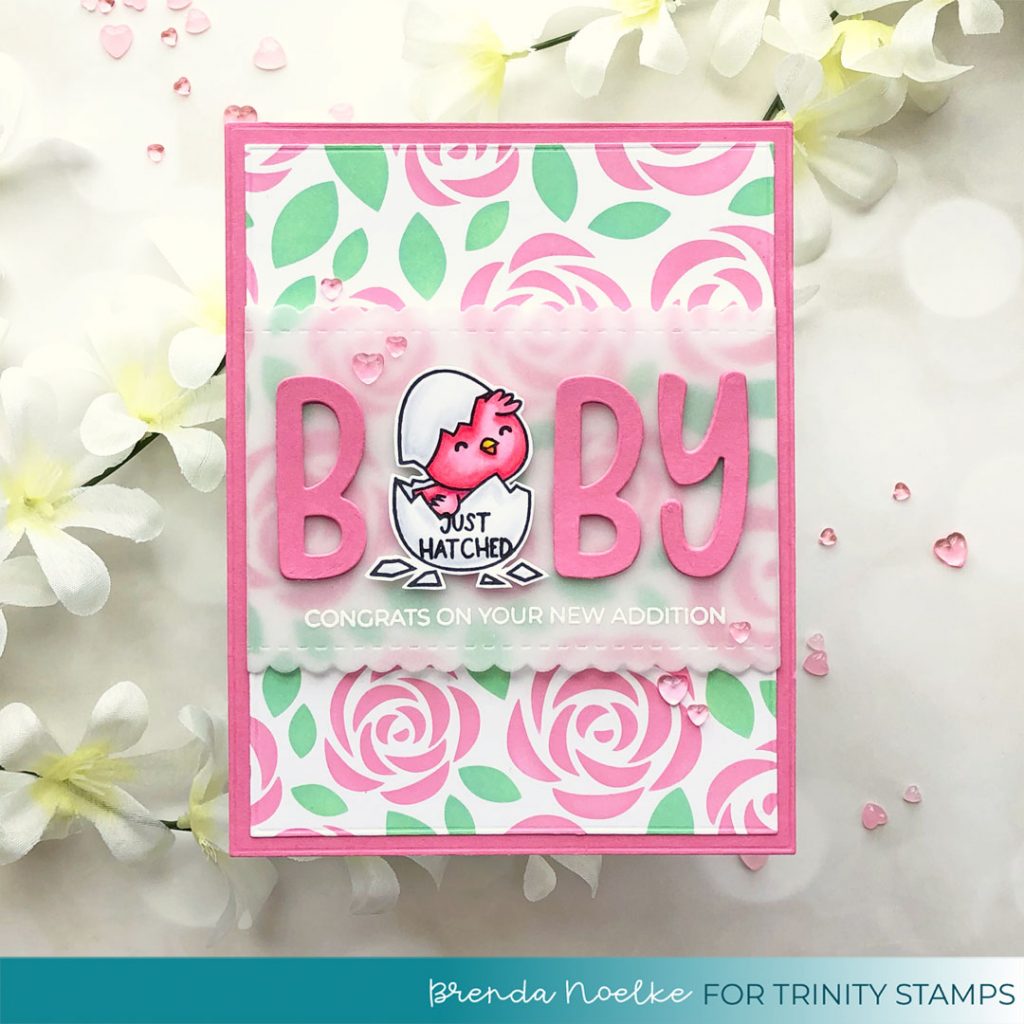
The letters and chick were adhered to the vellum, popping up the chick with foam tape. I added a few Double Bubble Jelly Drop Hearts for the finishing touch!!
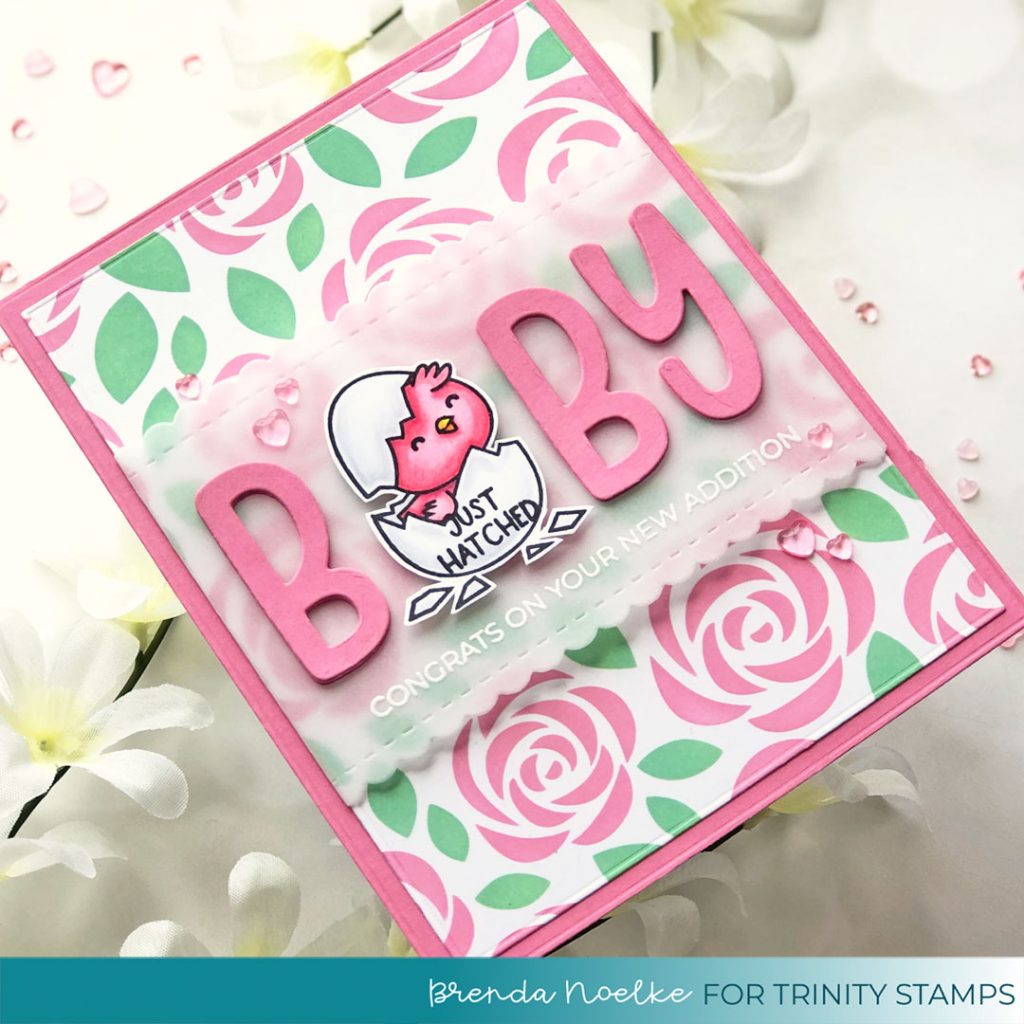
I love how this turned out!! It would be so easy to change the colors!! You could use blue for a baby boy or yellow would be really cute!!
Thank you so much for stopping by today!! Have a great weekend and I’ll see you soon!!
