
Guest Designer – Tina Guigui-Dornbaum
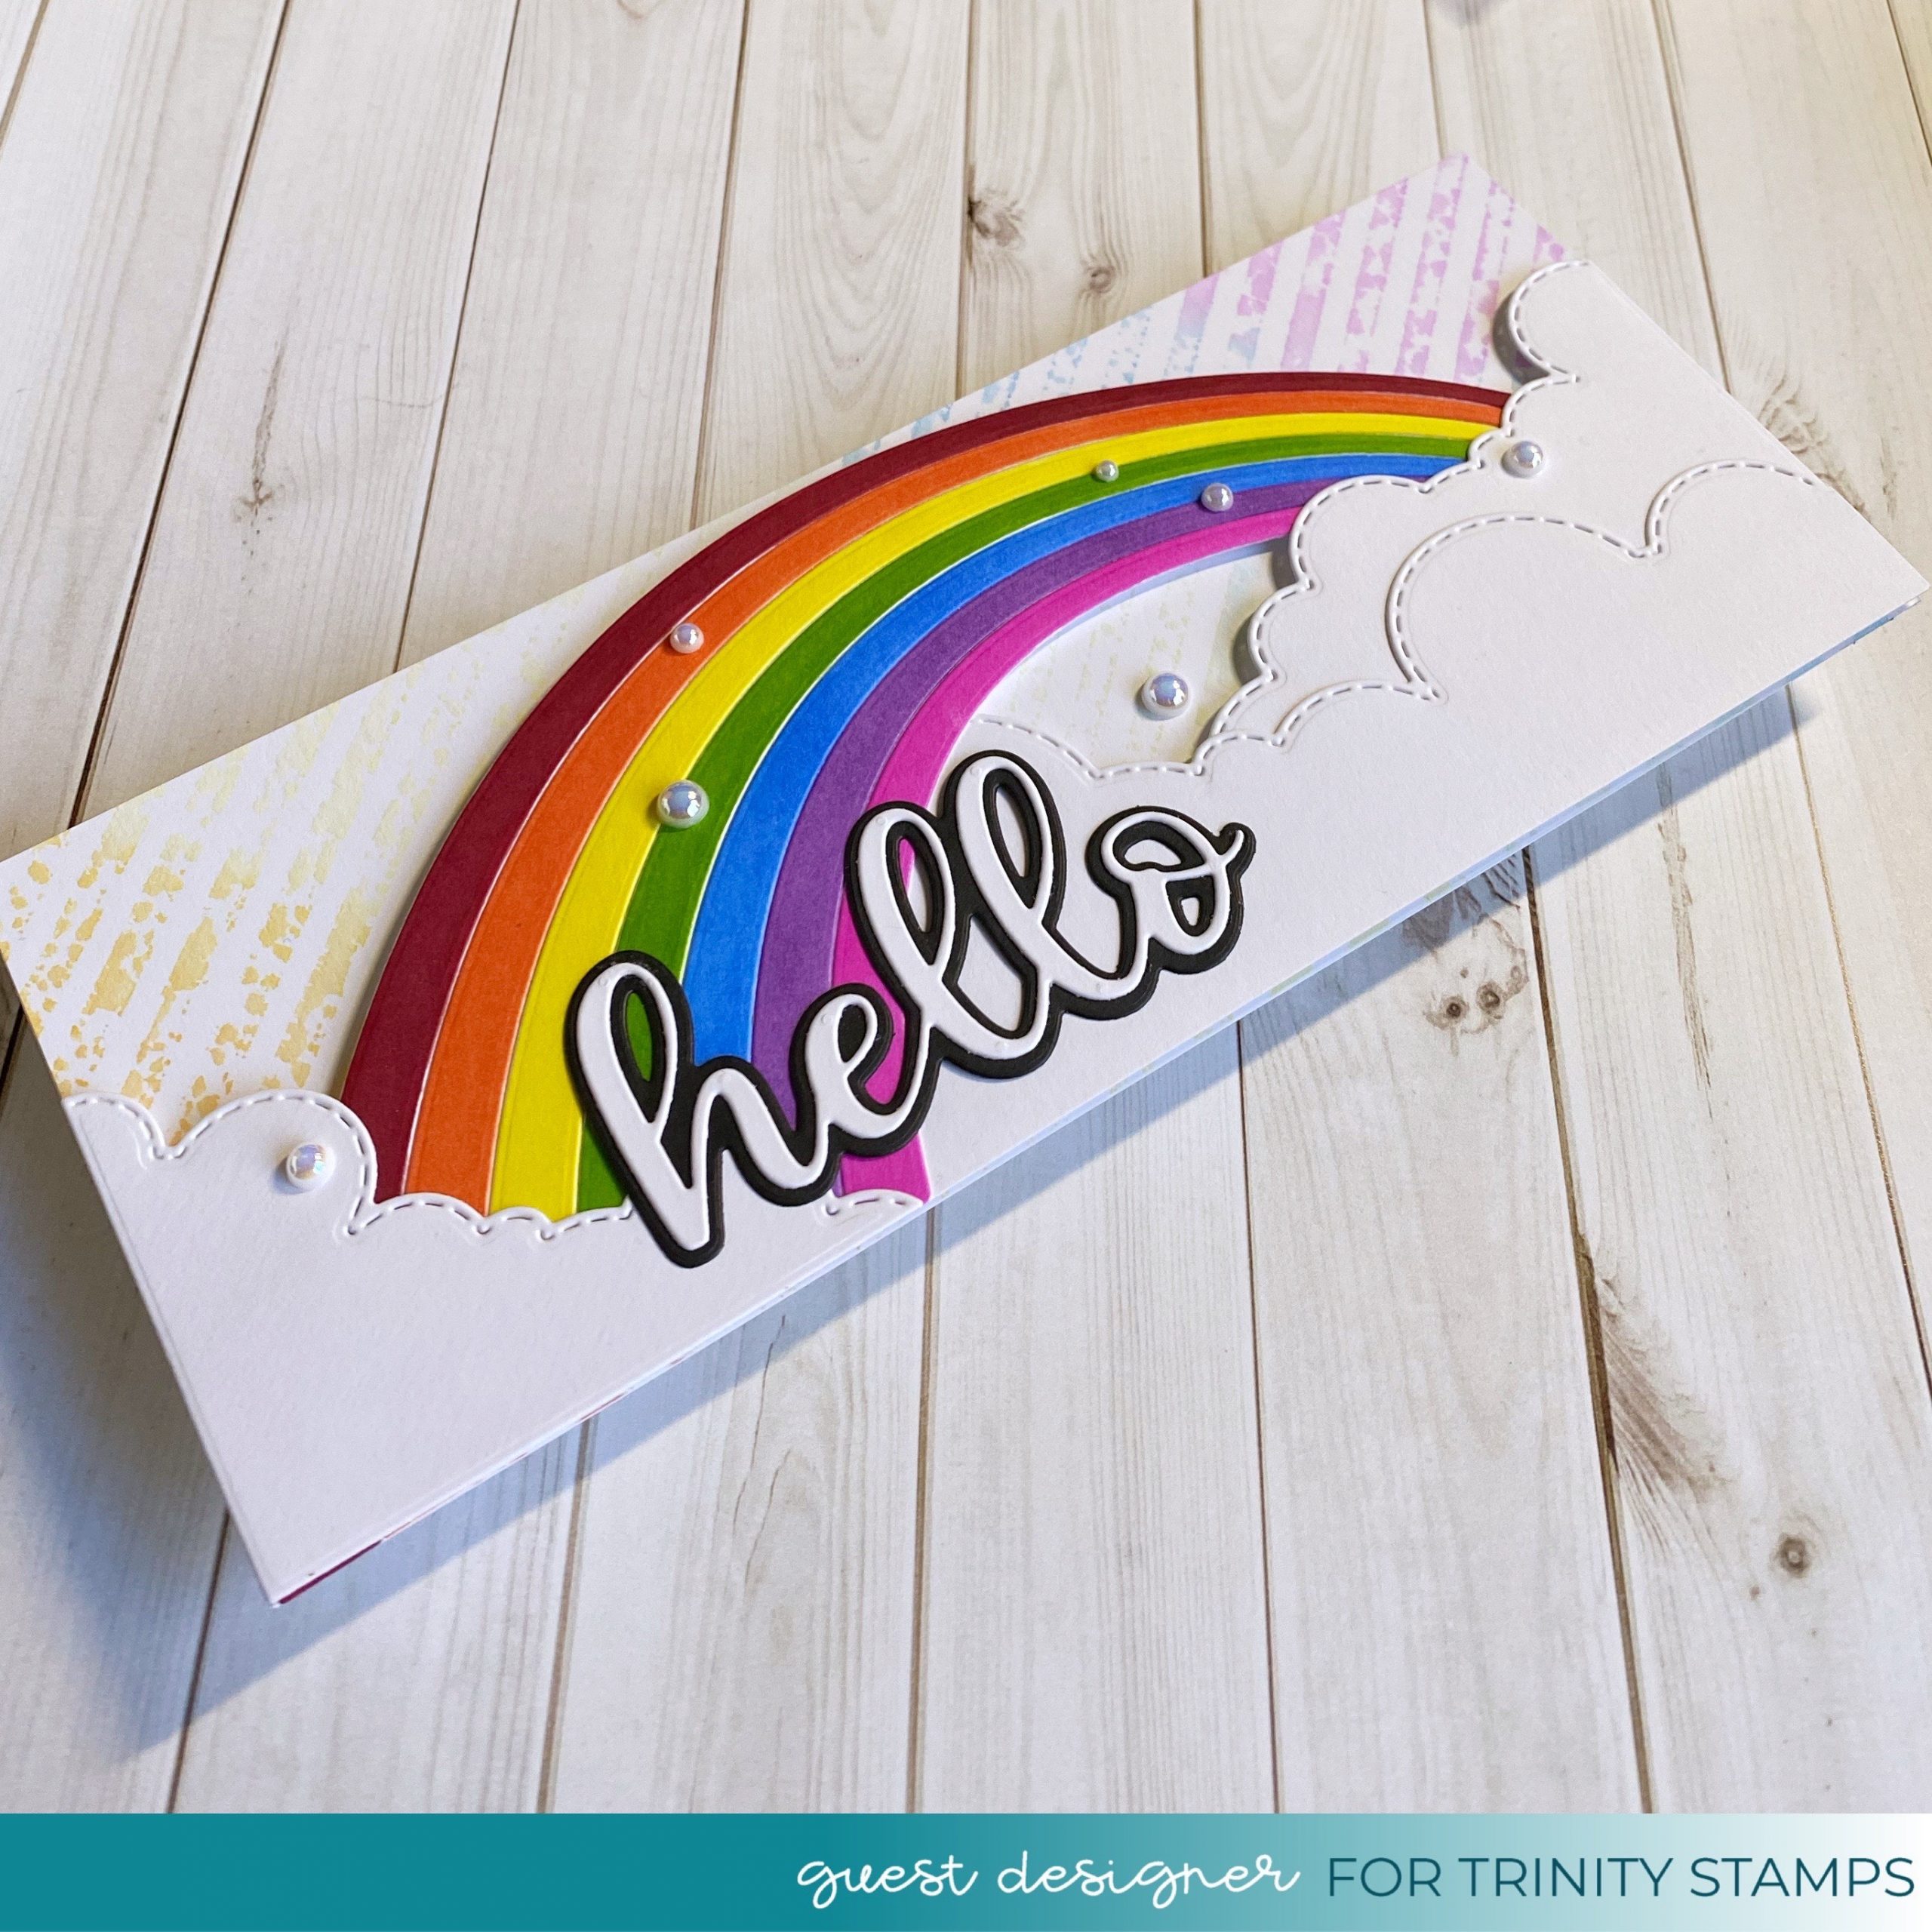
Hi everyone, it’s Tina from FindingYourNiche. Today I am sharing a technique, a tip, along with a Slimline style card. I used the Slimline Series Rainbow Builder Die Set, Slimline Series Envelope Builder Die Set and the Slimline Stripes 6 x 9 Laser Cut 2-Piece Stencil Set. Below you will find the steps to create your own Hello Rainbow Slimline Card.

Step 1 – Trim White Cardstock to 8 1/2” x 7”, score at 3 1/2” and fold in half for a horizontal side fold card. (Slimline)
Step 2 – Trim White Cardstock to 8 1/2” x 3 1/2”. Spray some Pixie Spray onto the backside of the Slimline Stripes 6 x 9 Laser Cut 2-Piece Stencil (Diagonal Stencil). Let it dry for a minute and then place it on top of the trimmed White Cardstock. Apply Distress Oxide Ink using a Foam Applicator. Starting from the left side moving towards the right. Candied Apple, Spiced Marmalade, Squeezed Lemonade, Cracked Pistachio, Salty Ocean, Wilted Violet. Remove the stencil. Although I love how my panel turned out I knew that my Rainbow would be bright colours so I decided to spray water on the stencil which still had the inks I applied and use it to transfer onto another panel. Let dry and then adhere to card front using Nuvo Deluxe Adhesive.
Step 3 – Diecut Slimline Series Rainbow Builder using White Cardstock (Rainbow). If you don’t have multiple colours of Cardstock I like to diecut in White and then colour it using my Alcohol Markers. This allows me to select the colours of my choice. I used the negative cut of the rainbow to trace an outline onto a scrap piece of Cardstock. Trim it out use it to adhere the layers of each rainbow. Now I only have to adhere one panel.
Step 4 – Diecut Slimline Series Rainbow Builder using White Cardstock (Clouds). For the clouds on the right side adhere the top cloud layer to the under cloud layer using Nuvo Deluxe Adhesive. Adhere it to the card using Foam Tape. Adhere the rainbow using Foam Tape. Adhere the cloud on the left side using Nuvo Deluxe Adhesive where it overlaps the rainbow and Foam Tape where it doesn’t overlap.
Step 5 – Diecut Slimline Series Envelope Builder sentiment using White Cardstock for the word and Black Cardstock for the shadow. Adhere the top layer to the bottom and then adhere to the card using Nuvo Deluxe Adhesive.
Step 6 – For added interest and sparkle randomly adhere Something New Embellishment Mix Pearls using an Embellishment Tool and Nuvo Deluxe Adhesive.
This card can be used for many occasions by simply changing the sentiment. I hope this card has inspired you and brought you several tips along the way. Thank you for stopping by and Happy Crafting!


